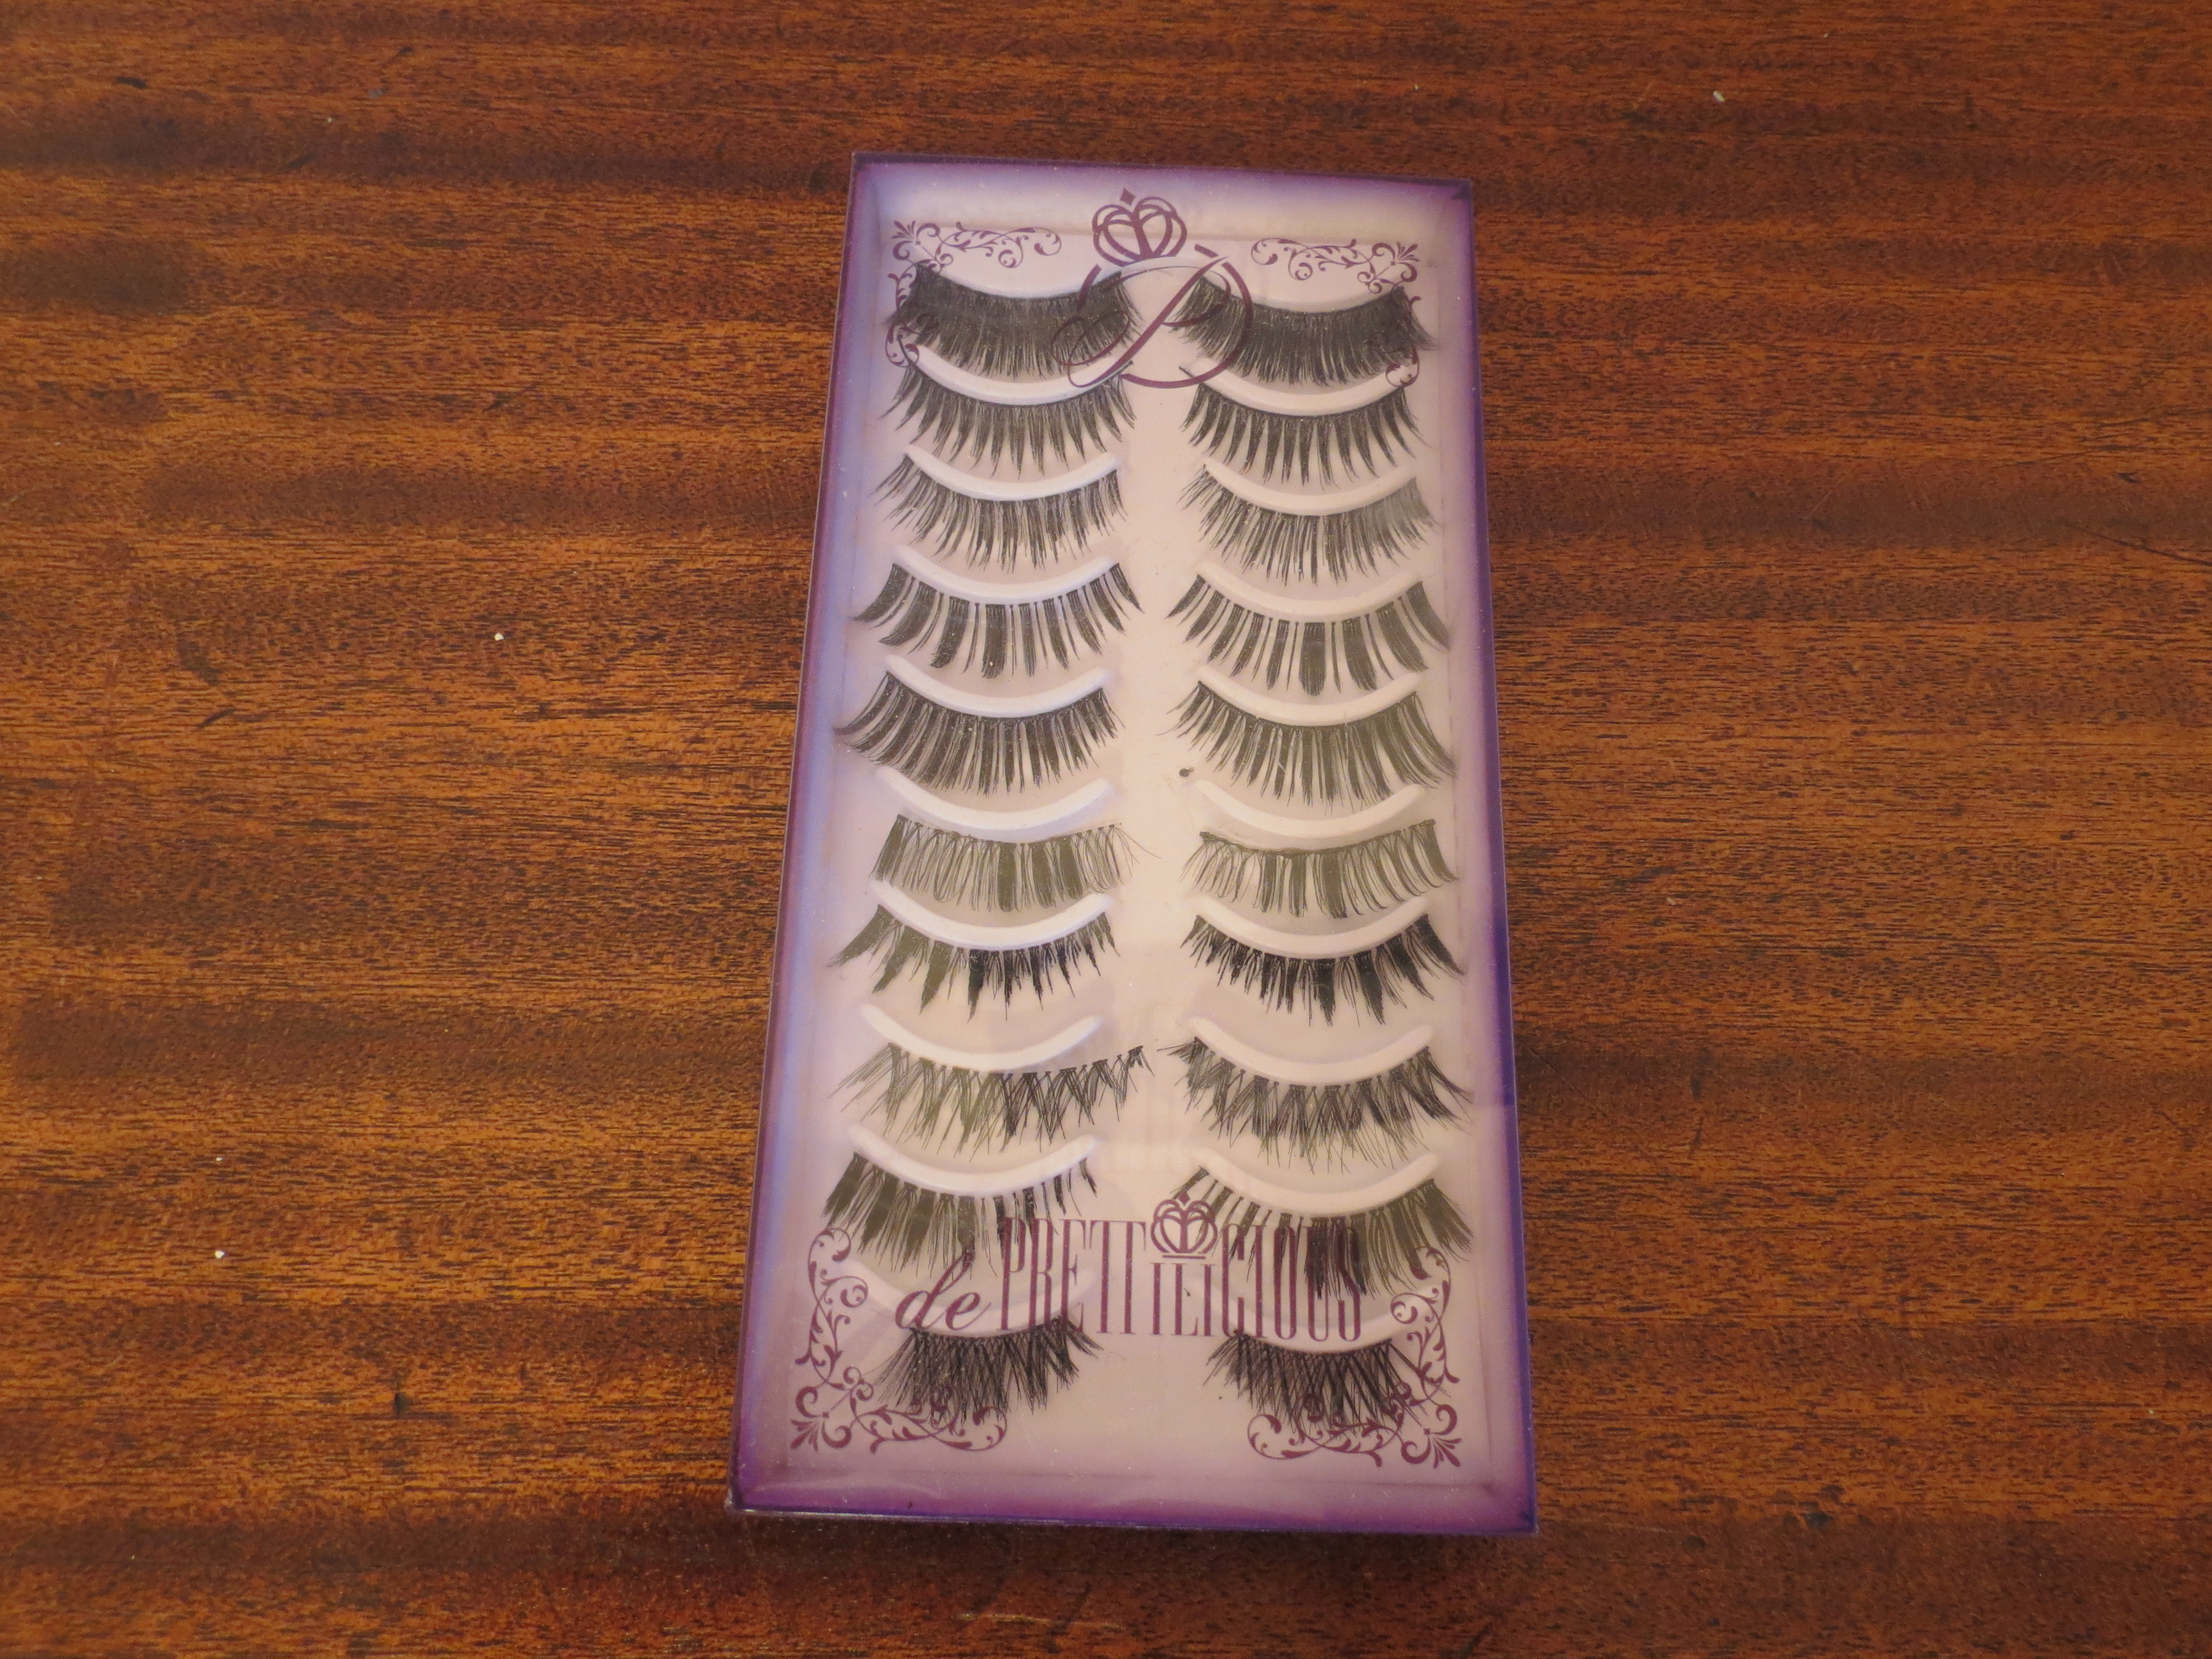
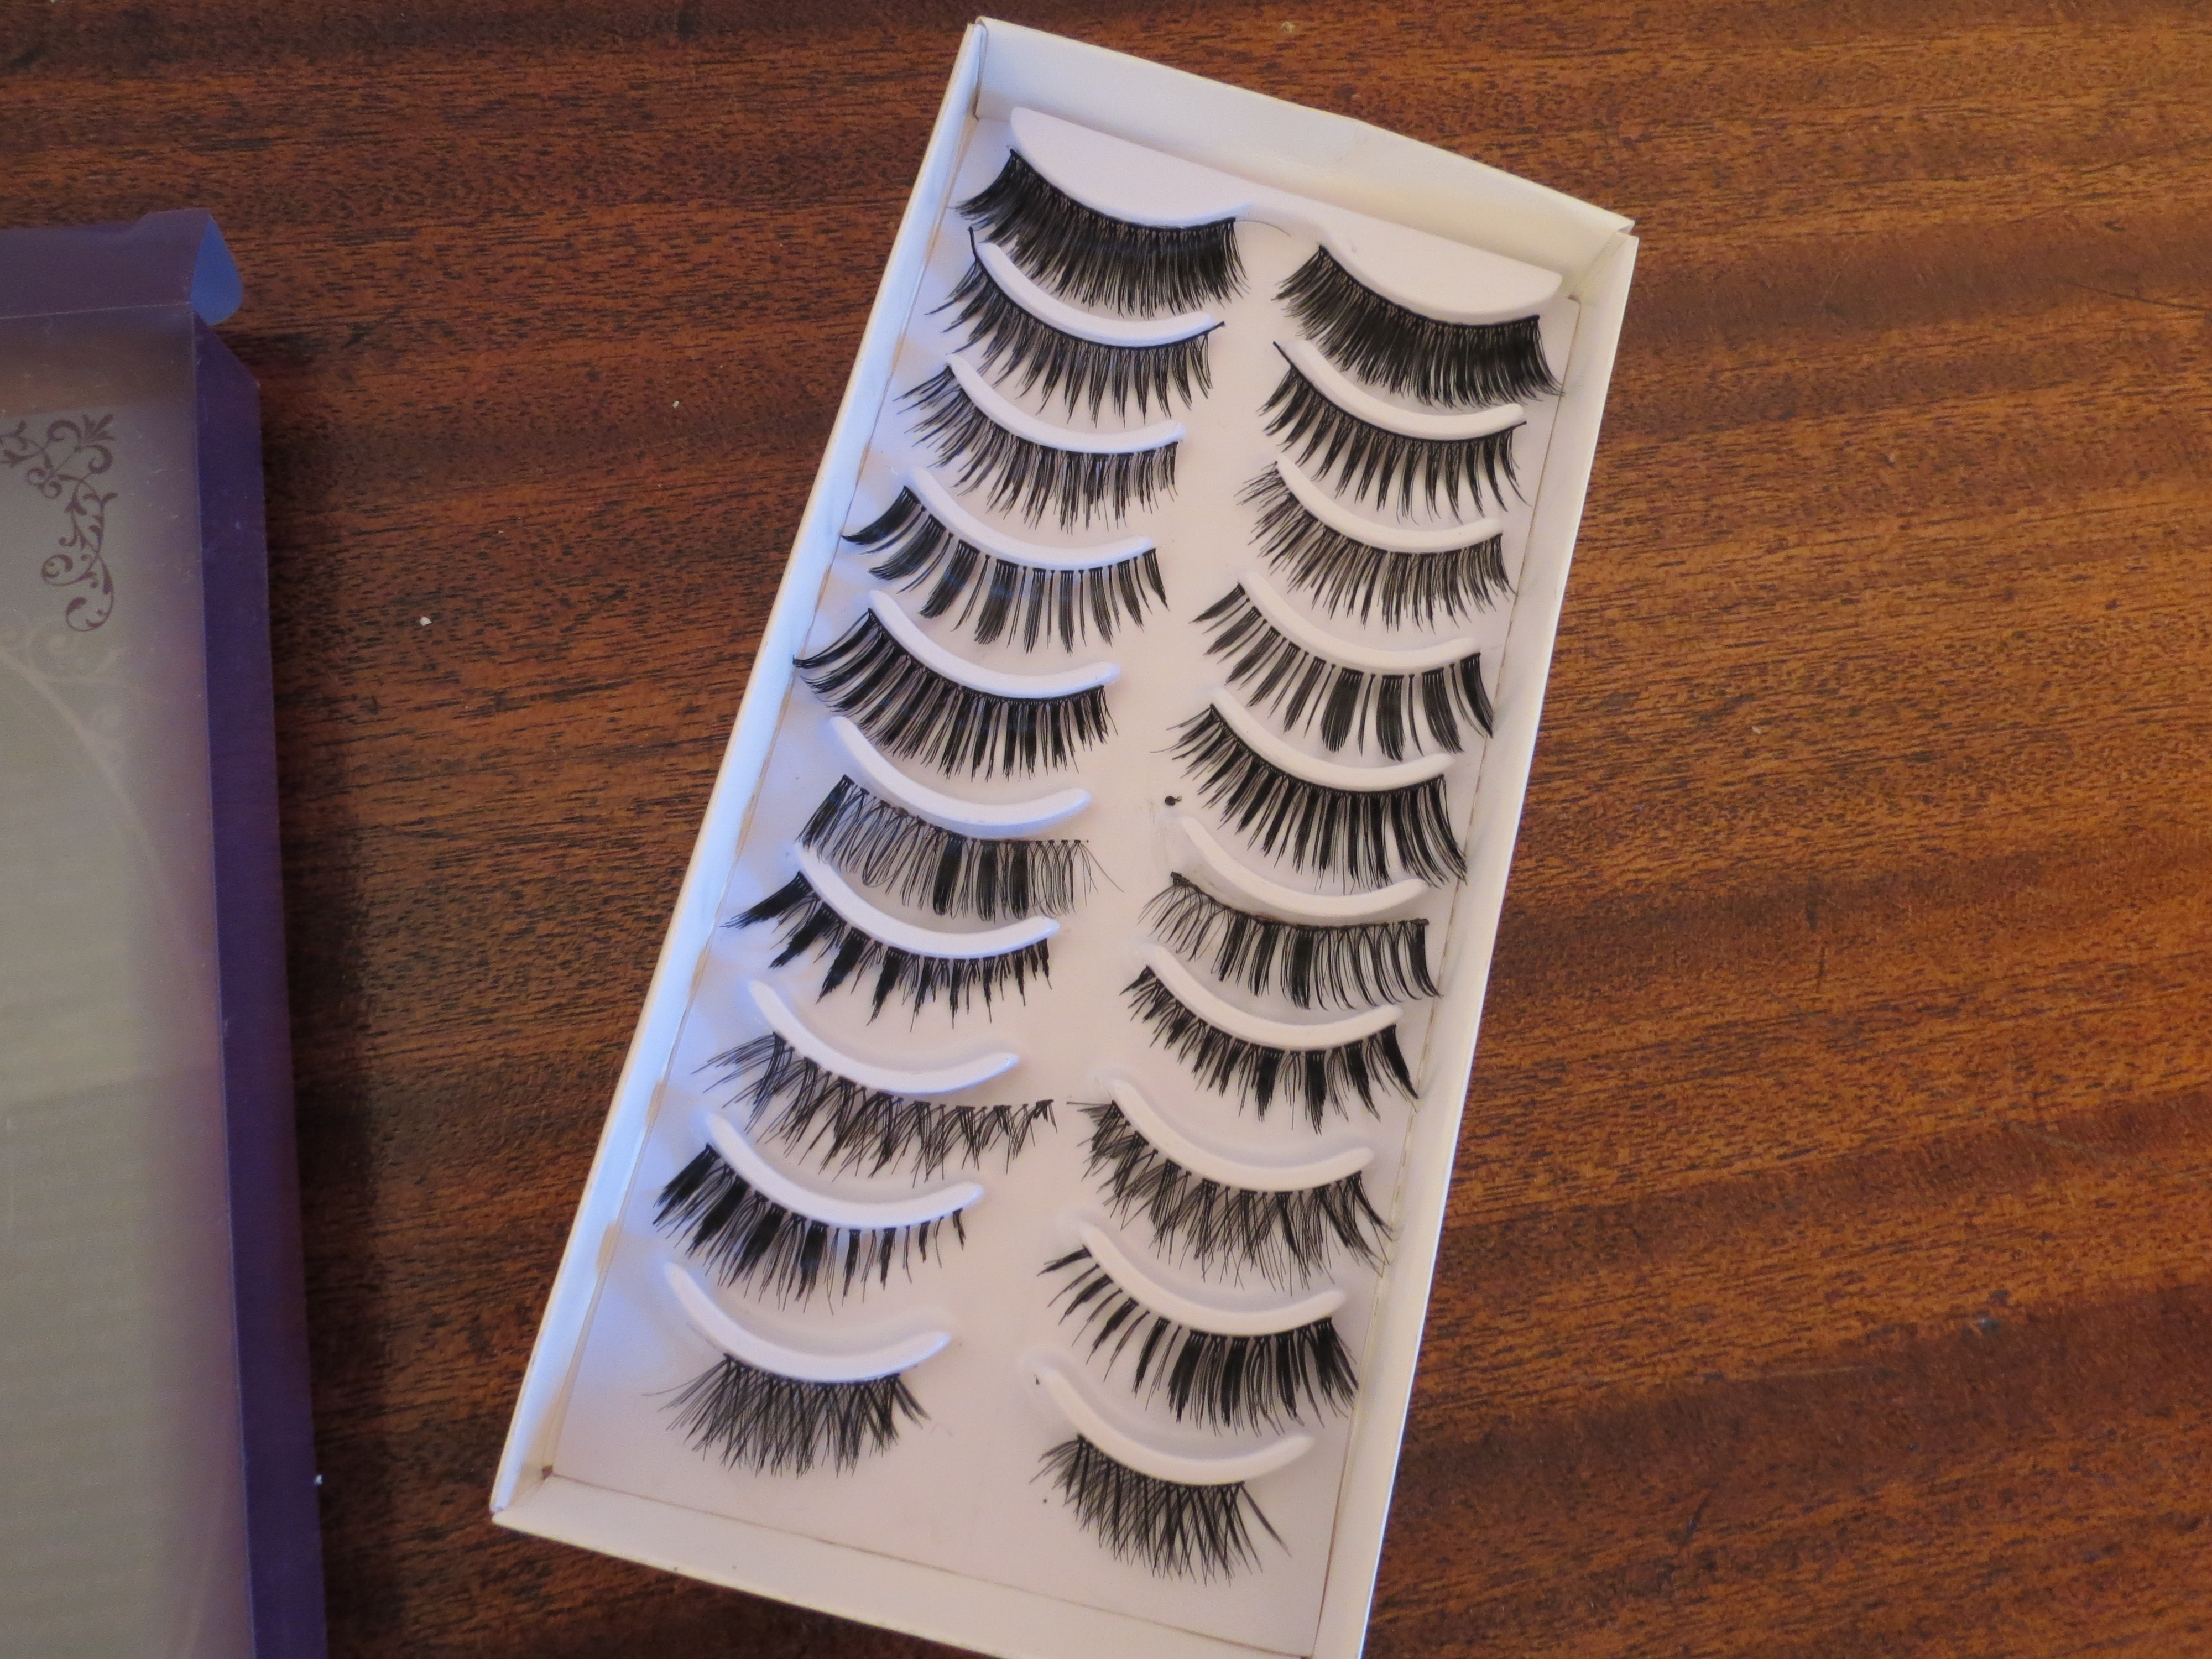
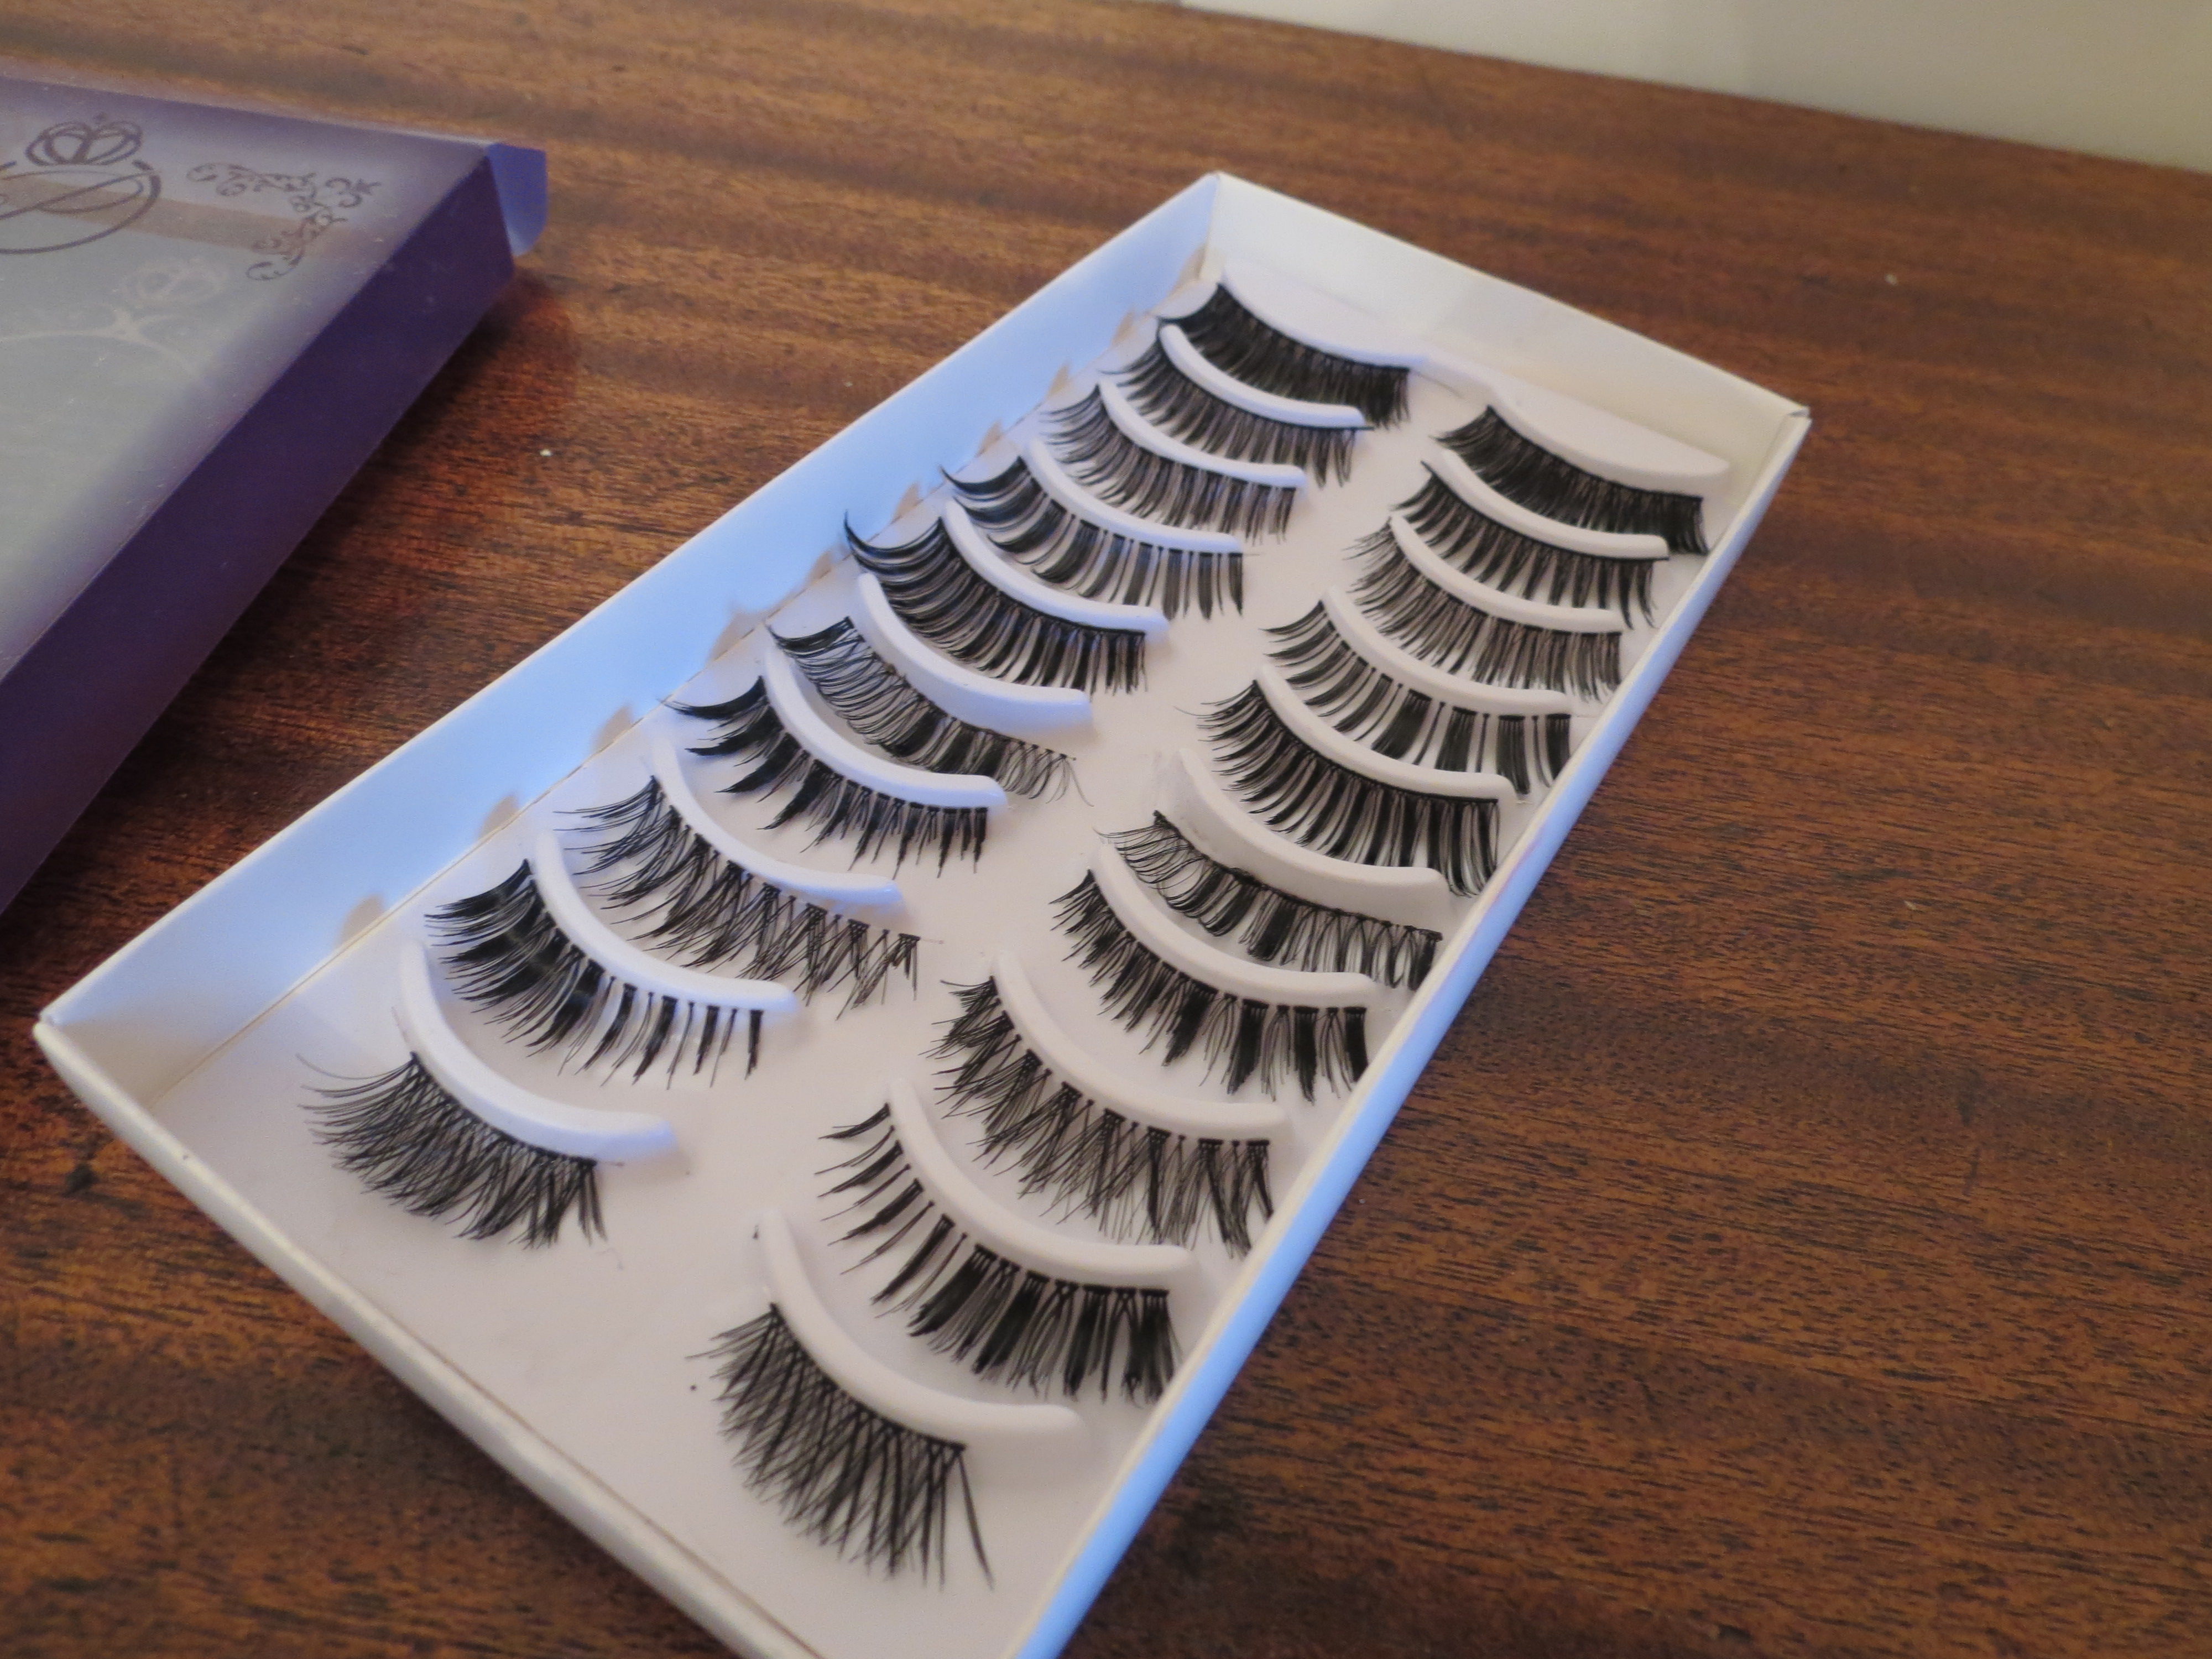
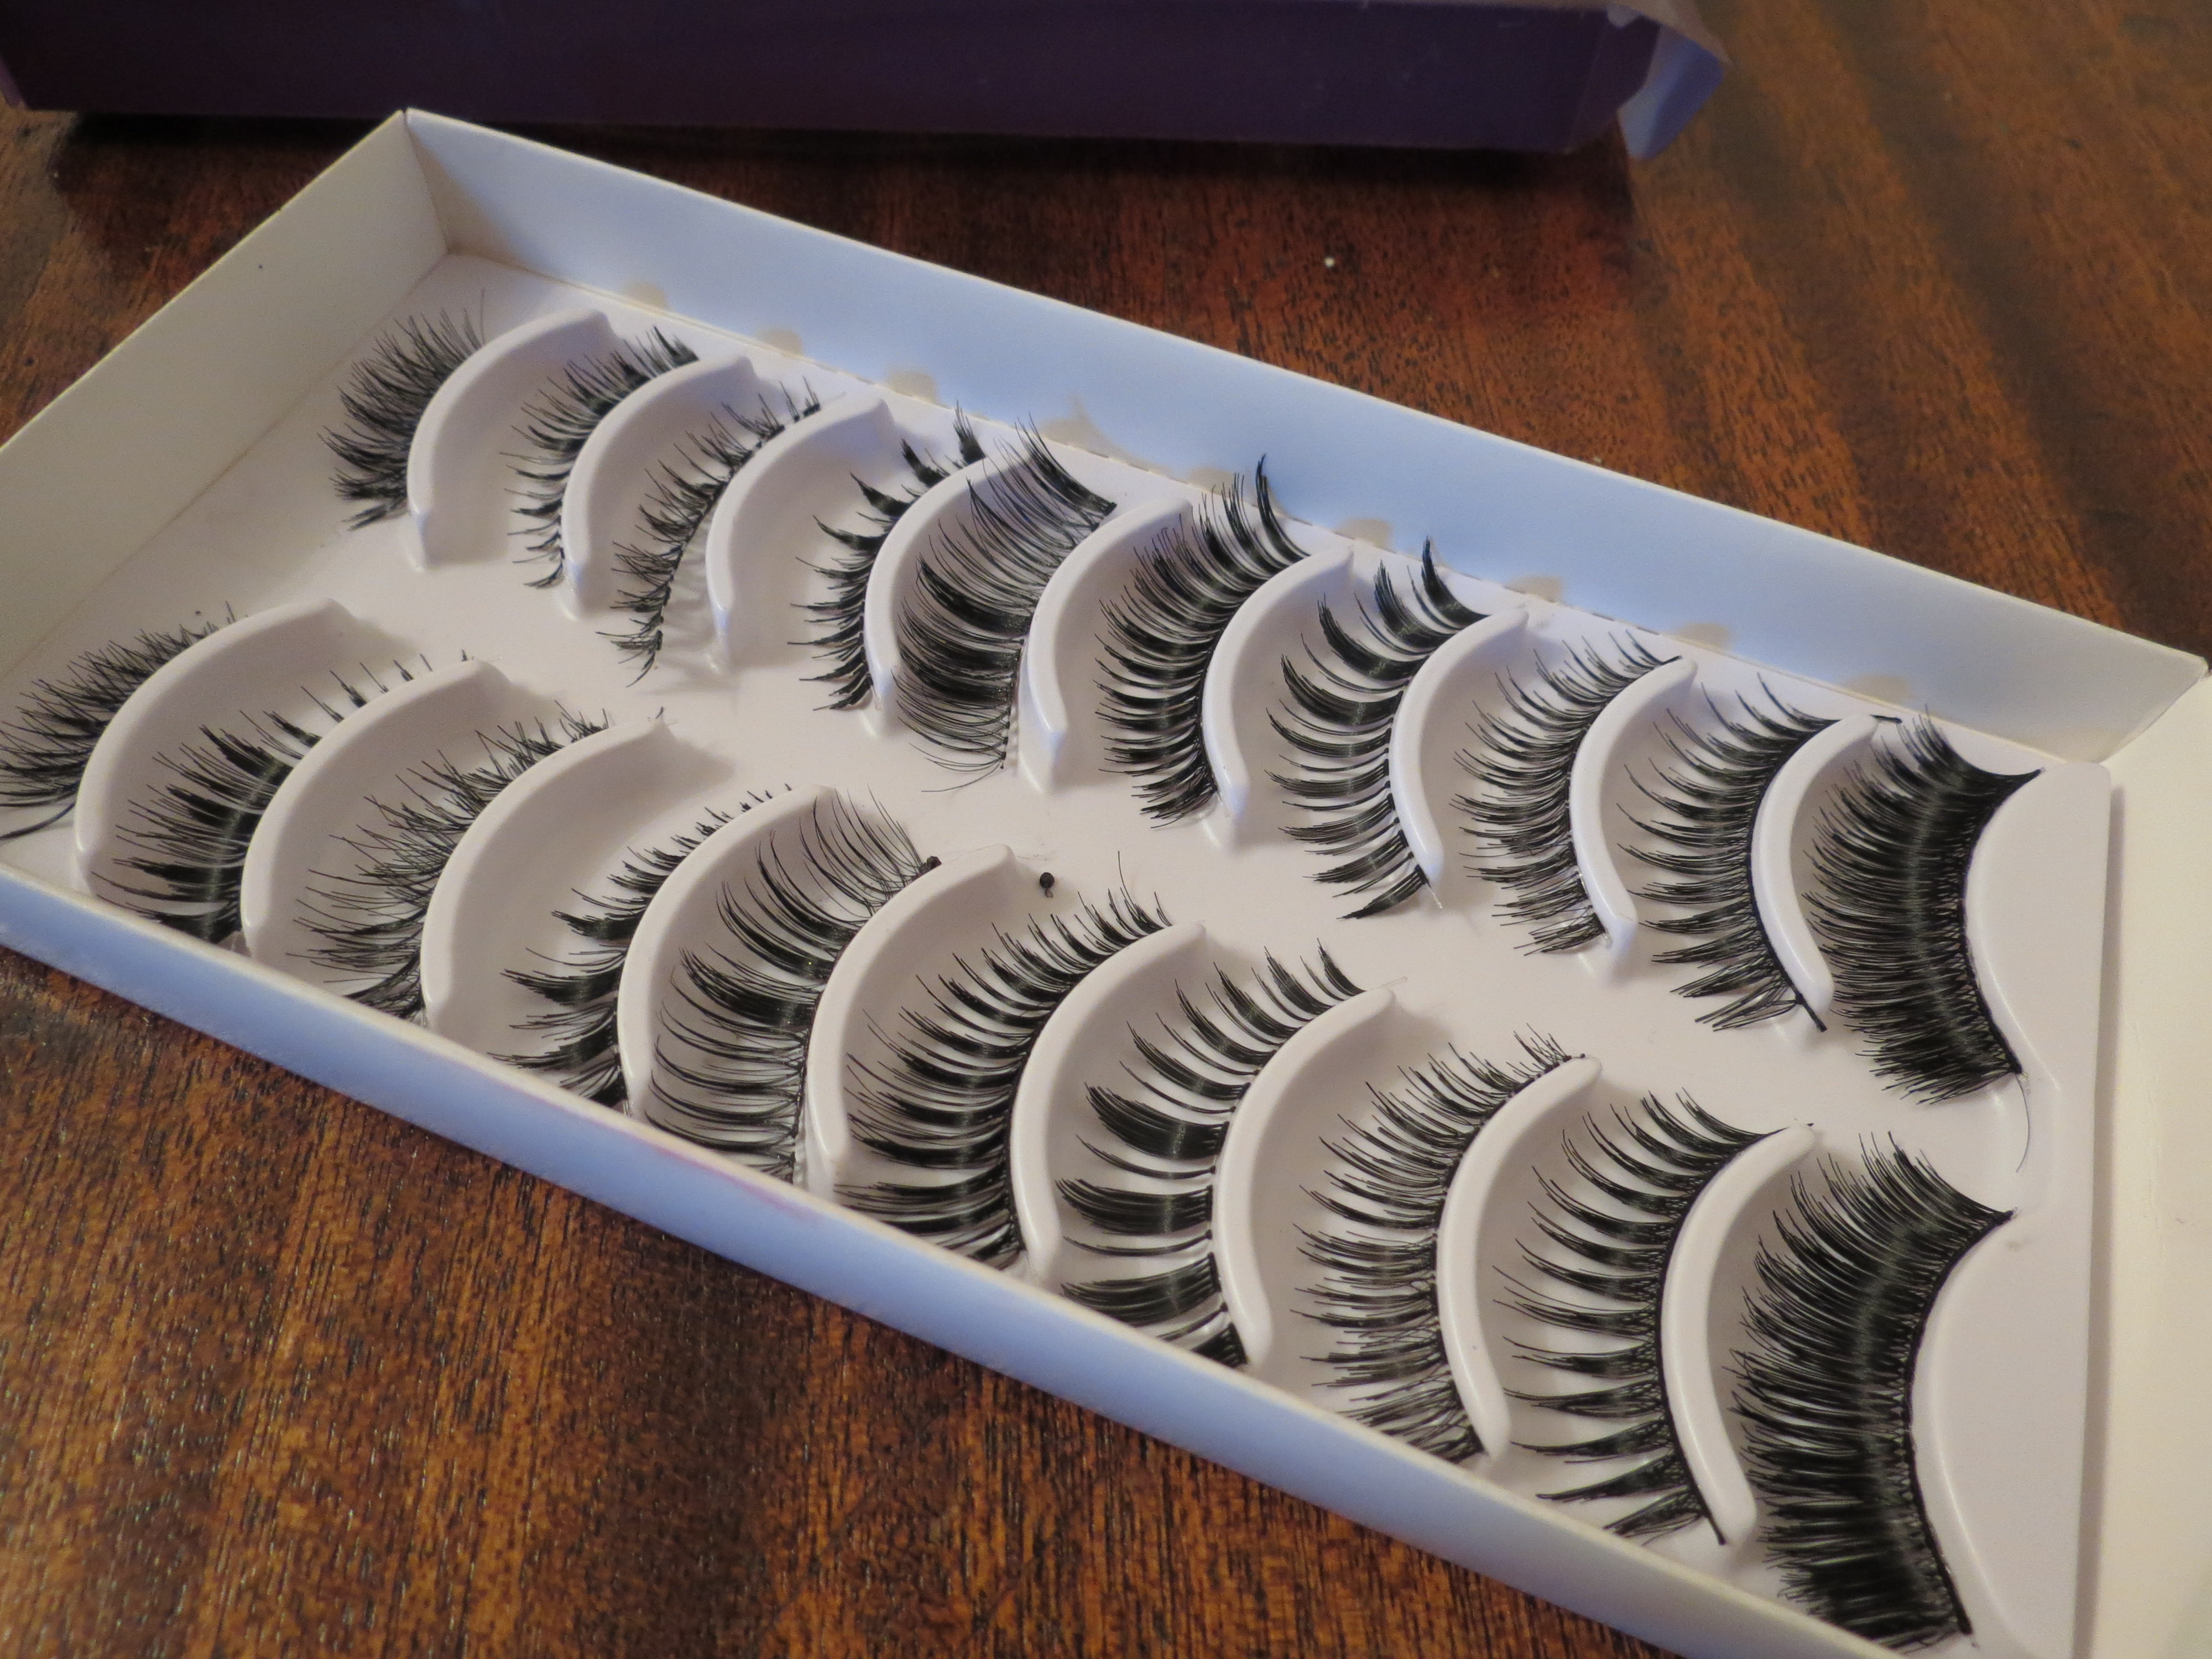
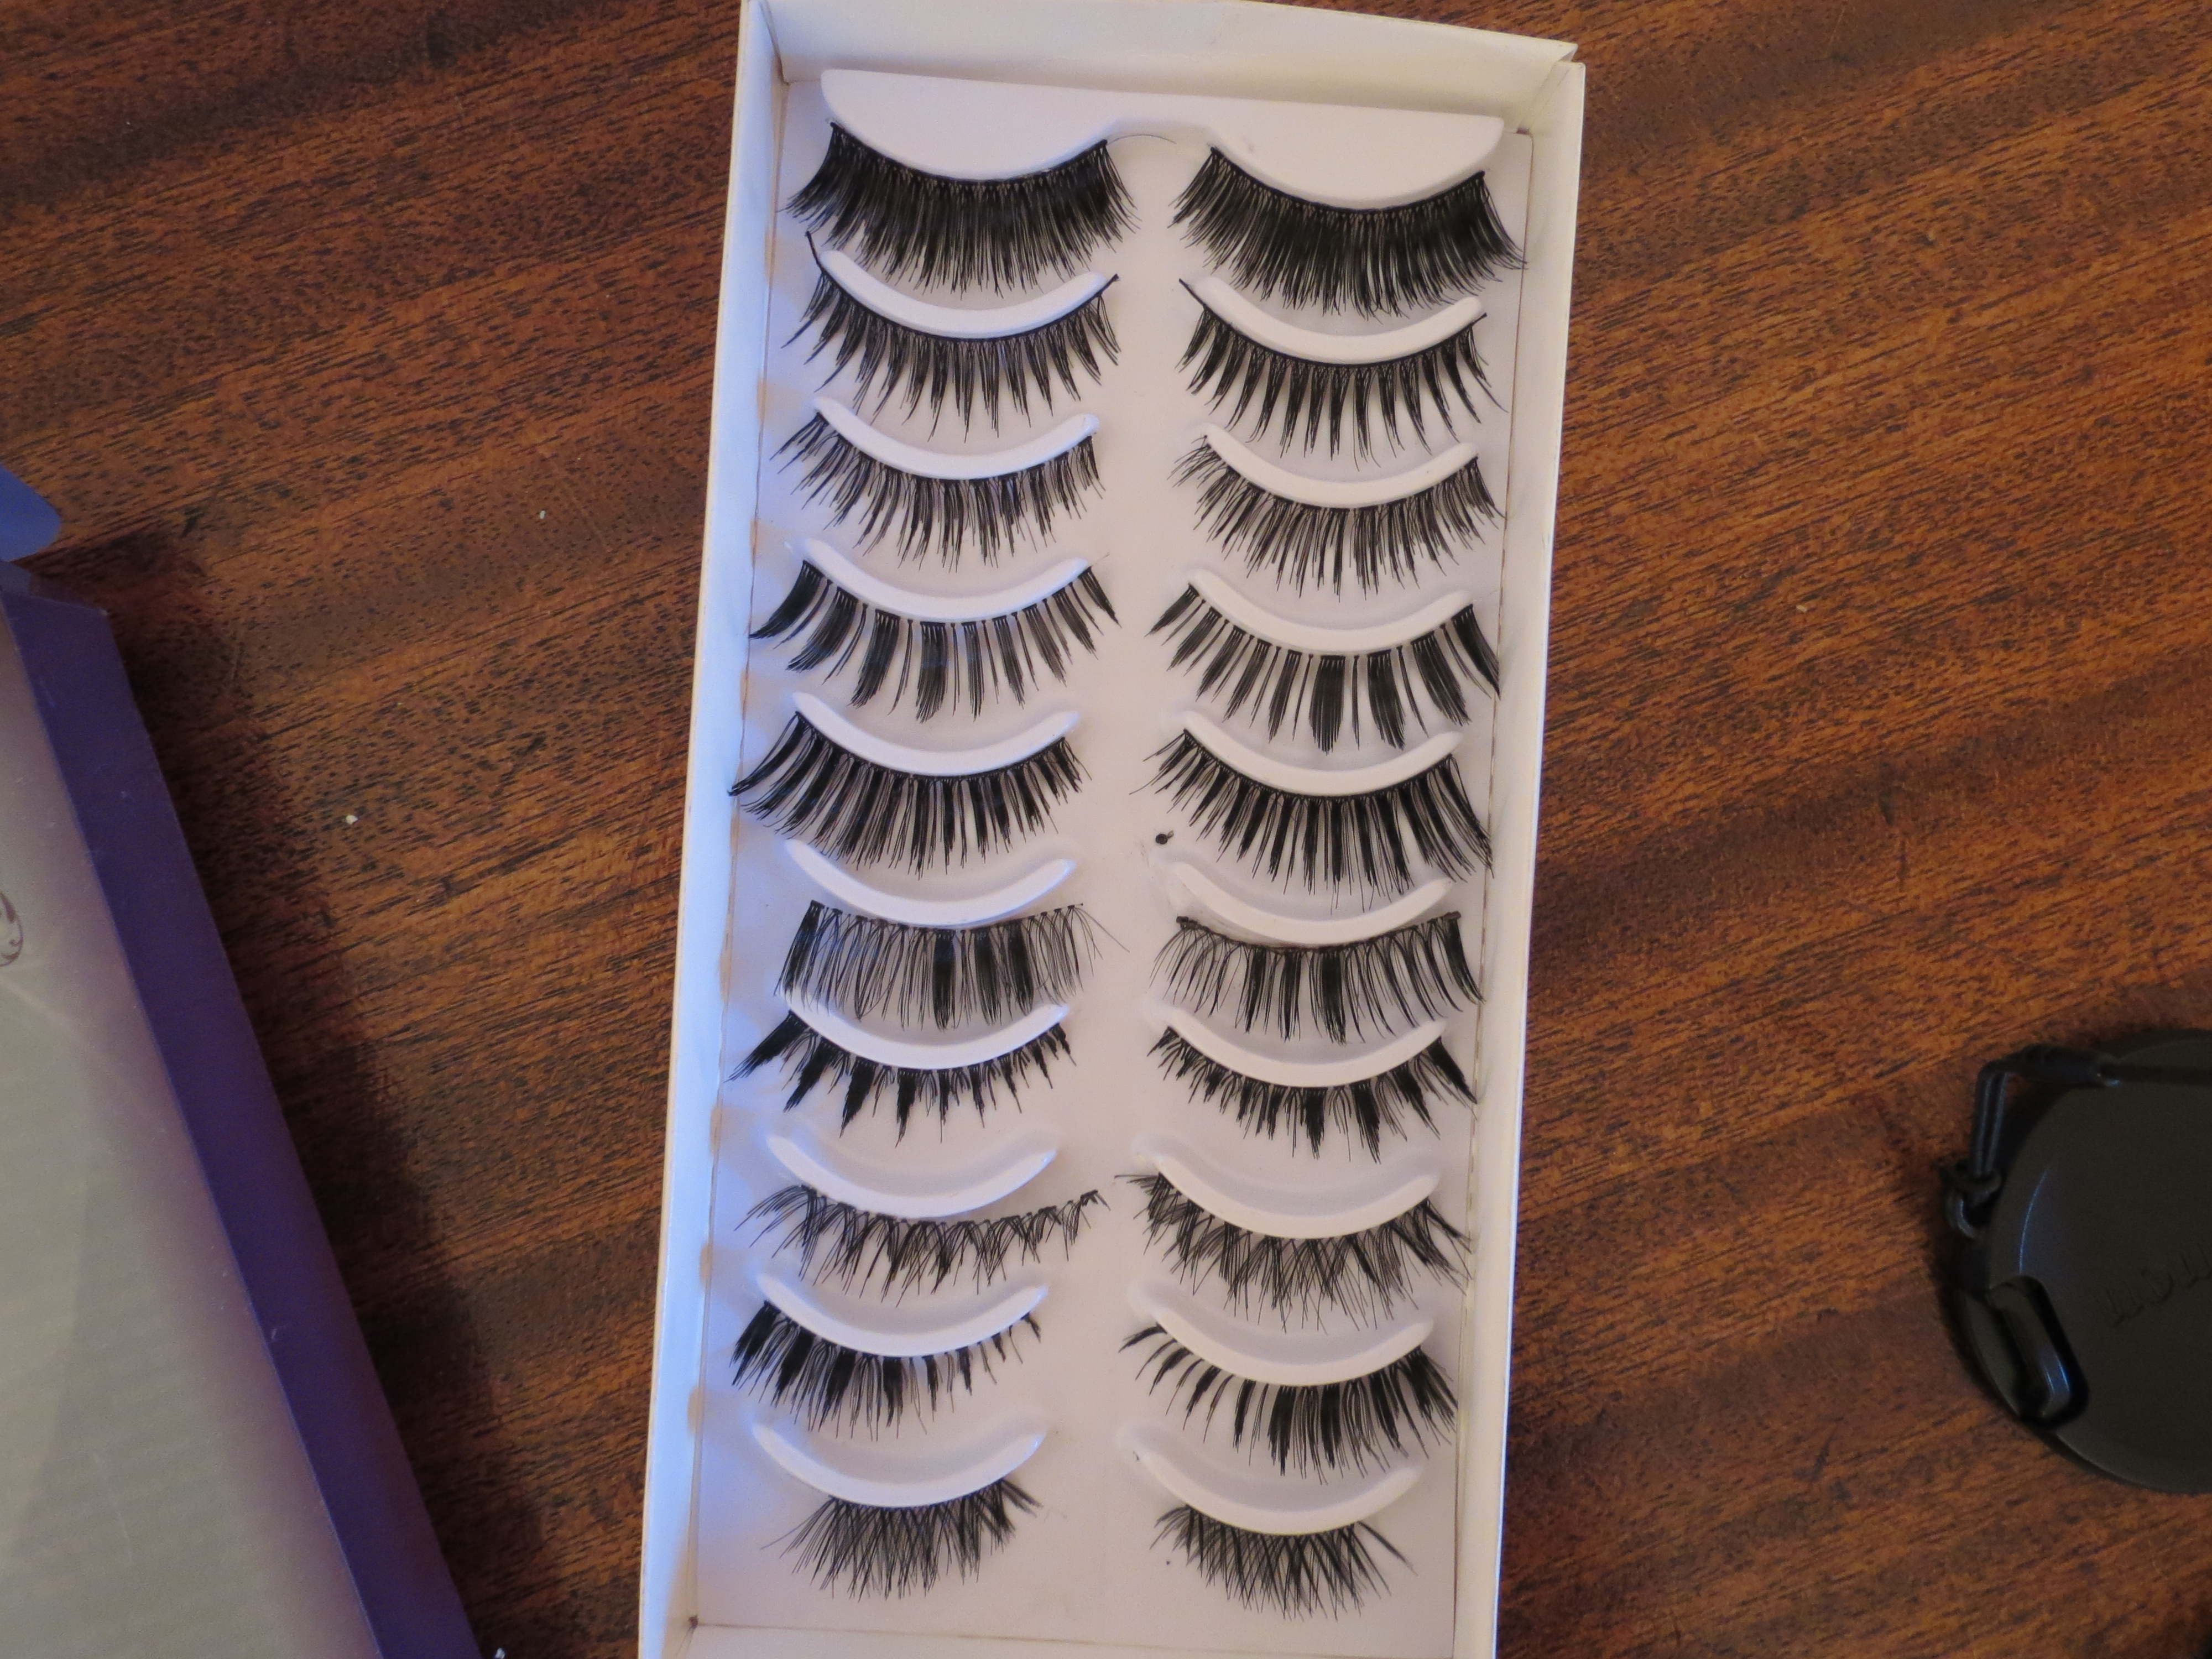
At first glance De Prettilicious Lashes reminded me of the bulk false lashes that come in packs of 10 on Ebay. I’ve tried those and found them to be extremely hard to work with and cheaply made. To my surprise, however, these turned out to be great. They are made of high quality synthetic hair, are handmade, and really natural looking. Even though these lashes are synthetic they look and feel like human hair lashes. I love the fact that they have very thin bands because it makes them reallly easy to apply and blend with your natural lashes. I also like how the pack of lashes comes with 10 different styles. Included are a good mix of dramatic, as well as more natural looking lashes.
The only downfall is that there are no printed style names on the package. To figure the names out you have to visit @deprettilicious on Instagram. Having printed names would be convenient so people could tell others what style they’re wearing.
De Prettilicious Lashes come in a pack of 10 and retail for around $13 on Amazon.com. In my opinion, that price is a steal since each pair equates to about $1.30 each and basic good quality lashes go for around $4 to $6. The direct link to purchase them is http://www.amazon.com/gp/product/B00J1MYWES.
I’m constantly getting questions about how I keep my hair healthy and split end-free. I visit the hair dresser maybe three times a year and each time I go they compliment me and tell me it’s in great condition. The best advice I can give is to wash your hair as infrequently as possible because stripping your hair of natural oils is the last thing you want to do. Your hair depends on these oils to keep it from becoming dry and damaged. Also, avoid using heat on your hair. If you must use a blow-dryer, straightener, etc. definitely use a heat protectant. Another important tip is to never brush your hair when it’s wet! Your hair is extremely fragile when it’s wet and more prone to breakage so let your hair dry or wait until it’s almost dry to brush/comb it. I comb through my almost dry hair with a wide-tooth comb rather than brushing it straight out of the shower.
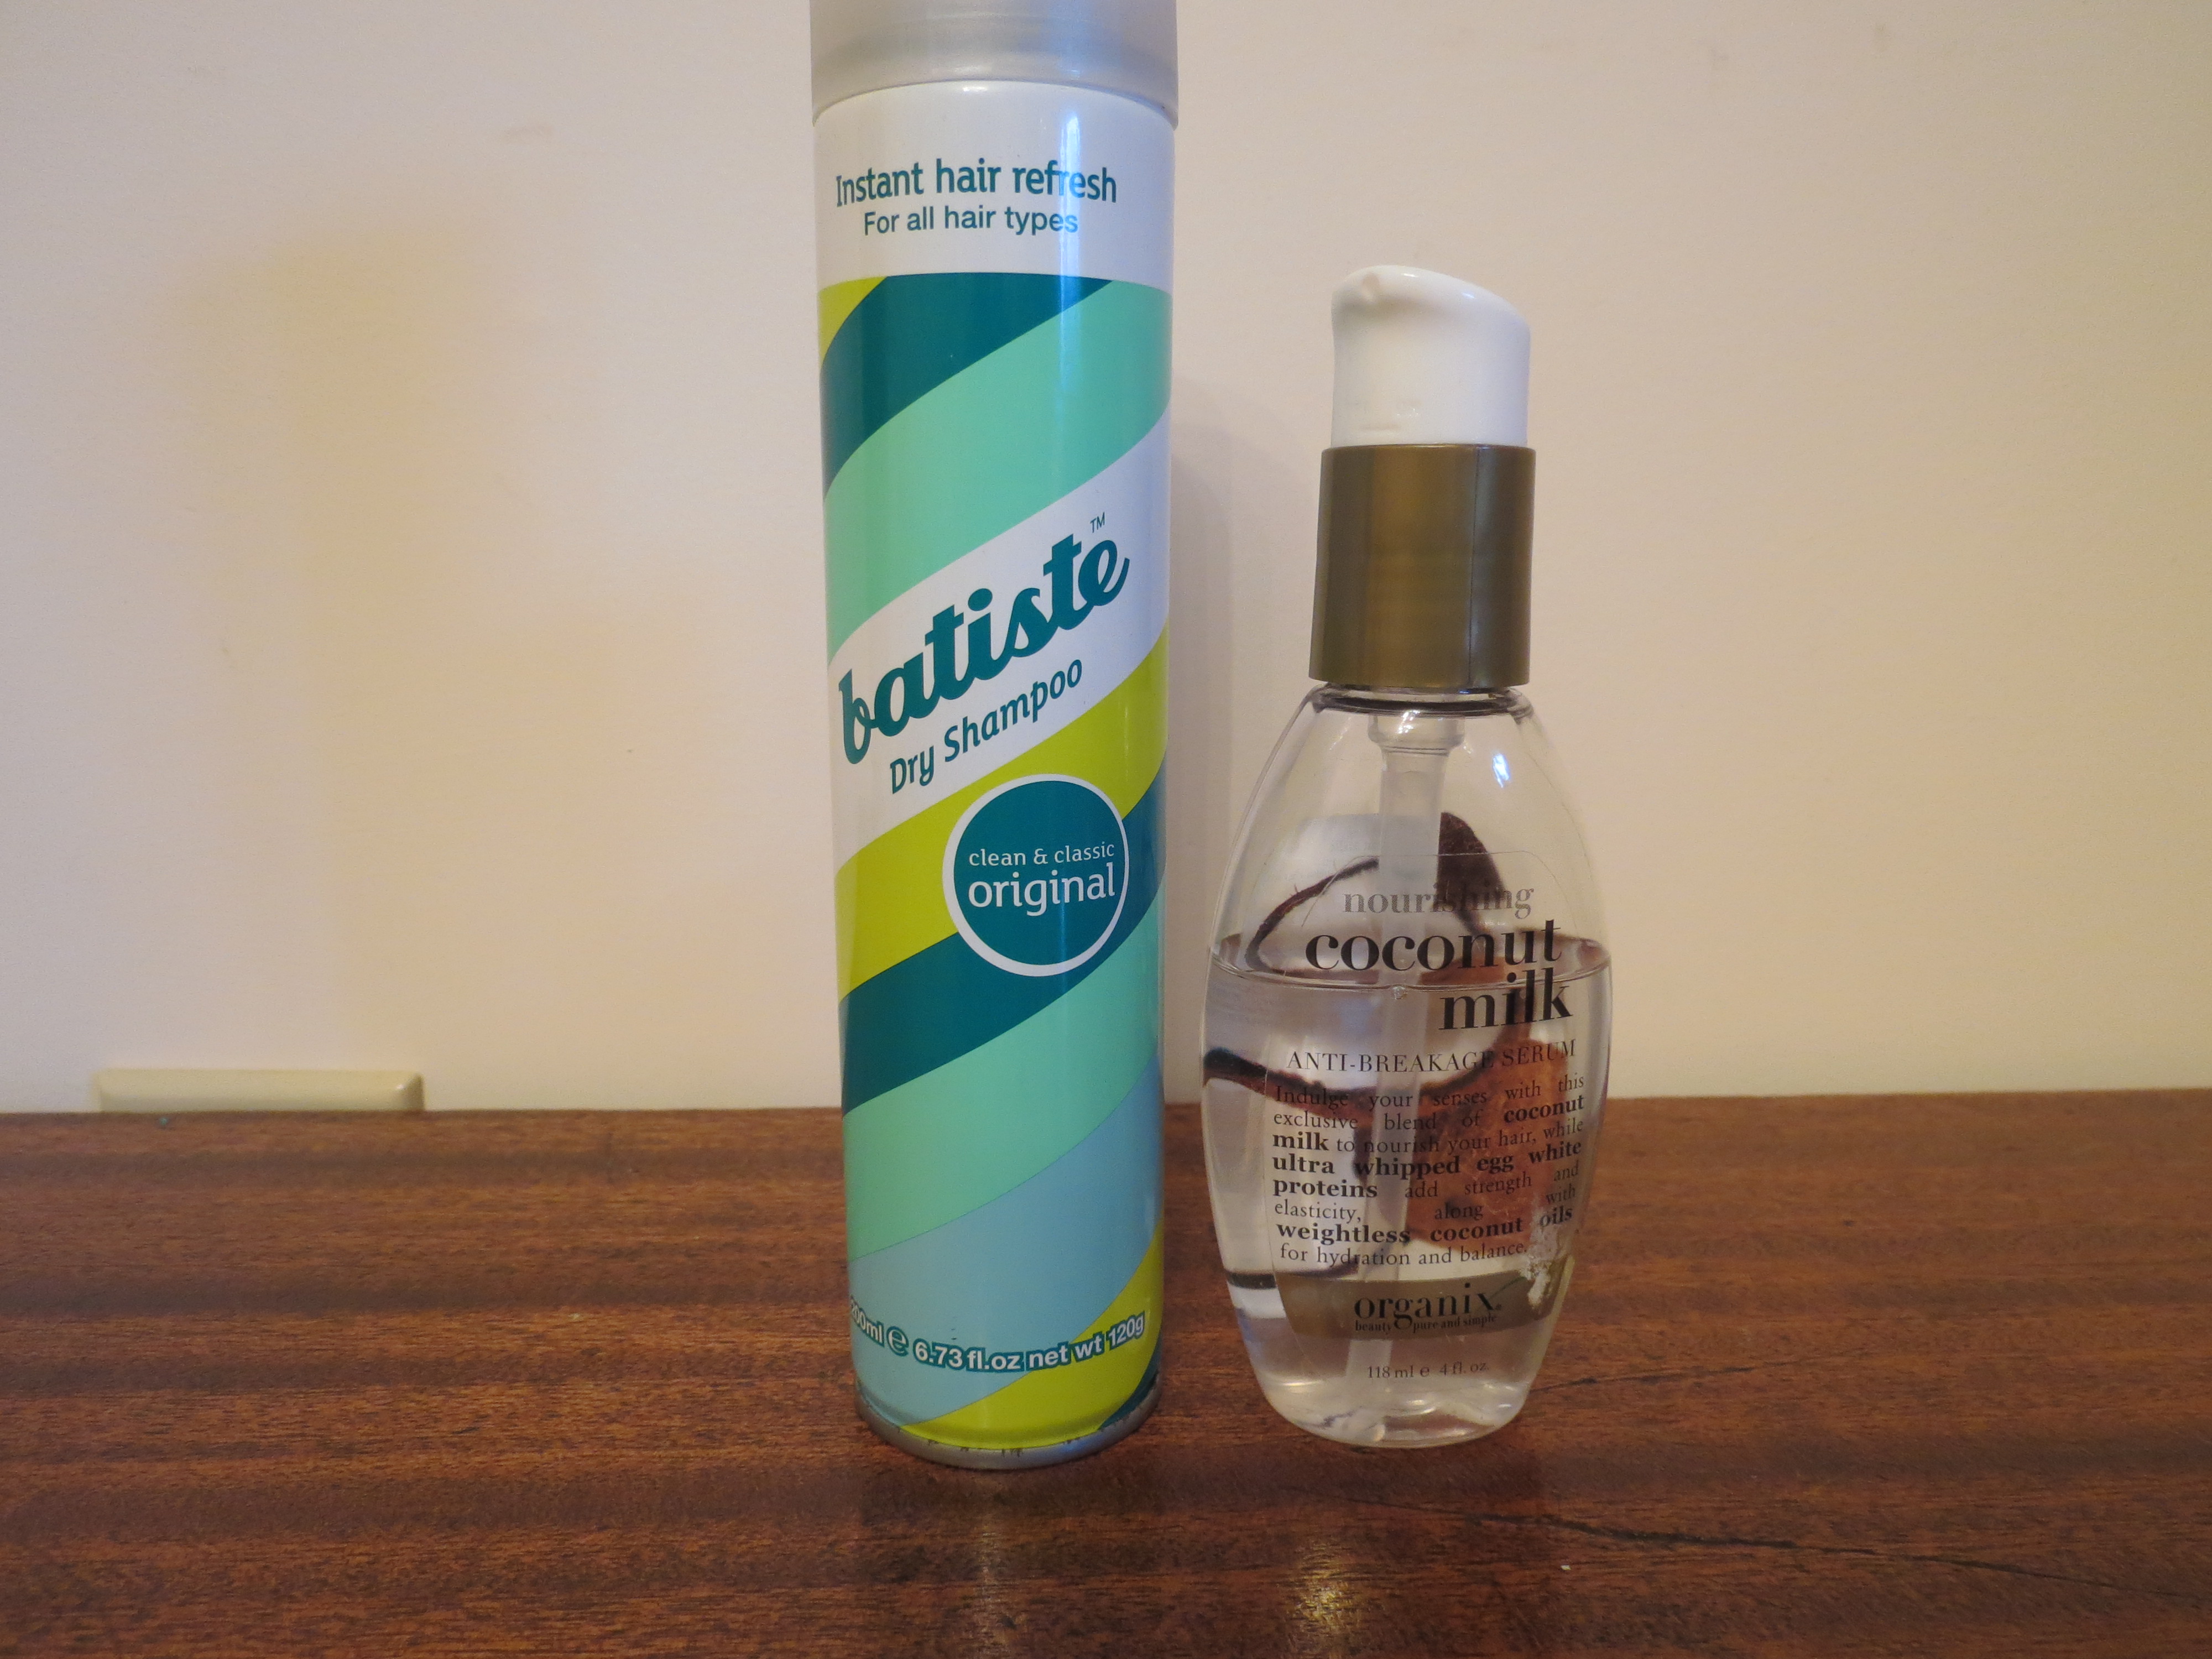
Two products that I depend on are Batiste Dry Shampoo and Organix Nourishing Coconut Milk Anti-Breakage Serum.
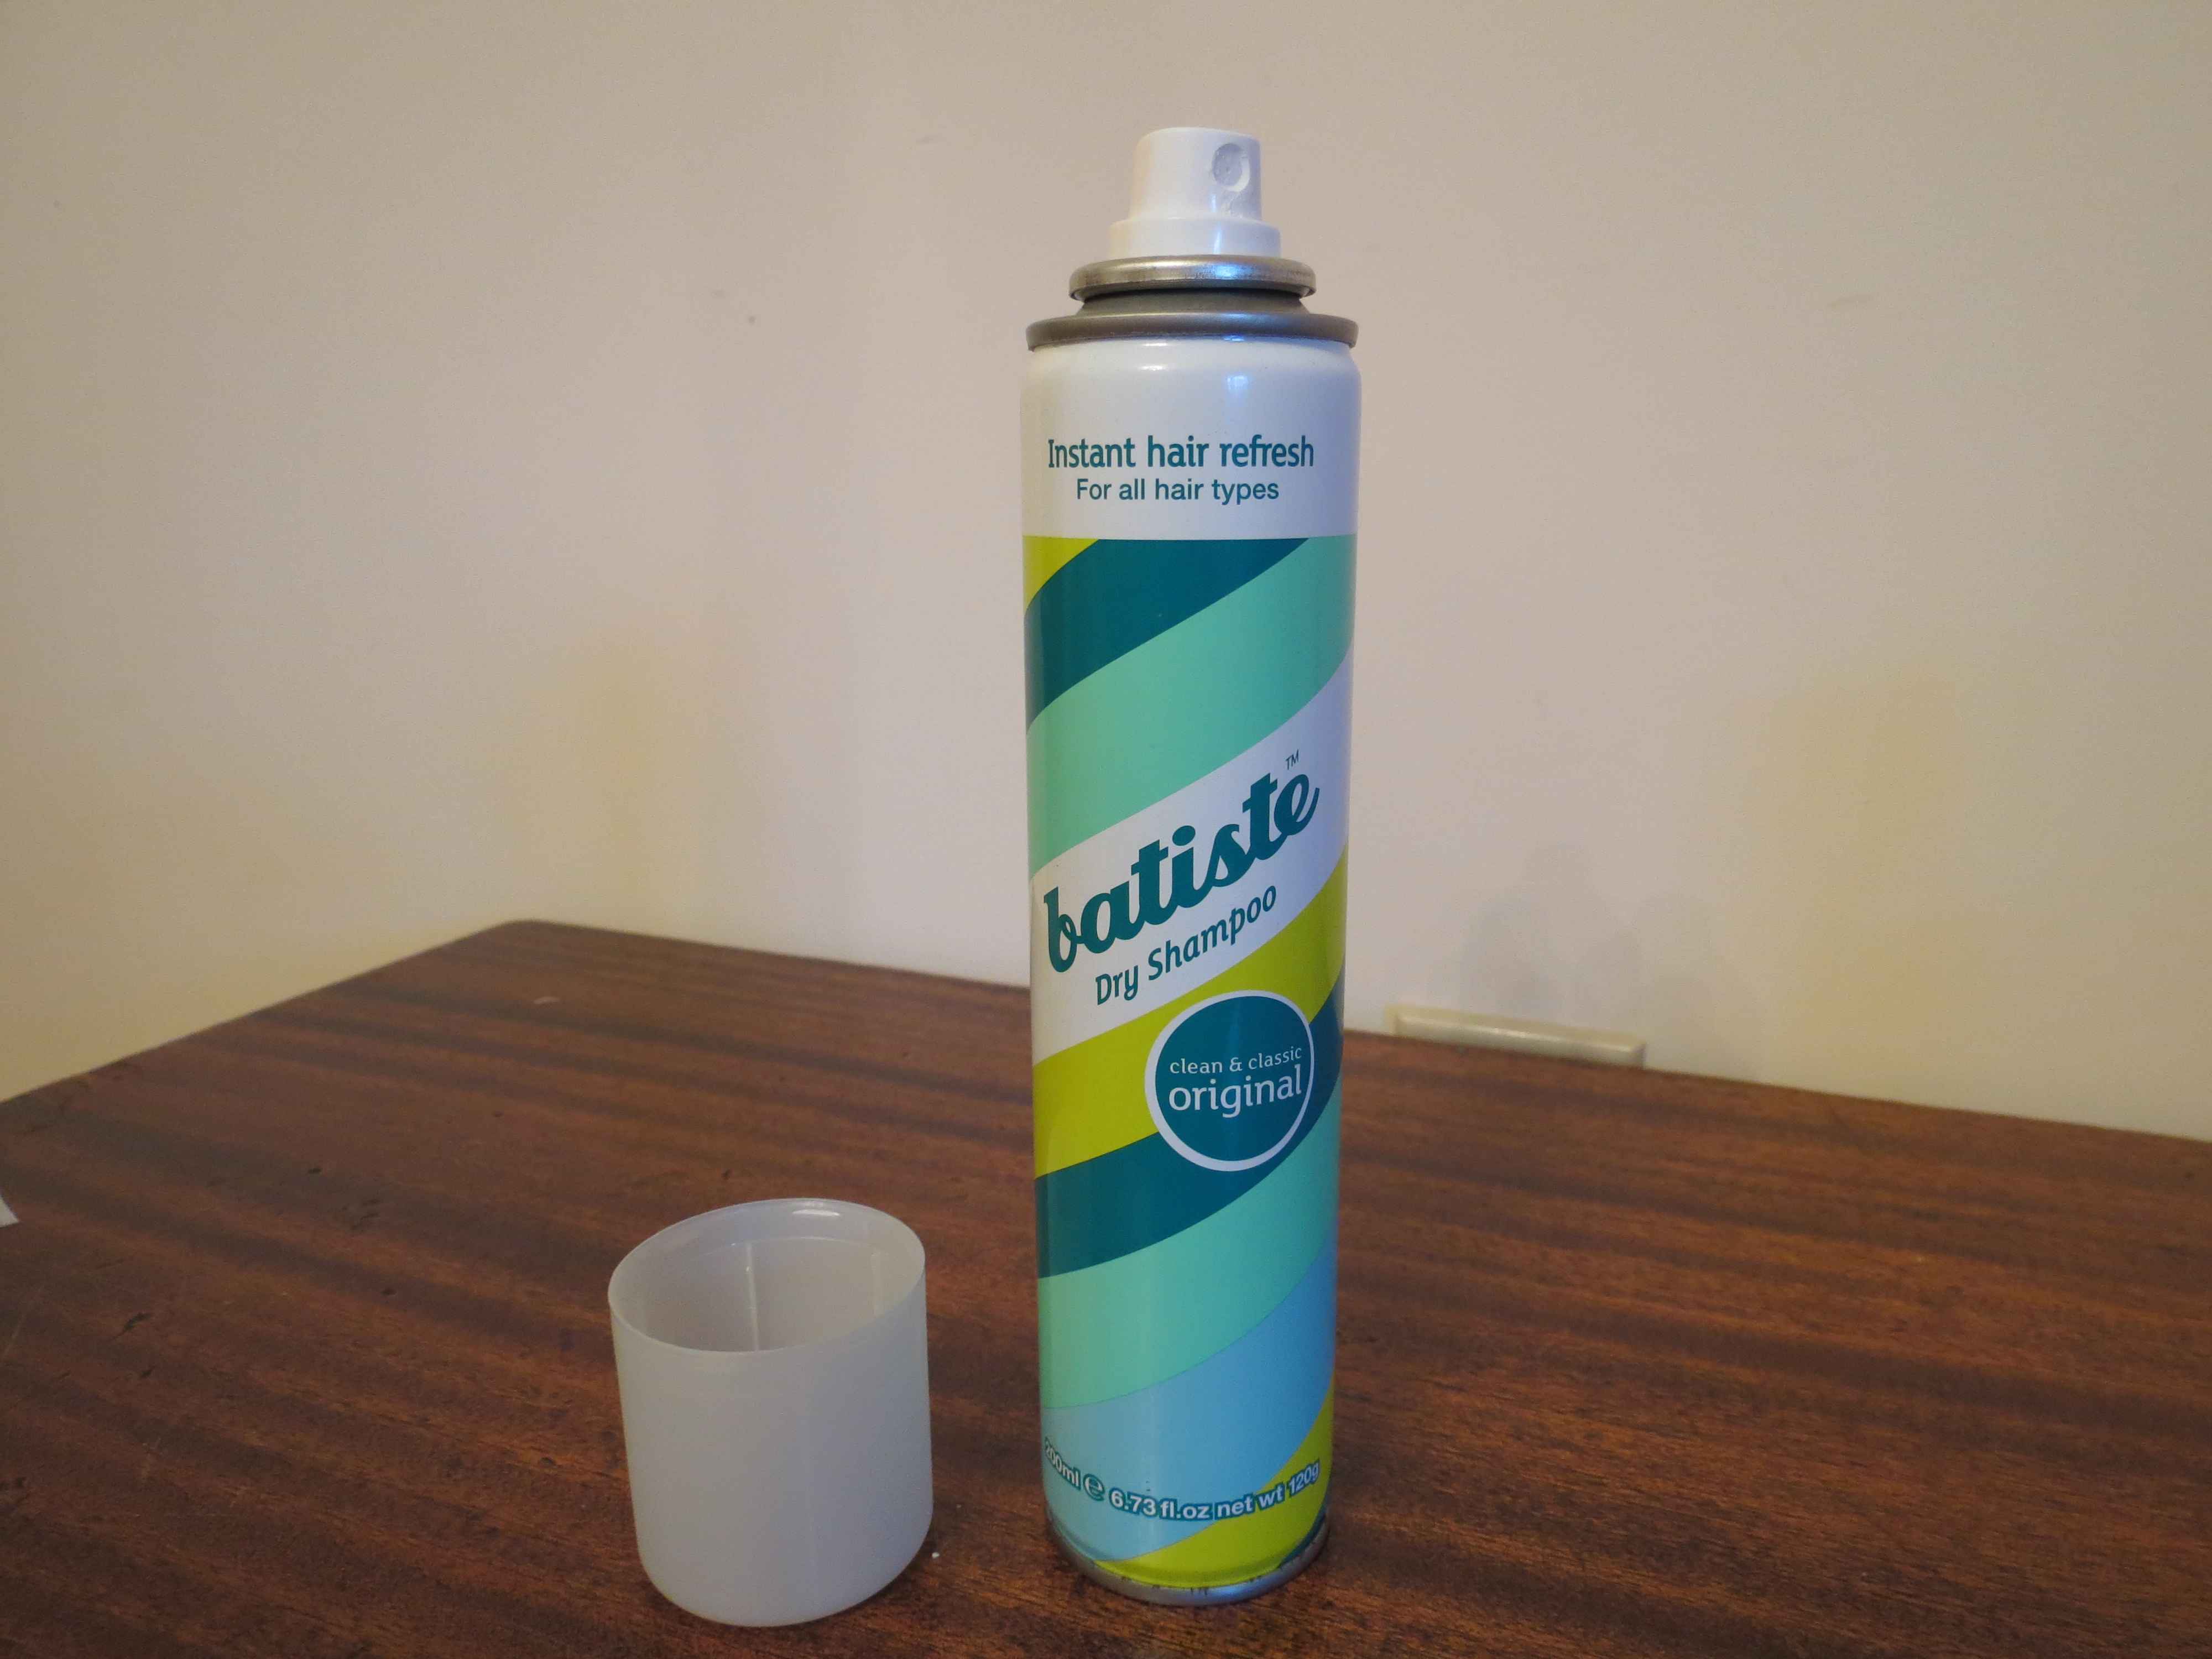
Dry shampoos are great because they absorb excess oil in your hair and enable you to skip a couple of days of washing. Batiste is my favorite dry shampoo because it actually works and allows me to go two or three days without washing my hair. I’ve tried many other products that claim to absorb oil but just end up making my hair oilier. Batiste also adds volume and texture to hair, which is always a plus. I use just a few sprays then brush it out with either my fingers or a comb because the product can leave darker hair looking a little white/gray.
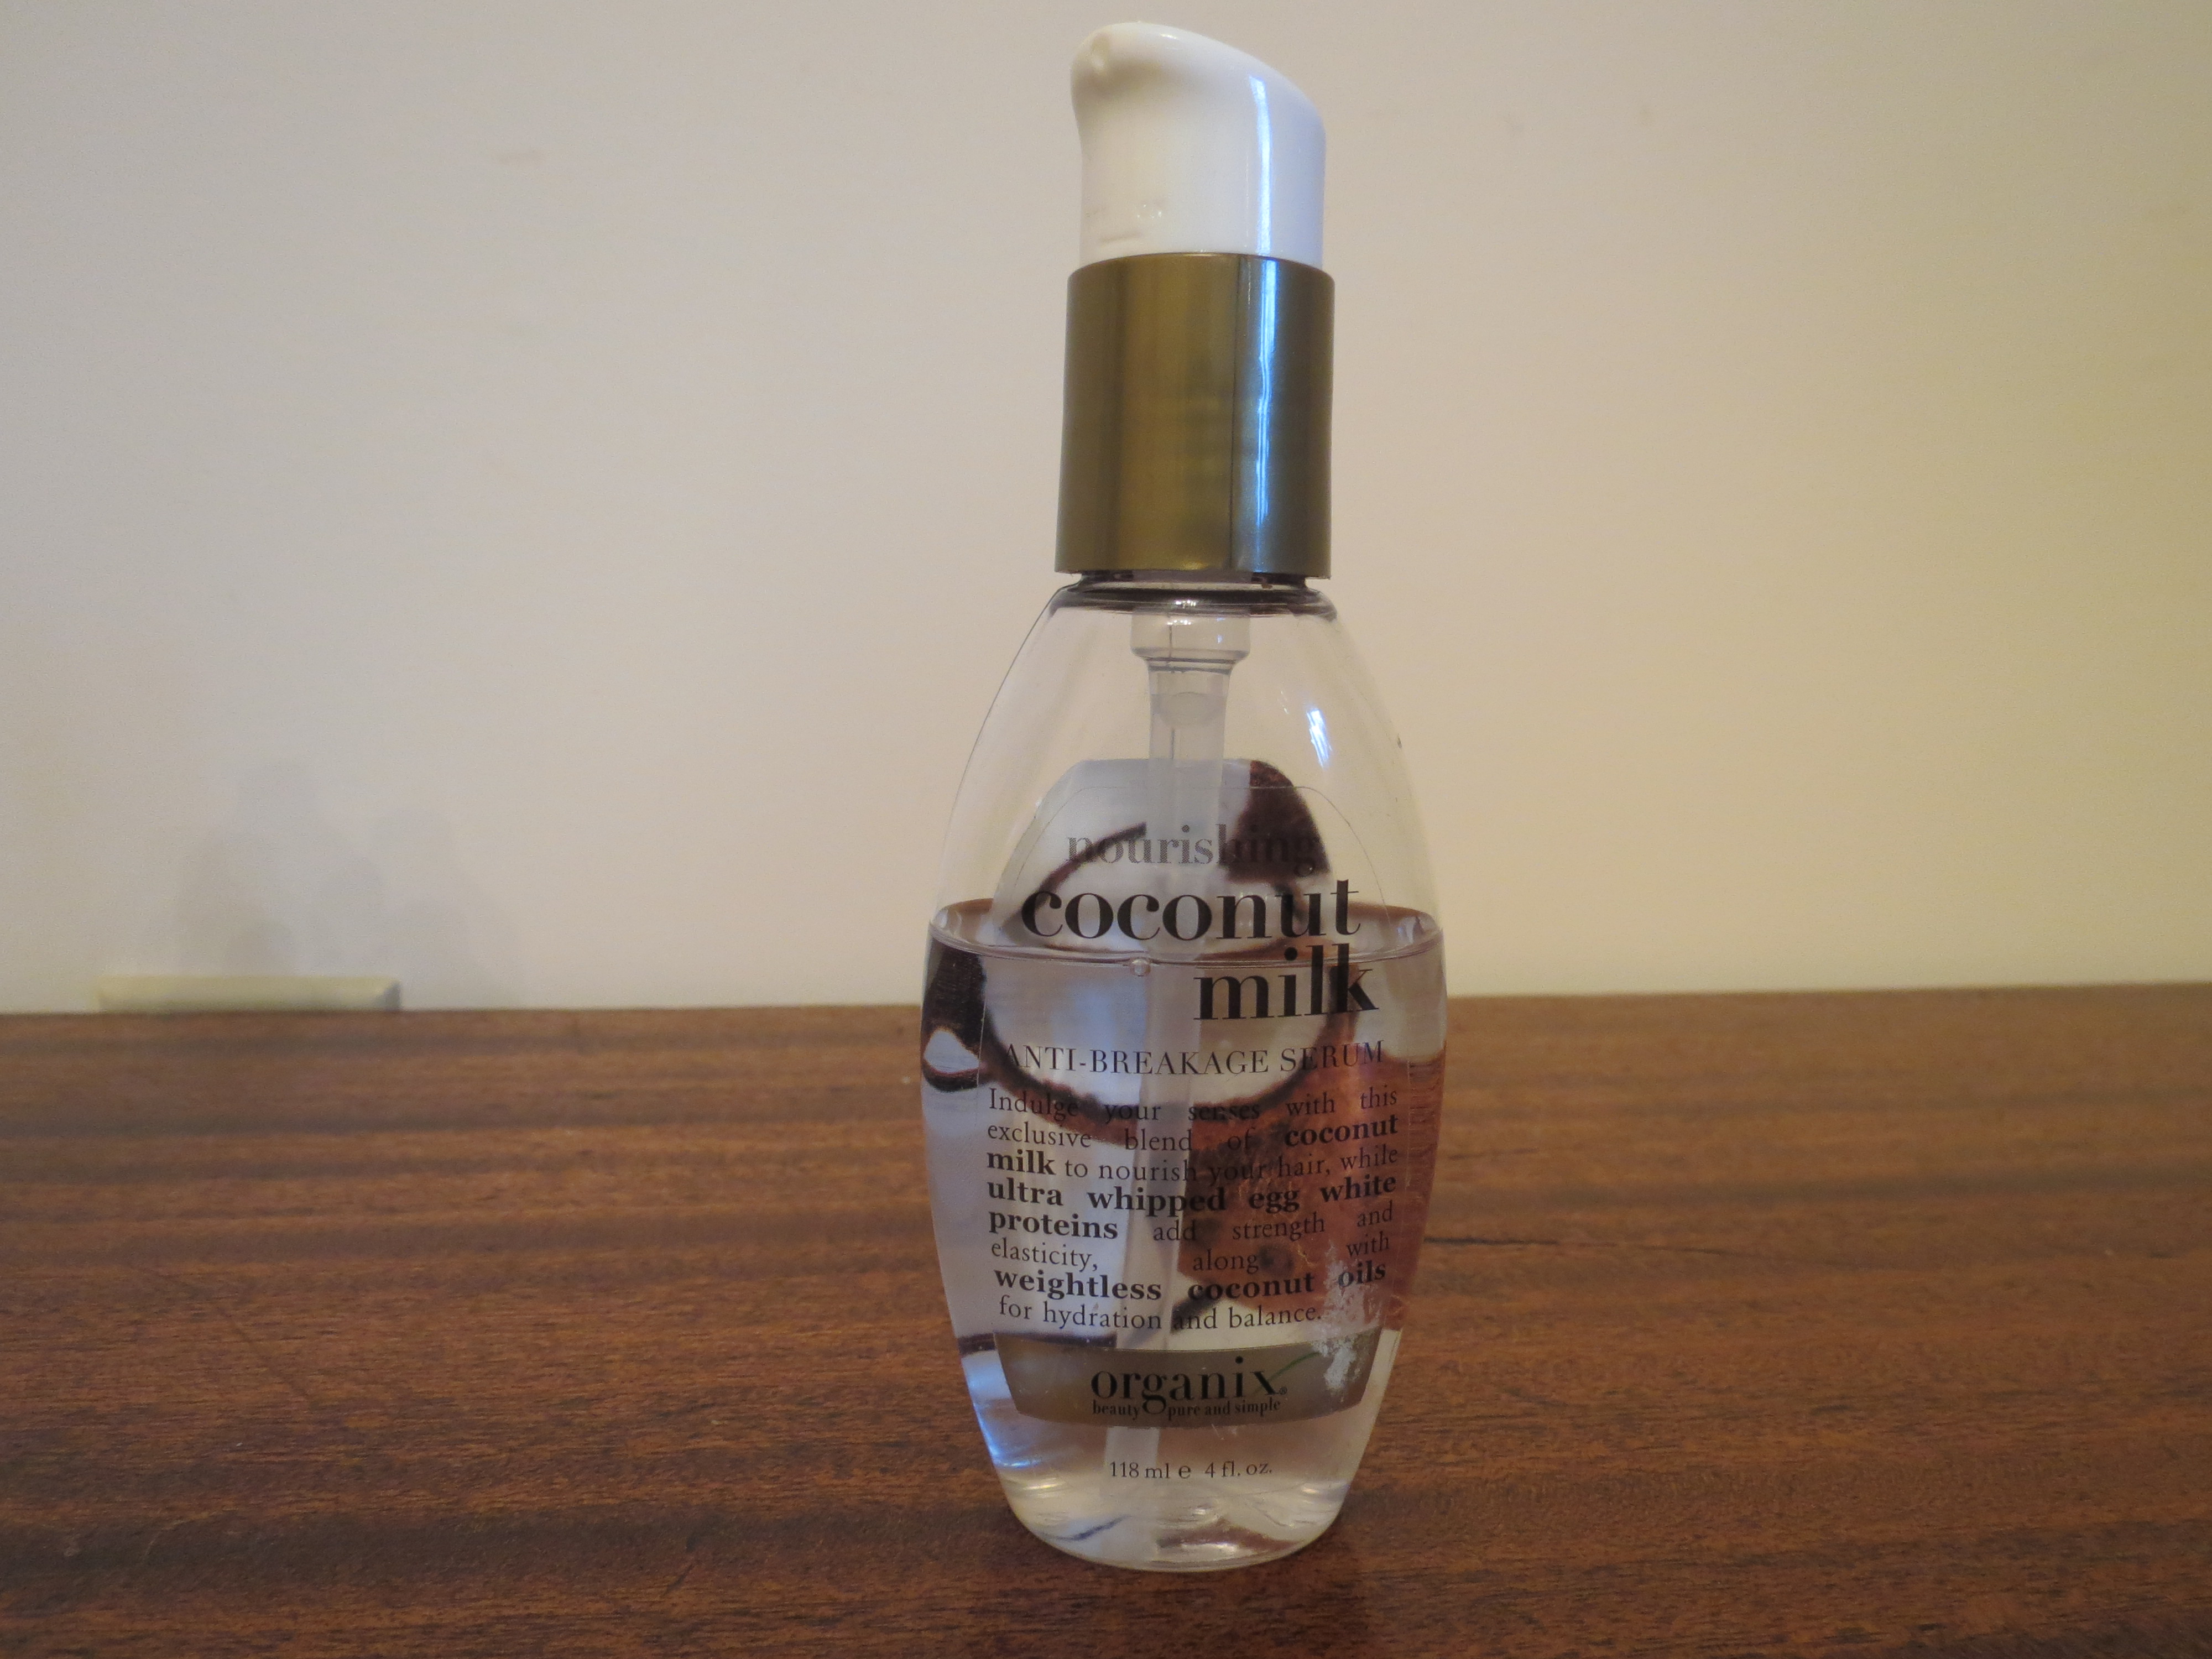
The next hair product I swear by is Organix Nourishing Coconut Milk Anti-Breakage Serum. I use a pump and half of this stuff on the ends of my damp hair and it seriously works miracles. It’s important to keep your ends conditioned and this product does just that. It helps prevent breakage and split ends without making my hair greasy. I wouldn’t recommend using this anywhere near your roots though, it’ll make your hair greasier faster and you’ll need to wash it sooner.
Tutorial: How to create a metallic light blue smokey eye using @colourpopcosmetics eyeshadow in Sugar, @eyekandycosmetics glitter in Chocolate Chip, the @urbandecaycosmetics Naked Palette, # 047 lashes by @elegantlashes, and @hairandmakeupaddiction brushes.
Product info:
1)Apply Maybelline Color Tattoo in Test My Teal to lid(I already primed my eye with Urban Decay Anti-Aging Primer Potion).
2)Apply Buck to your crease.
3)Apply Sugar to your lid.
4)Blend a darker matte brown into your crease.
4)Line your upper lash line with Creep.
6)Blend Hustle into your crease.
7)Line your lower lash line with a dark matte brown and Buck.
8)Apply Chocolate Chip glitter to your lower lash line.
9)Apply Givenchy Phenomen’Eyes mascara to lower lashes, # 047 Black @elegantlashes, line your waterline with a black pencil, and highlight your inner corner with a shimmery champagne shadow.
Brows are @anastasiabevelyhills Brow Powder Duo in Medium Brown.
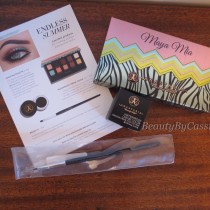
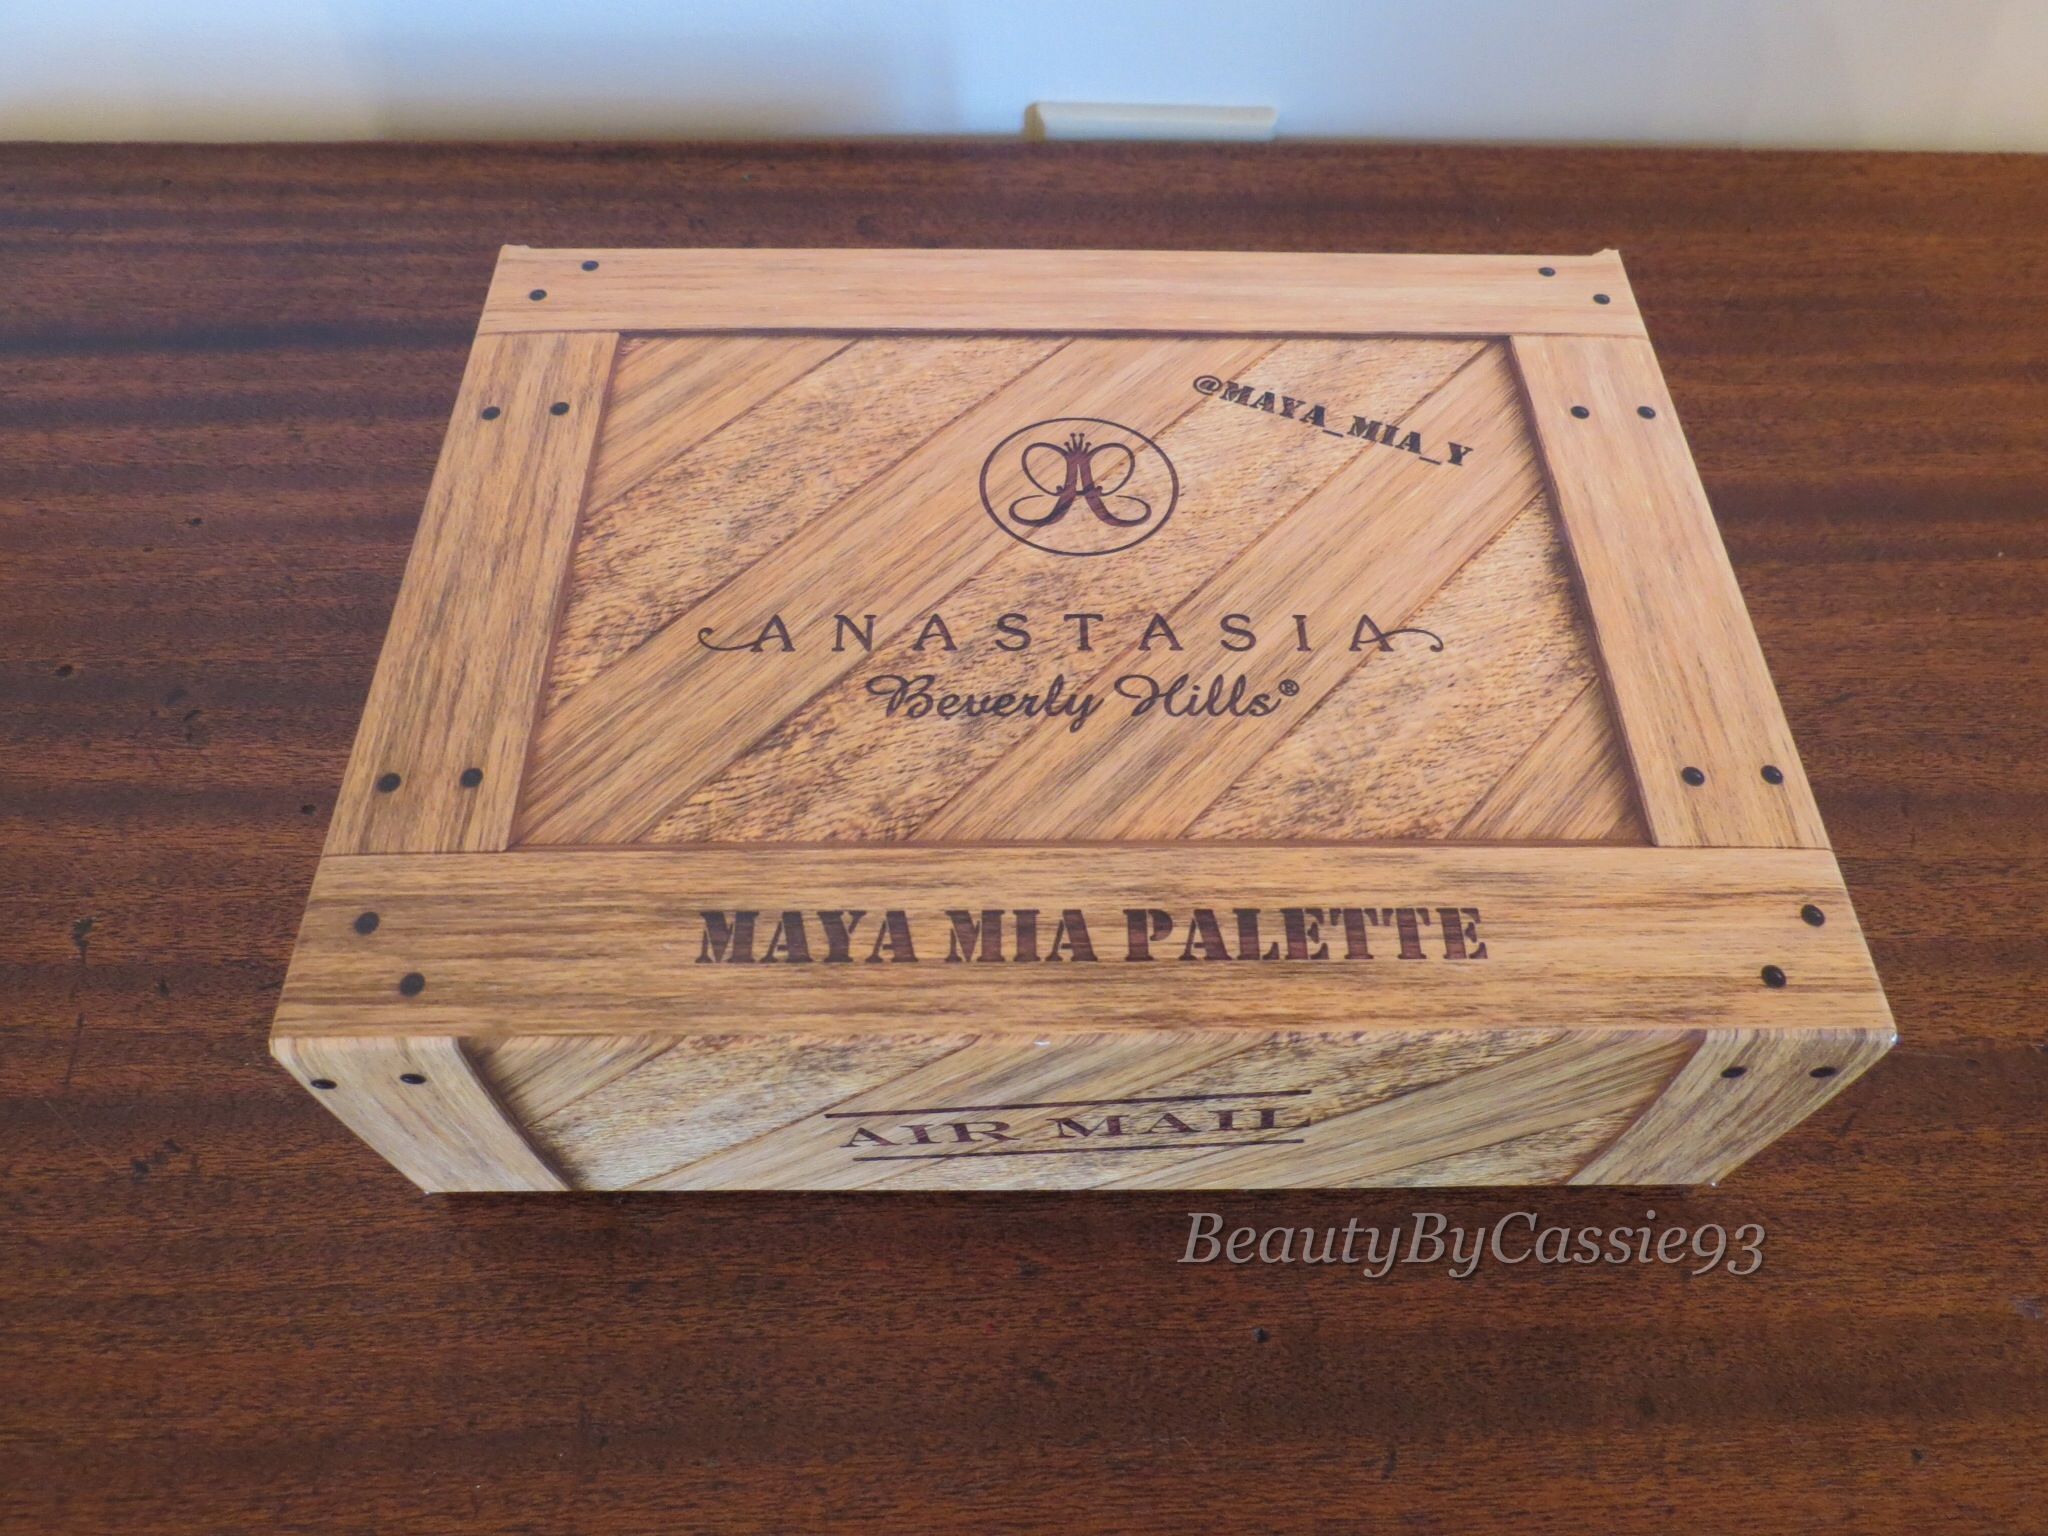
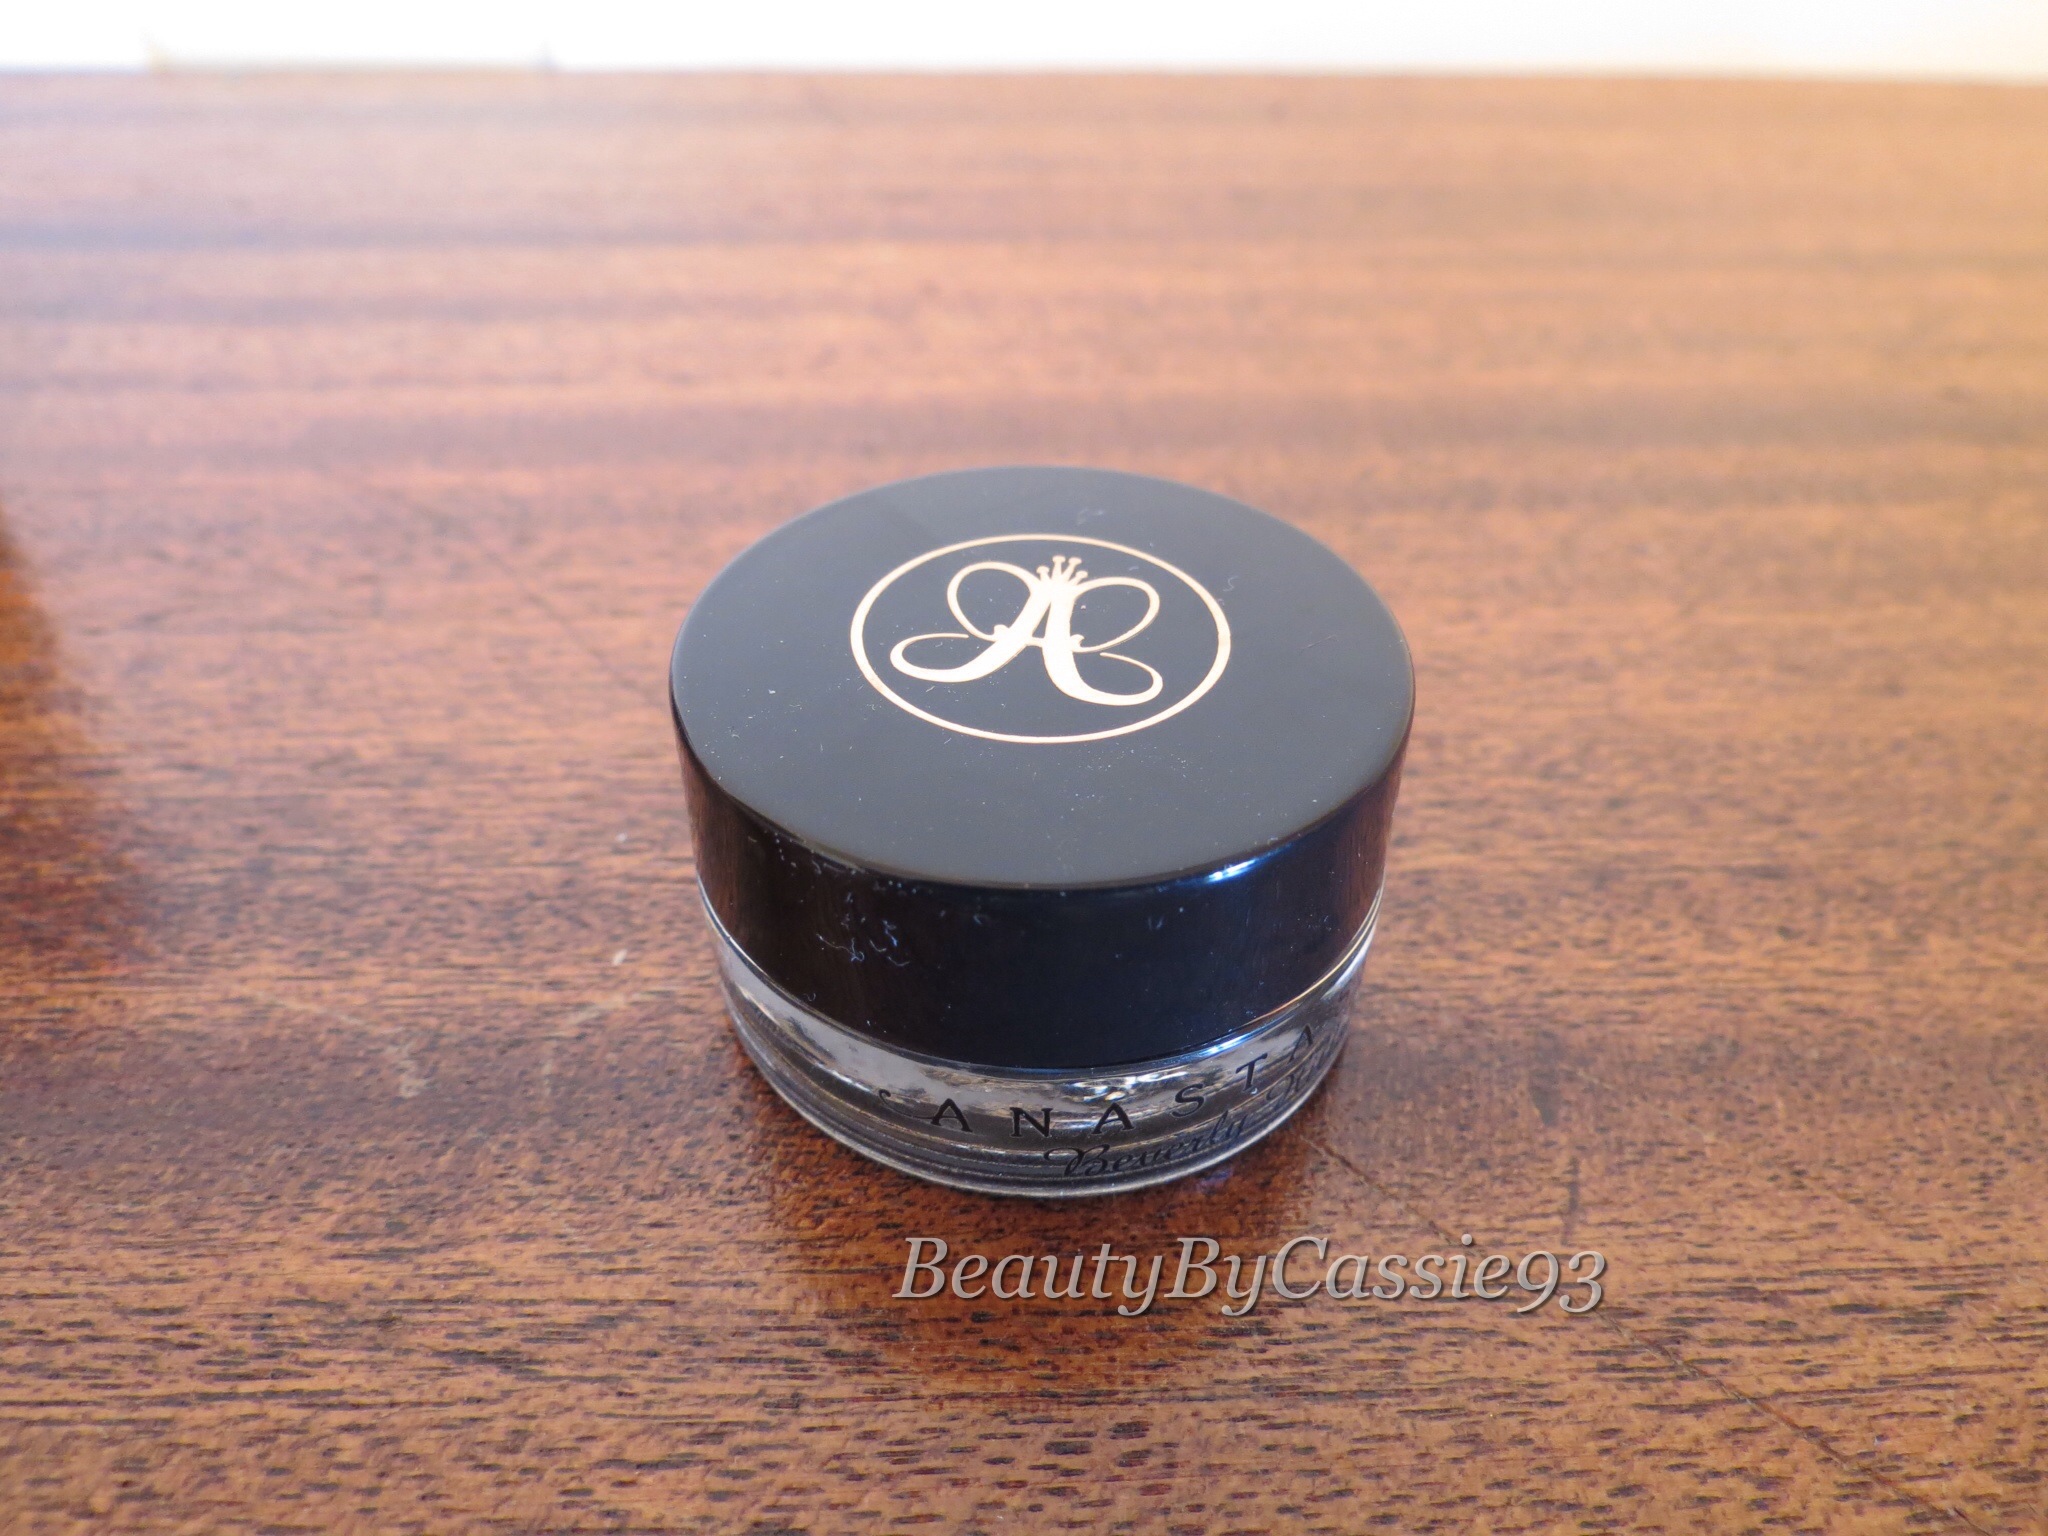
Anastasia Beverly Hills has recently launched three new products. These include the Maya Mia Palette, Waterproof Crème Color in Jet, and #3 Brush which can all be purchased on www.anastasiabeverlyhills.com.
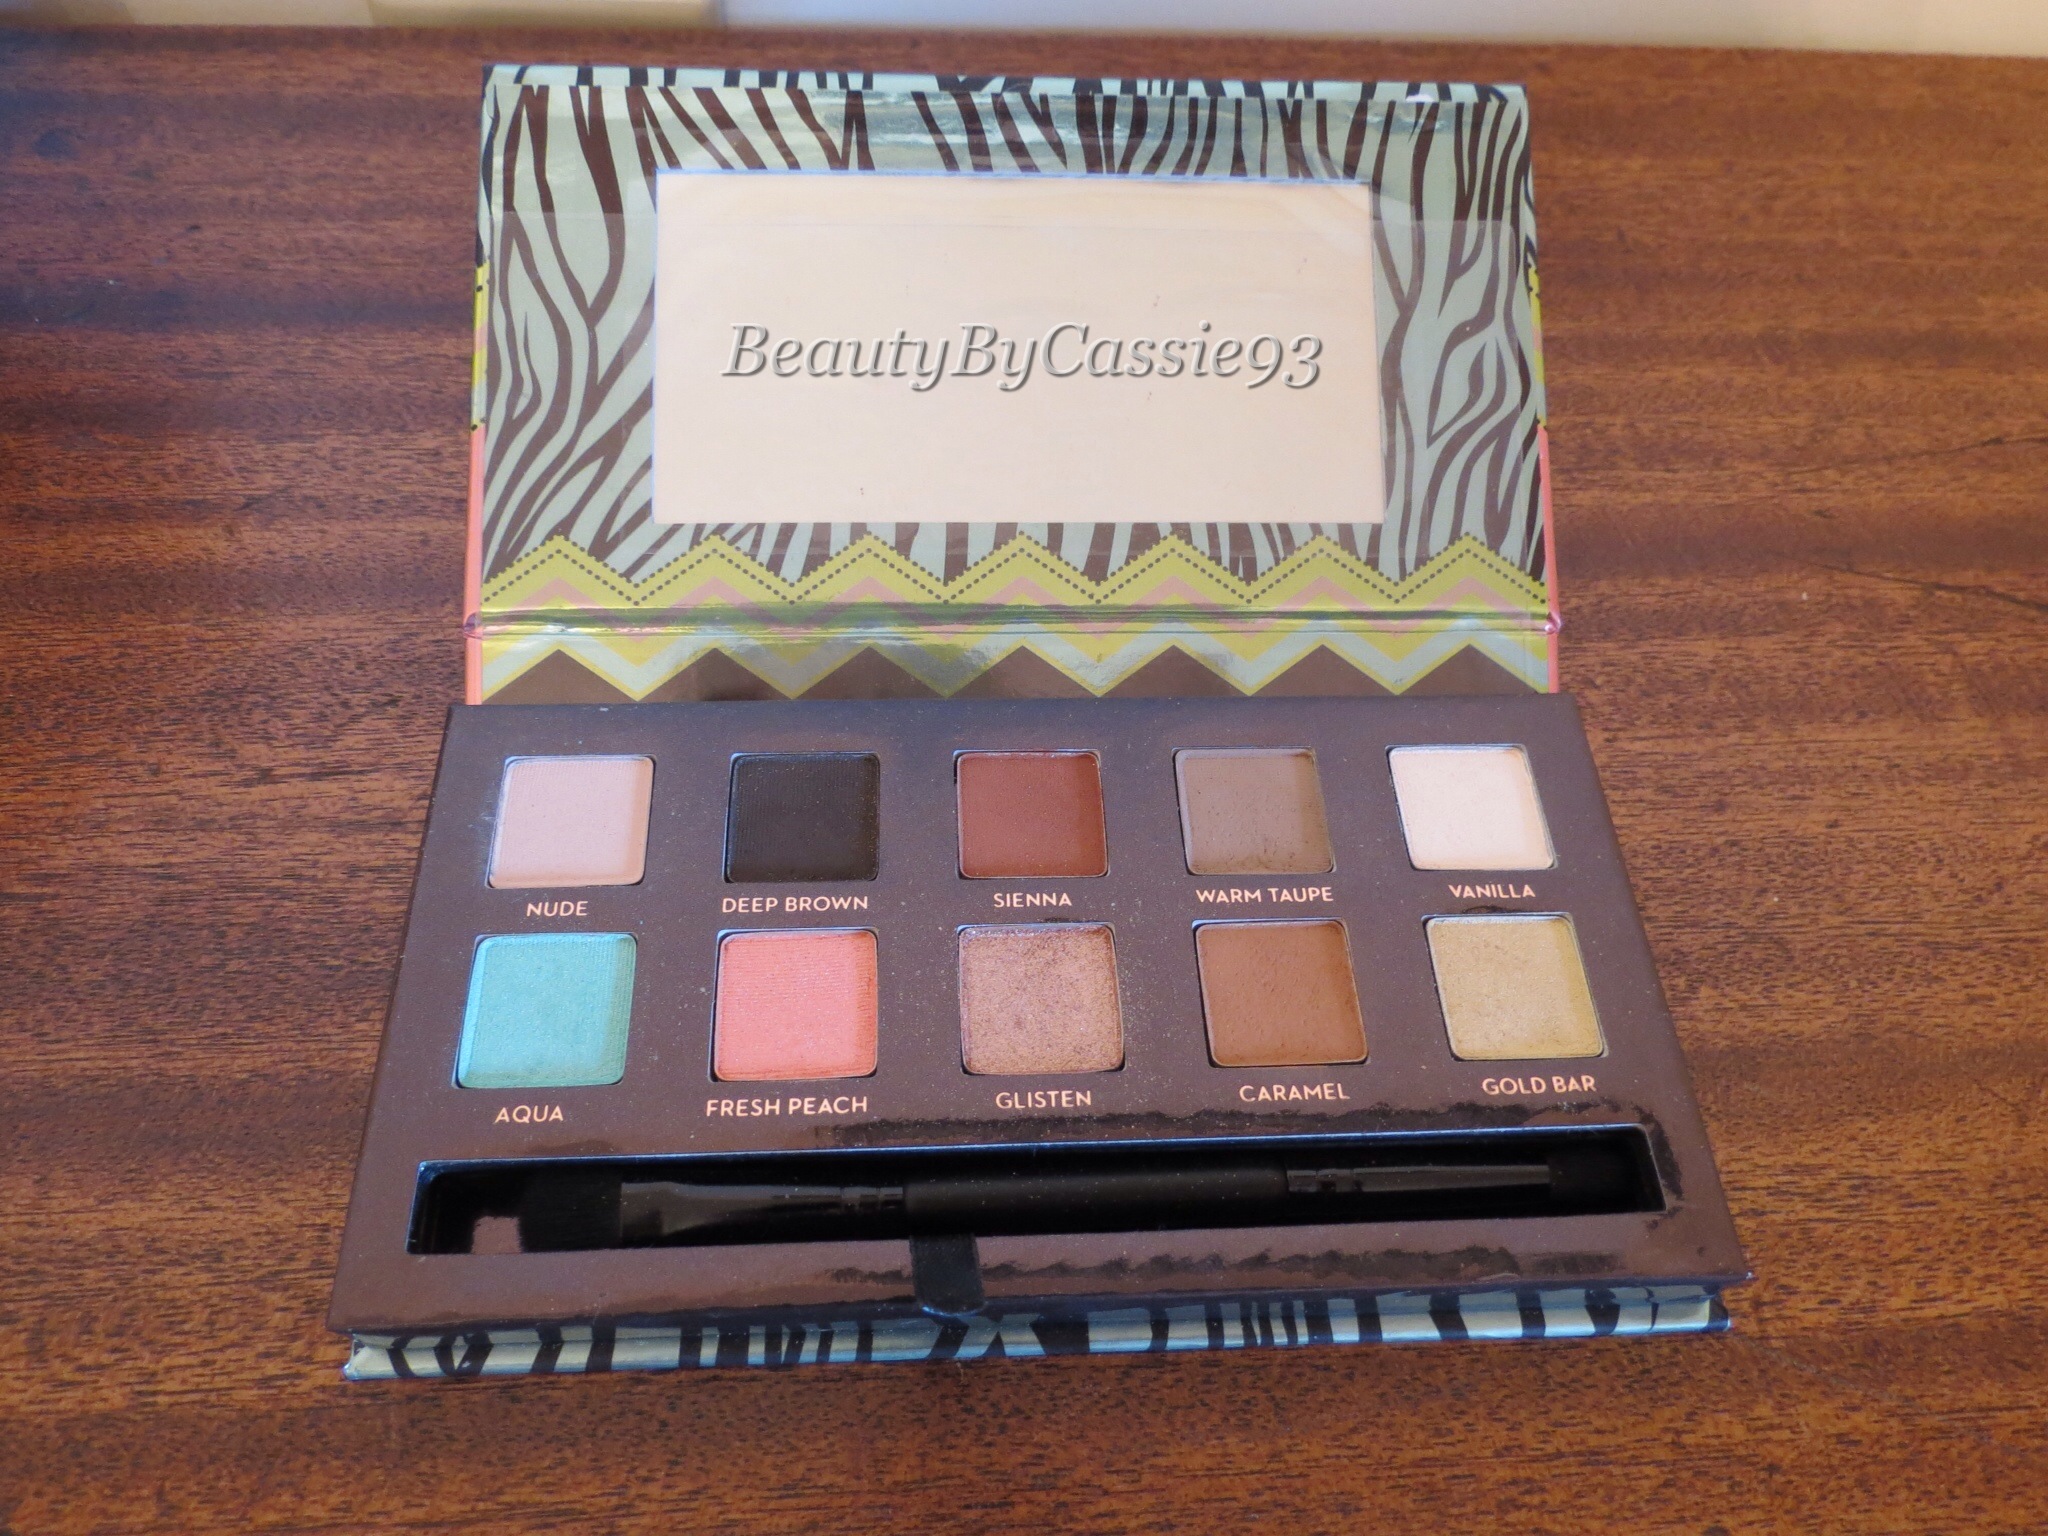
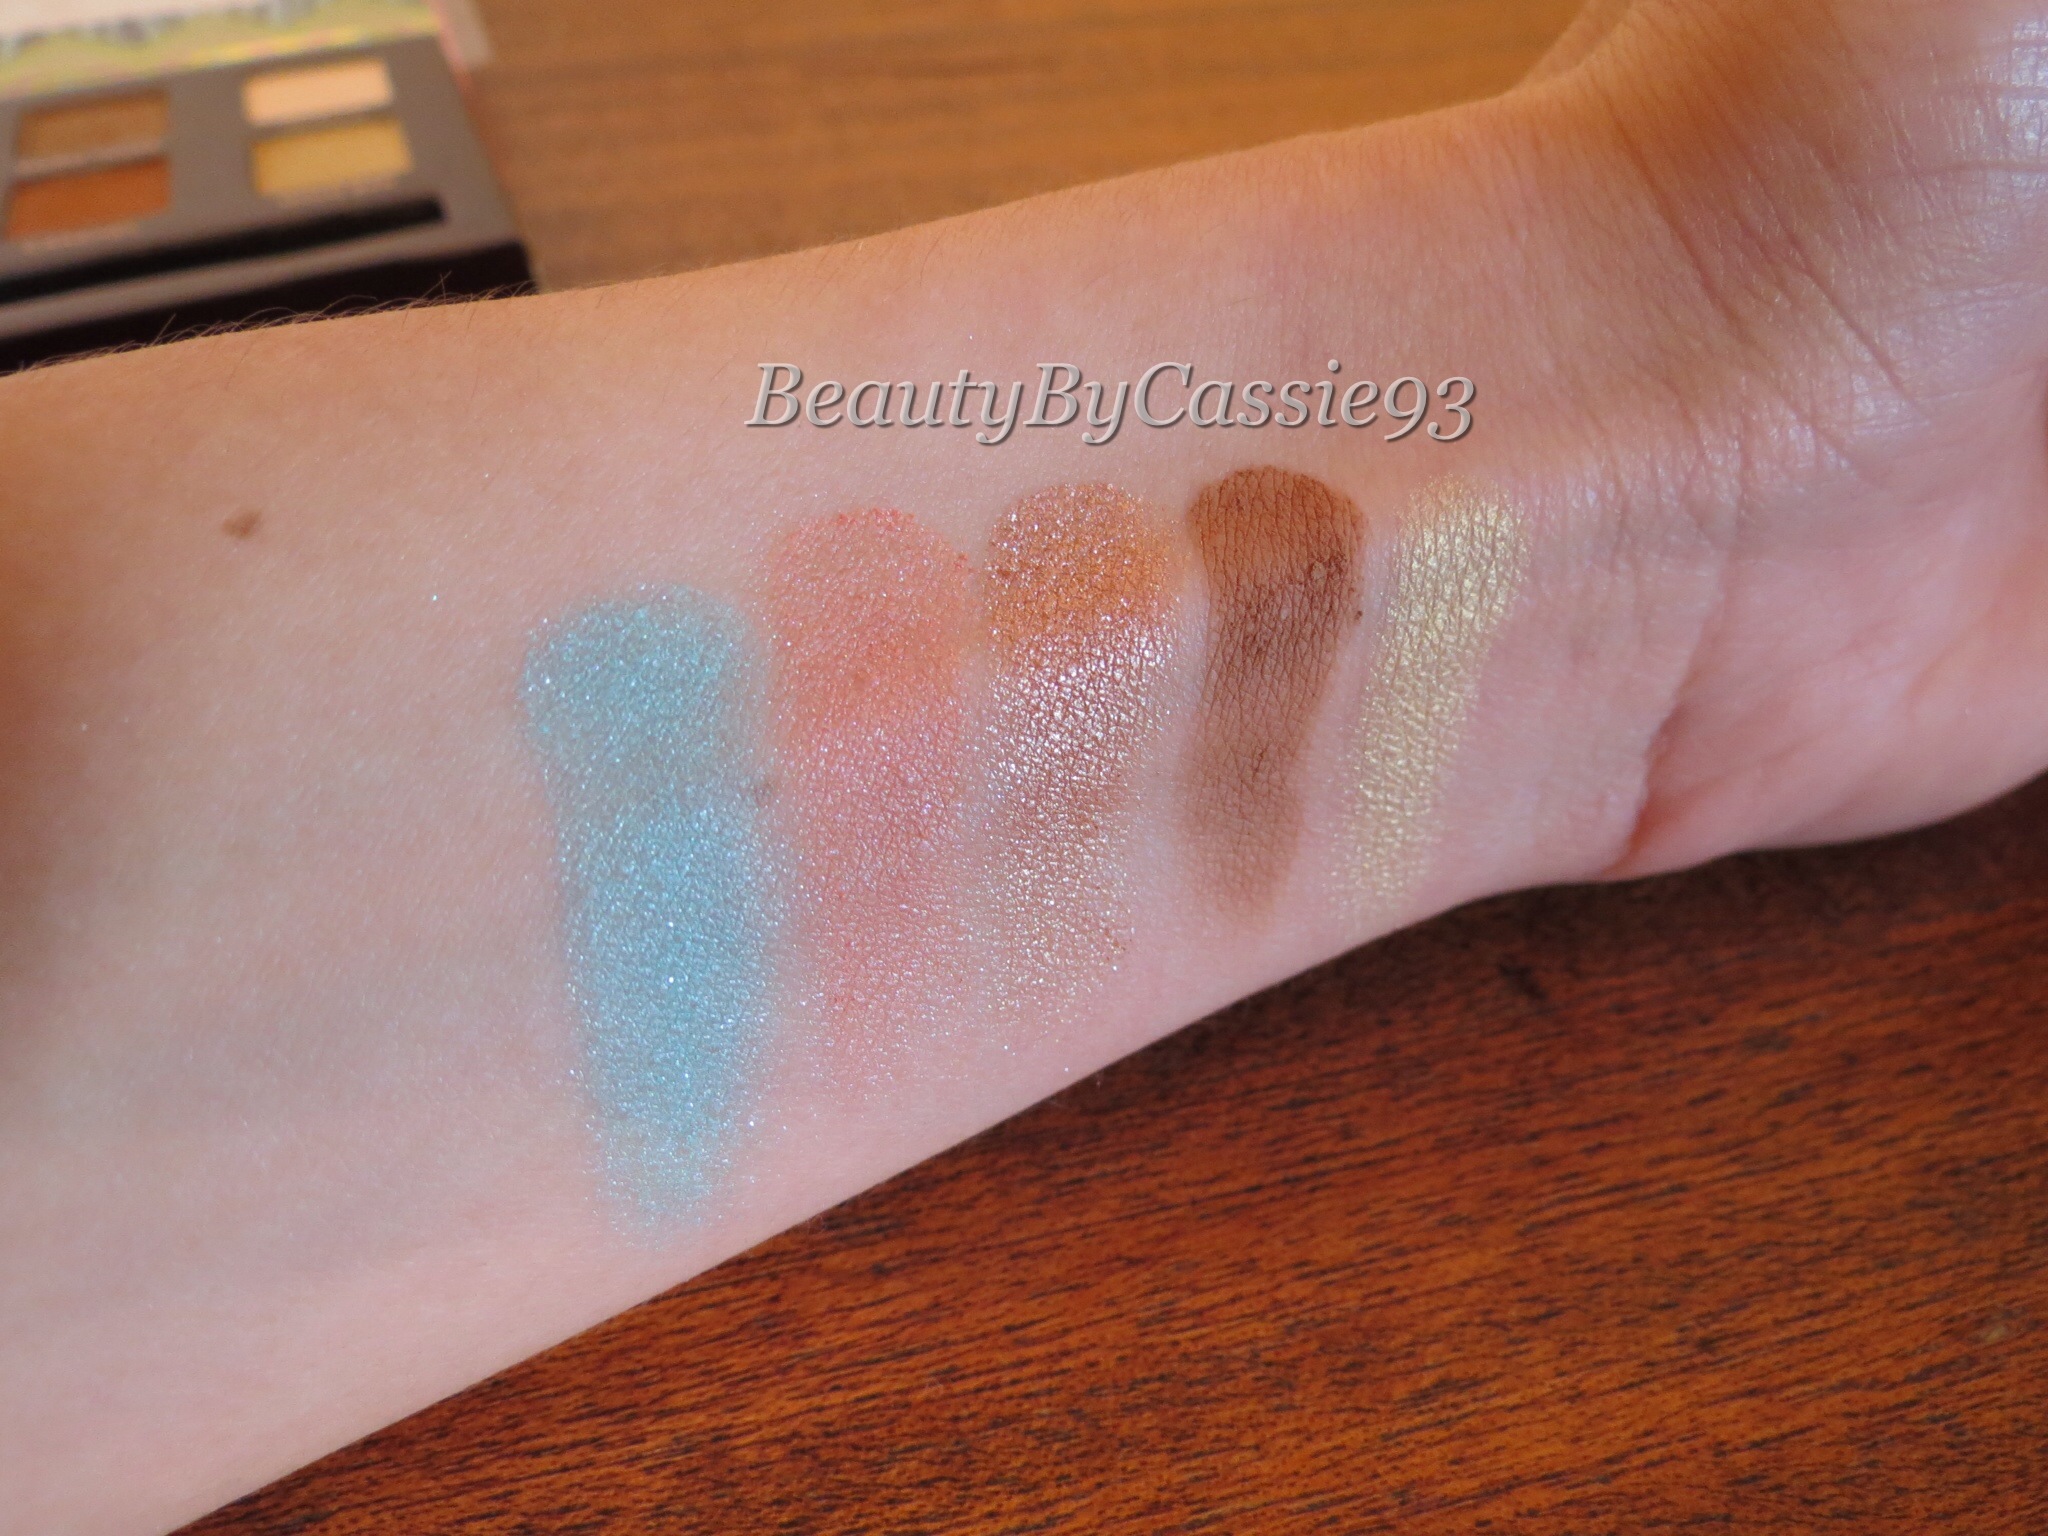
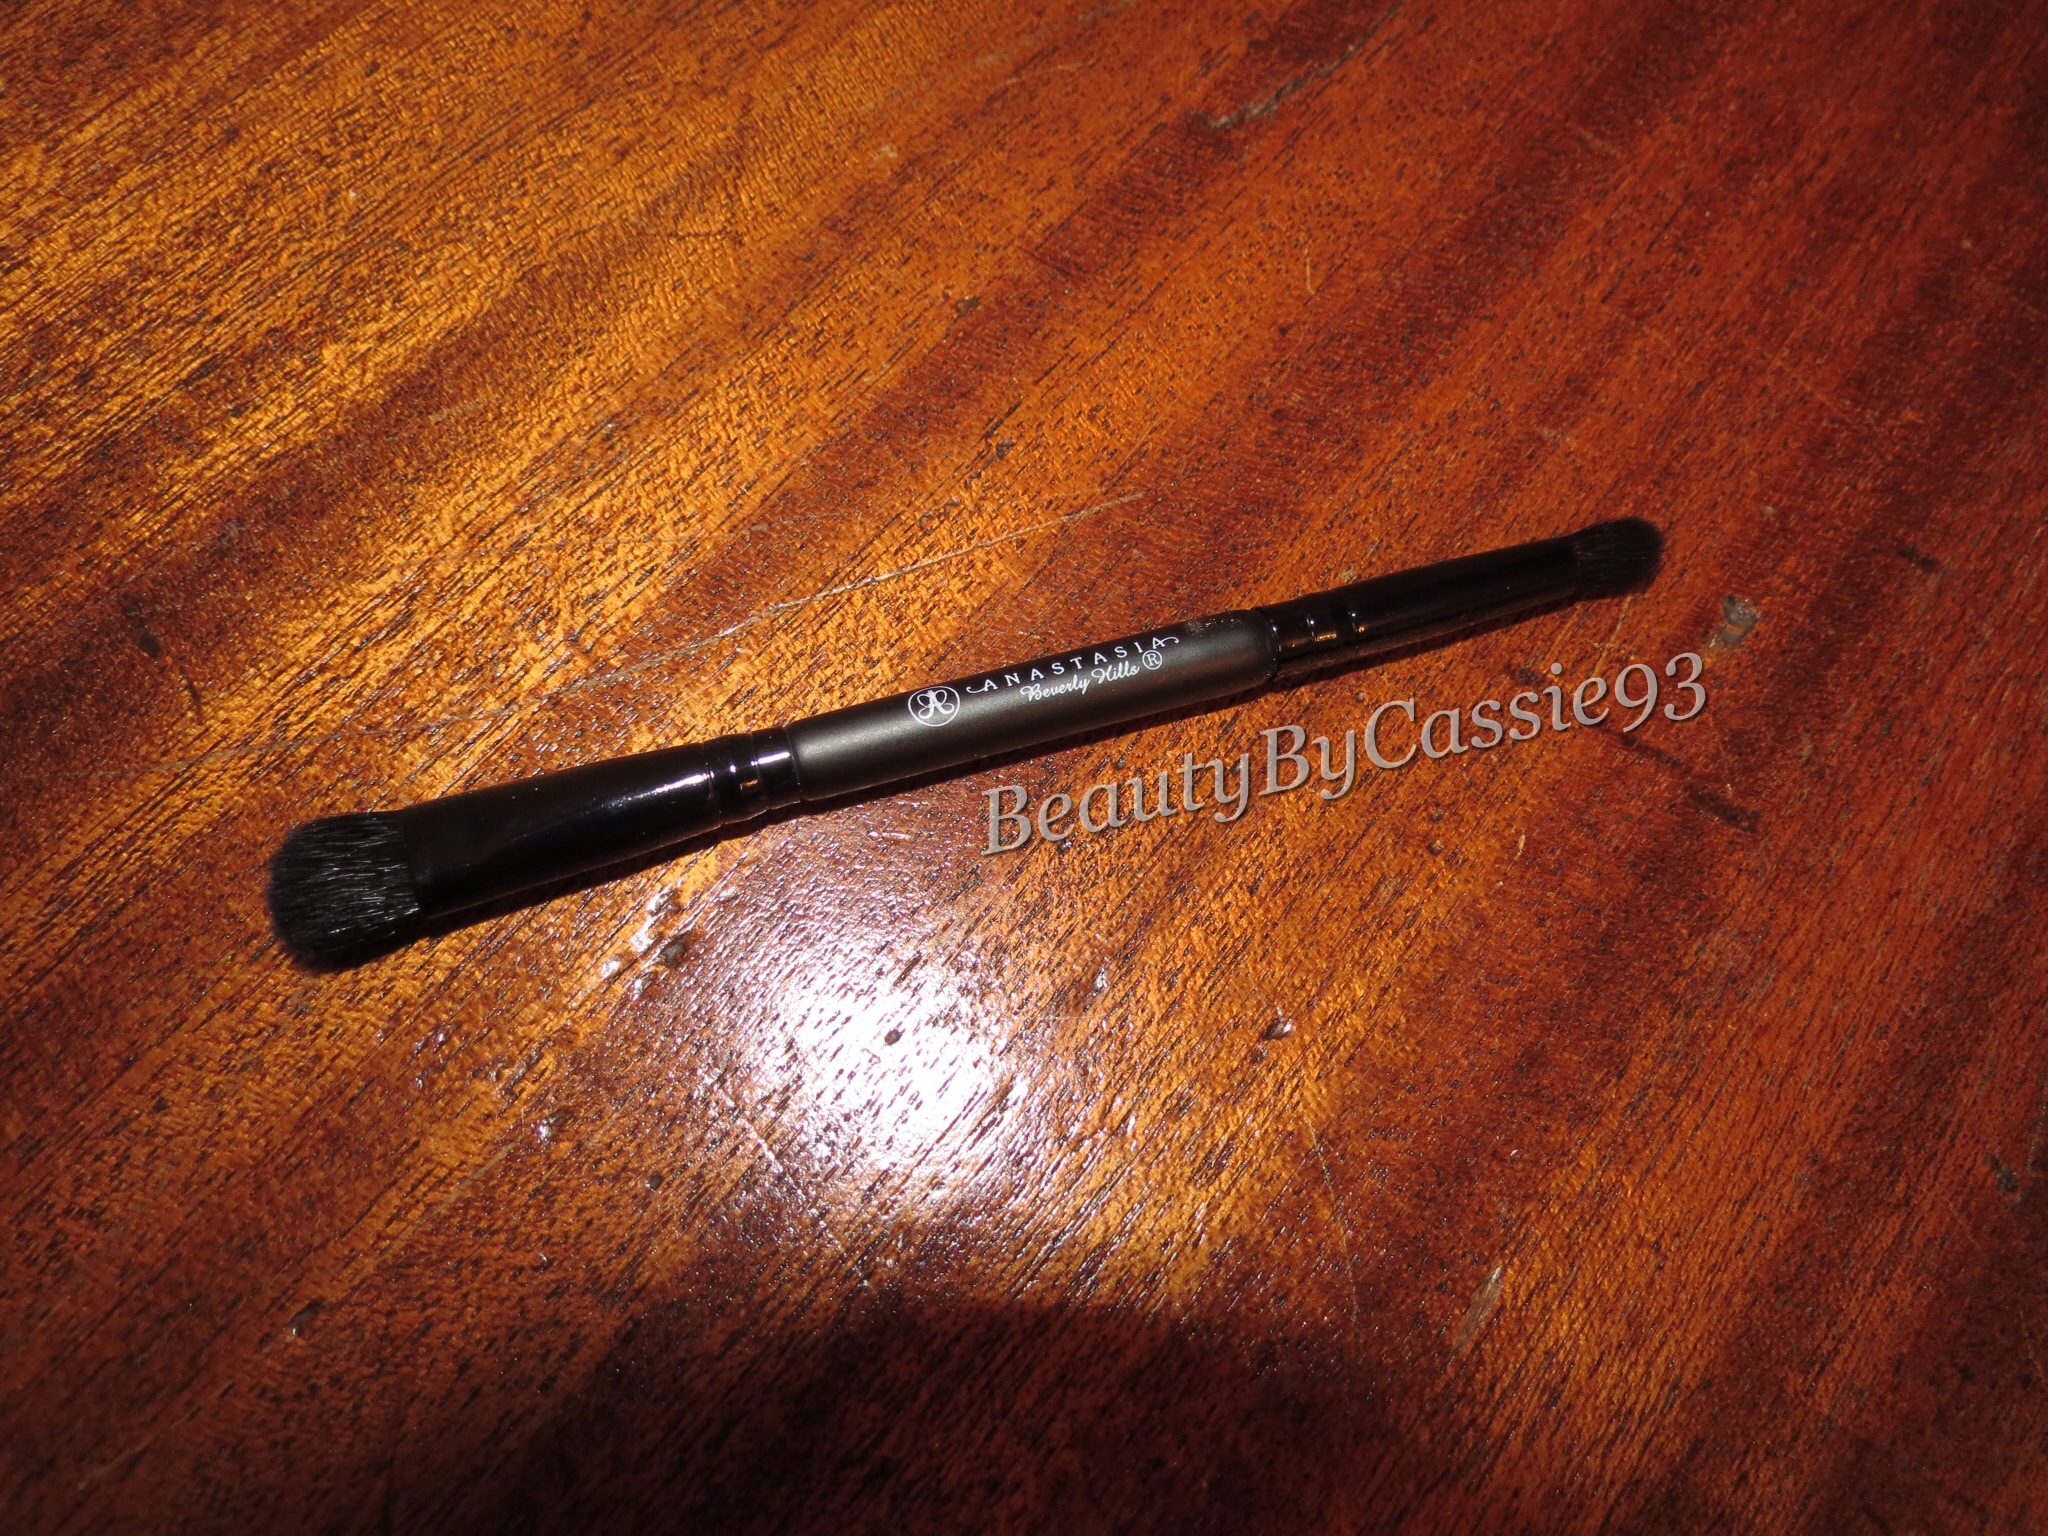
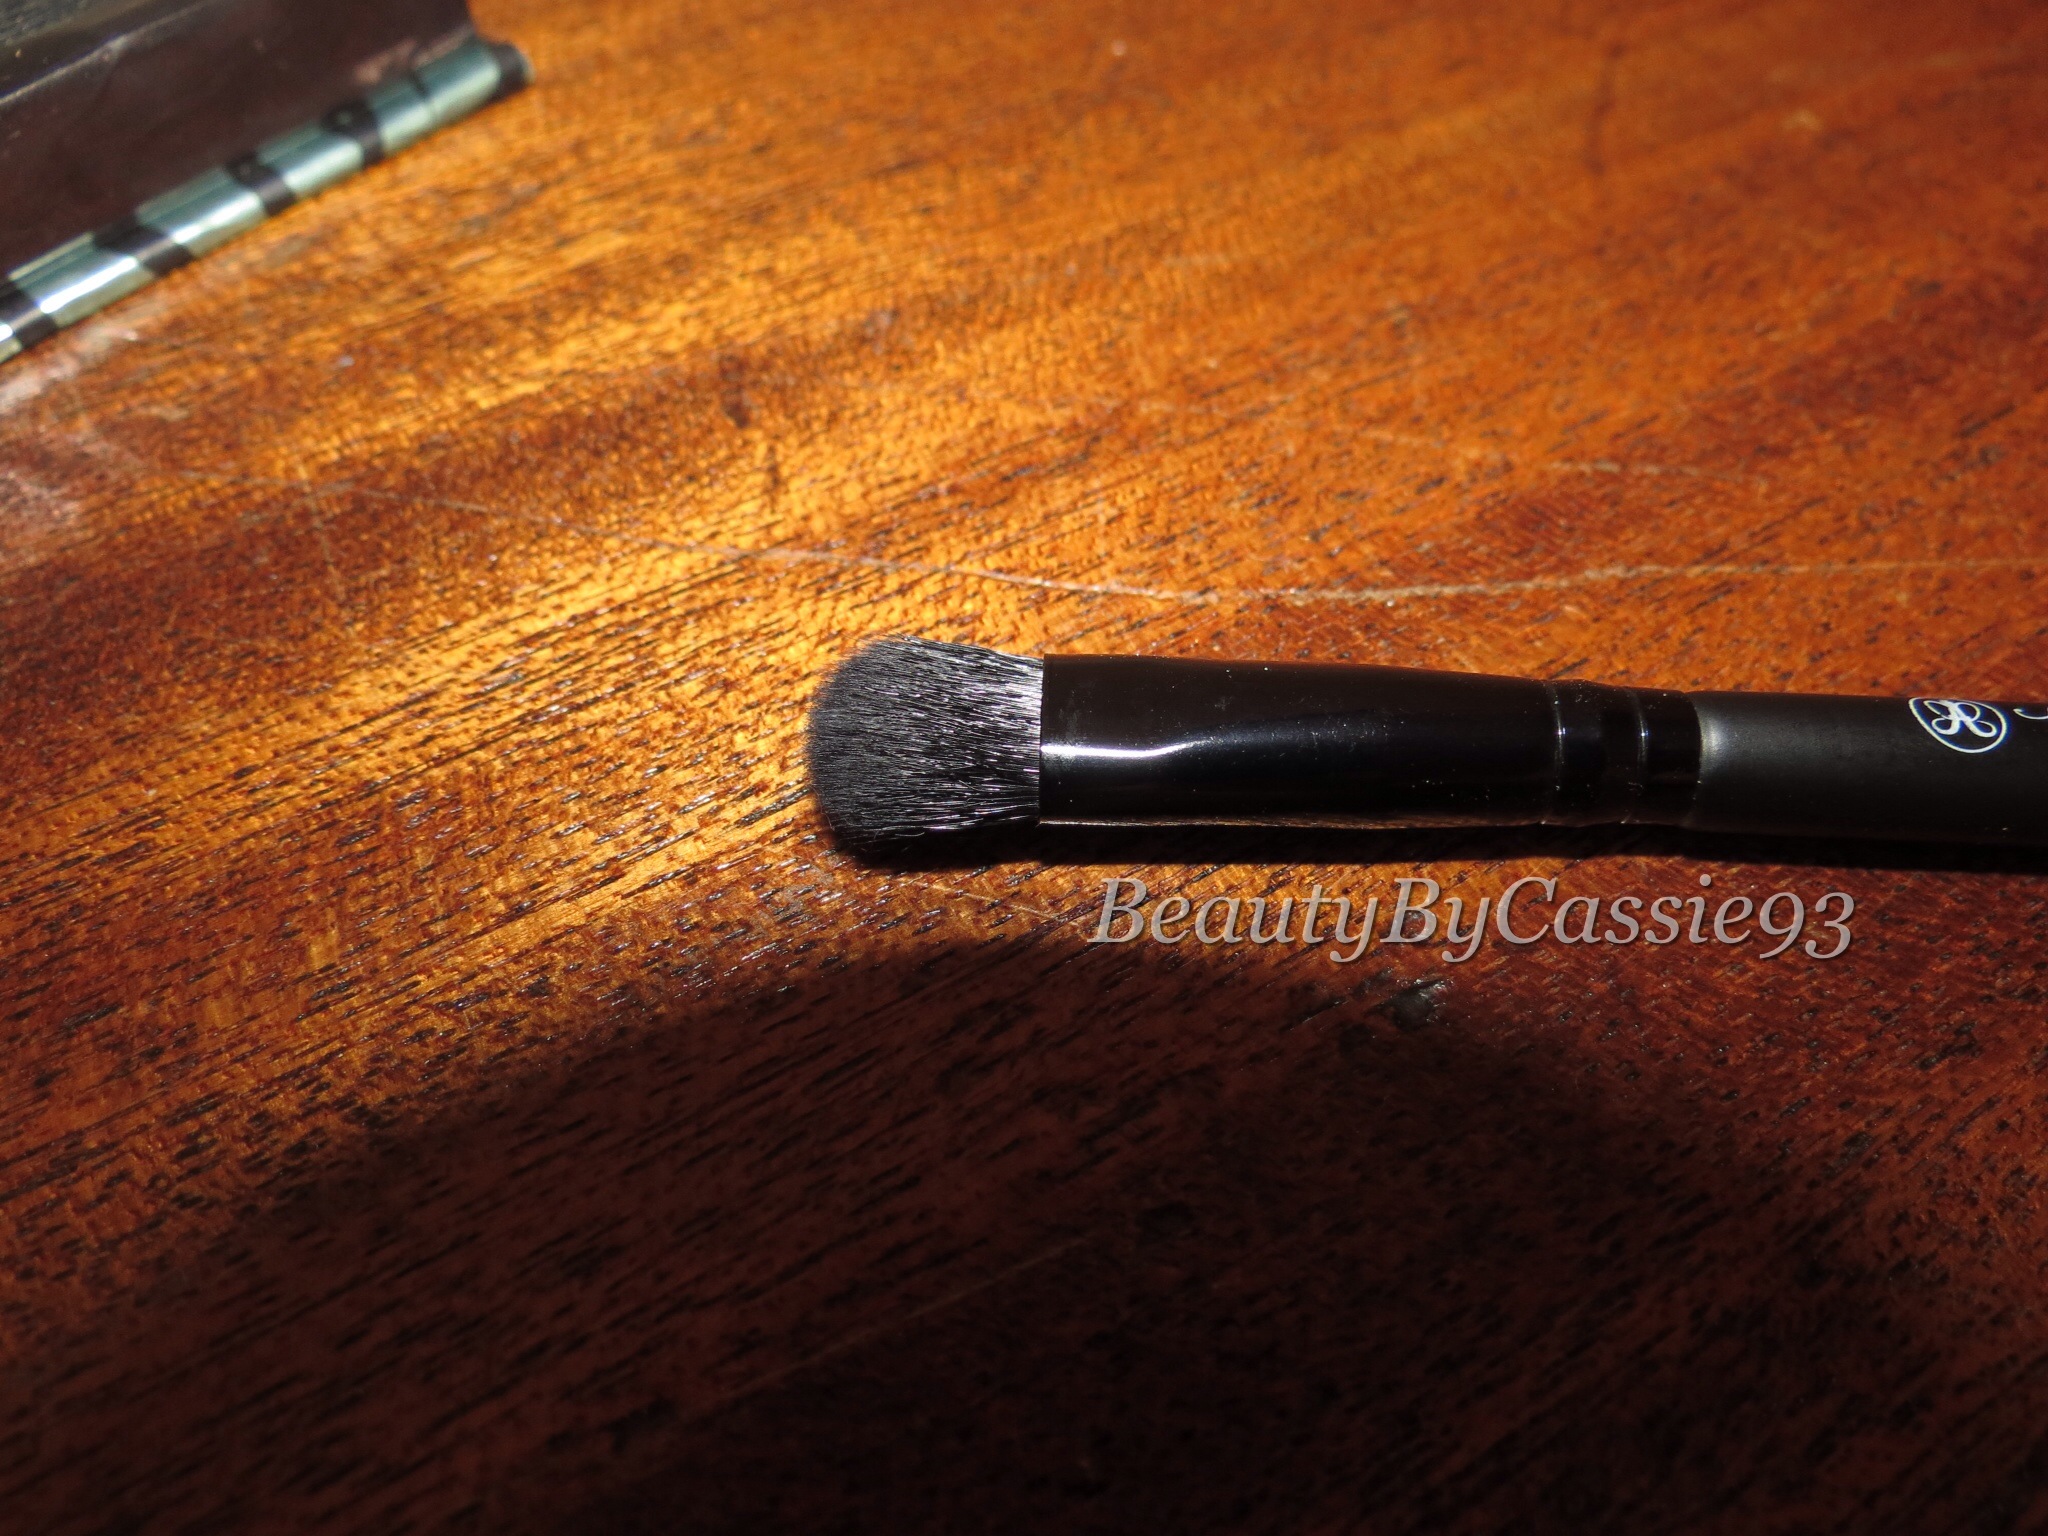
First off, I want to talk about the Maya Mia Palette. It was designed in collaboration with @maya_mia_y on Instagram. I’ve been playing around with this palette for the past few weeks and I must say it’s easily become one of my go-to eyeshadow palettes. I enjoy the fact that it contains mostly neutral shadows but also incorporates a few pops of color. As far as pigmentation goes, these shadows are great quality. I’m also a big fan of the packaging. I like how it’s made of cardboard, has a magnetic closure, and is relatively thin and compact. Not to mention the design is too cute! The palette is cruelty free, retails for $29, and is reasonably priced in my opinion, considering it includes 10 eyeshadows, a double ended eyeshadow brush, and “Get the Look” cards that show you how to achieve five different eyeshadow looks. Below, I’ve included swatches of each shadow.
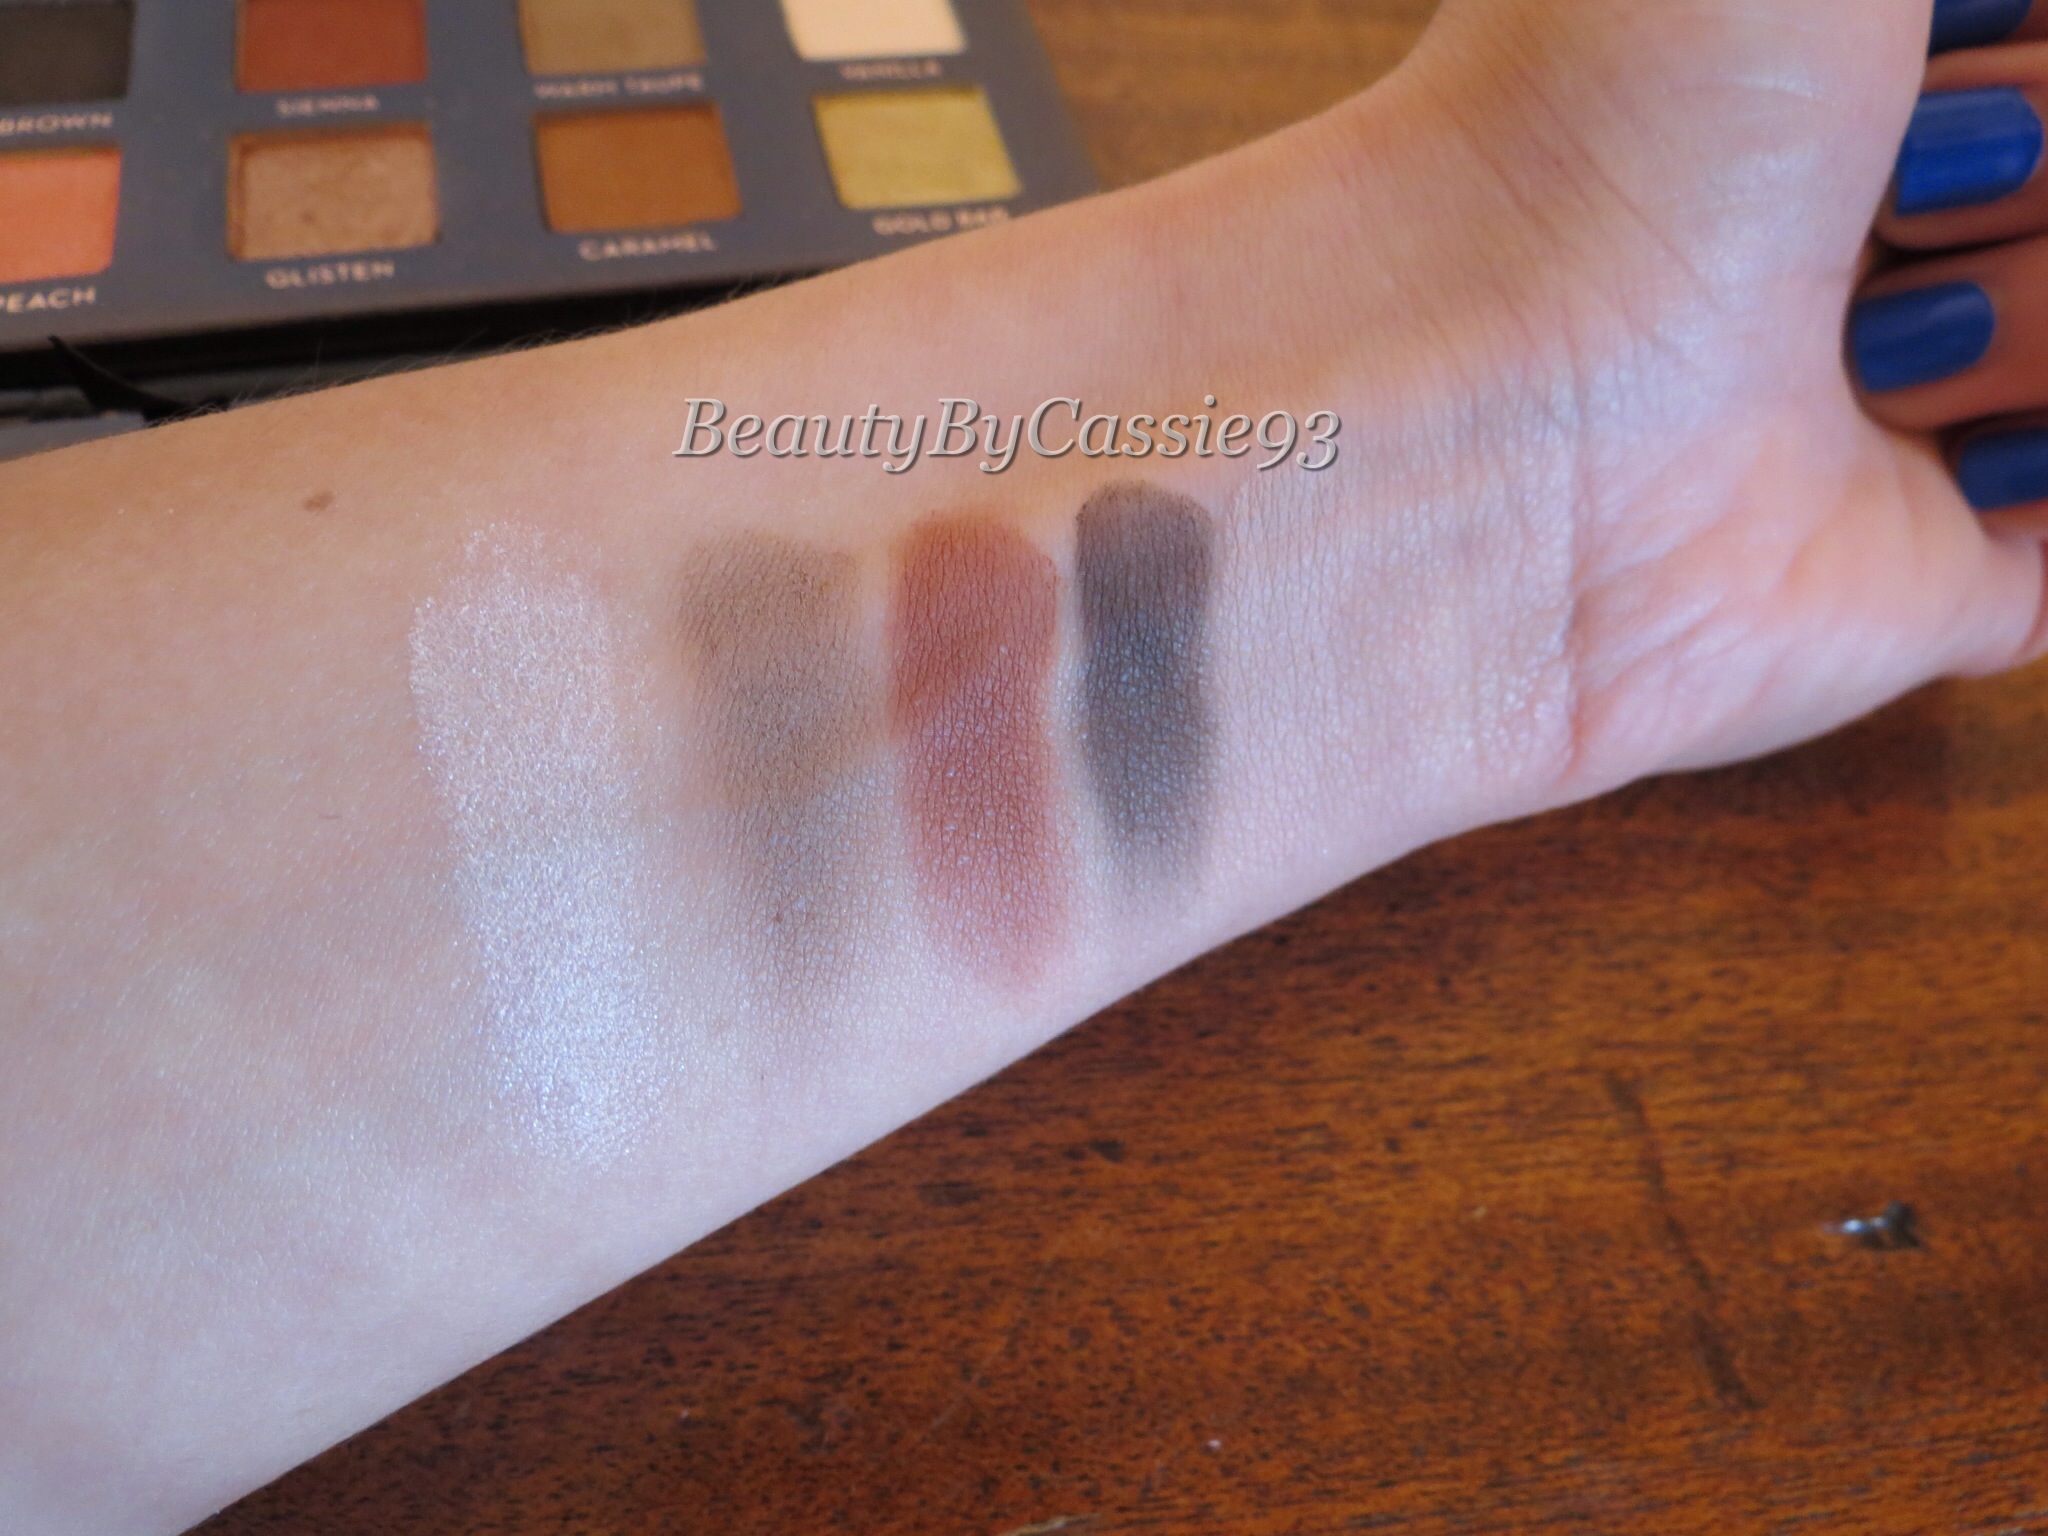
(No flash) Shadows from left to right: Vanilla, Warm Taupe, Sienna, Deep Brown, and Nude
(With flash)
The swatches above are of the first row of shadows in the palette. Vanilla has a satin finish, Warm Taupe, Sienna, Deep Brown, and Nude–which blends in with my skin tone– are all matte. One thing I’d like to mention is that this palette, like the Lavish Palette also by Anastasia Beverly Hills, includes Sienna. However, that doesn’t bother me seeing as Sienna is one of my favorite transition shades. The only shadow in the palette that I’m not head over heals about is Nude just because it doesn’t really show up on my skin. Having said that, it does work as a base shadow. Also, I’d like to make note that all of the photos in this post are unedited.
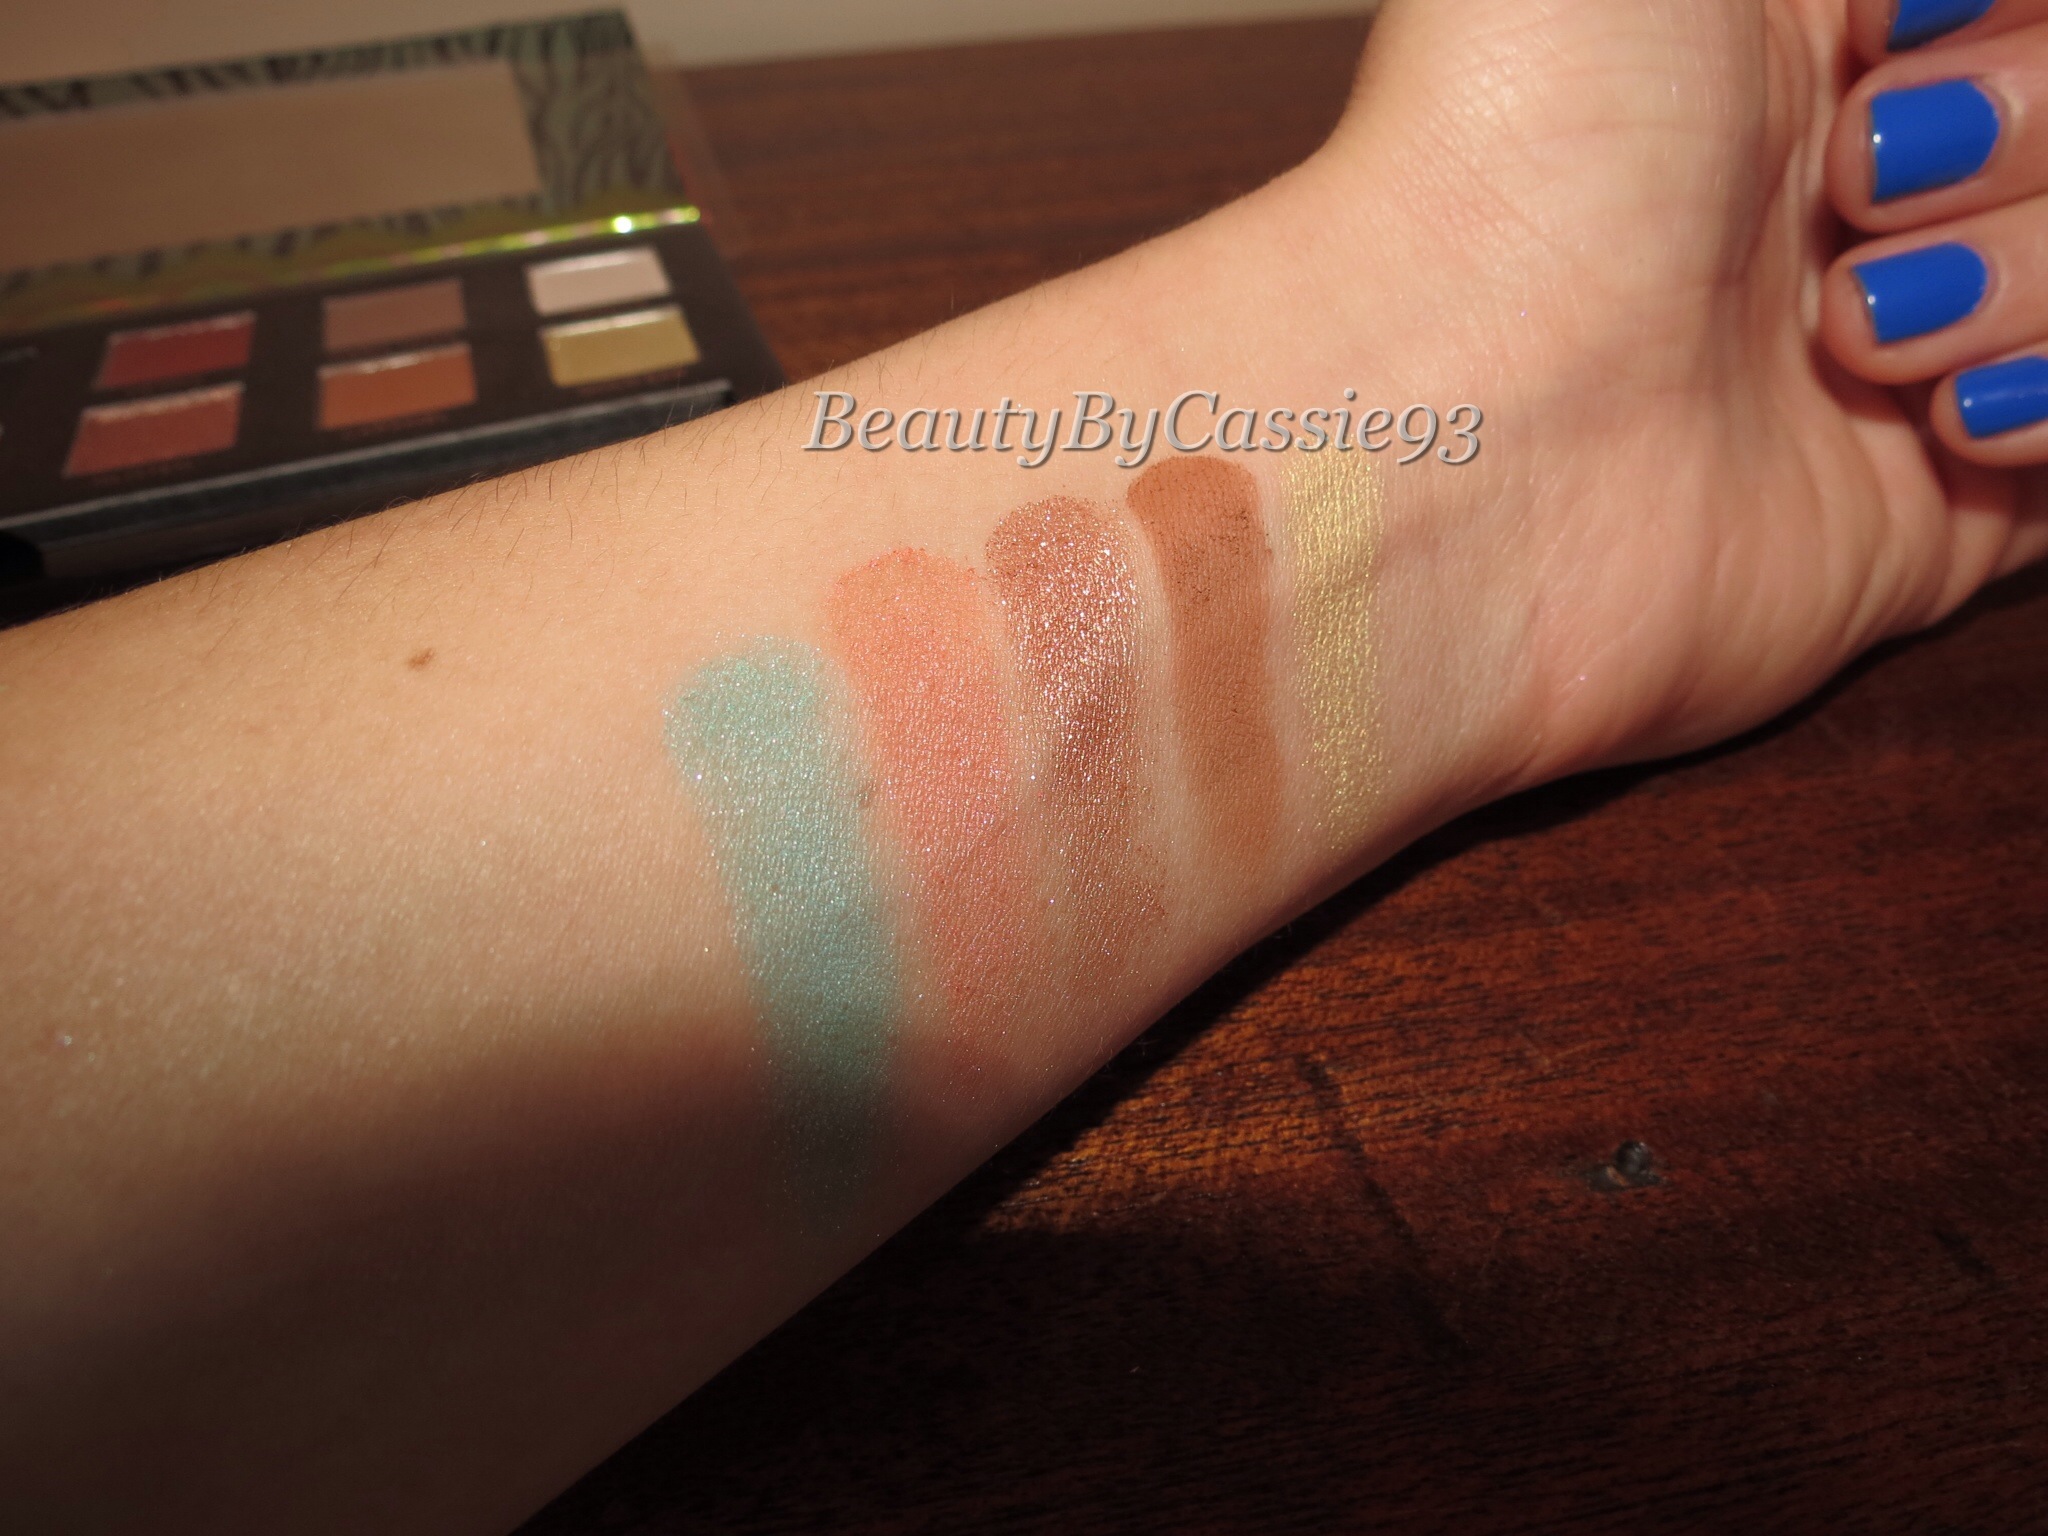
(No flash) From left to right: Aqua, Fresh Peach, Glisten, Caramel, and Gold Bar(With flash)
The bottom row of shadows only contains one matte shadow, that being Caramel. Aqua, Fresh Peach and Gold Bar have satin finishes and Glisten is shimmery.
The accompanying brush is double sided and is well-made. The bristles are soft and the flat shader brush side is good for packing on shadows, while the pointed pencil brush side is nice for applying shadow along the lower lash line or deepening your crease.
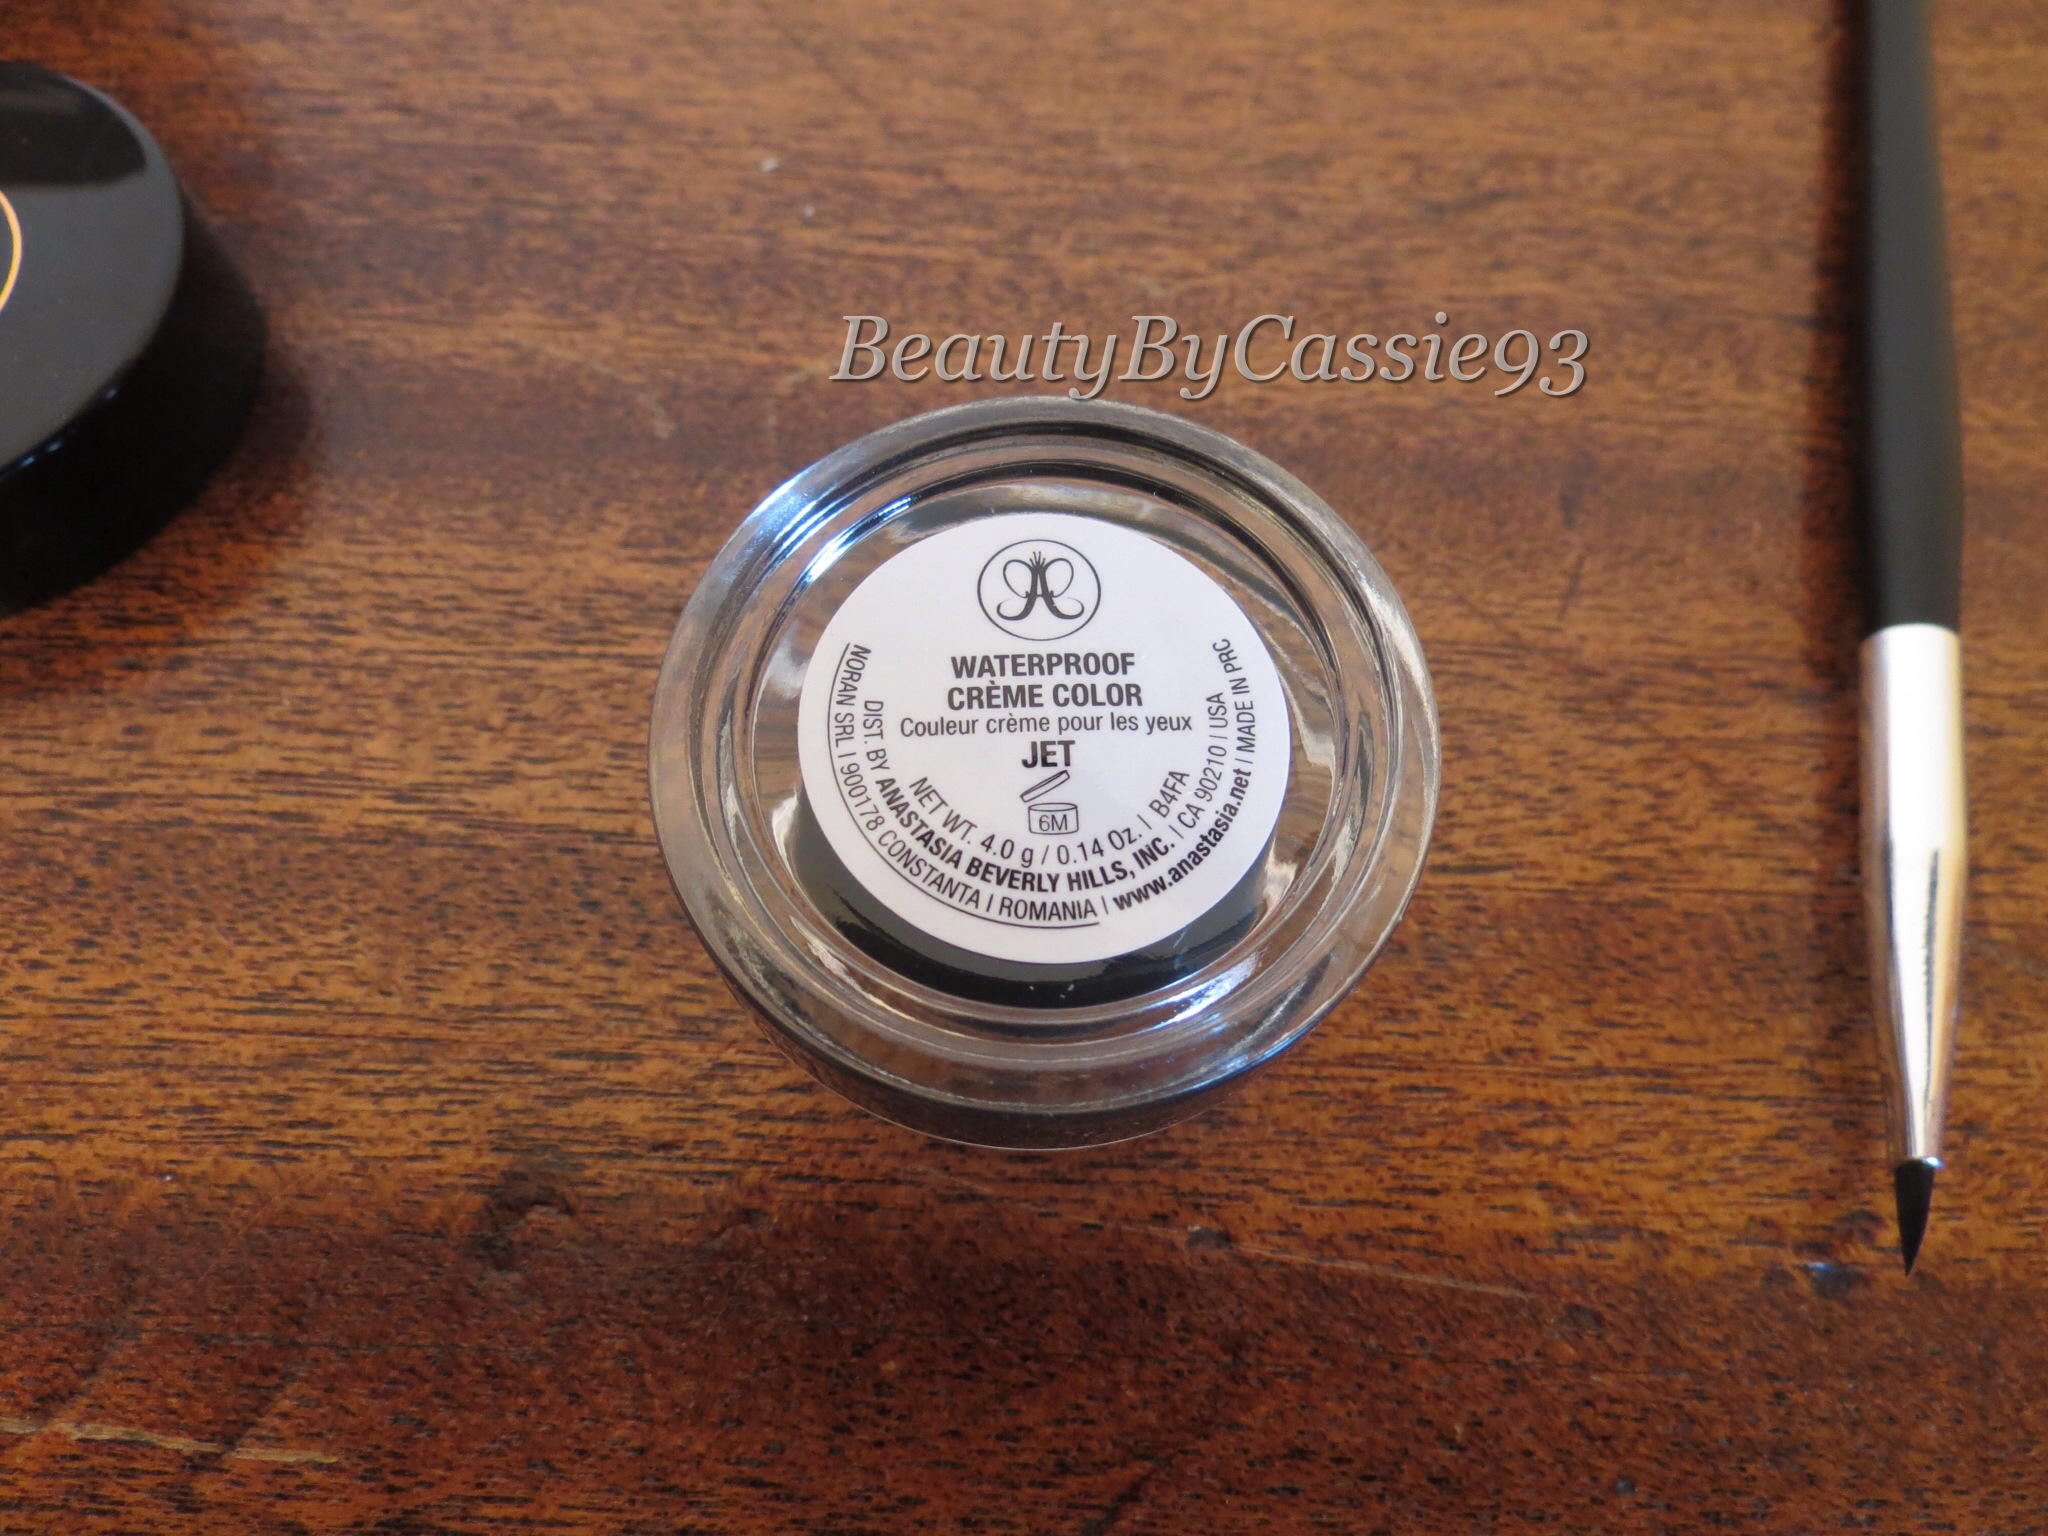
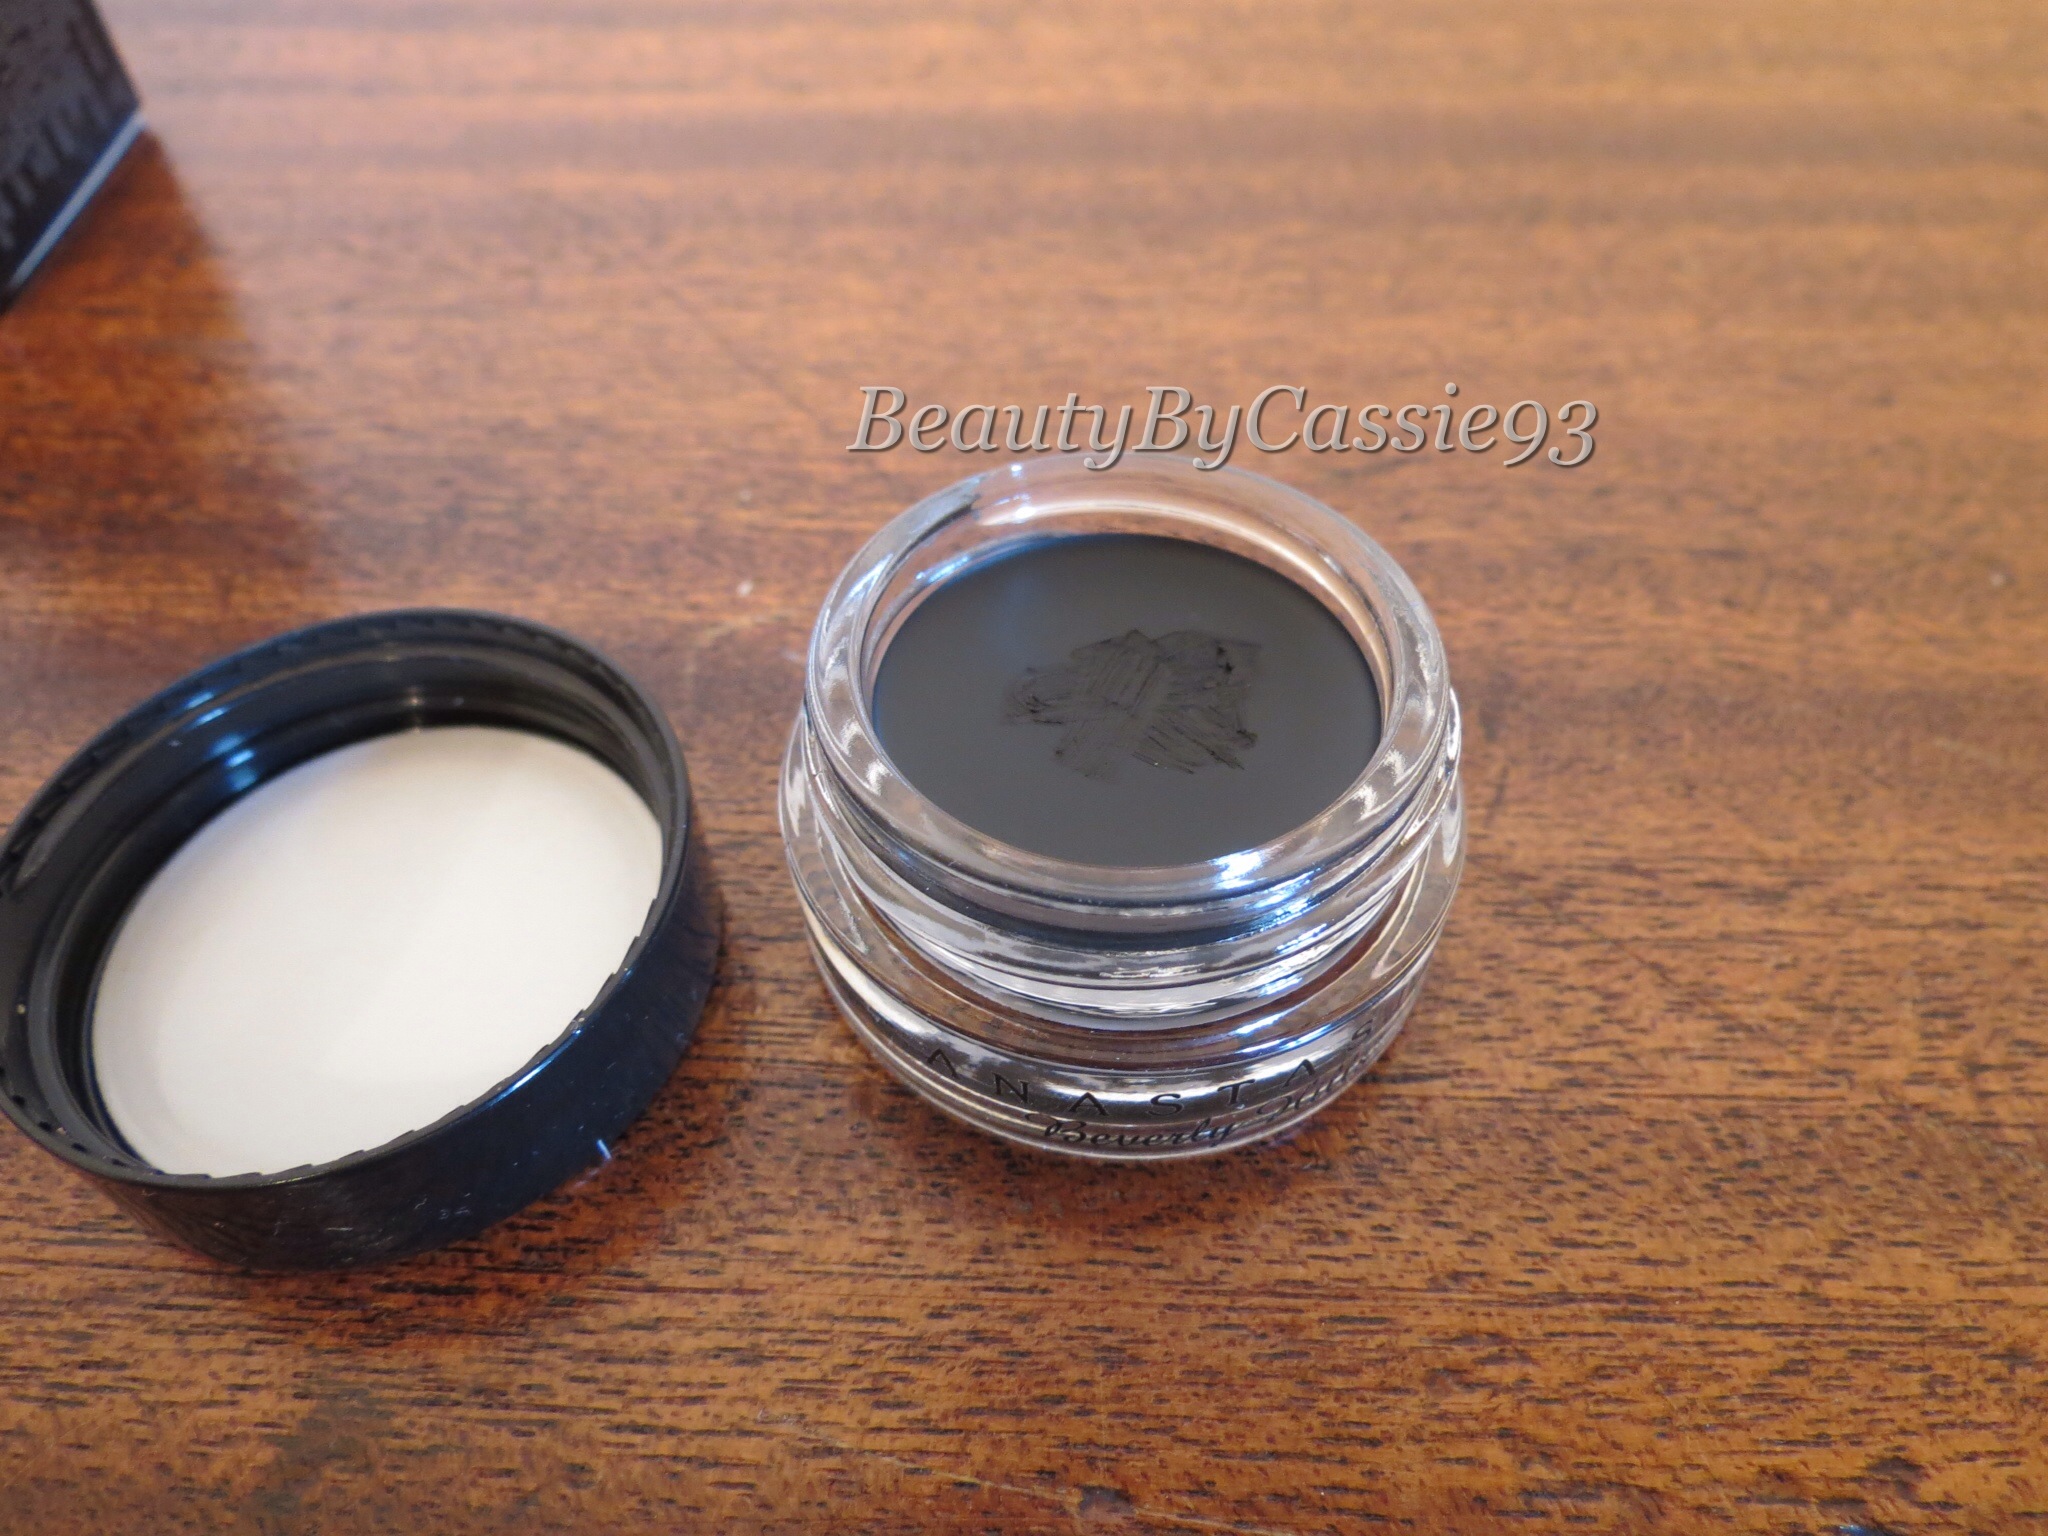
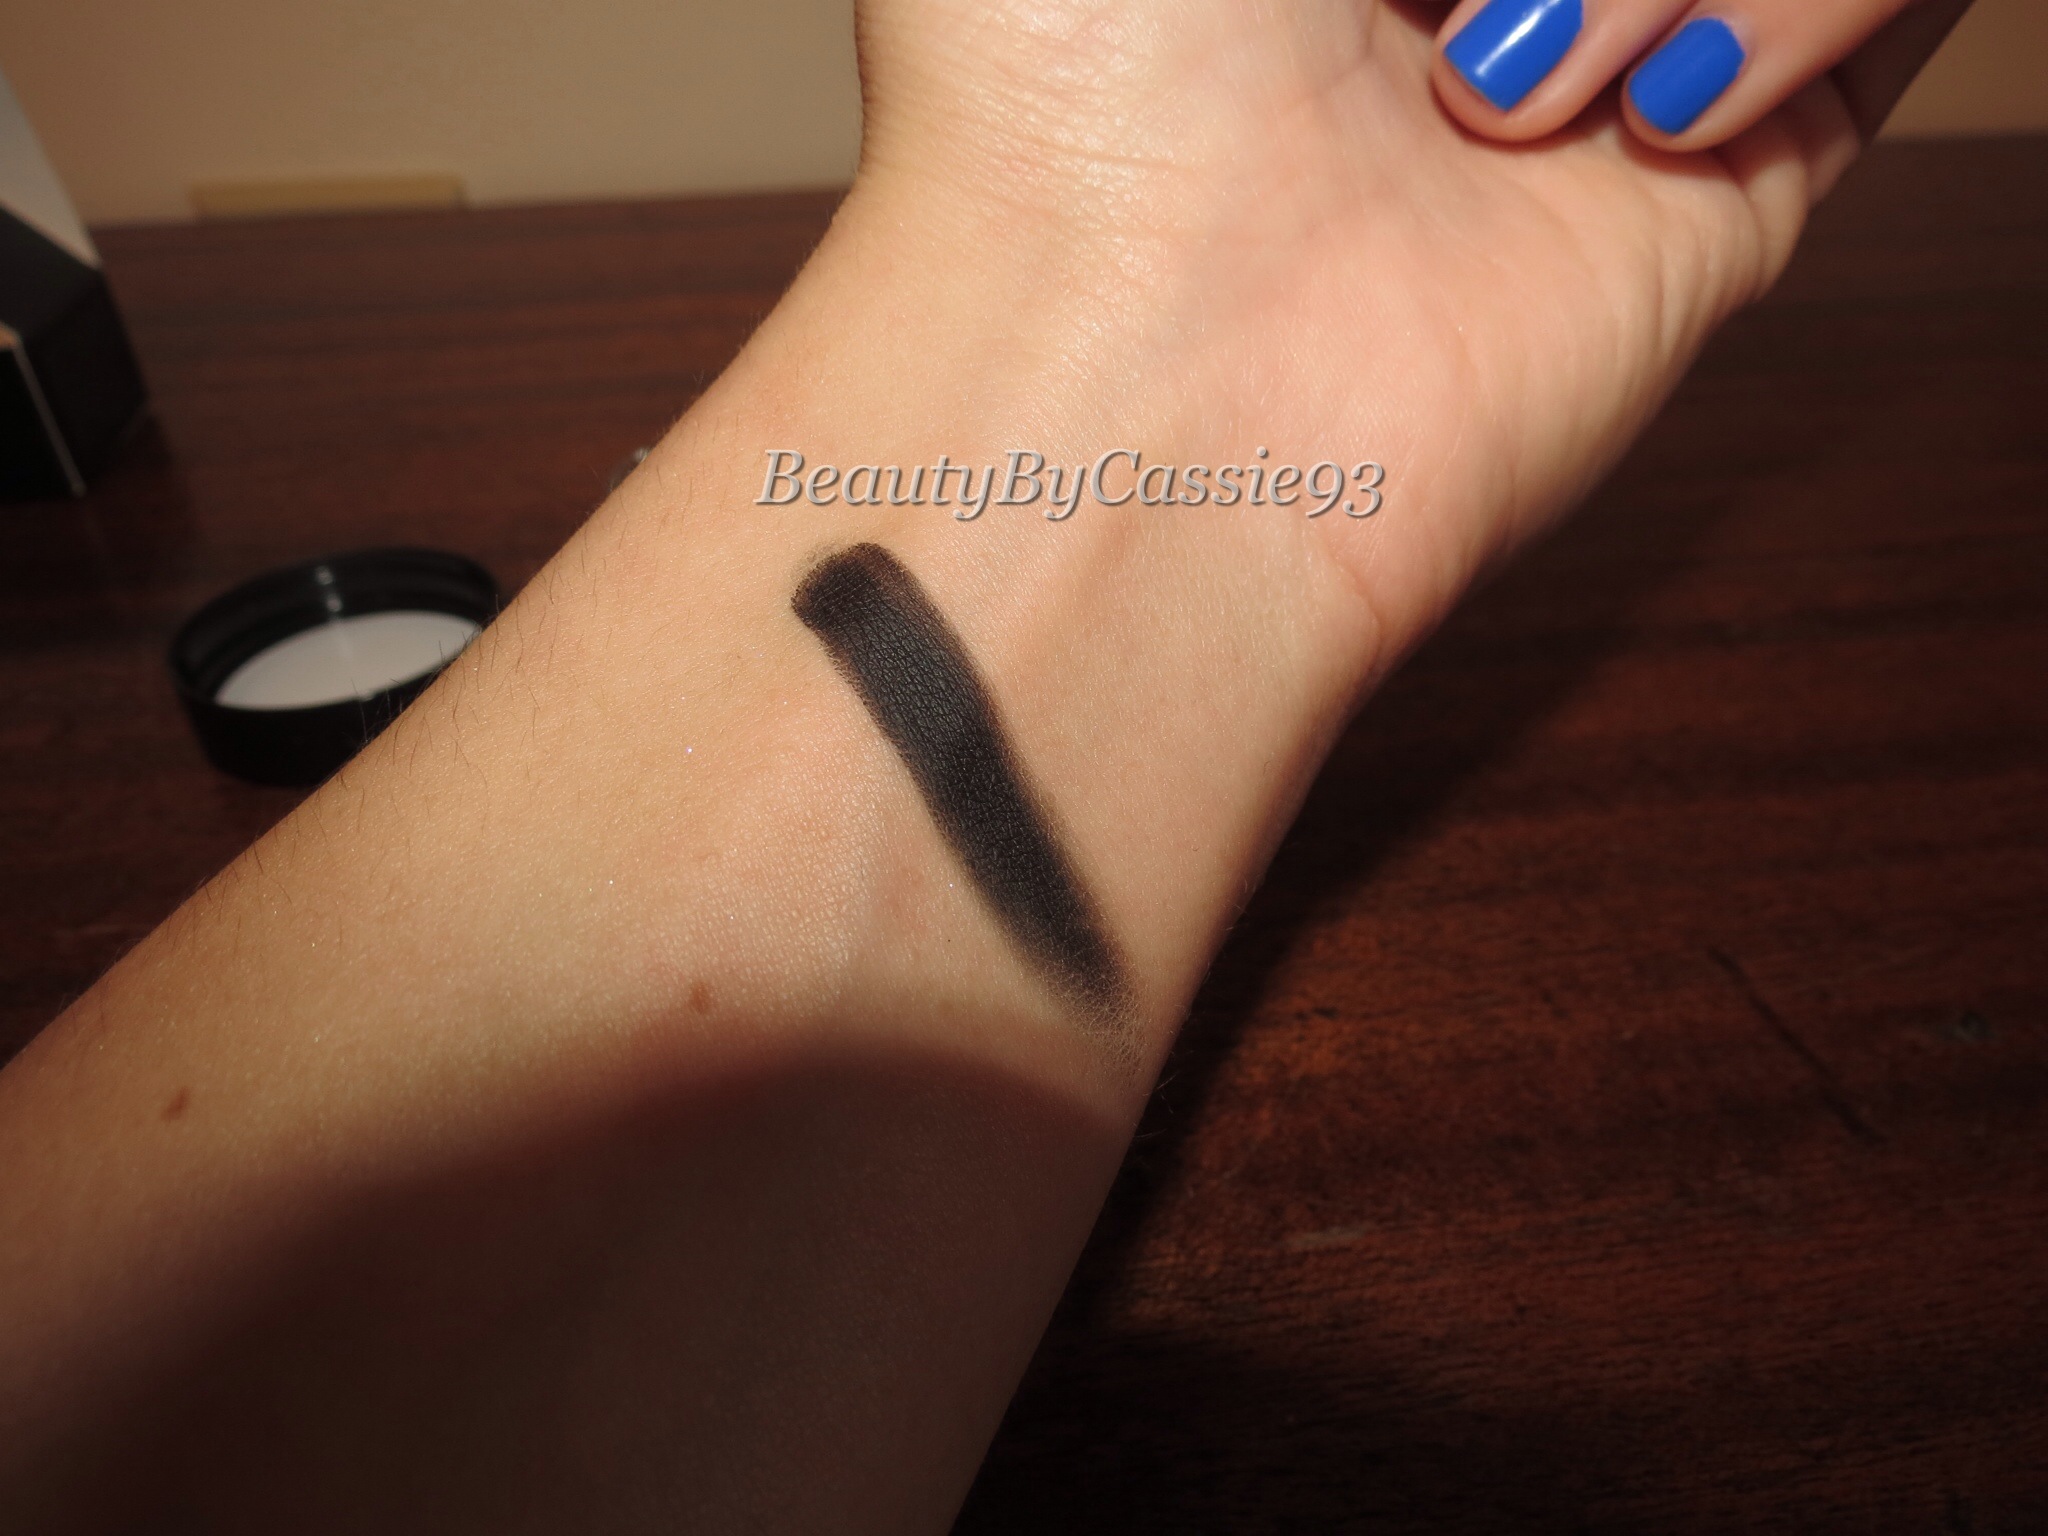
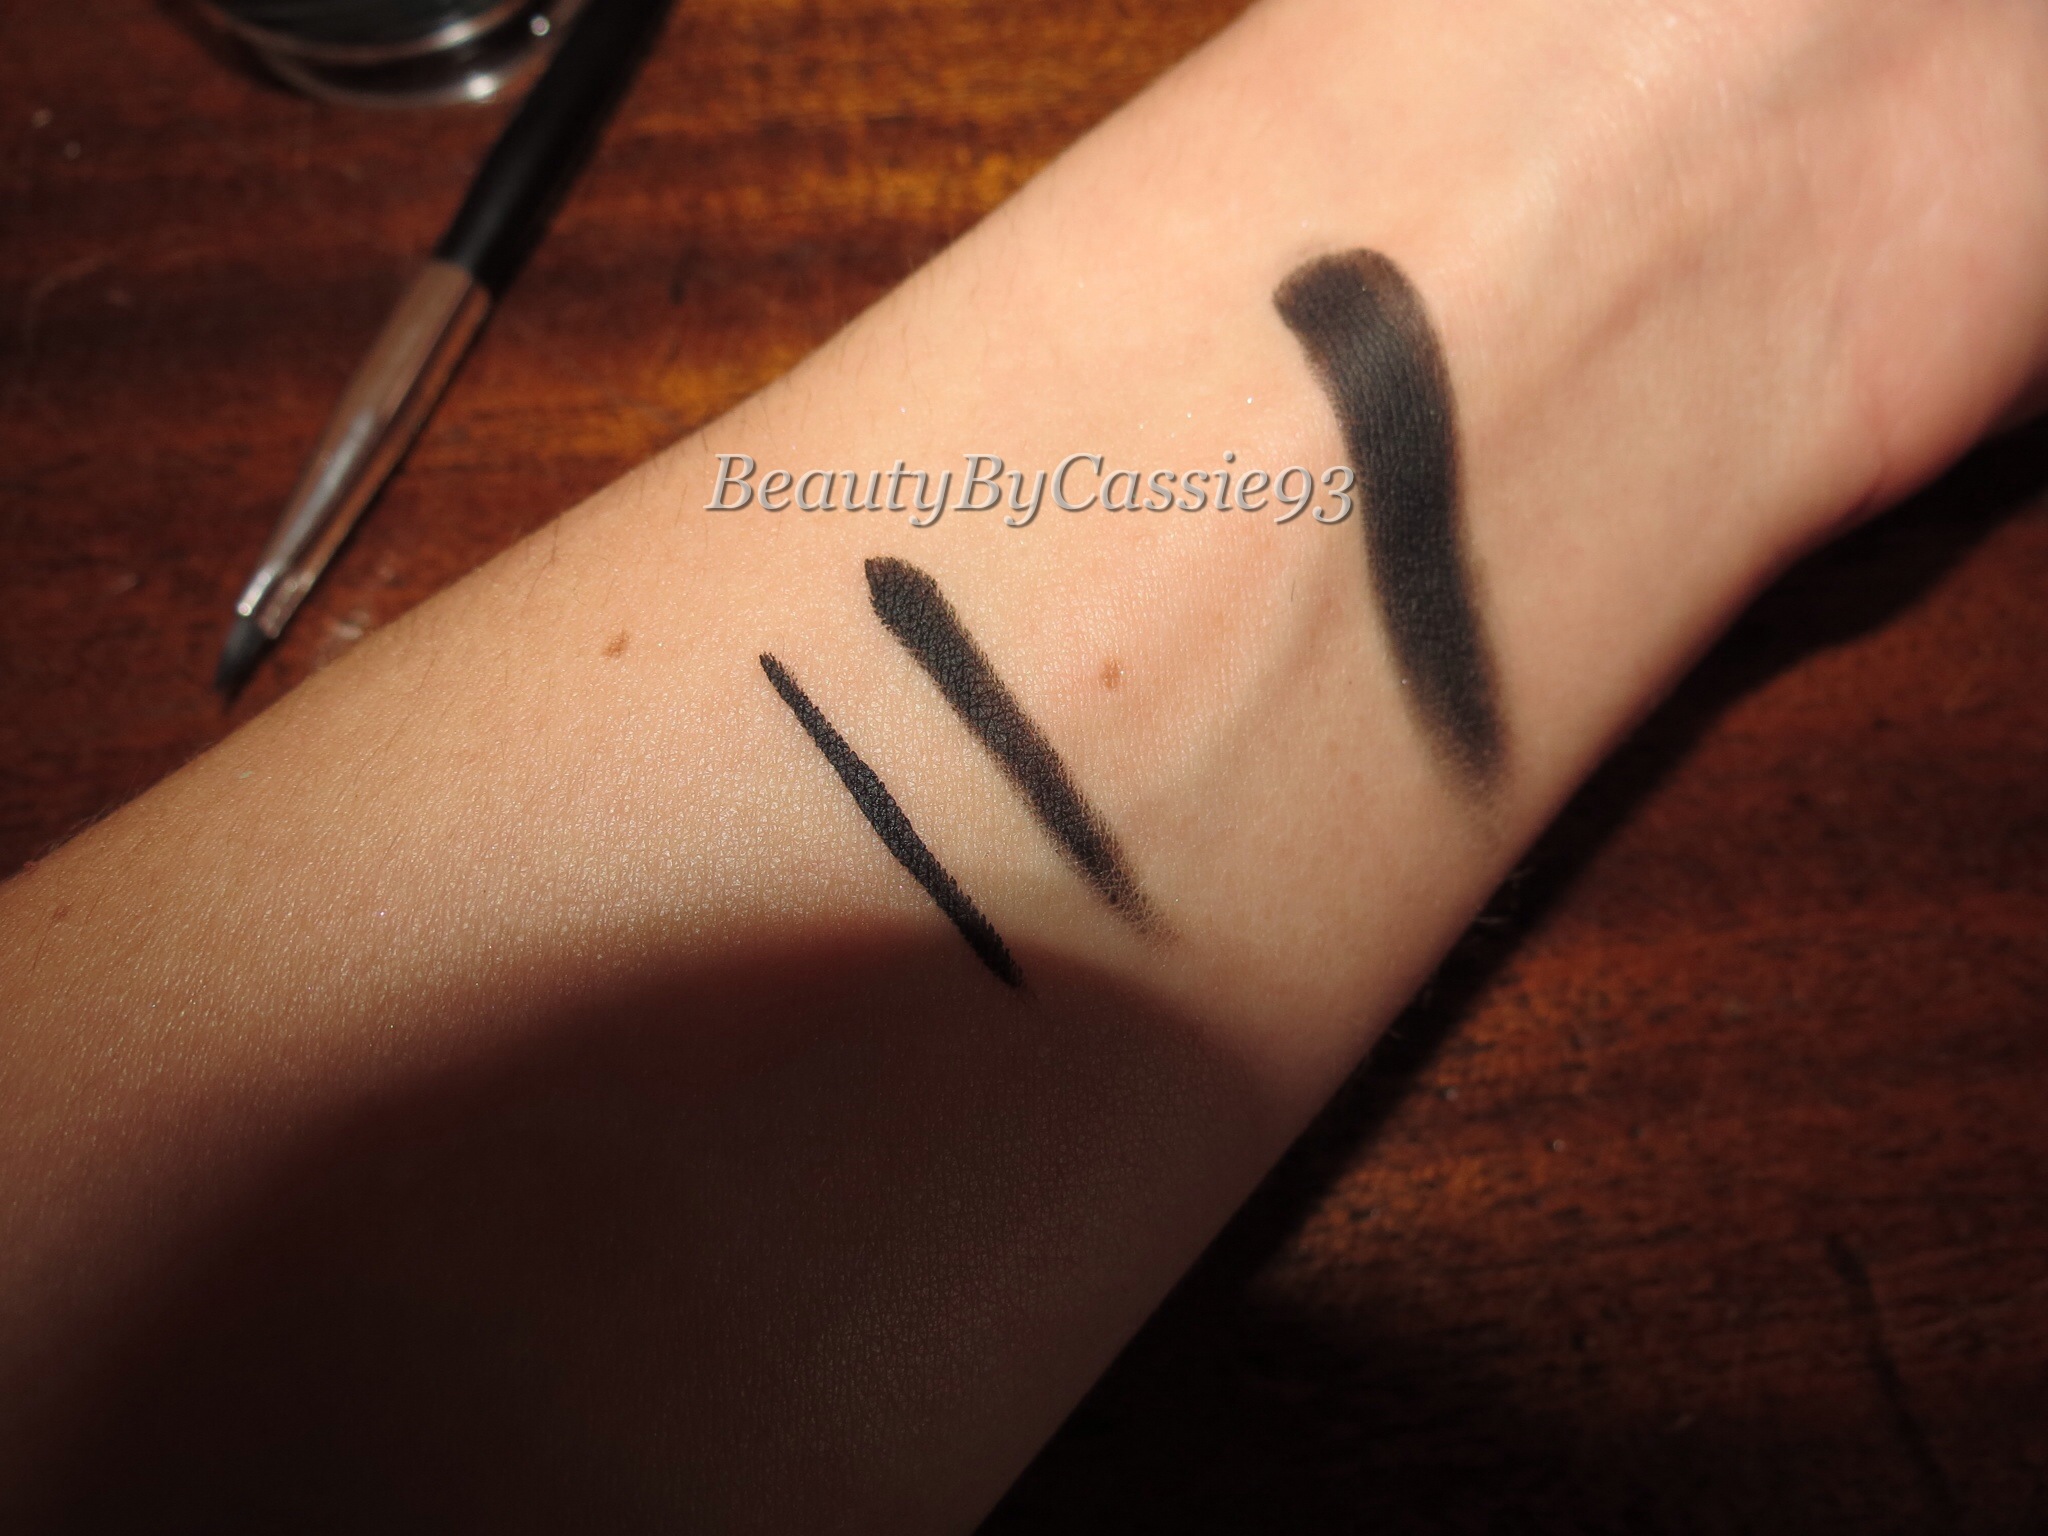
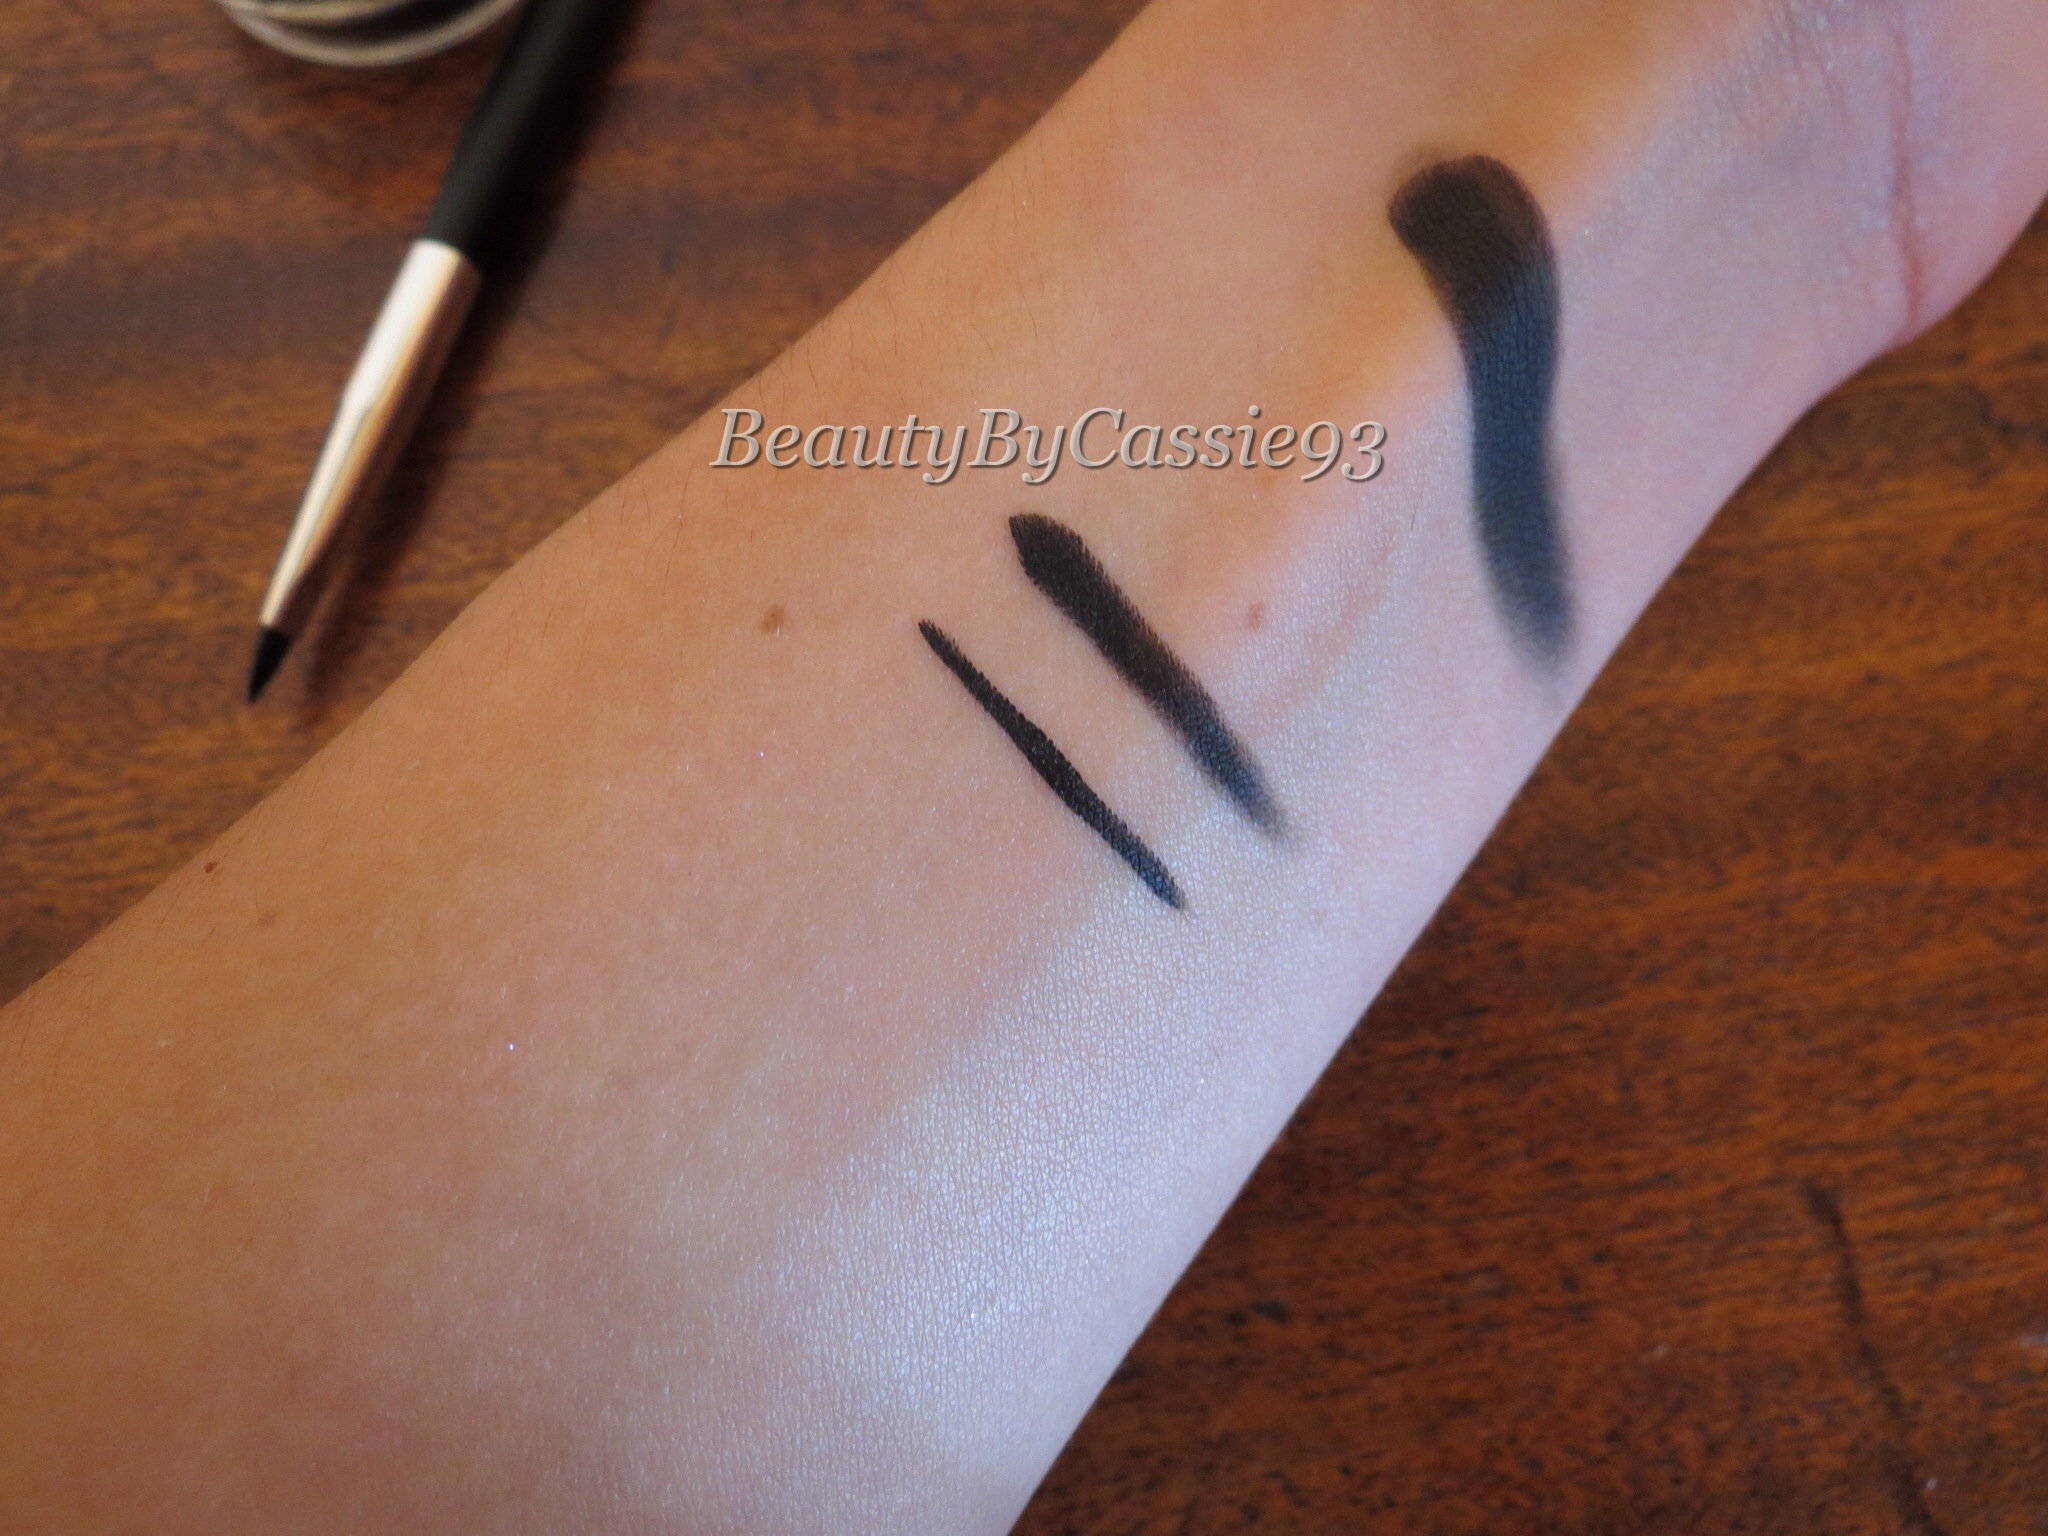
Next up is the Waterproof Crème Color in Jet. It retails for $18 and comes in a glass pot just like the ABH Dipbrow Pomade. I really like the texture of this product and the fact that it’s matte. I’m not really into the whole glossy/shiny eyeliner look so this is right up my alley. This can be used as a liner or a cream shadow. It would make the perfect base for a dark, dramatic black smokey eye because it doesn’t crease or smudge. As for the waterproof claim, they aren’t kidding! I applied the product to my wrist, let it set, then rubbed vigorously and it didn’t even budge. Oh, and I didn’t even mention the intensity of the product. This stuff is black! Not an off-black or grayish black, but a true inky black color. Below is a swatch of the Waterproof Crème Color.
(With flash)
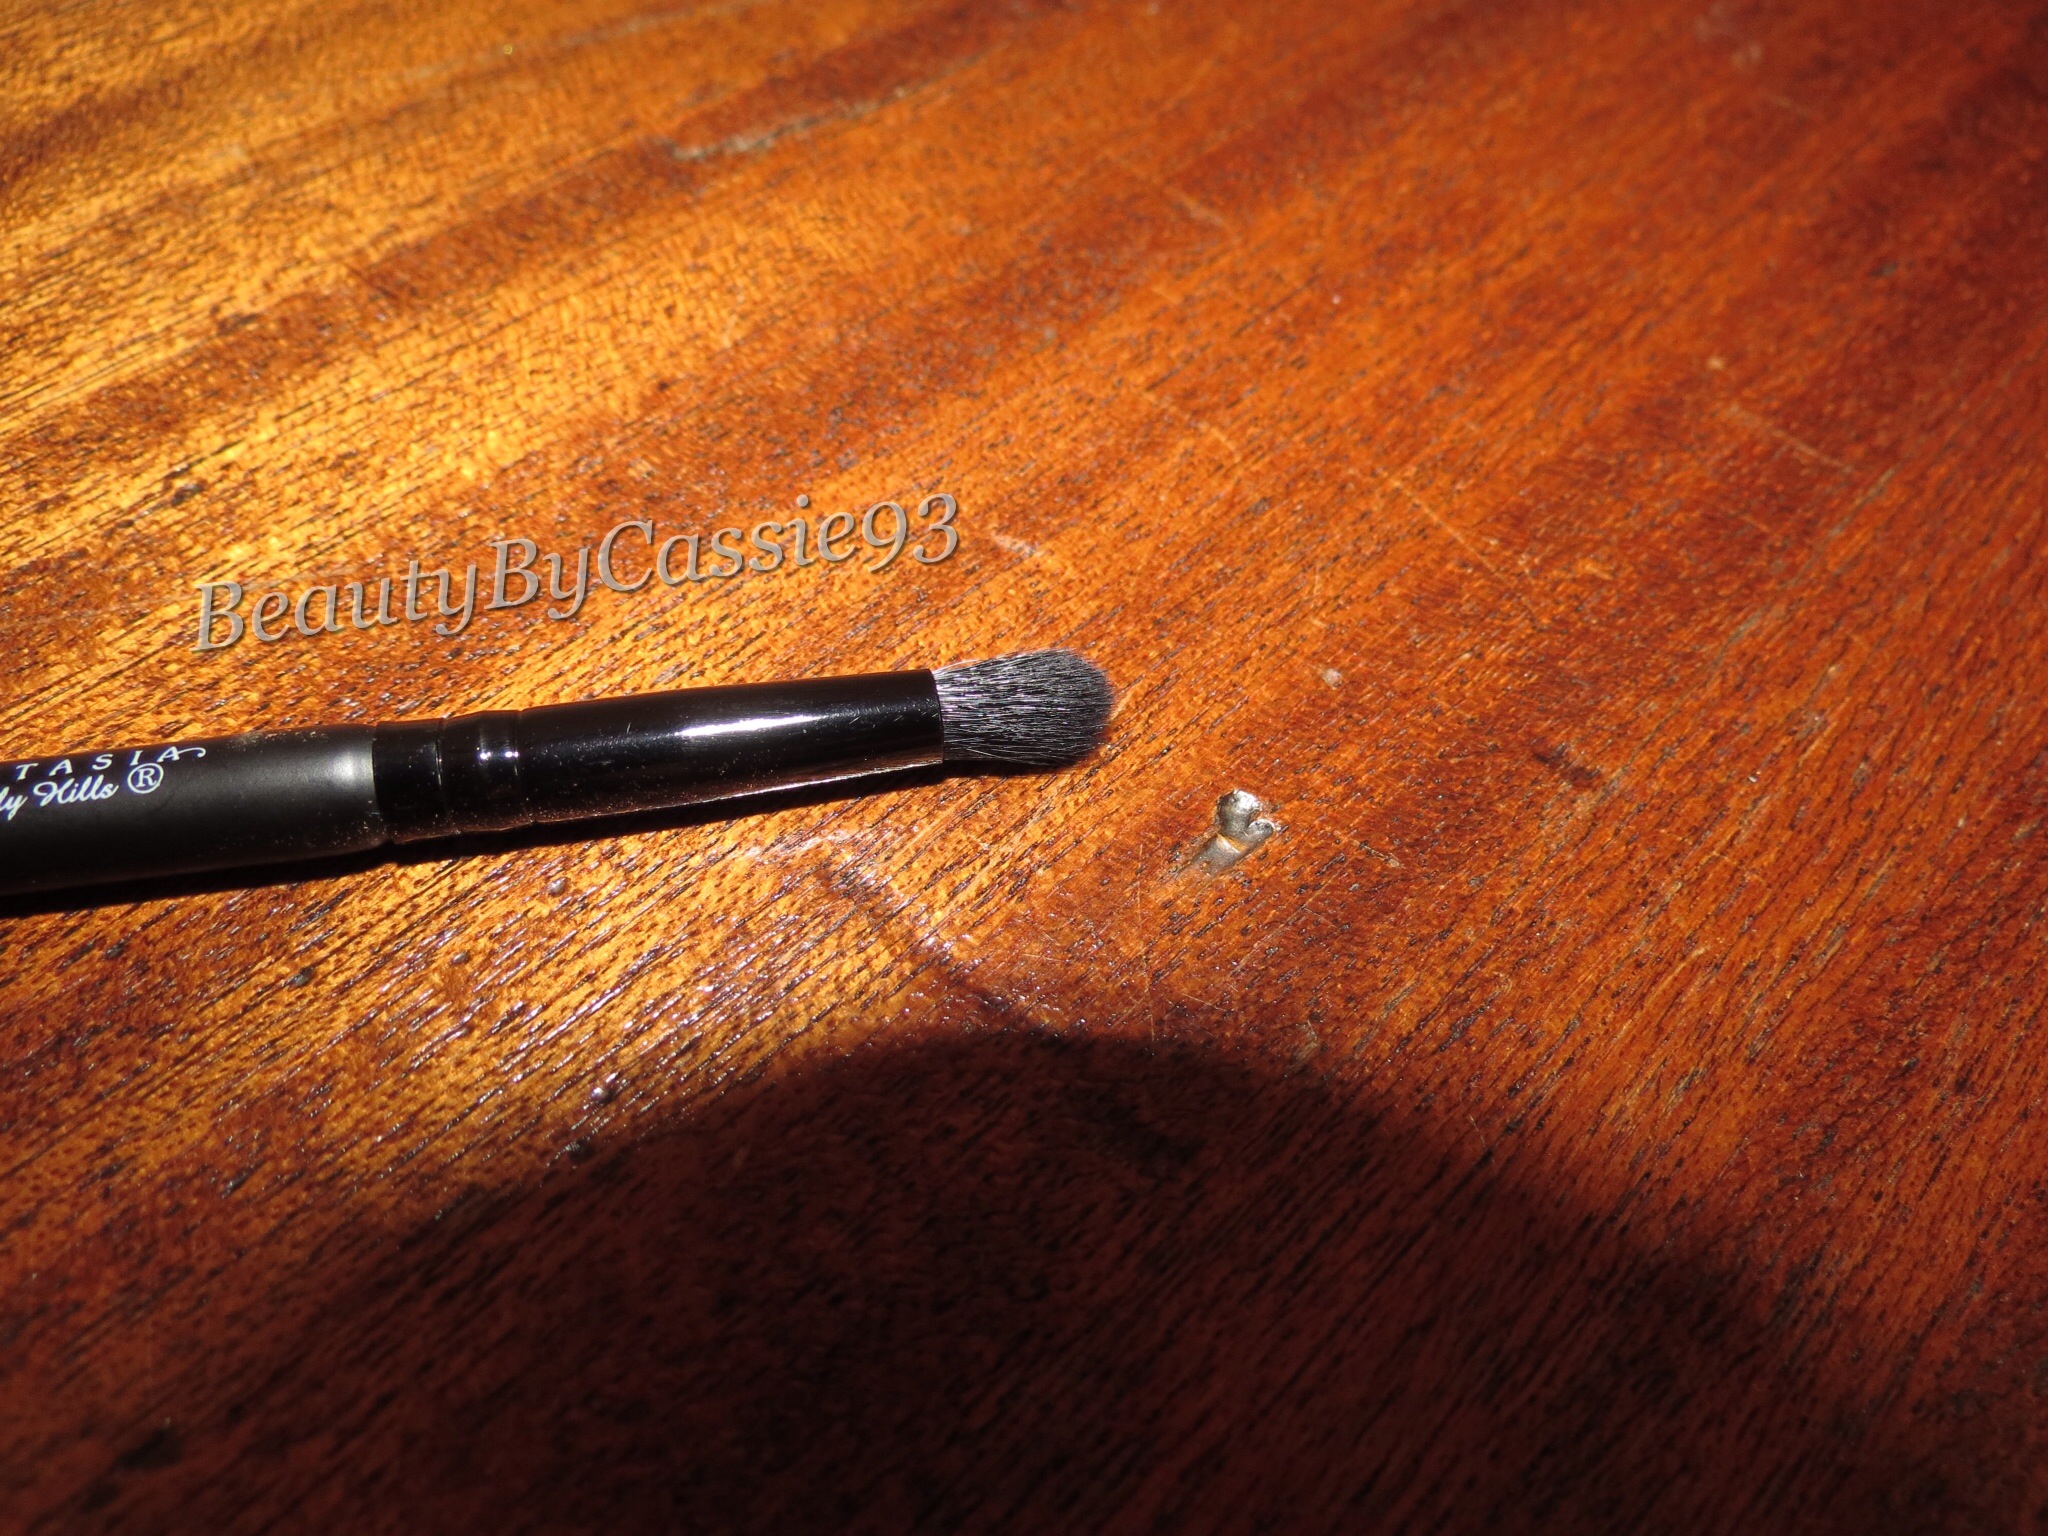
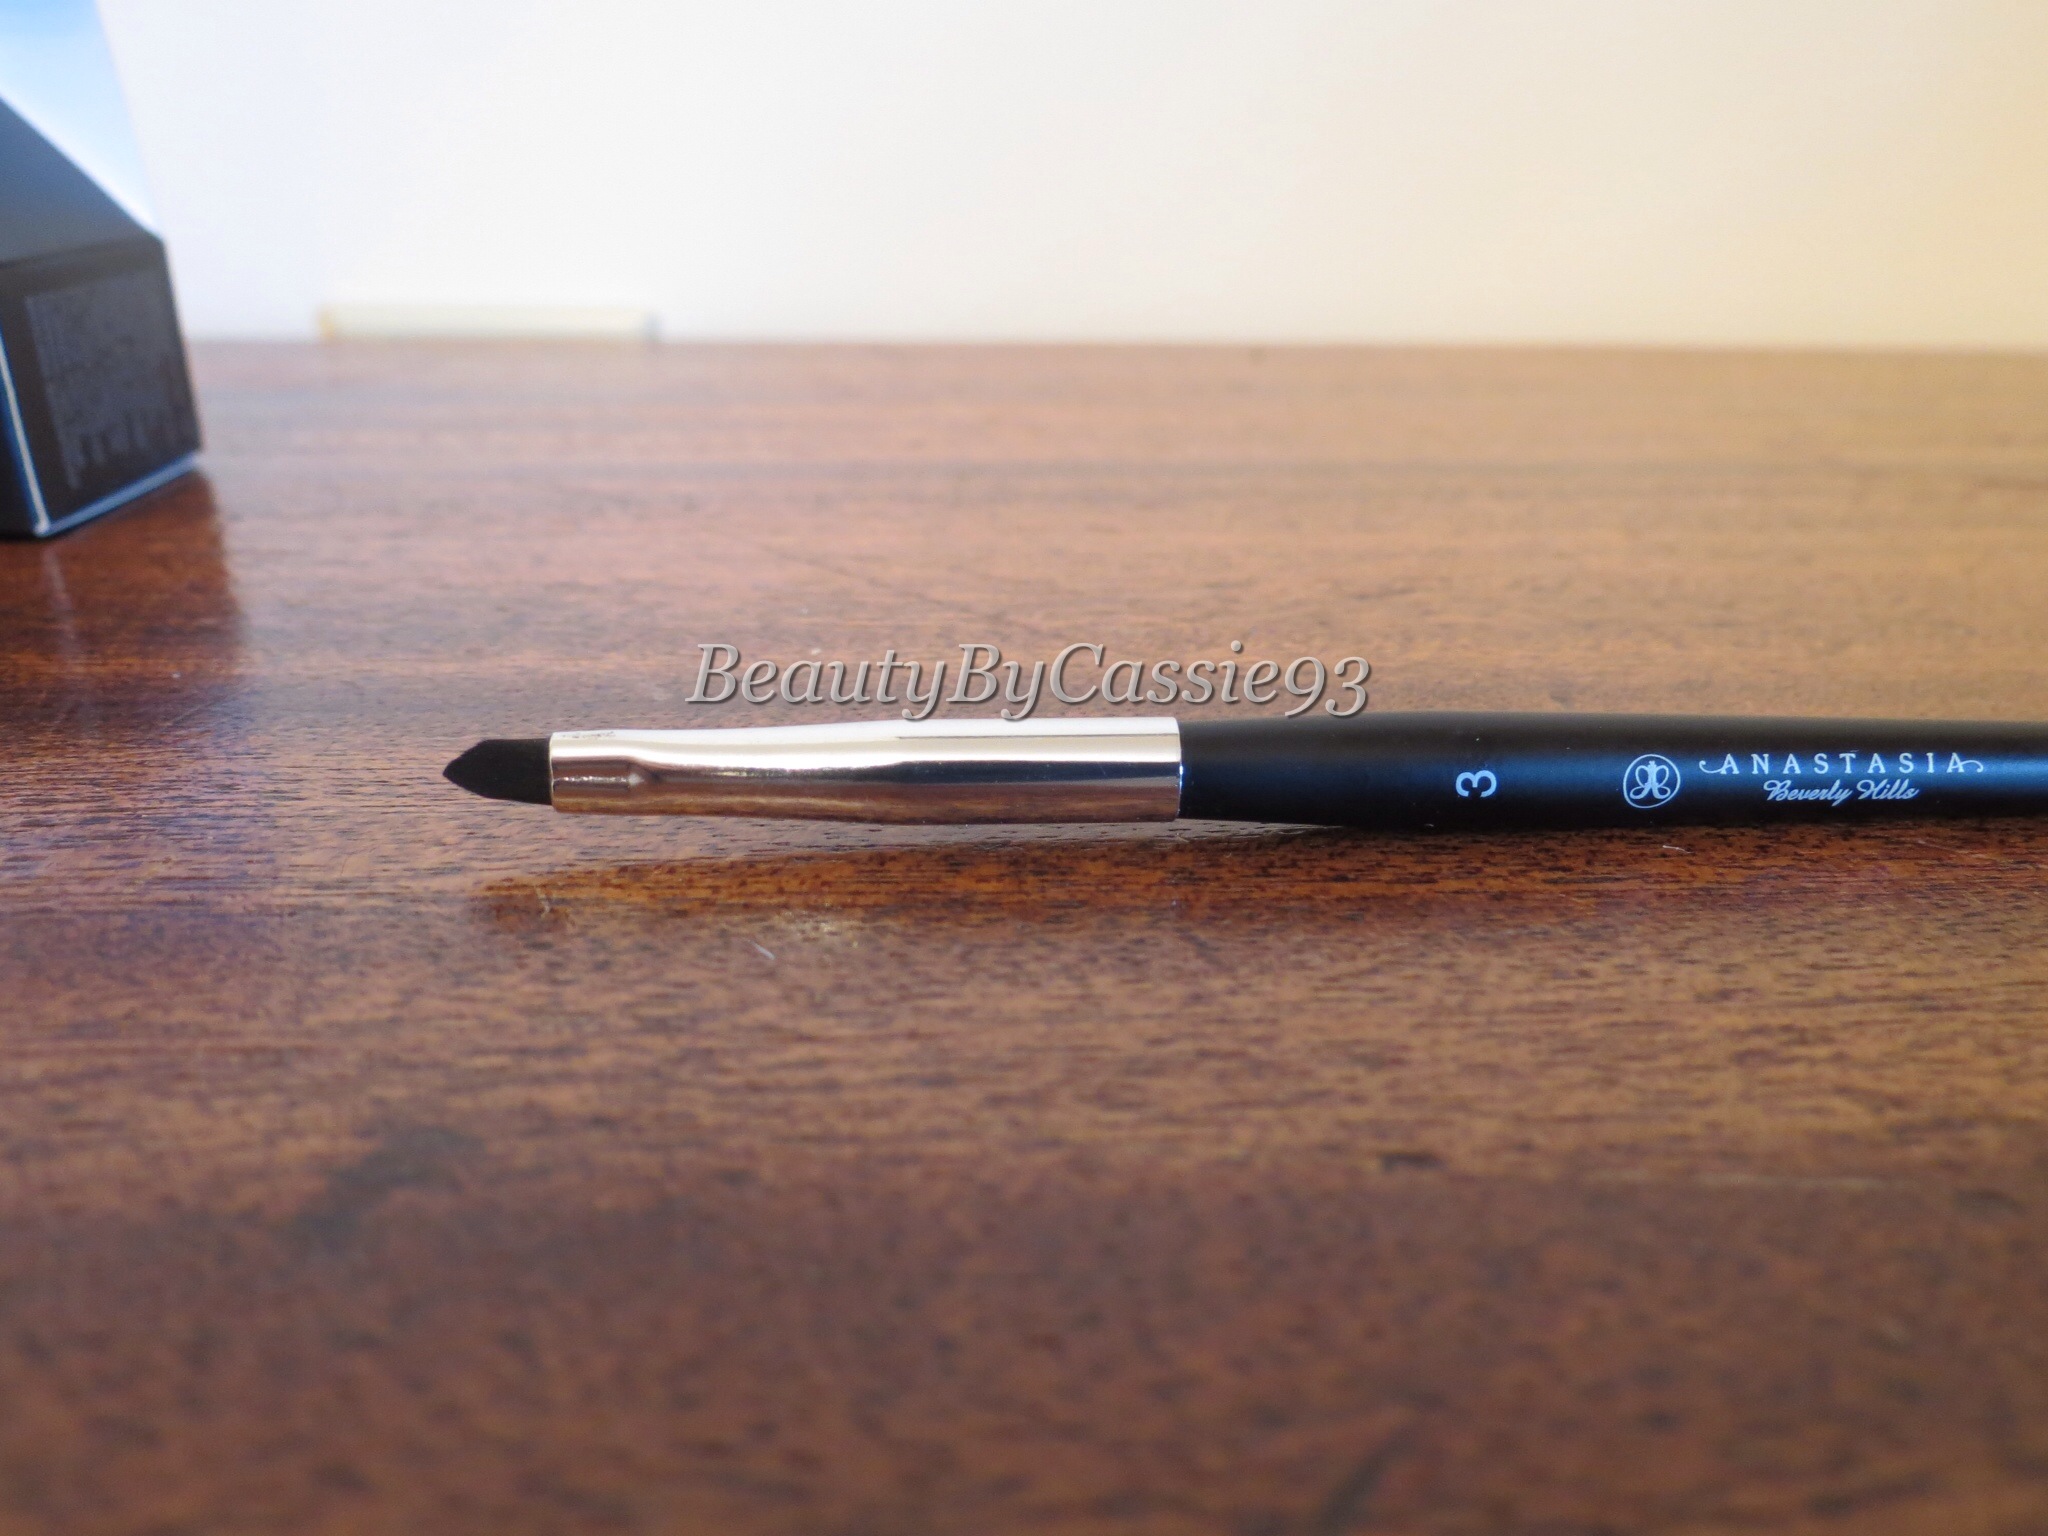
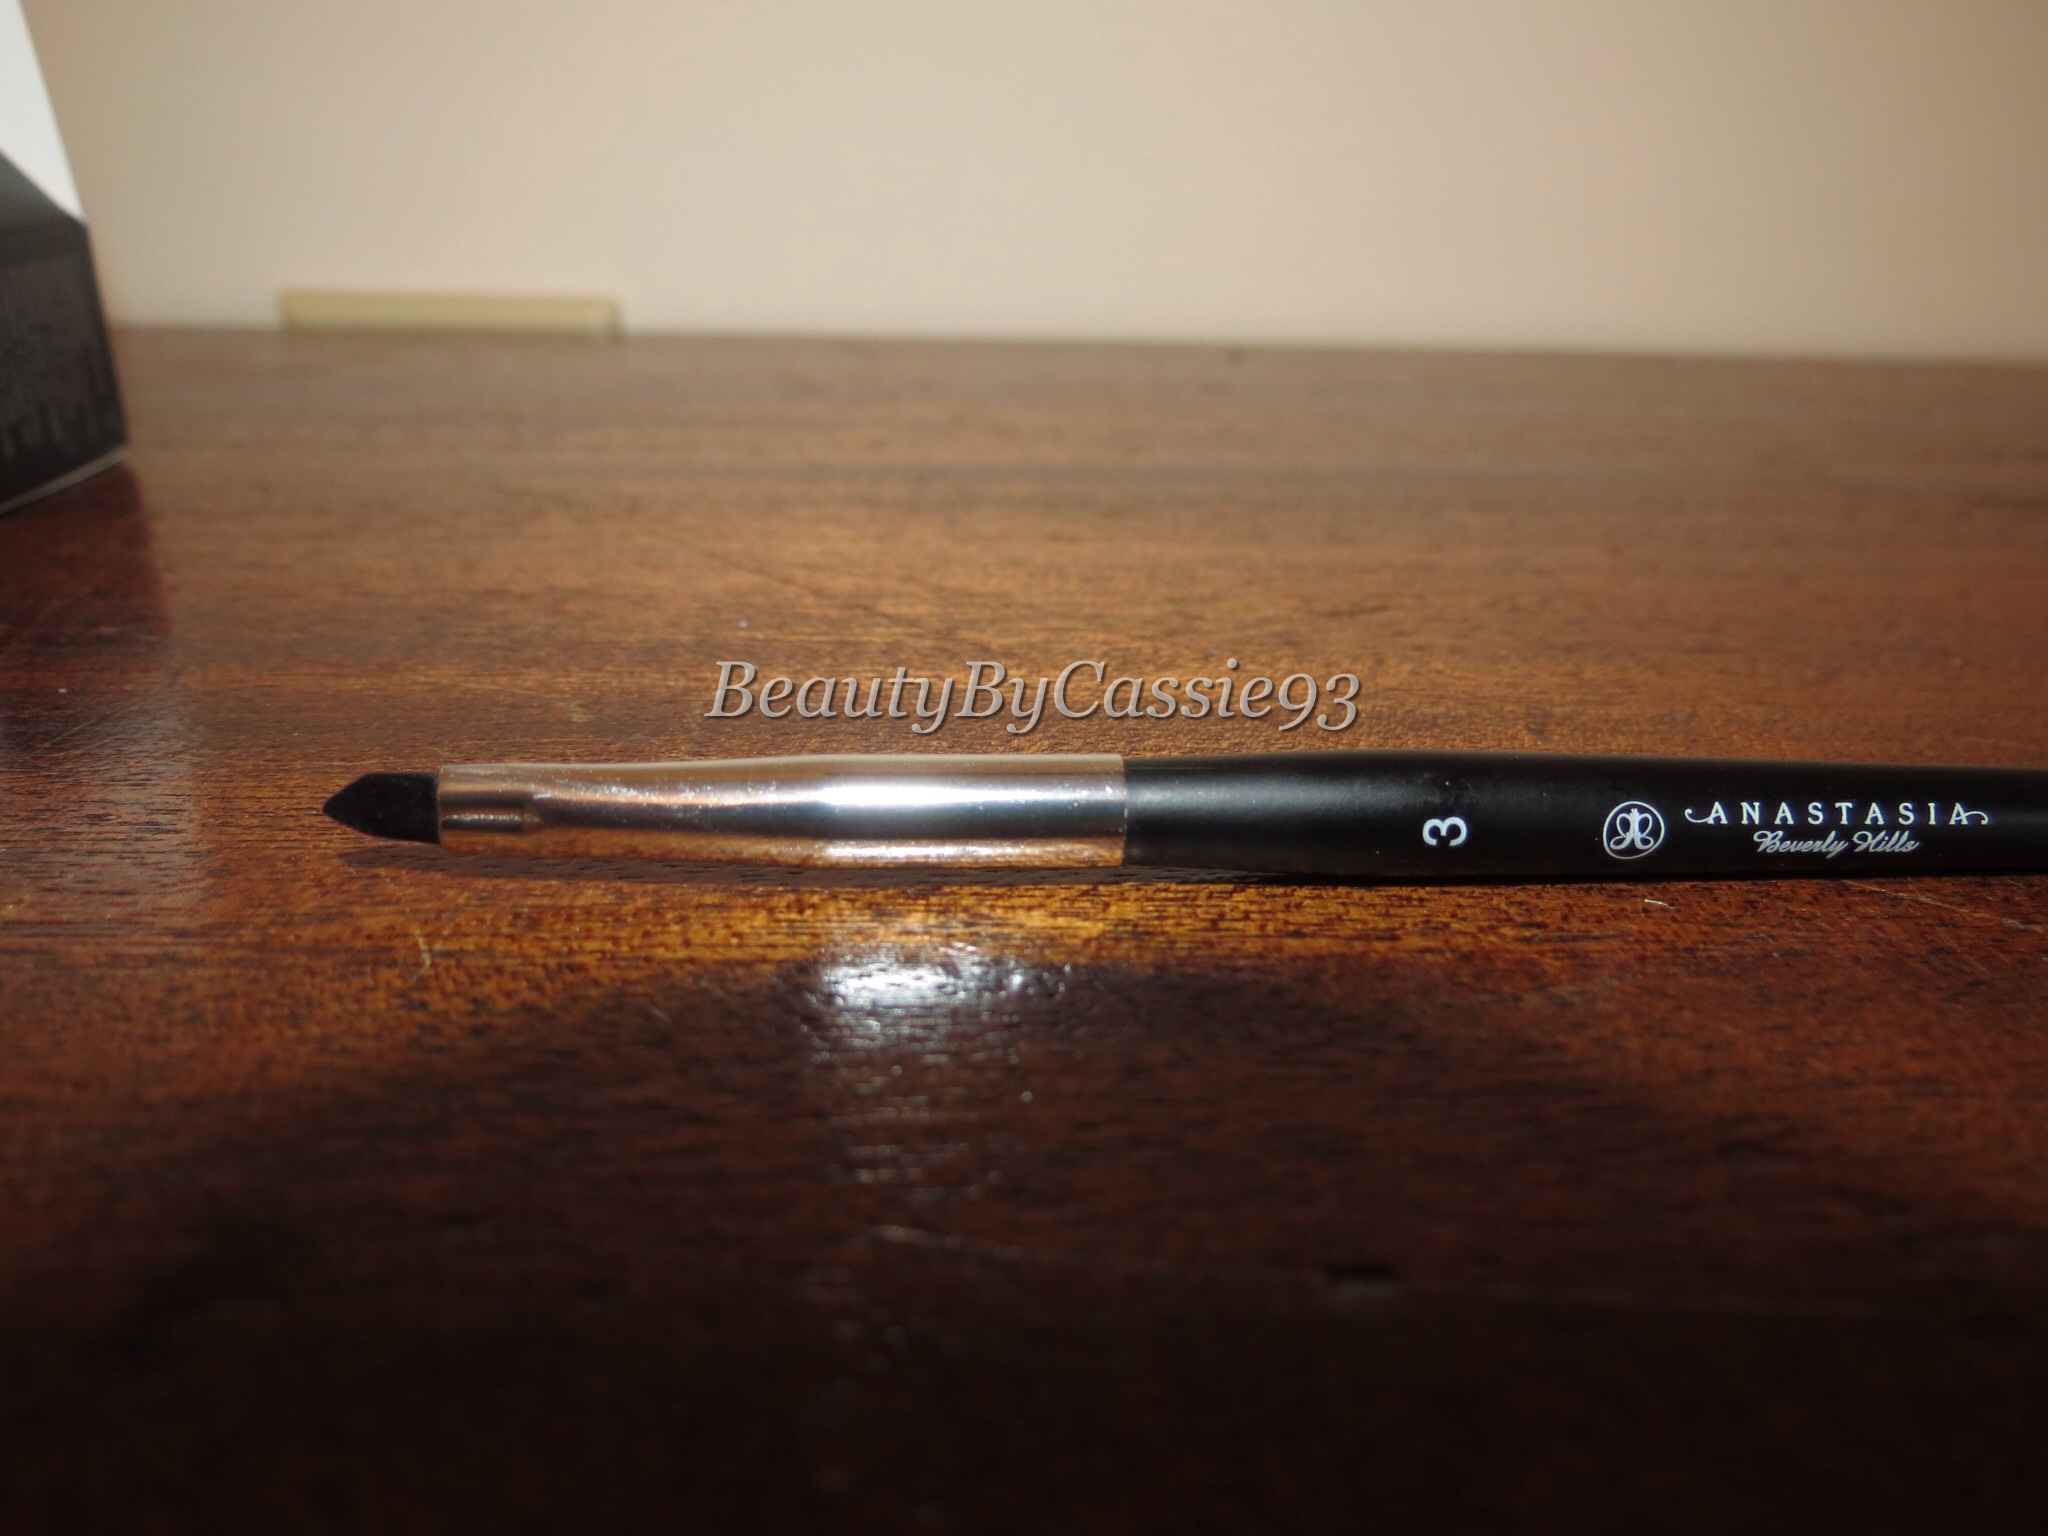
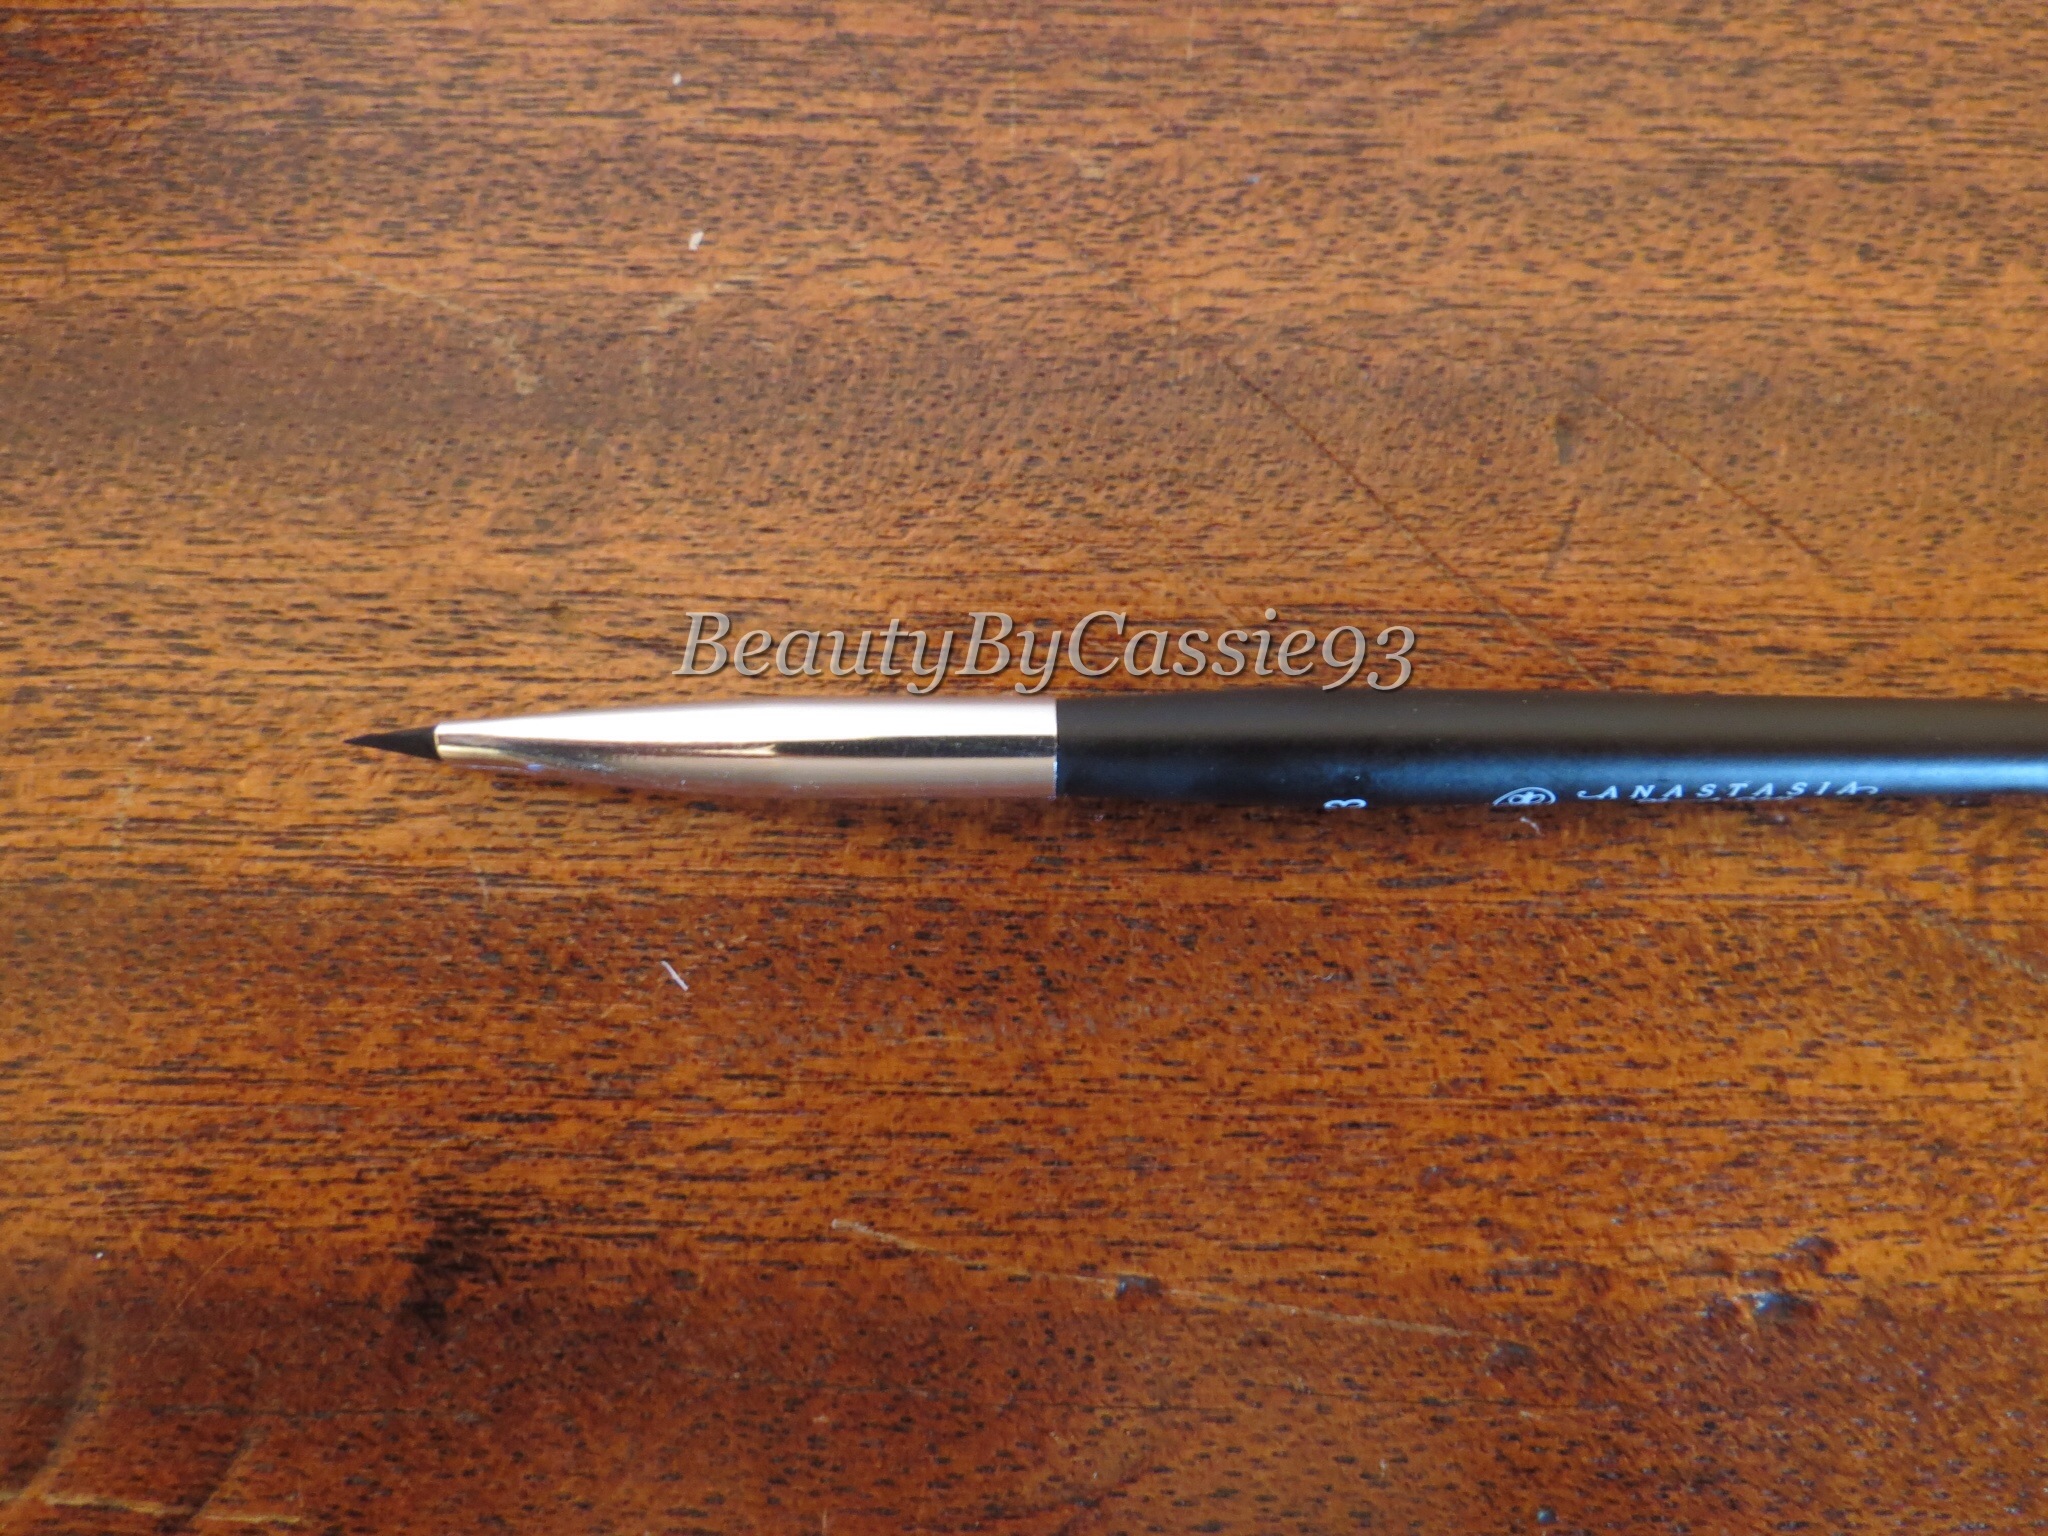
Lastly, we have the #3 Brush. It retails for $18. It’s flat and tapers to a point which makes it ideal for lining the eyes. You can flip the brush on its side and create a super thin line or use the other side and create a much thicker line. I also find that this brush is helpful in creating winged liner looks. Below, I’ve drawn some lines using the #3 Brush and Waterproof Crème Color.