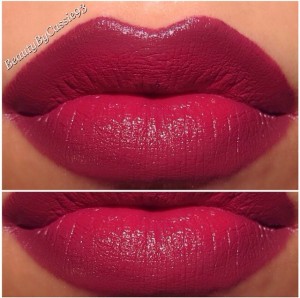
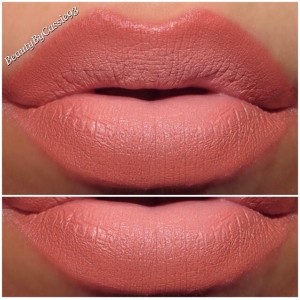
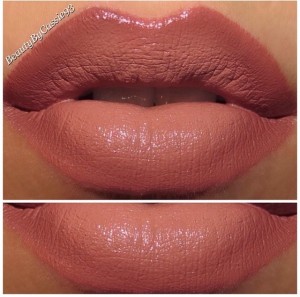
Ombre lips are very trendy especially for Fall. I often get questions about how to achieve this look and it’s honestly not that complicated. Below I’ve inserted a pictorial and listed the steps.
- First, you should exfoliate your lips to remove any dead skin. You can either use a lip scrub or a soft-bristled tooth brush. This will also make your lips appear more plump because, as stated in an online article, you will increase the blood circulation to your lips.
- Next, you’re going to want to outline your bottom lip with your lipstick. You may even want to use a lip liner if you’re using a dark colored lipstick just because that can help prevent the lipstick from feathering and bleeding outside your lip line.
- After that, go ahead and outline your upper lip with your lipstick.
- Next, use either a lip brush or your finger to blend the lipstick into the center of your lips.
- Finally, apply a lighter colored lipstick to the center of your lips to create contrast.
This dark, vampy lip combo is absolutely perfect for Fall and Winter. Pair these lips with a simple neutral cat eye and you’ll be good to go.
This ombre technique is useful in making your lips appear fuller.
Remember, there are no rules when it comes to makeup so get creative with your ombre lips! You can apply a lighter color around the outside of your lips and a darker shade in the center. You can even start with either a lighter shade or darker shade on one corner of your mouth and have it fade to dark or light.
Here are a few other ombre lip looks I’ve done in the past:


