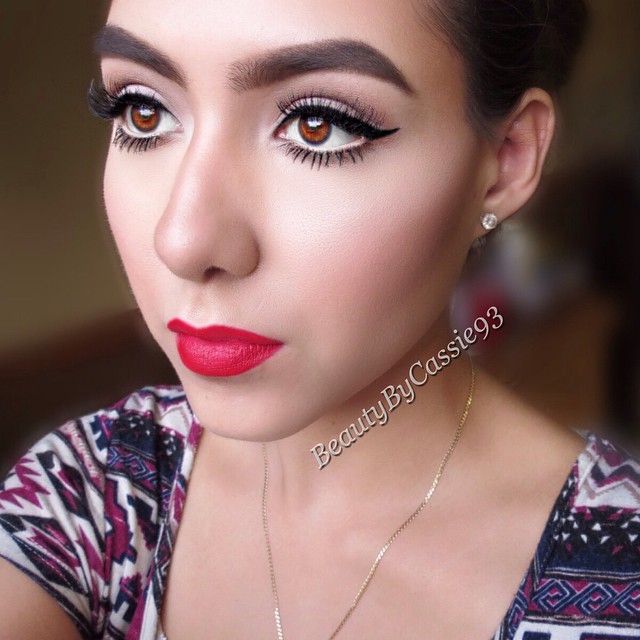
When creating this Audrey Hepburn inspired makeup look I went for super bold brows, doe-eyed makeup, and red lips.
Main parts of her look:
Brows: I couldn’t get my brows exactly the same shape as hers since mine are so highly arched. Her brows were super thick but very straight, with almost no arch.
Eye makeup: I tried to keep my eyes very wide-eyed by skipping out on black liner along my waterline. The key to making my eyes appear larger like hers was using a nude pencil on my waterline. Also, the winged liner and lashes helped to achieve her flirty looking eyes.
Lips: In many of the pictures I came across of Audrey, she had full-looking red lips. I could tell hers were slightly overdrawn but I decided I would line my lips normally.
Below is the complete Audrey Hepburn inspired makeup tutorial.
As many of you may know the Sephora 20% off VIB sale is going on now. I took advantage of the sale and picked up a few new things as well as some long-time favorite products. Sephora rarely has sales so this is a great time to stock up on products and/or try new products. I filmed a haul video talking about each item. In the video I also talk about some Elizabeth Arden products I’ve received lately–I’ll post pictures/swatches below.
Bite Beauty High Pigment Lip Pencils- $25 for set of four.
Sephora Favorites Draw the Line- $30
Peter Thomas Roth Skinstant Mask Magic- $45
Anastasia Beverly Hills Clear Brow Gel- $22
Sephora The Beauty of Giving Back Face Palette- $15(on sale)
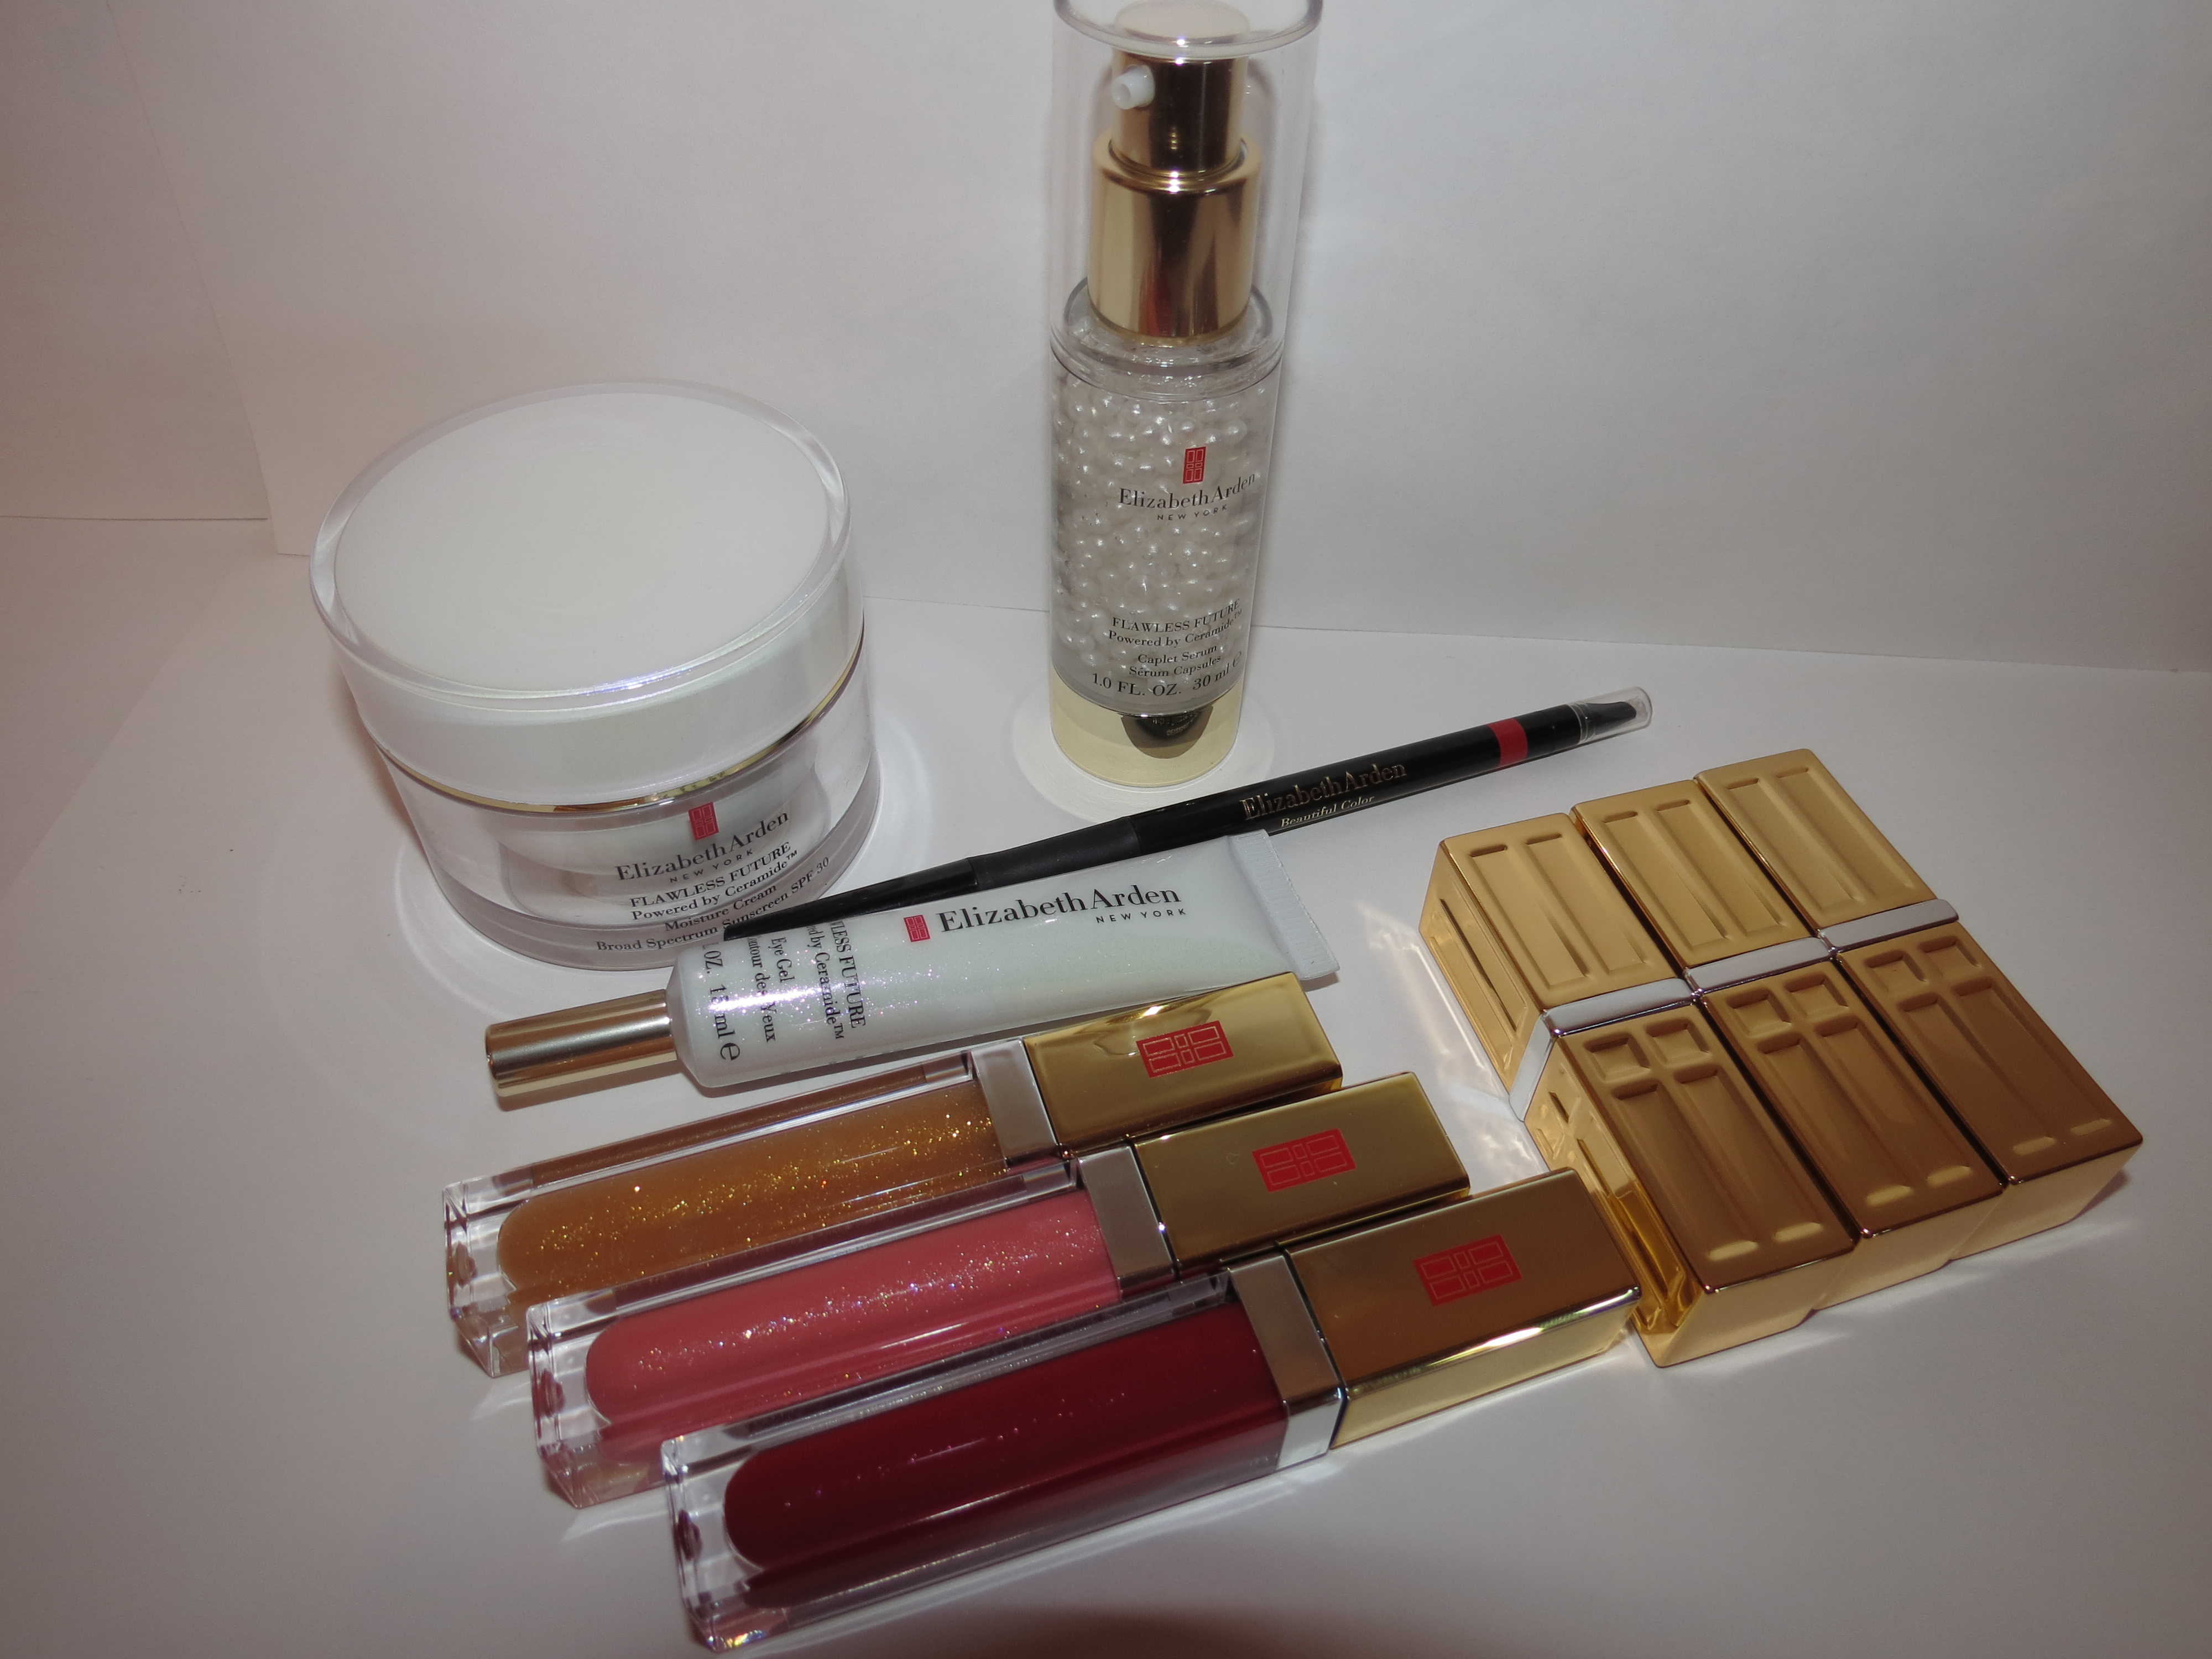
Elizabeth Arden products:
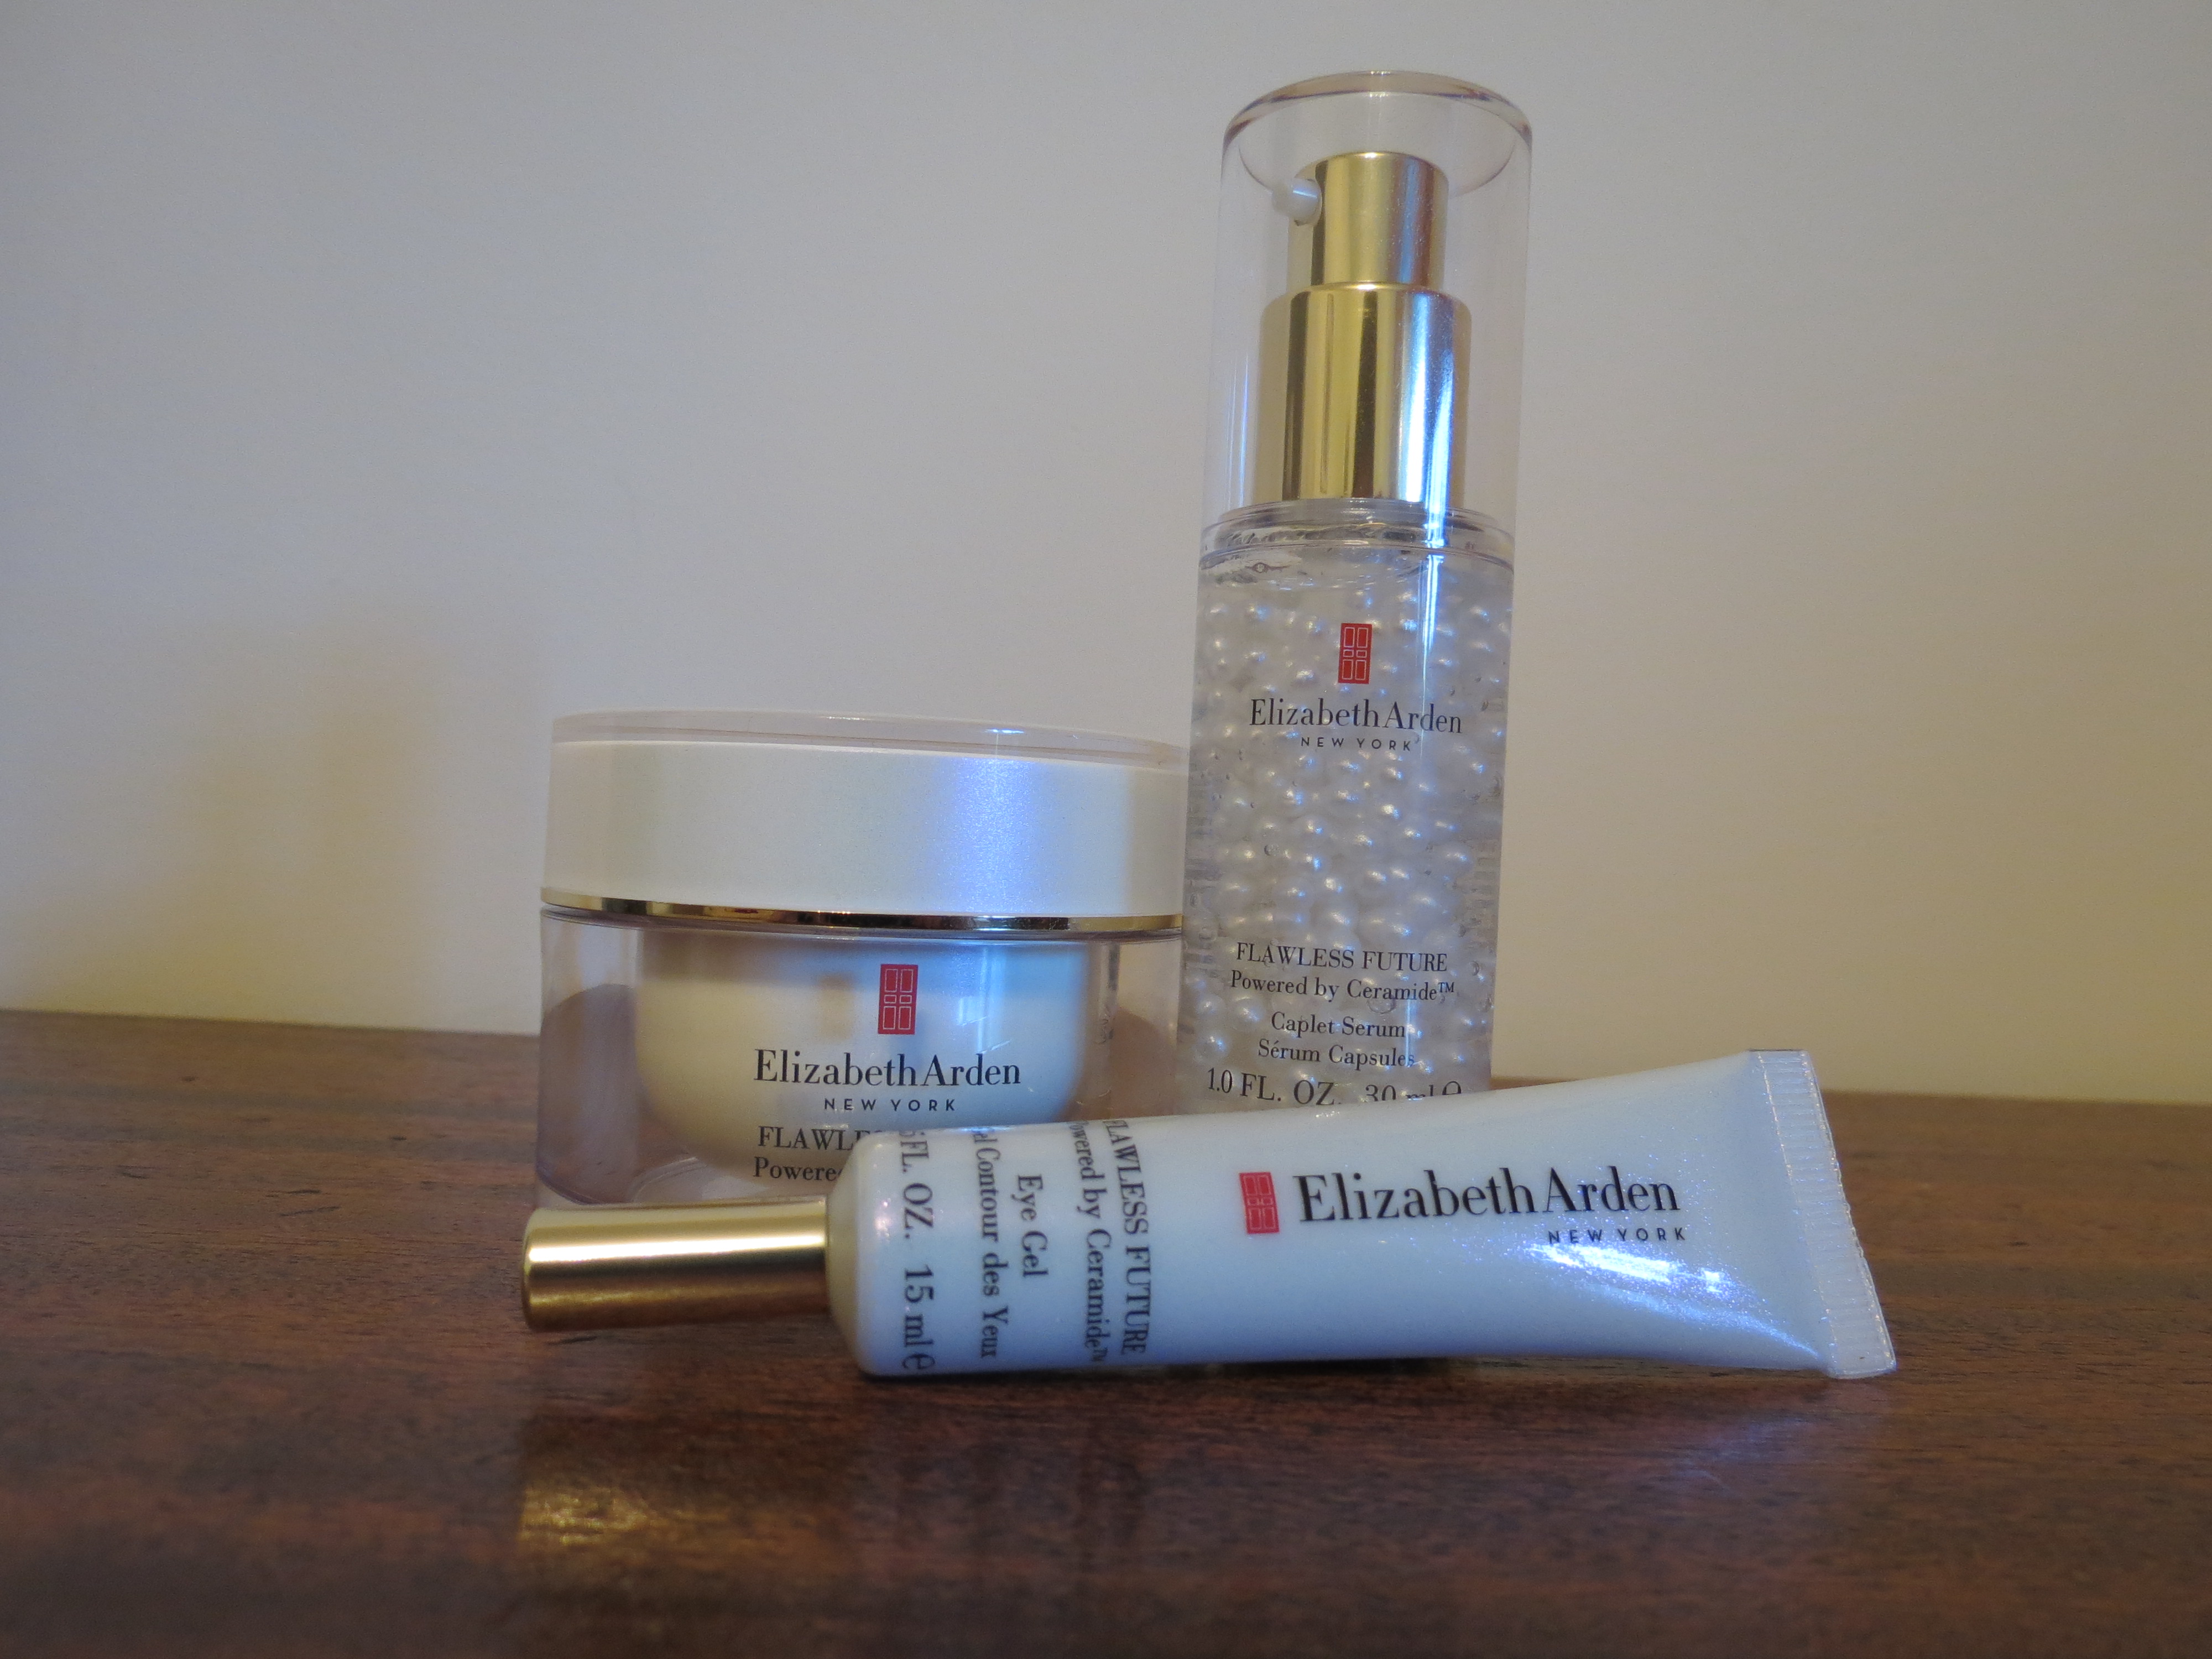
Elizabeth Arden Flawless Future Powered by Ceramide Eye Gel-$40
Flawless Future Powered by Ceramide Caplet Serum- $60
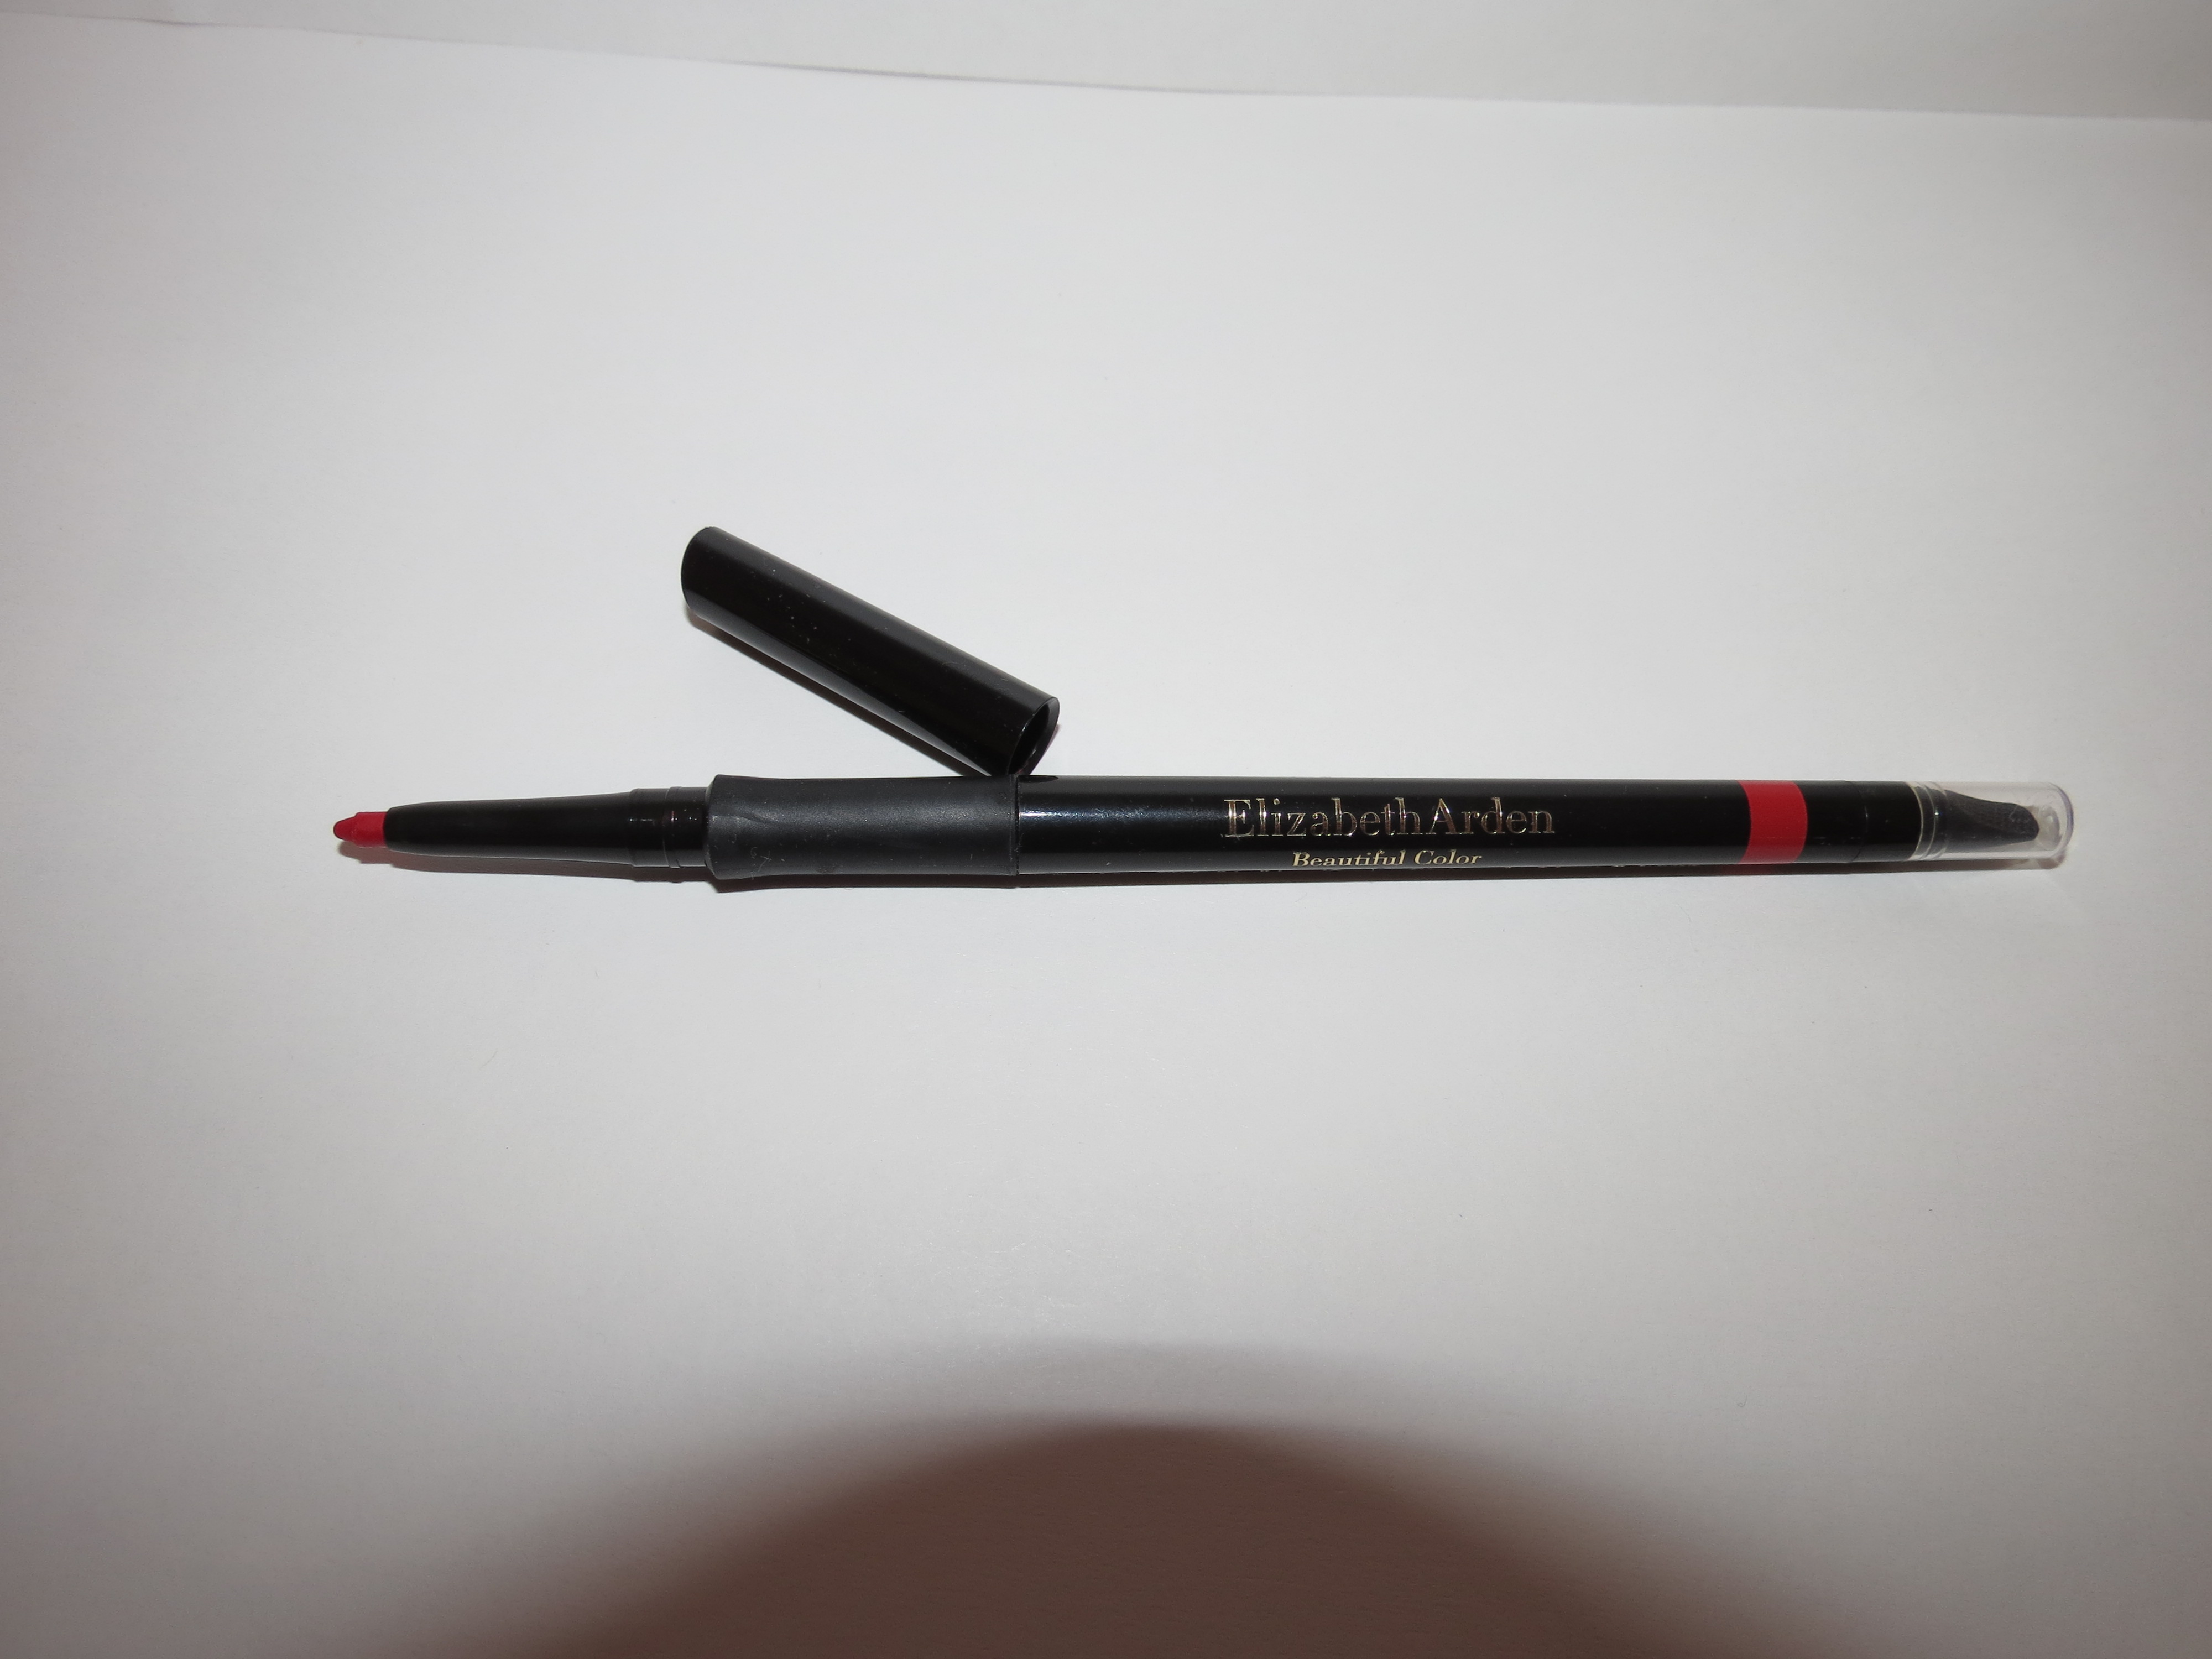
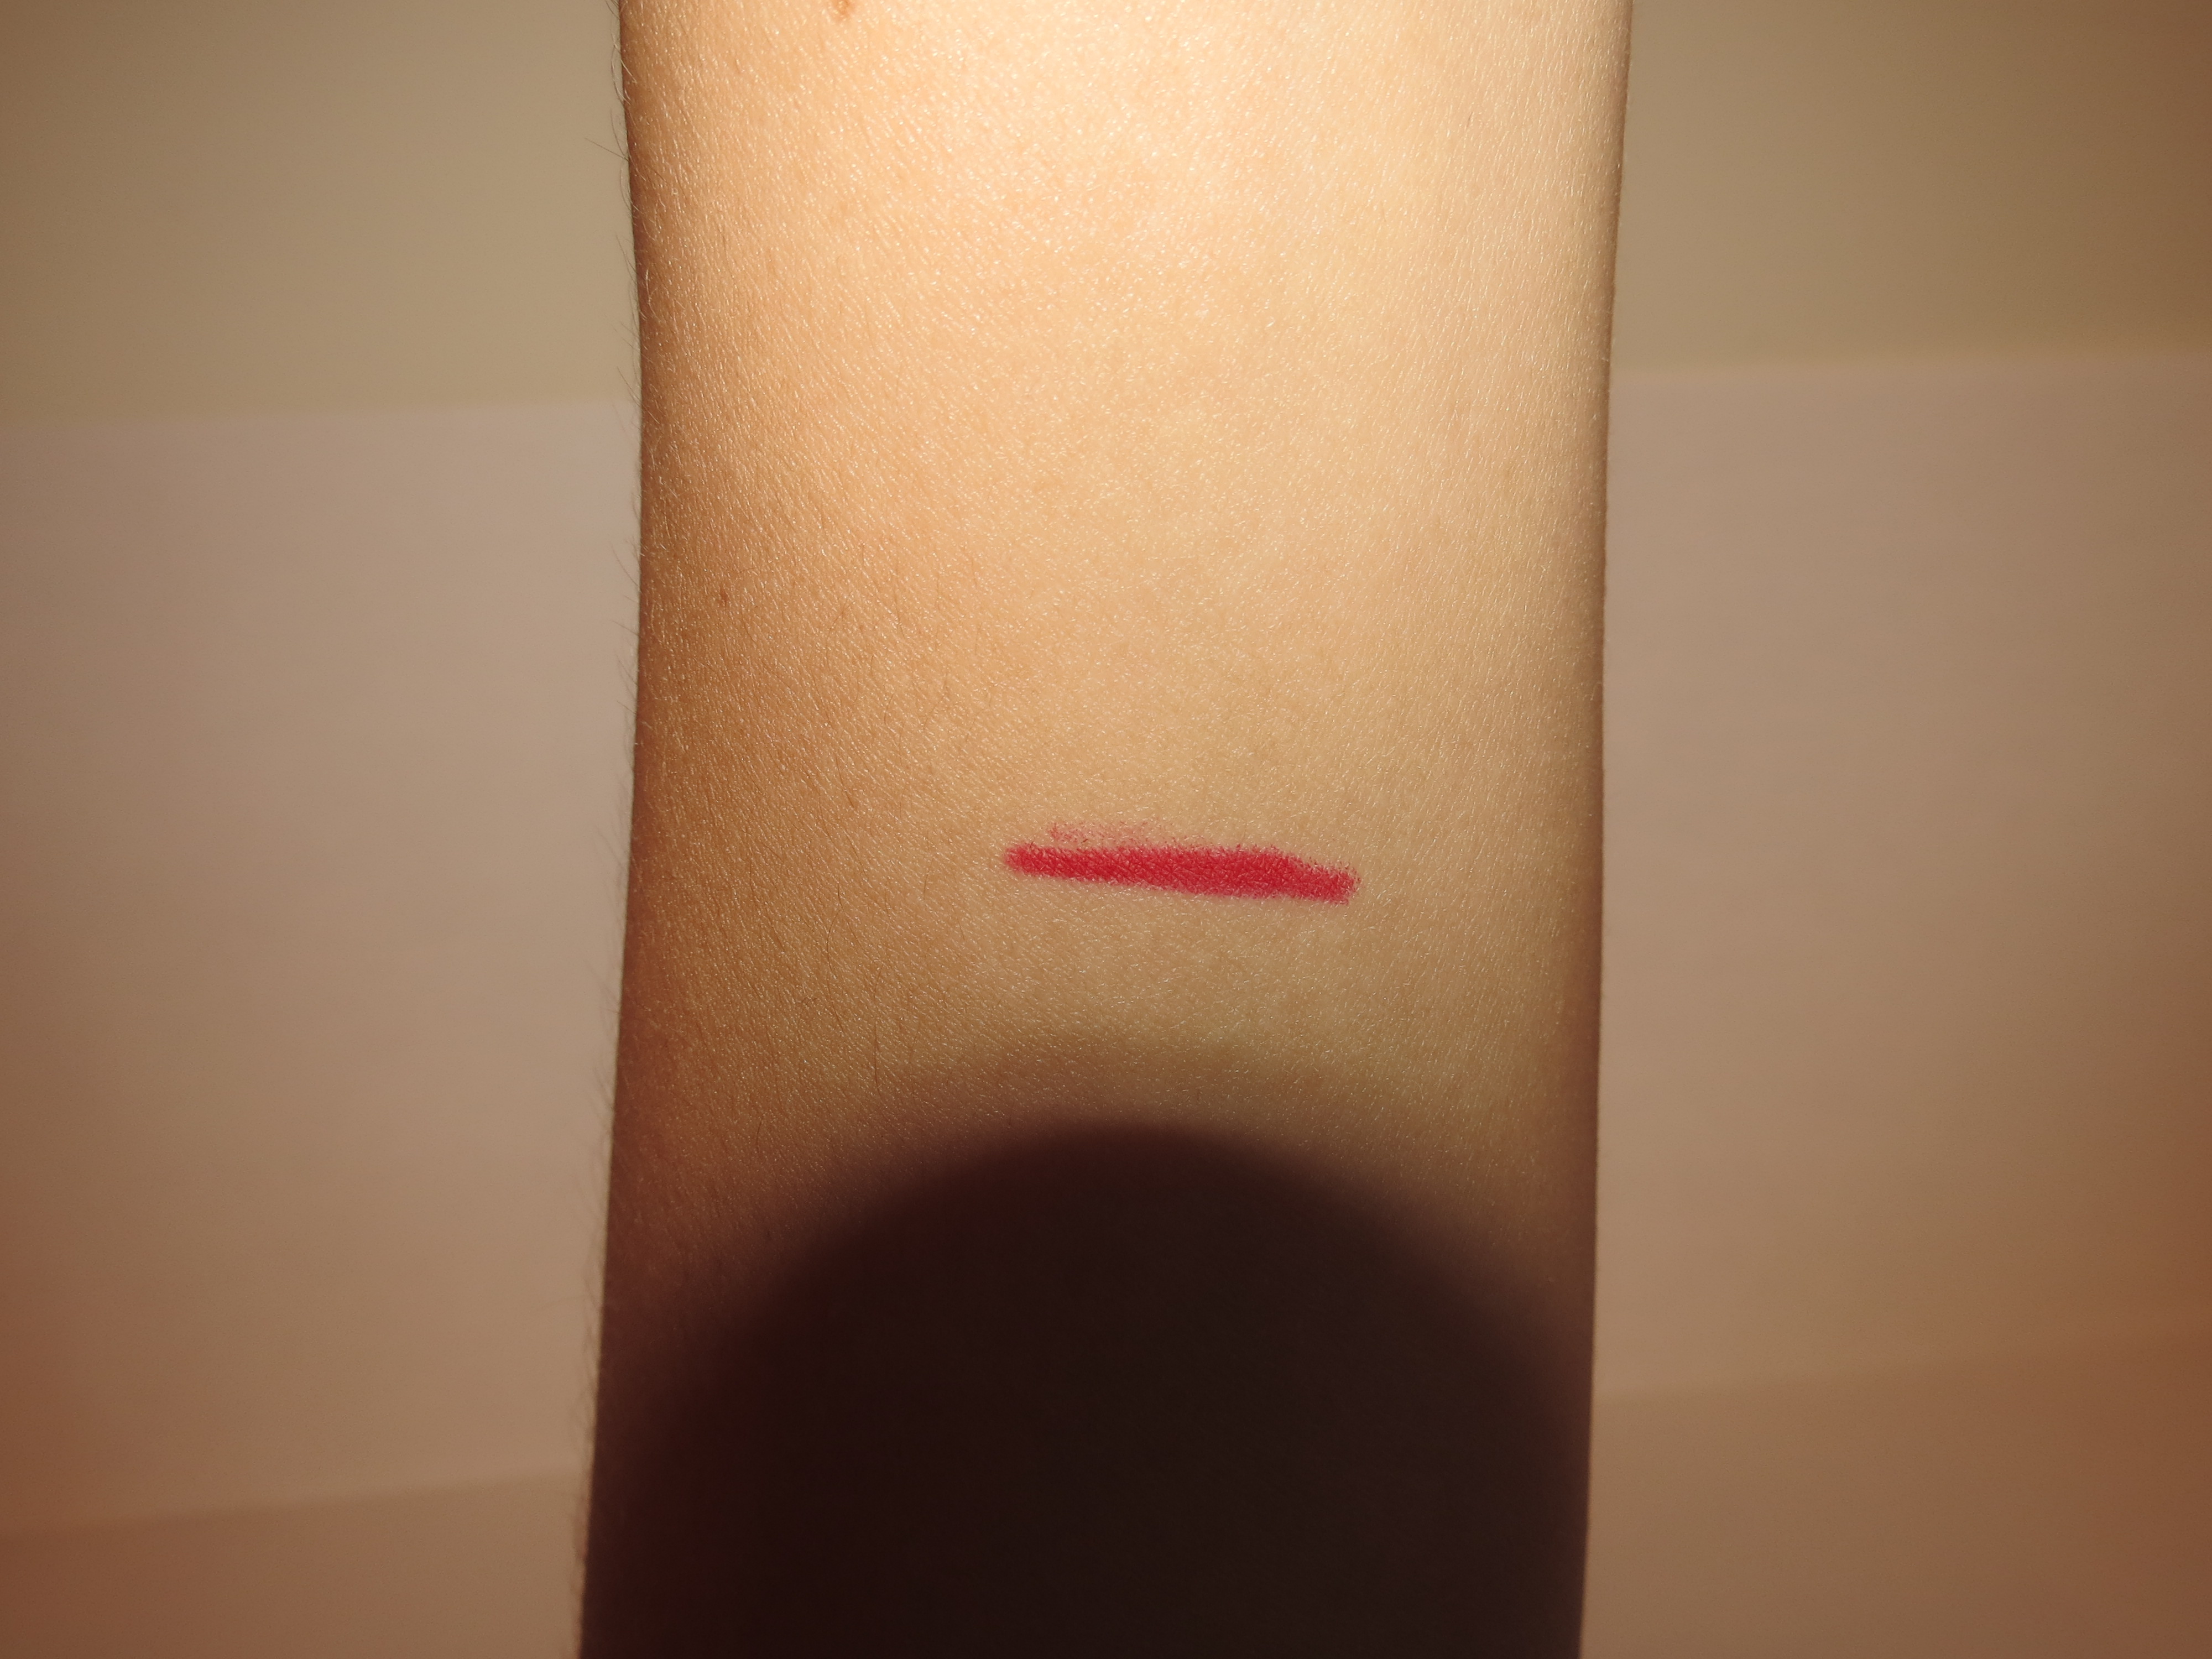
Elizabeth Arden Beautiful Color Precision Glide Lip Liner in Red Door Red-$21
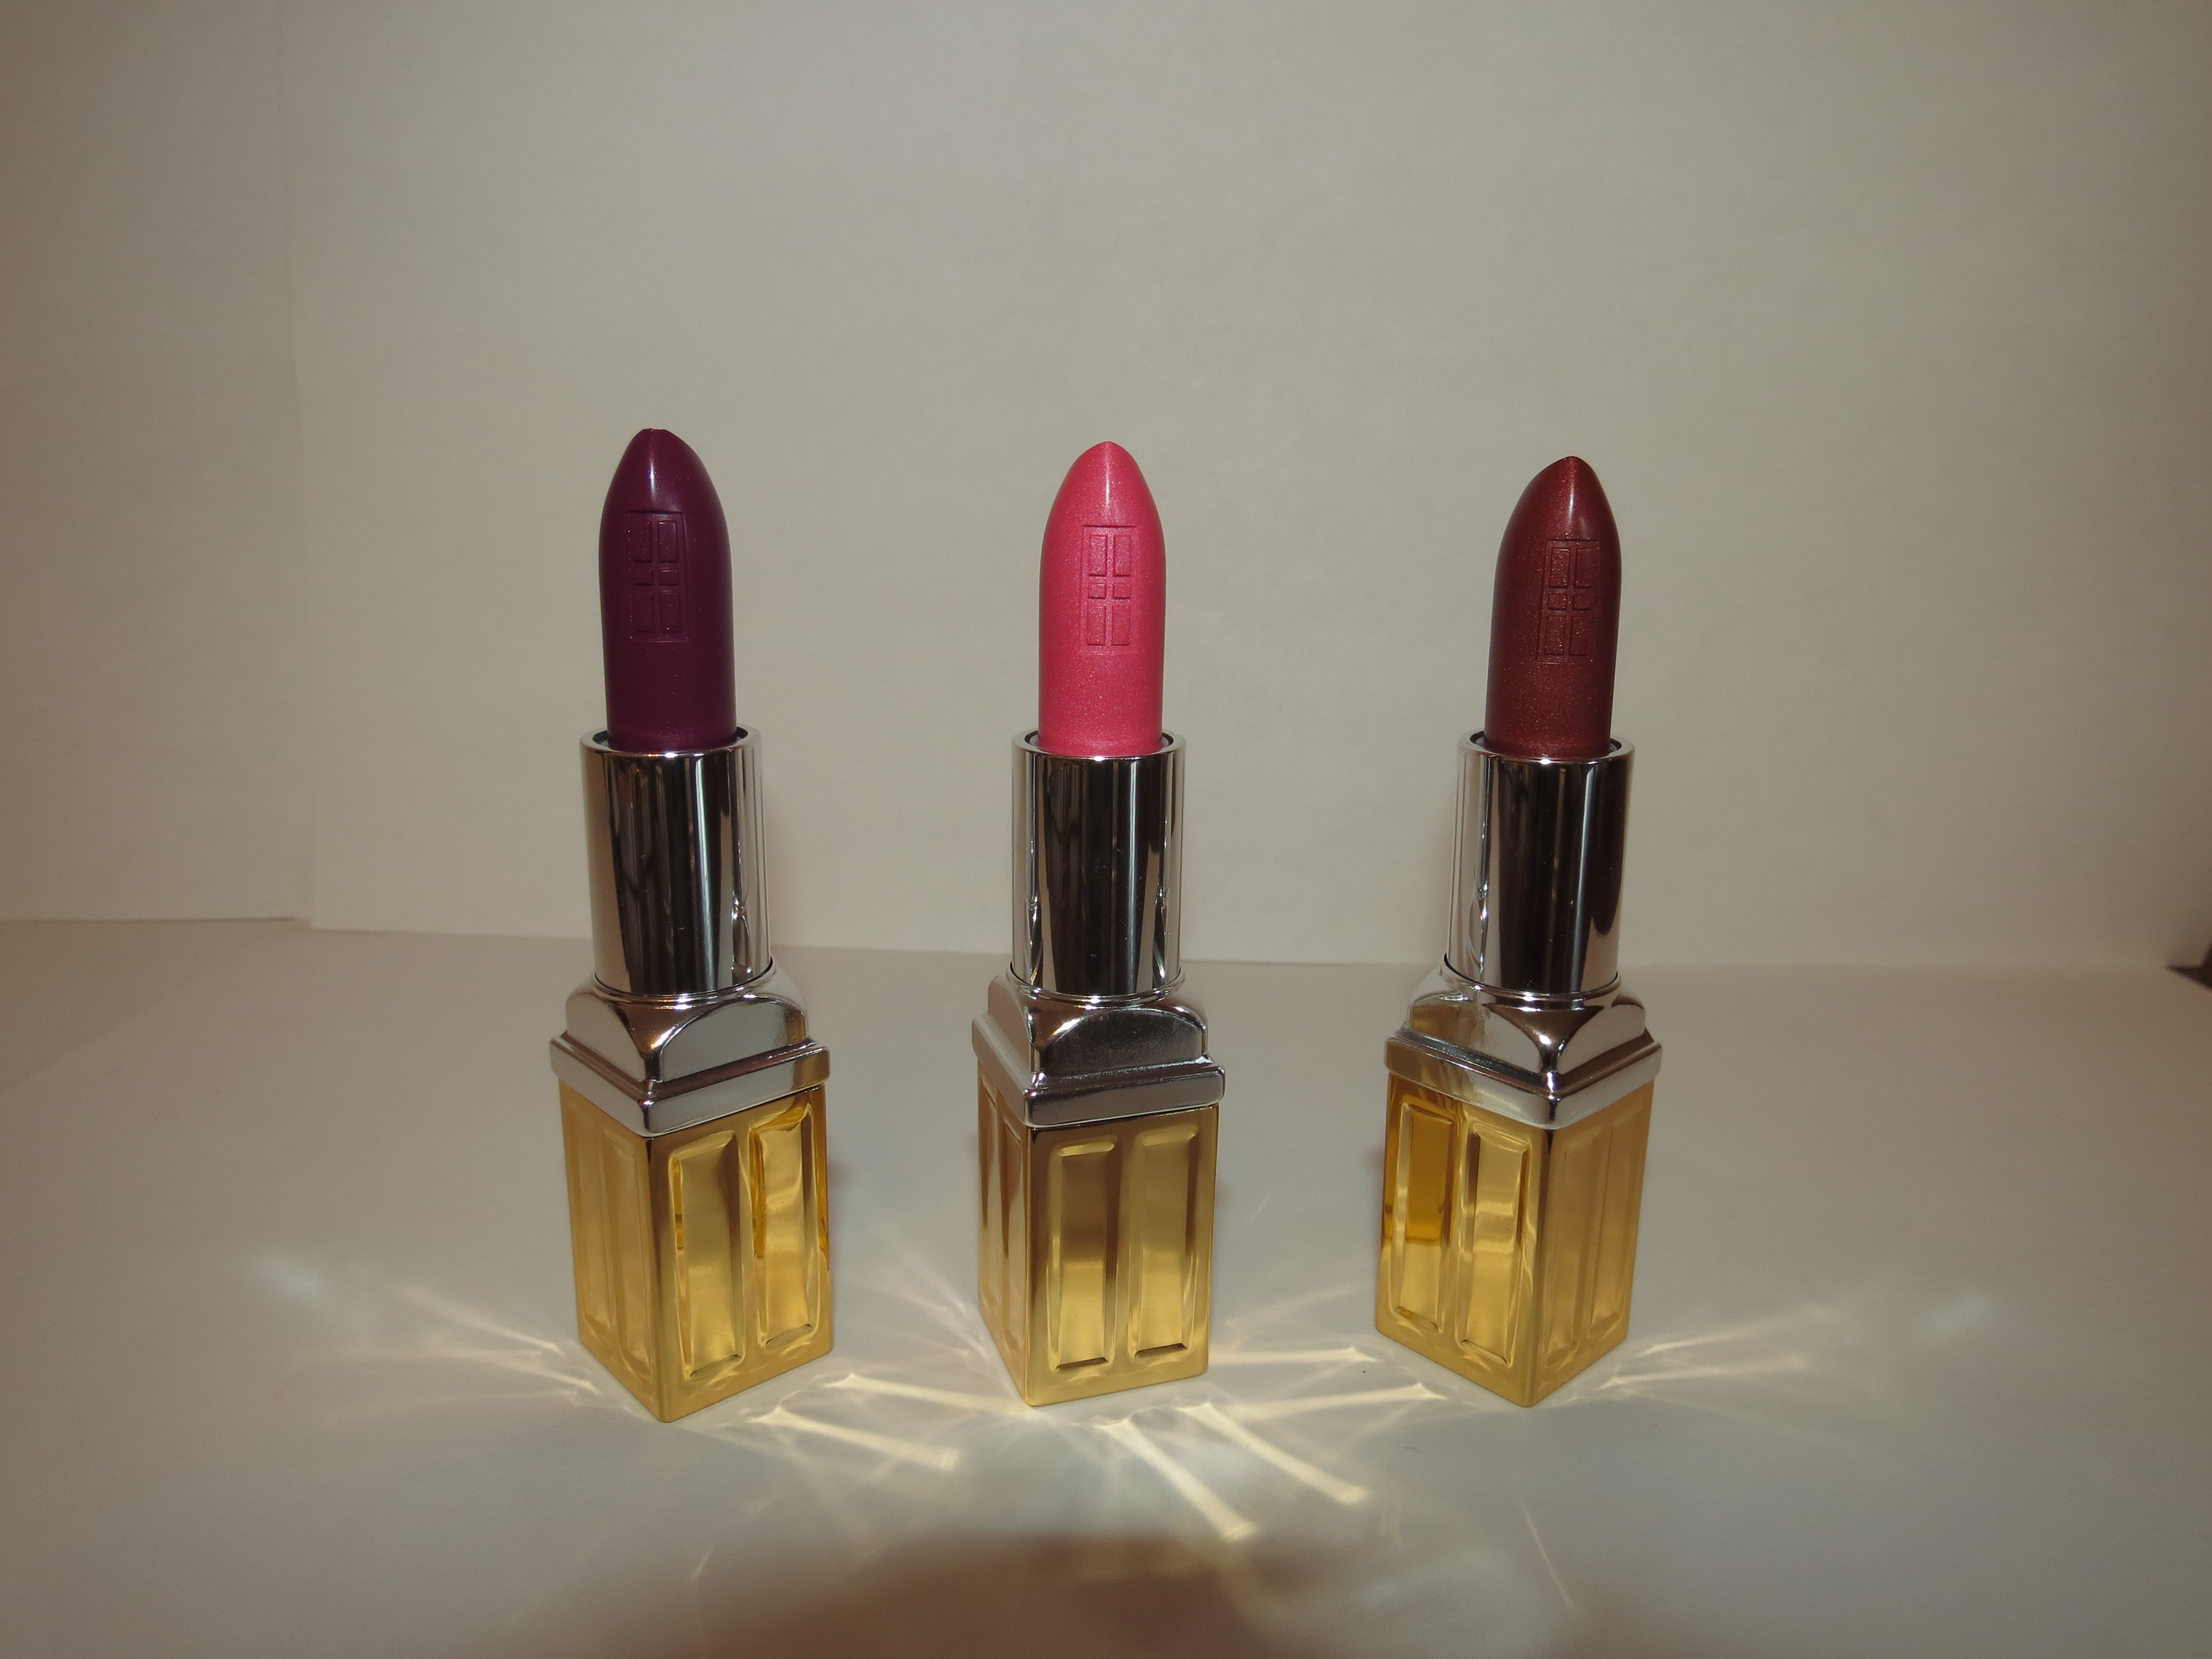
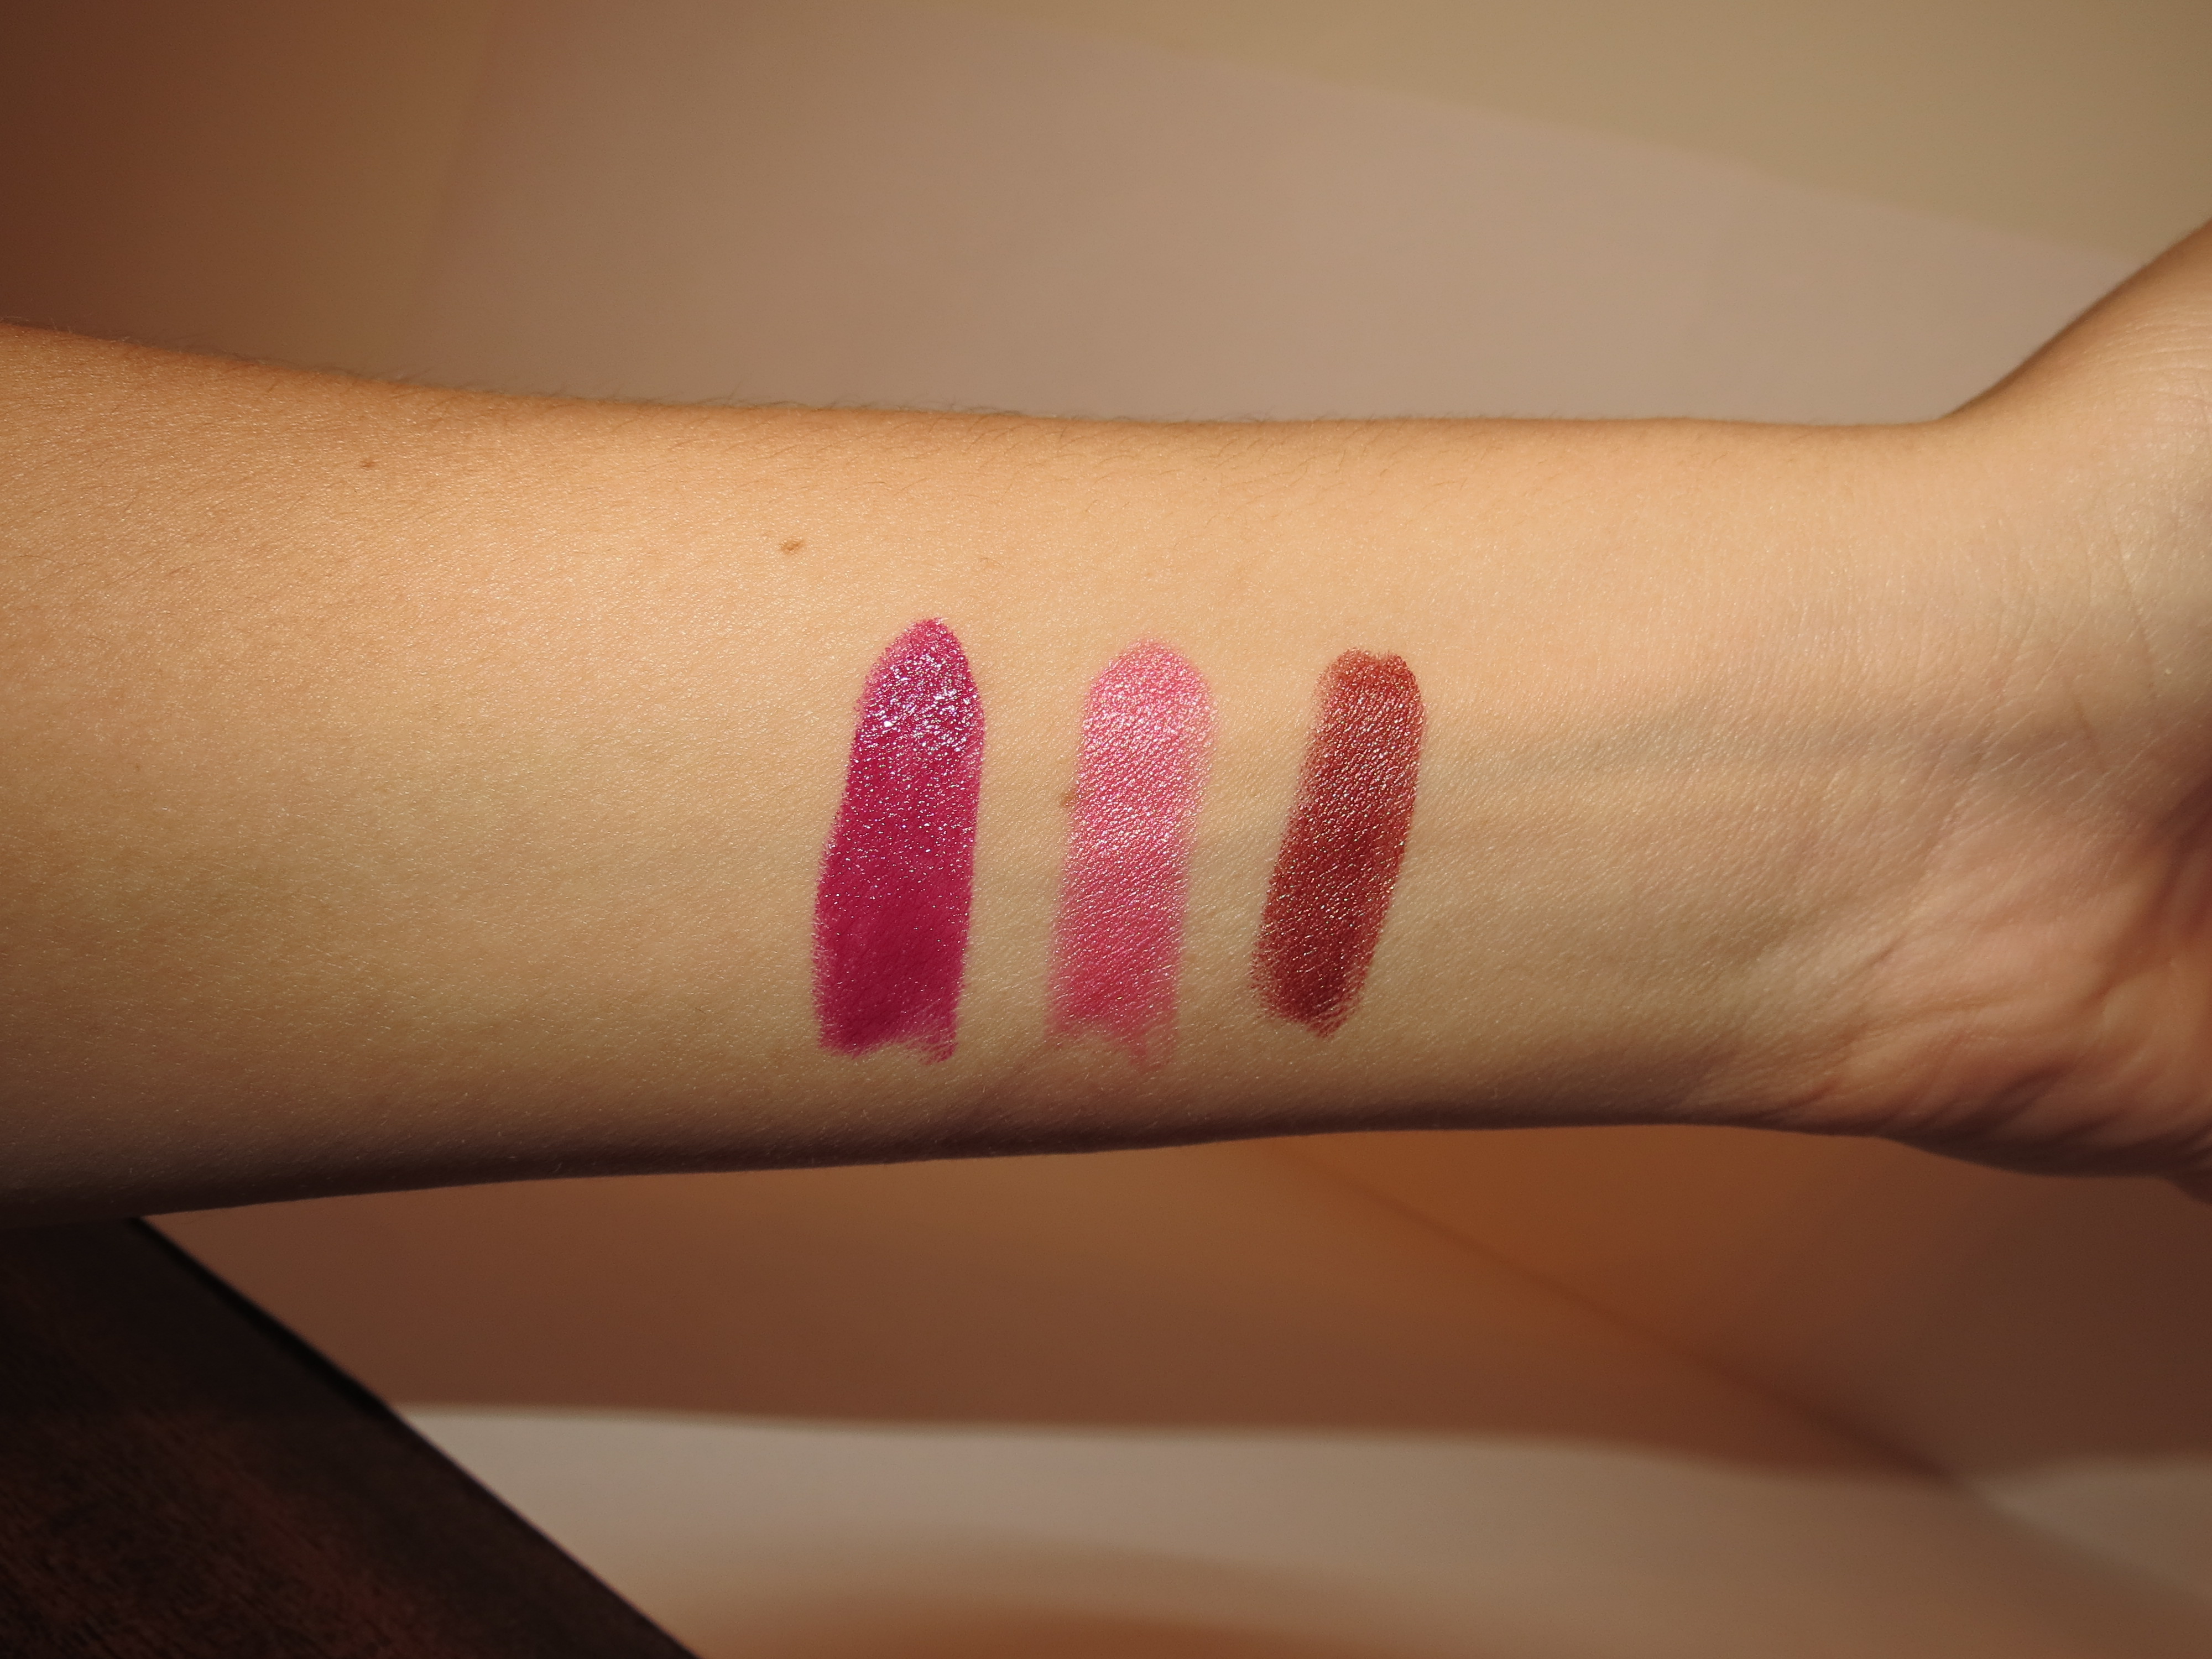
Elizabeth Arden Beautiful Color Moisturizing Lipstick in Ultra Violet, Pink Pink, and Rustic Red-$25
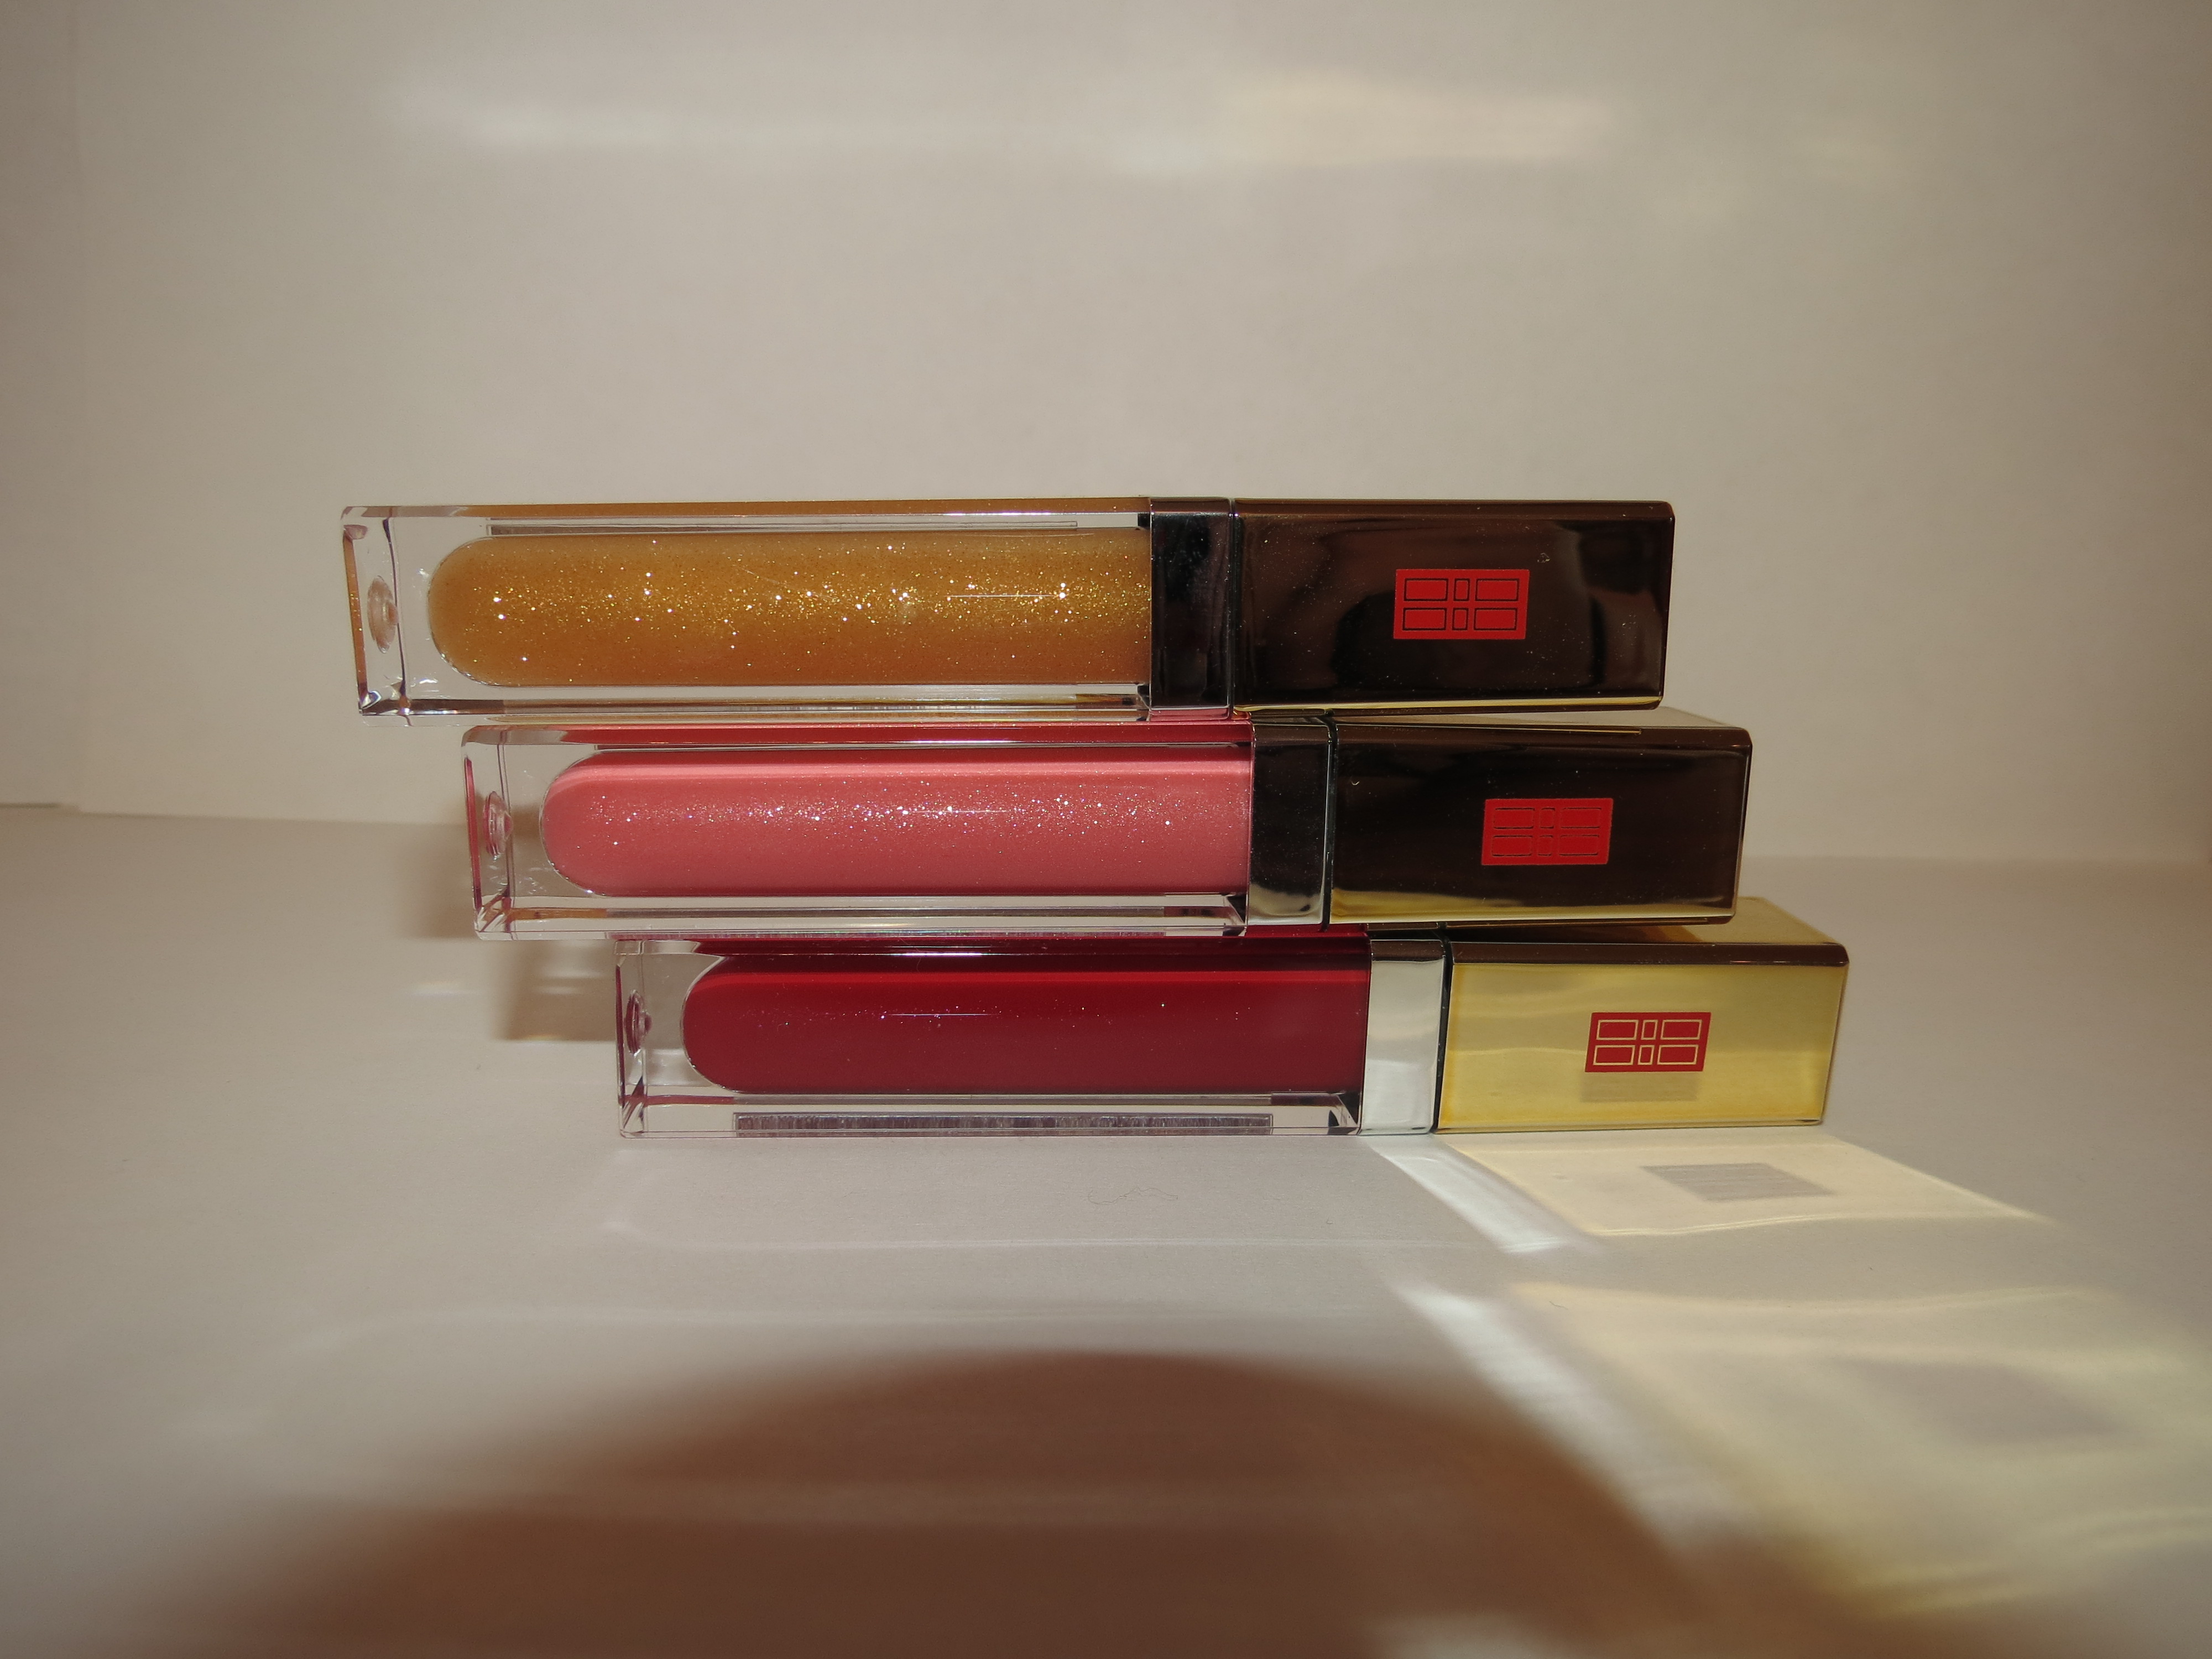
Elizabeth Arden Beautiful Color Luminous Lip Gloss in Coral Kiss, Red Door Red, and Glamorous Gold-$18
Elizabeth Arden Beautiful Color Luminous Lip Gloss in Glamorous Gold, Coral Kiss, and Red Door RedElizabeth Arden Beautiful Color Moisturizing Lipstick in Ultra Violet, Pink Pink, and Rustic RedFrom left to right: Ultra Violet, Pink Pink, and Rustic Red (taken with flash)(No flash)Elizabeth Arden Beautiful Color Precision Glide Lip Liner in Red Door RedSwatch of Elizabeth Arden Beautiful Color Precision Glide Lip Liner in Red Door Red (With flash)
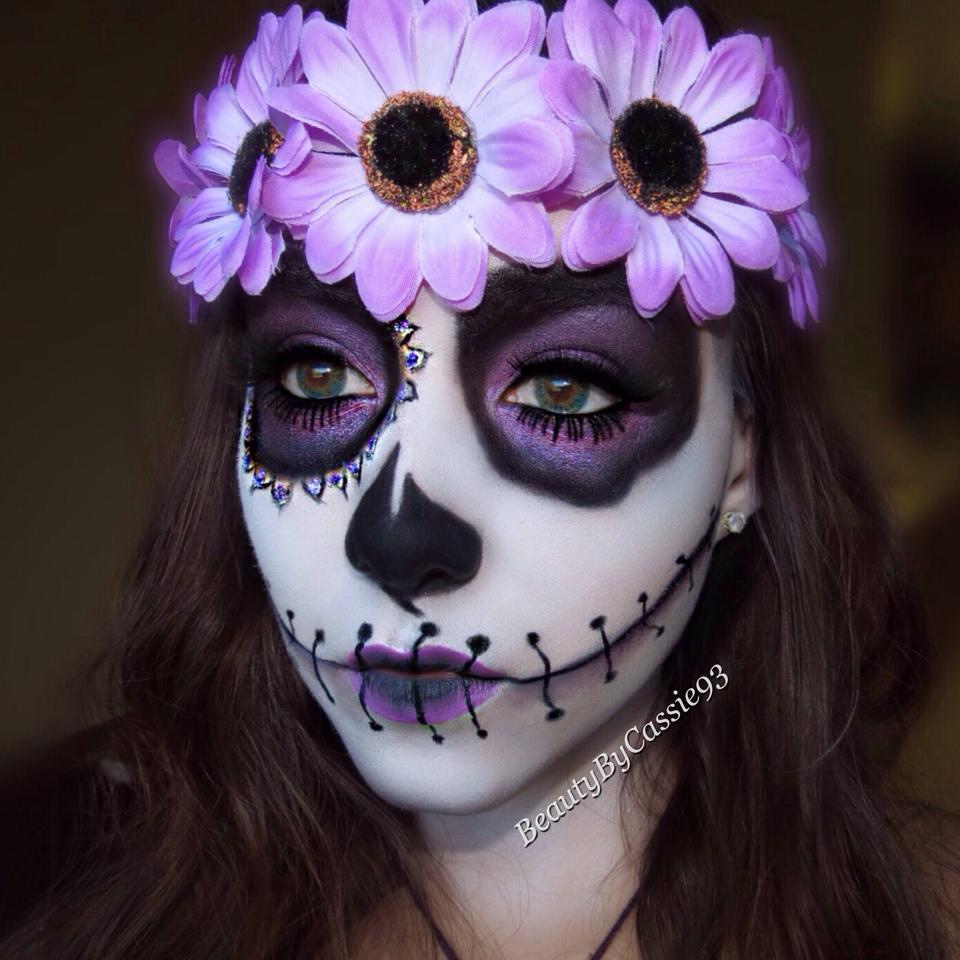
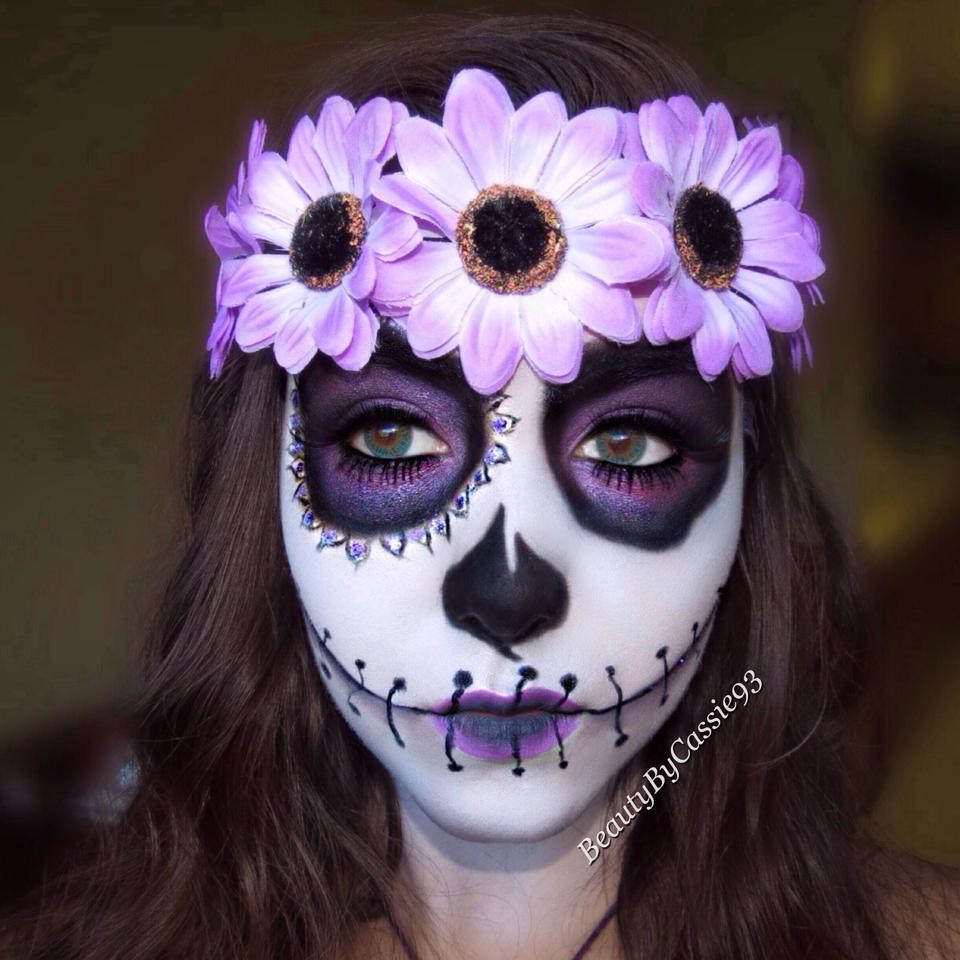
Can’t think of anything to wear this Halloween? Don’t have a costume? Then think about doing a sugar skull makeup look. It’s easier than it looks and there’s no wrong way to do it. Be as creative as you want!
I used Violet Voss glitter in Parker and Piper, Anastasia Beverly Hills Waterproof Crème Color in Jet, ABH Tamanna Palette, Maybelline Color Tattoo in Fuchsia Fever, Iris by Myth Cosmetics, and NYX Jumbo Pencil in Milk.
Lenses: Eye Candy’s lenses in Neo Lucky Clover Green.
Brushes used: Luxie Beauty. **Use the code Cassie for 15% off your Luxie Beauty purchase.
Steps to achieve this look:
I first applied a layer of BB cream all over my face. I used one from Tarte.
Next, I sketched out the eye sockets with Anastasia Beverly Hills Crème Color in Jet and started to shade them in.
After that, I applied Maybelline Color Tatttoo in Fuchsia Fever all over my eye area and blended it into the black.
Next, I applied Iris over the color tattoo and blended Noir from the Tamanna Palette around the outer part of the eye sockets.
Then, I lined my upper lash line with the Crème Color in Jet and lined my lower lash line with Noir. I also blended Noir into the crease of my eye.
I then applied my lashes and applied Tarte’s Lights, Camera, Lashes Mascara to my lower lashes.
Next, I sketched out my nasal cavity with the Crème Color in Jet and filled it in.
After that, I applied NYX Jumbo Pencil in Milk to my face using a buffing brush and a small precise eye shadow brush for smaller areas like around my nose and between my eyebrows.
Then I drew flower petals around my right eye and applied glitter to the center of each petal.
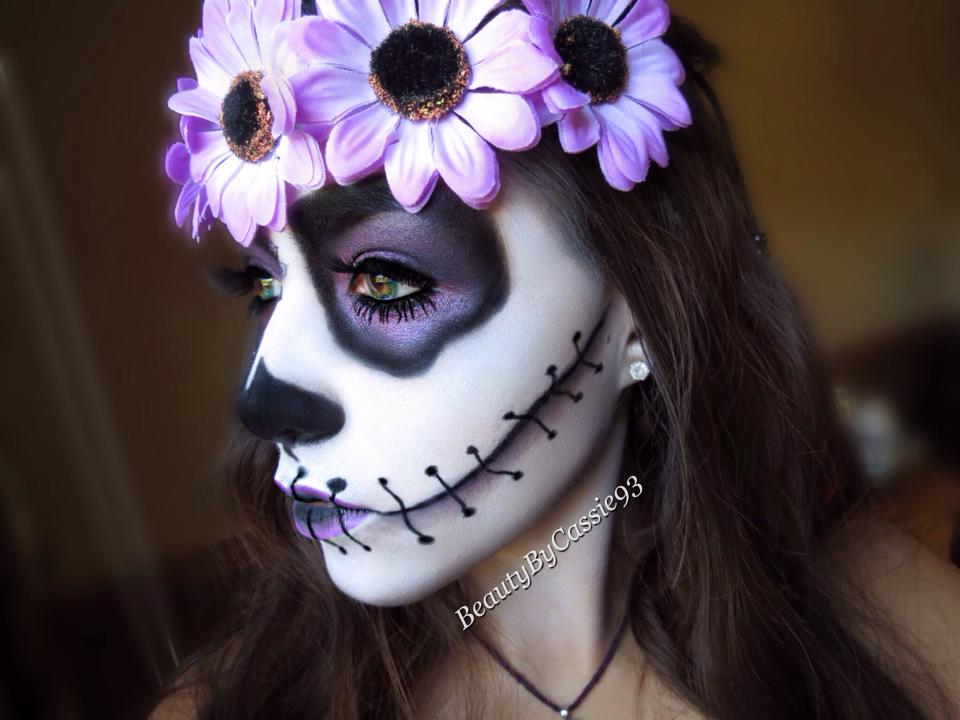
After, I drew lines along my cheeks extending from the corners of my mouth to my ears blending Noir underneath the line and then adding a touch of Iris as well.
Next, I shaded the center of my lips with the Crème Color in Jet and applied Twilight lipstick to the remaining part of my lips
Then, I drew stitches with the Crème Color in Jet.
Finally, I set the white parts of my face with a white highlighting powder–you can use translucent if that’s all you have.
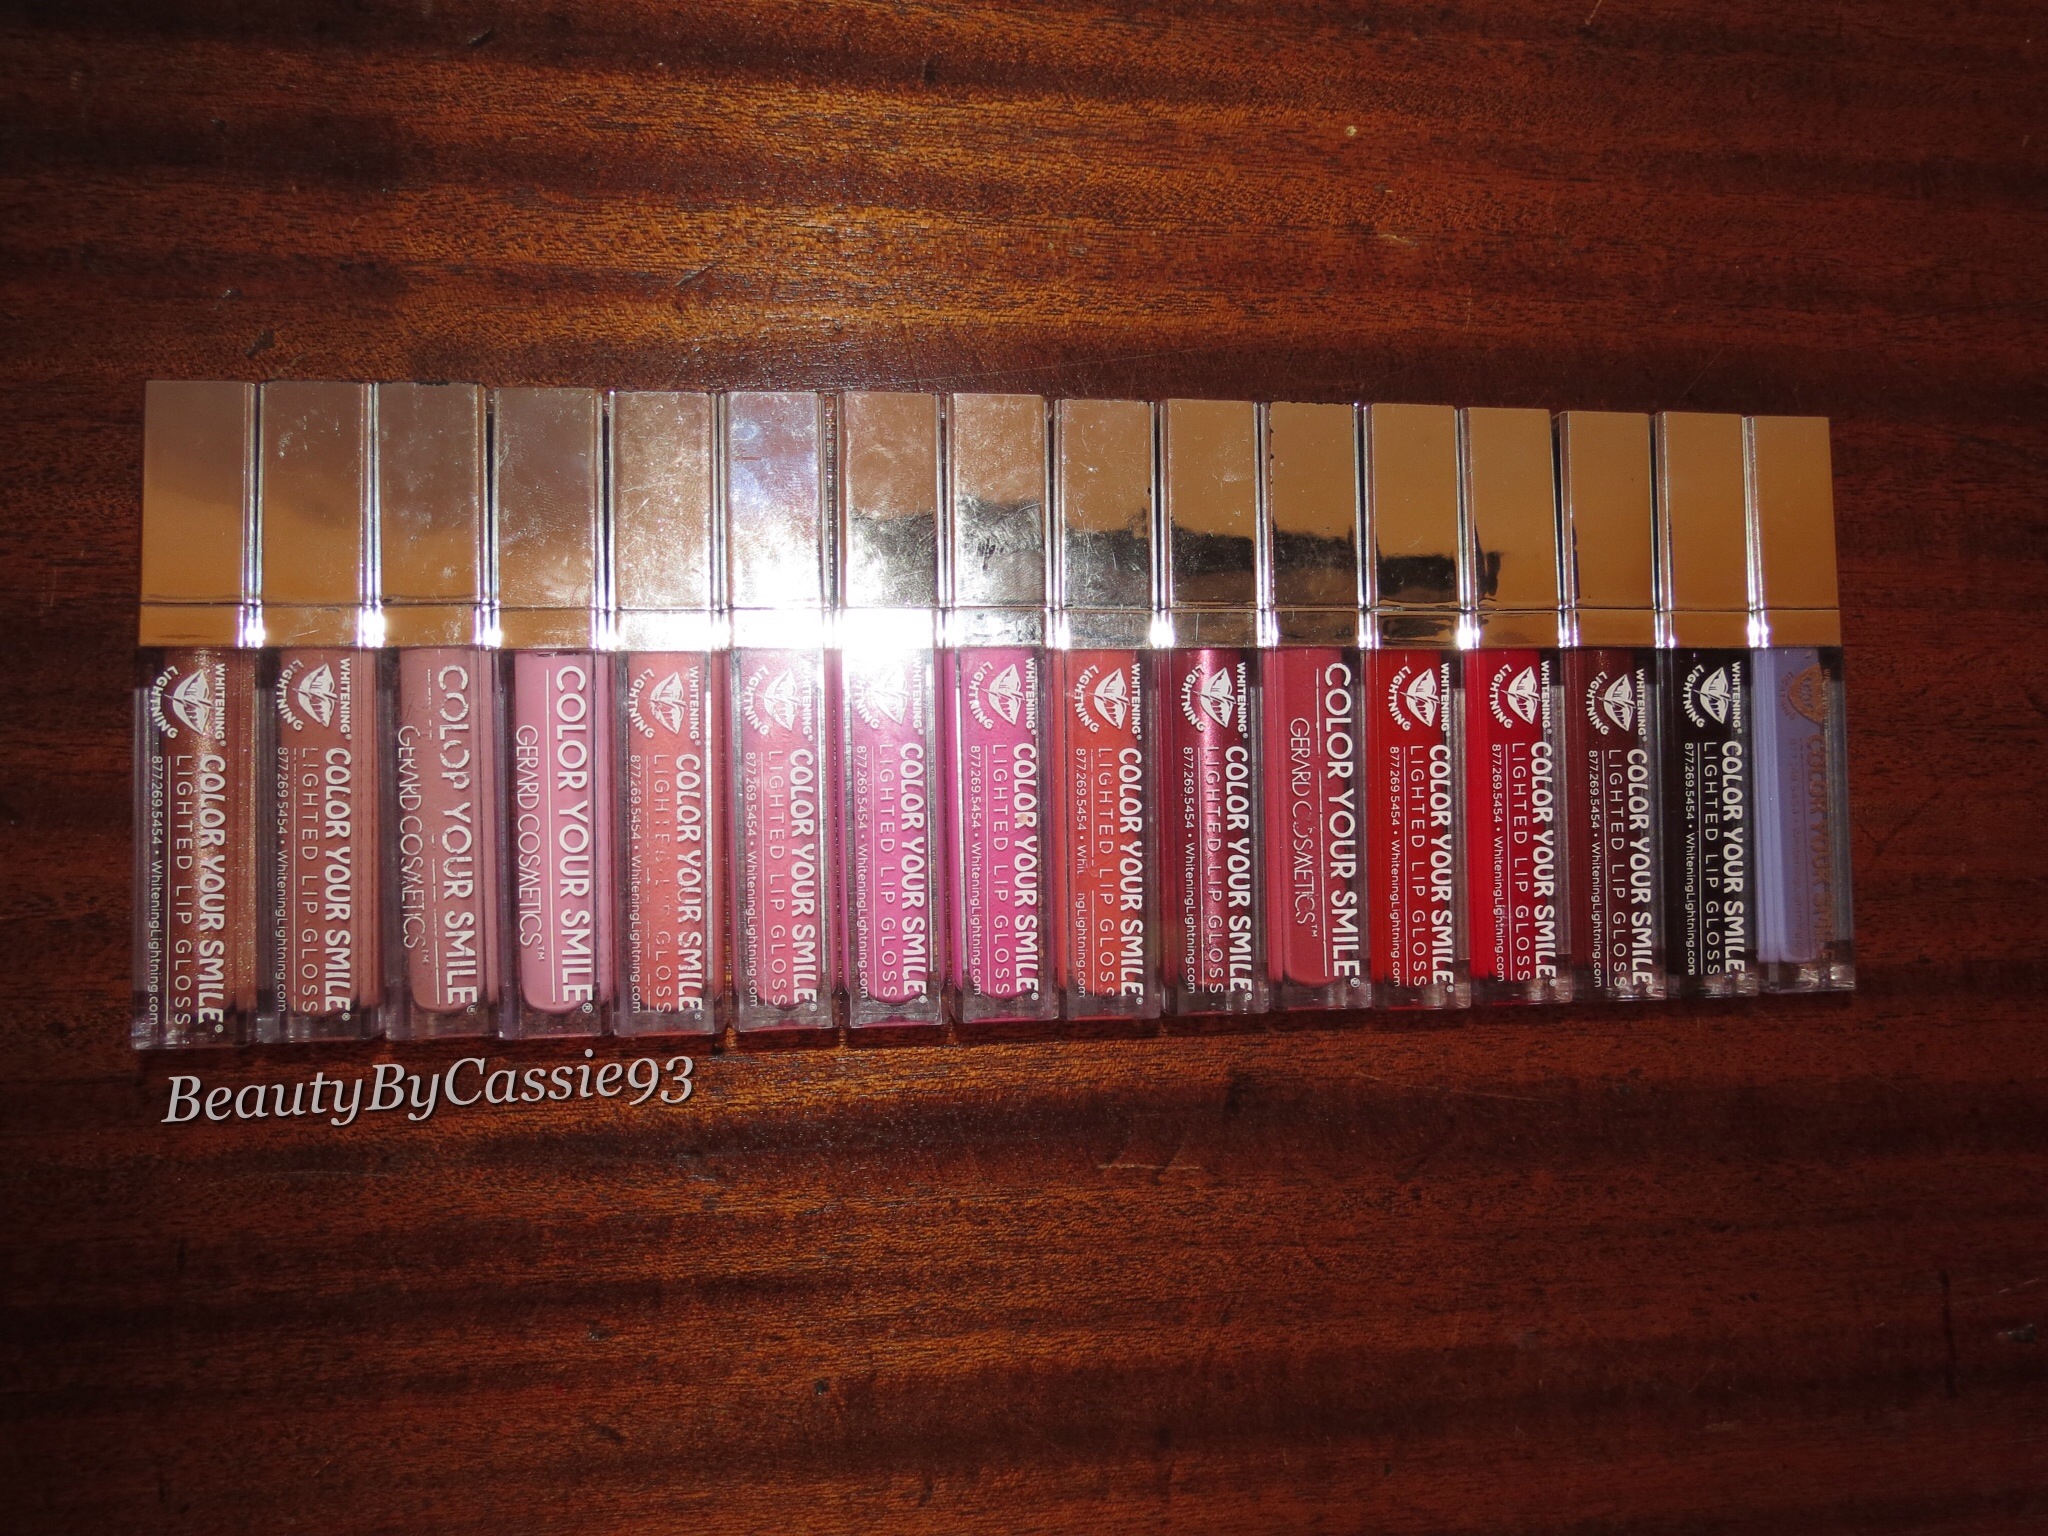
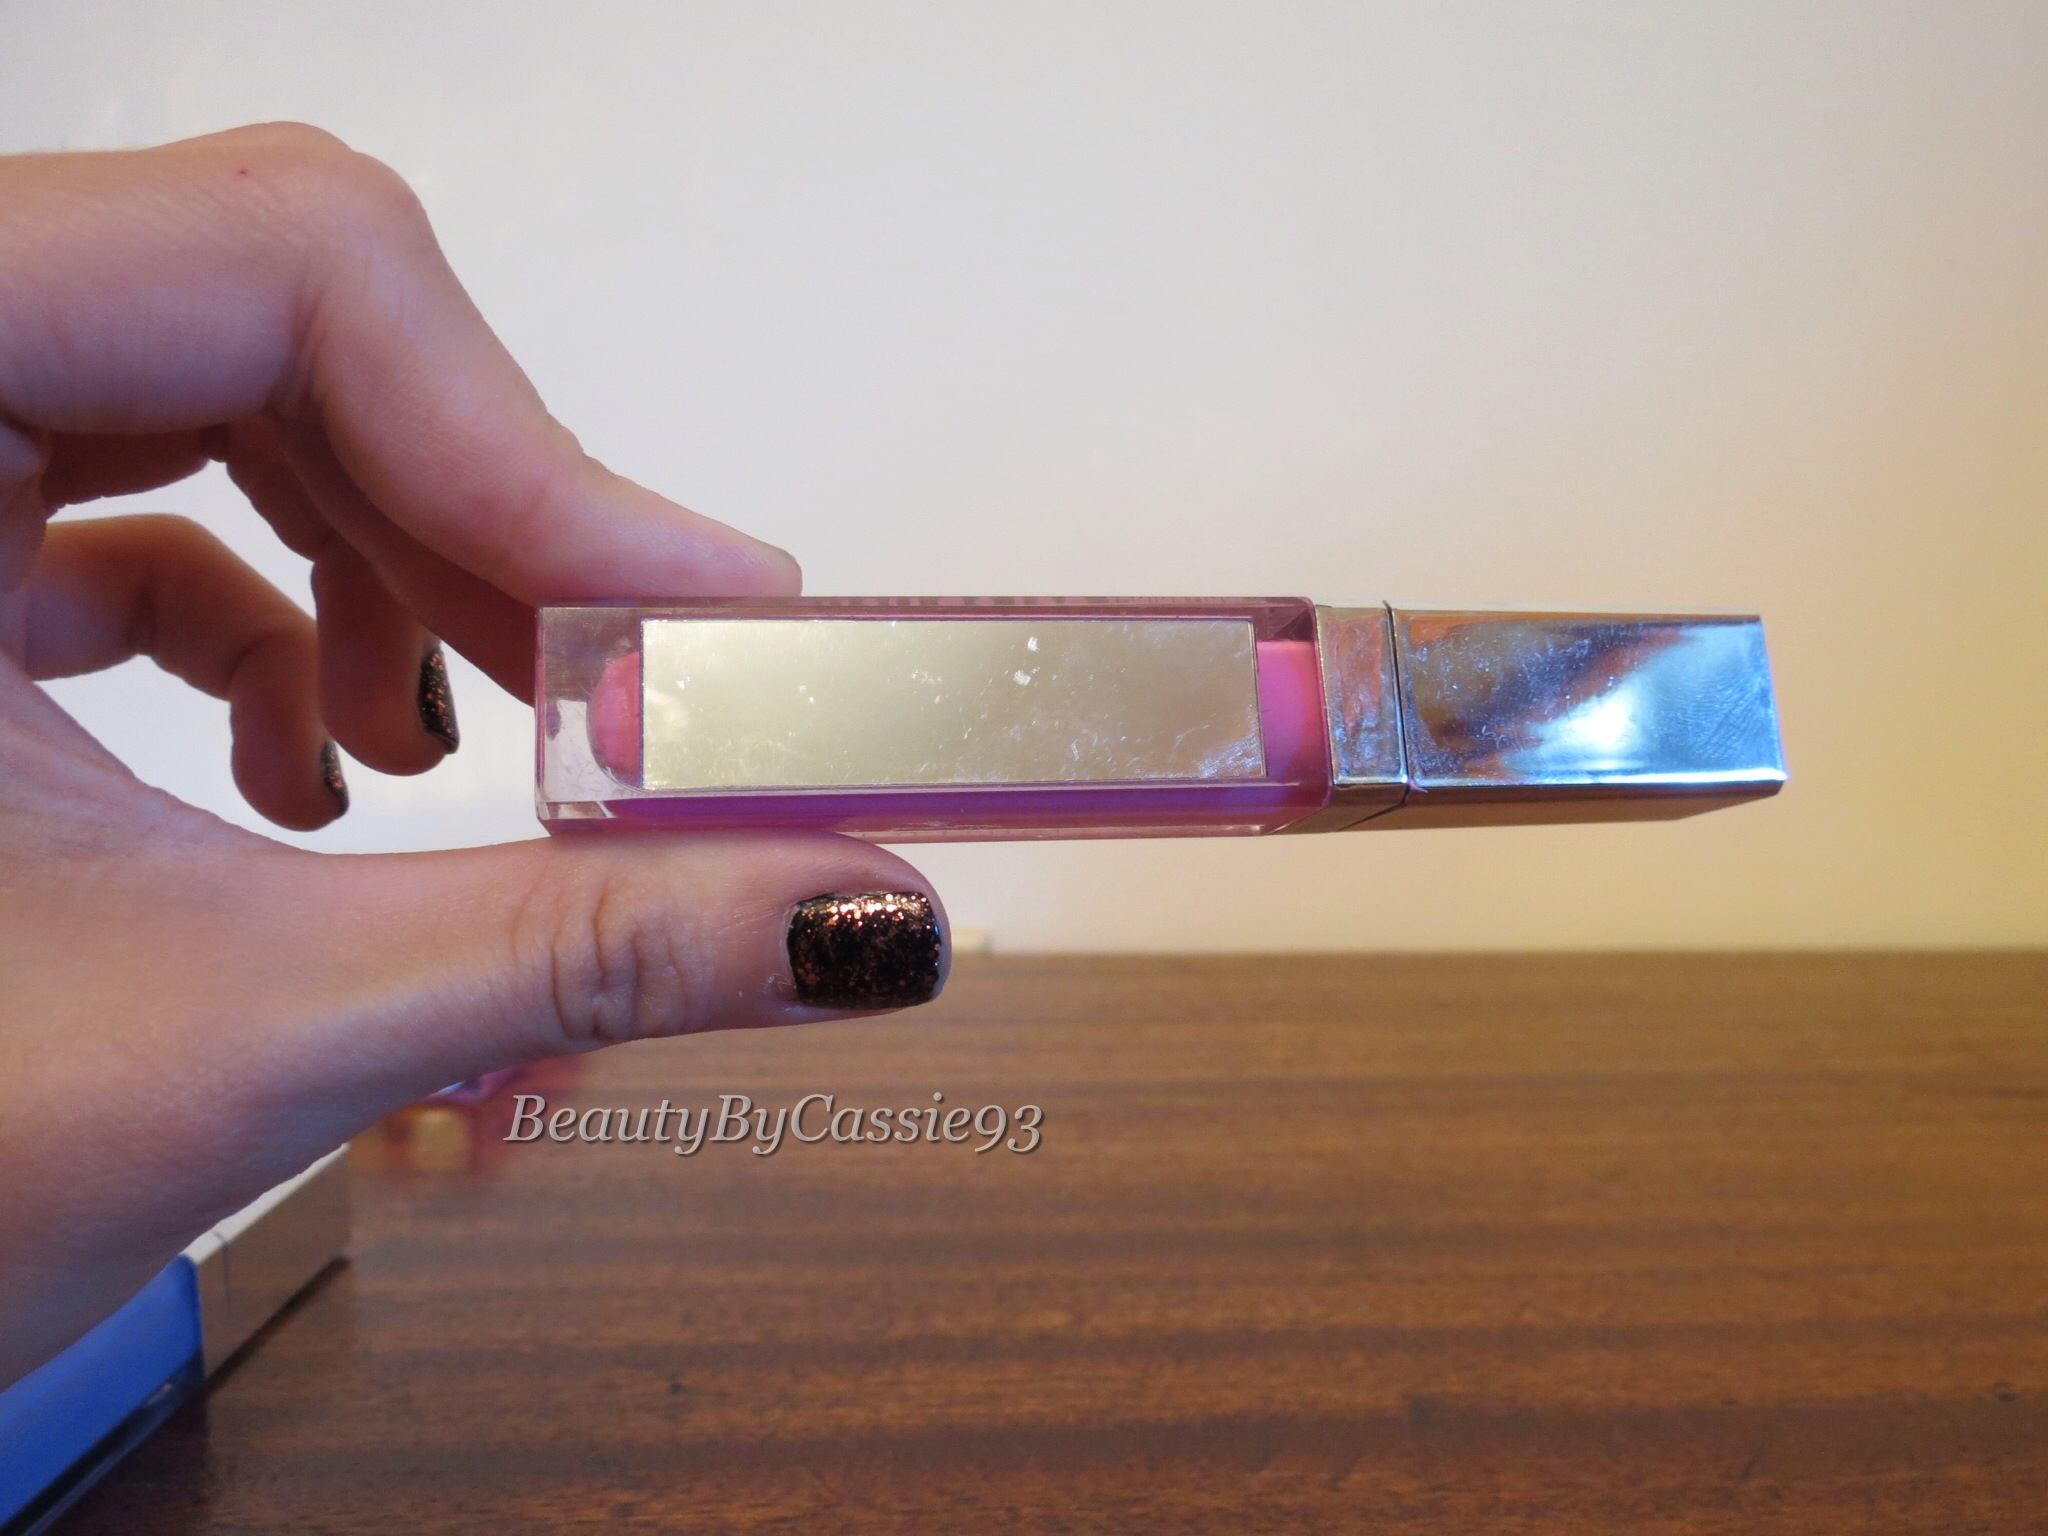
If you watch YouTube beauty videos or follow beauty bloggers on Instagram you may have heard of Whitening Lightning. It’s a teeth whitening company that also sells beauty products. I have a number of Whitening Lightning Color Your Smile Lighted Lip Glosses and I must say I really do love them. They’re lip glosses that incorporate an LED light and a mirror. At first they sounded quite gimmicky. But truthfully, the glosses are really opaque and beautiful. The mirror and LED light also come in handy if you’re out at night.
The Color Your Smile Lighted Lip Glosses are packaged in a rectangular tube which I like because they don’t roll around and fall off flat surfaces. On one side of the gloss is a mirror, which comes with a sheet of plastic that you have to remove before you can use it. The mirror isn’t the best quality but it does the job. You do have to be careful not to scratch it up though. If you’re like me and carry around a ton of lip glosses and other makeup products I recommend storing your Color Your Smile Lip Gloss in a part of your purse that doesn’t have a million other things that can rub against it and damage the mirror.
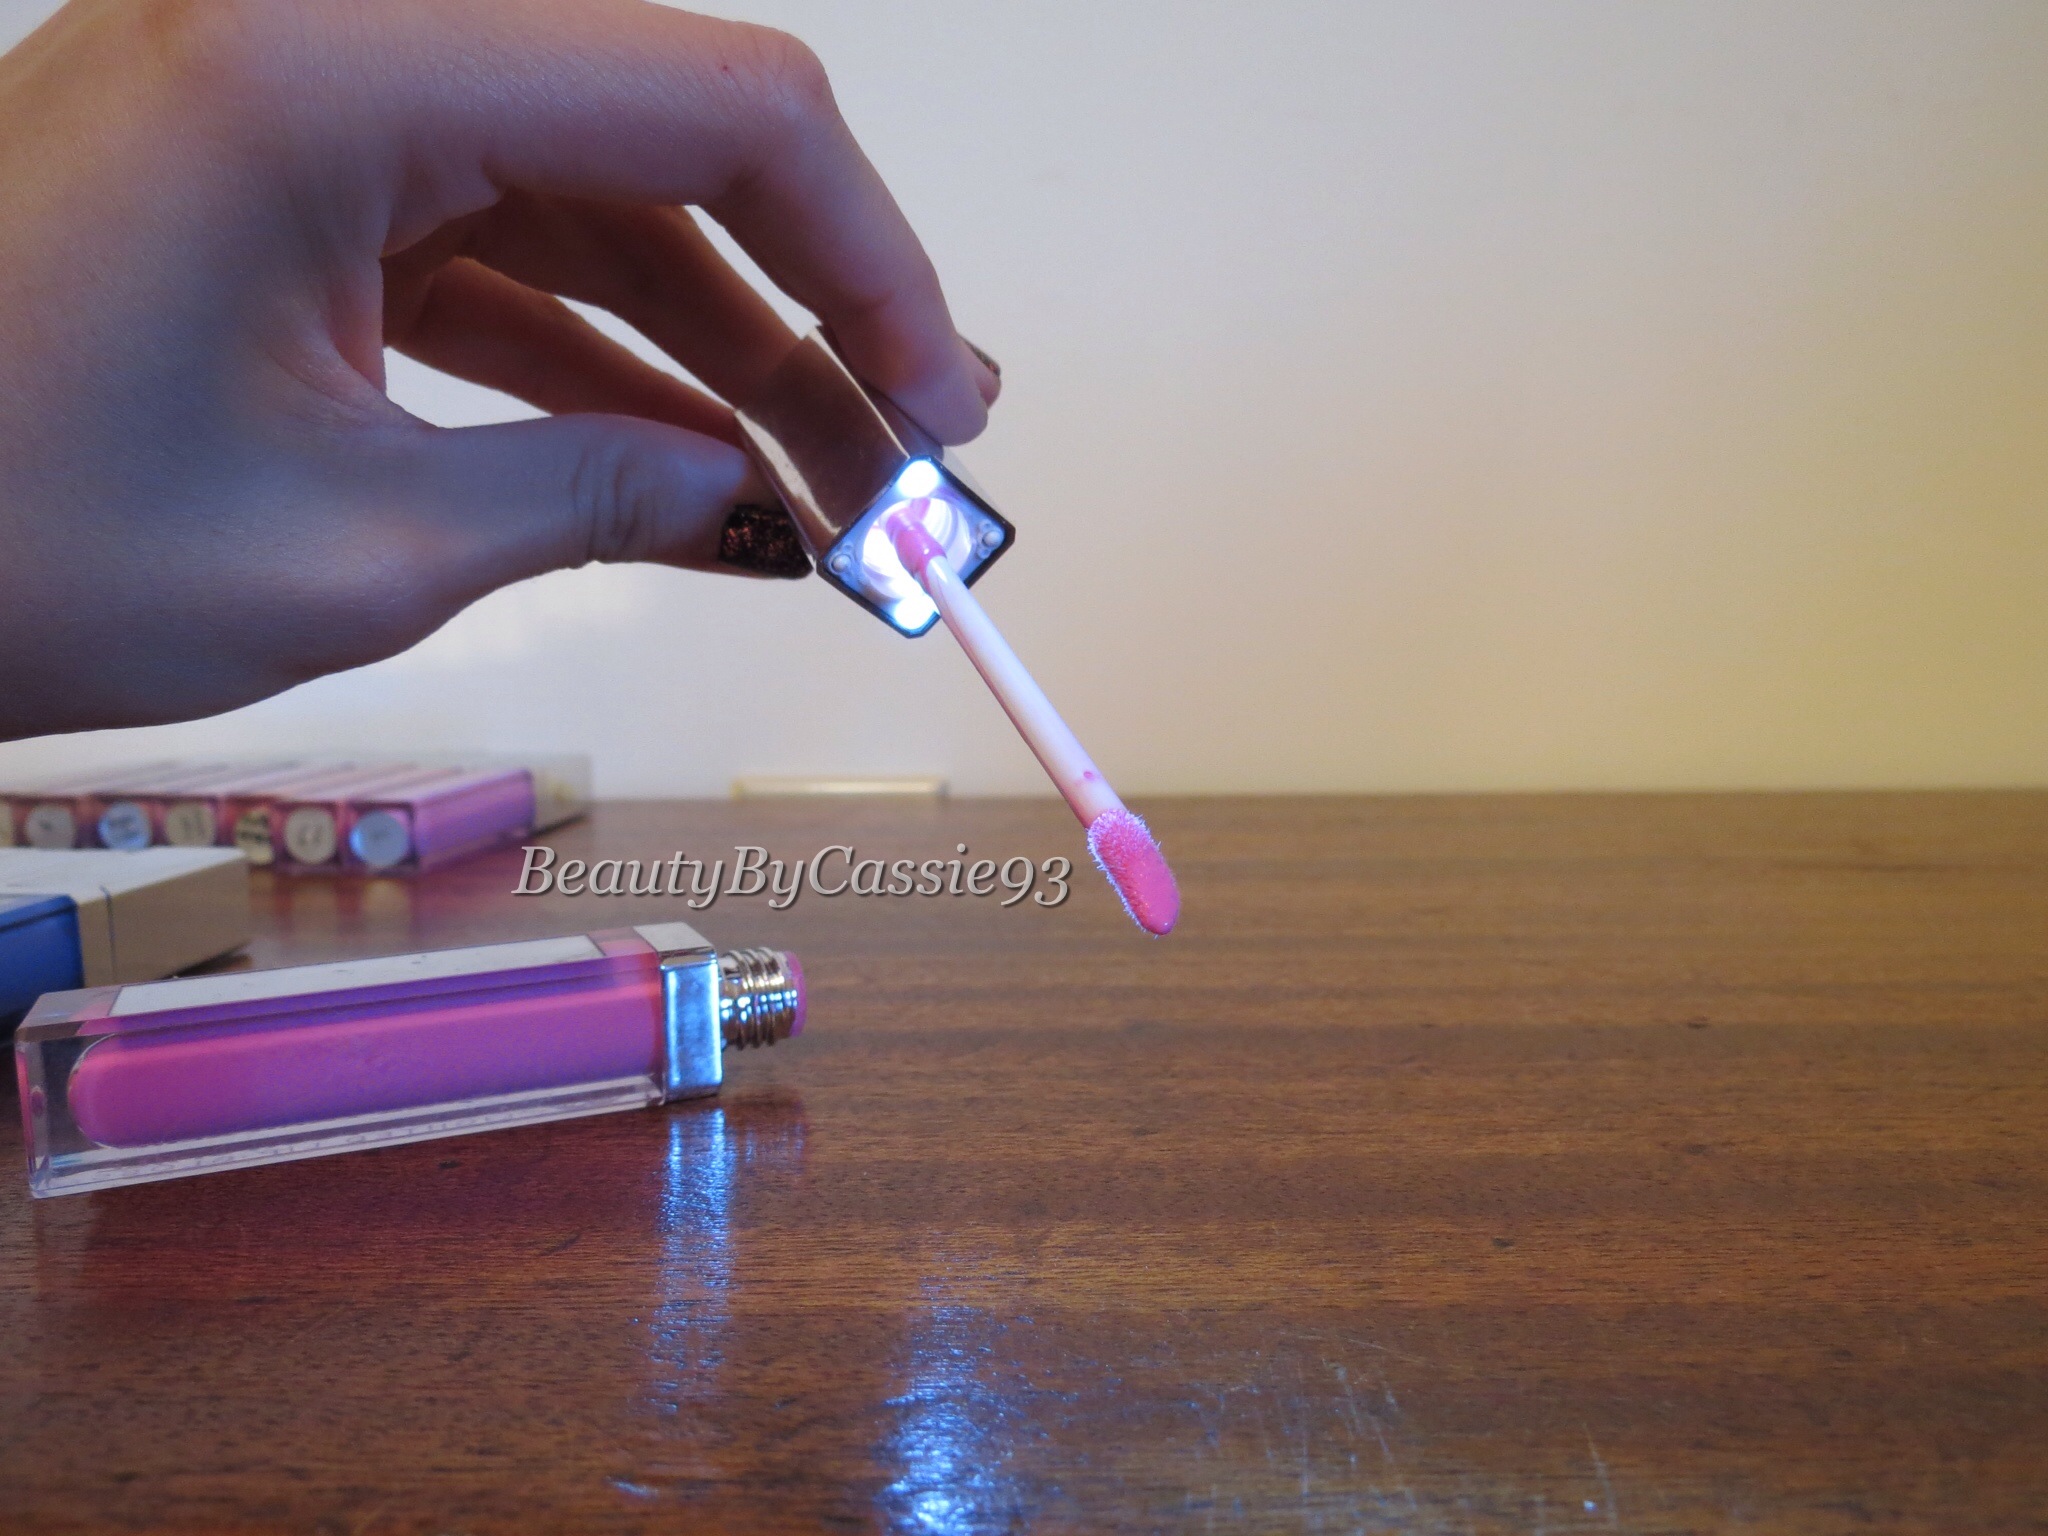
When you open the gloss you’ll find an LED light built into the wand. The LED light turns off after you insert the wand back into the packaging and twist it to close it. It’s perfect if you’re at a club or party and it’s dark out. The glosses also have a doe foot applicator, which is my favorite because it applies the product the easiest in my opinion.
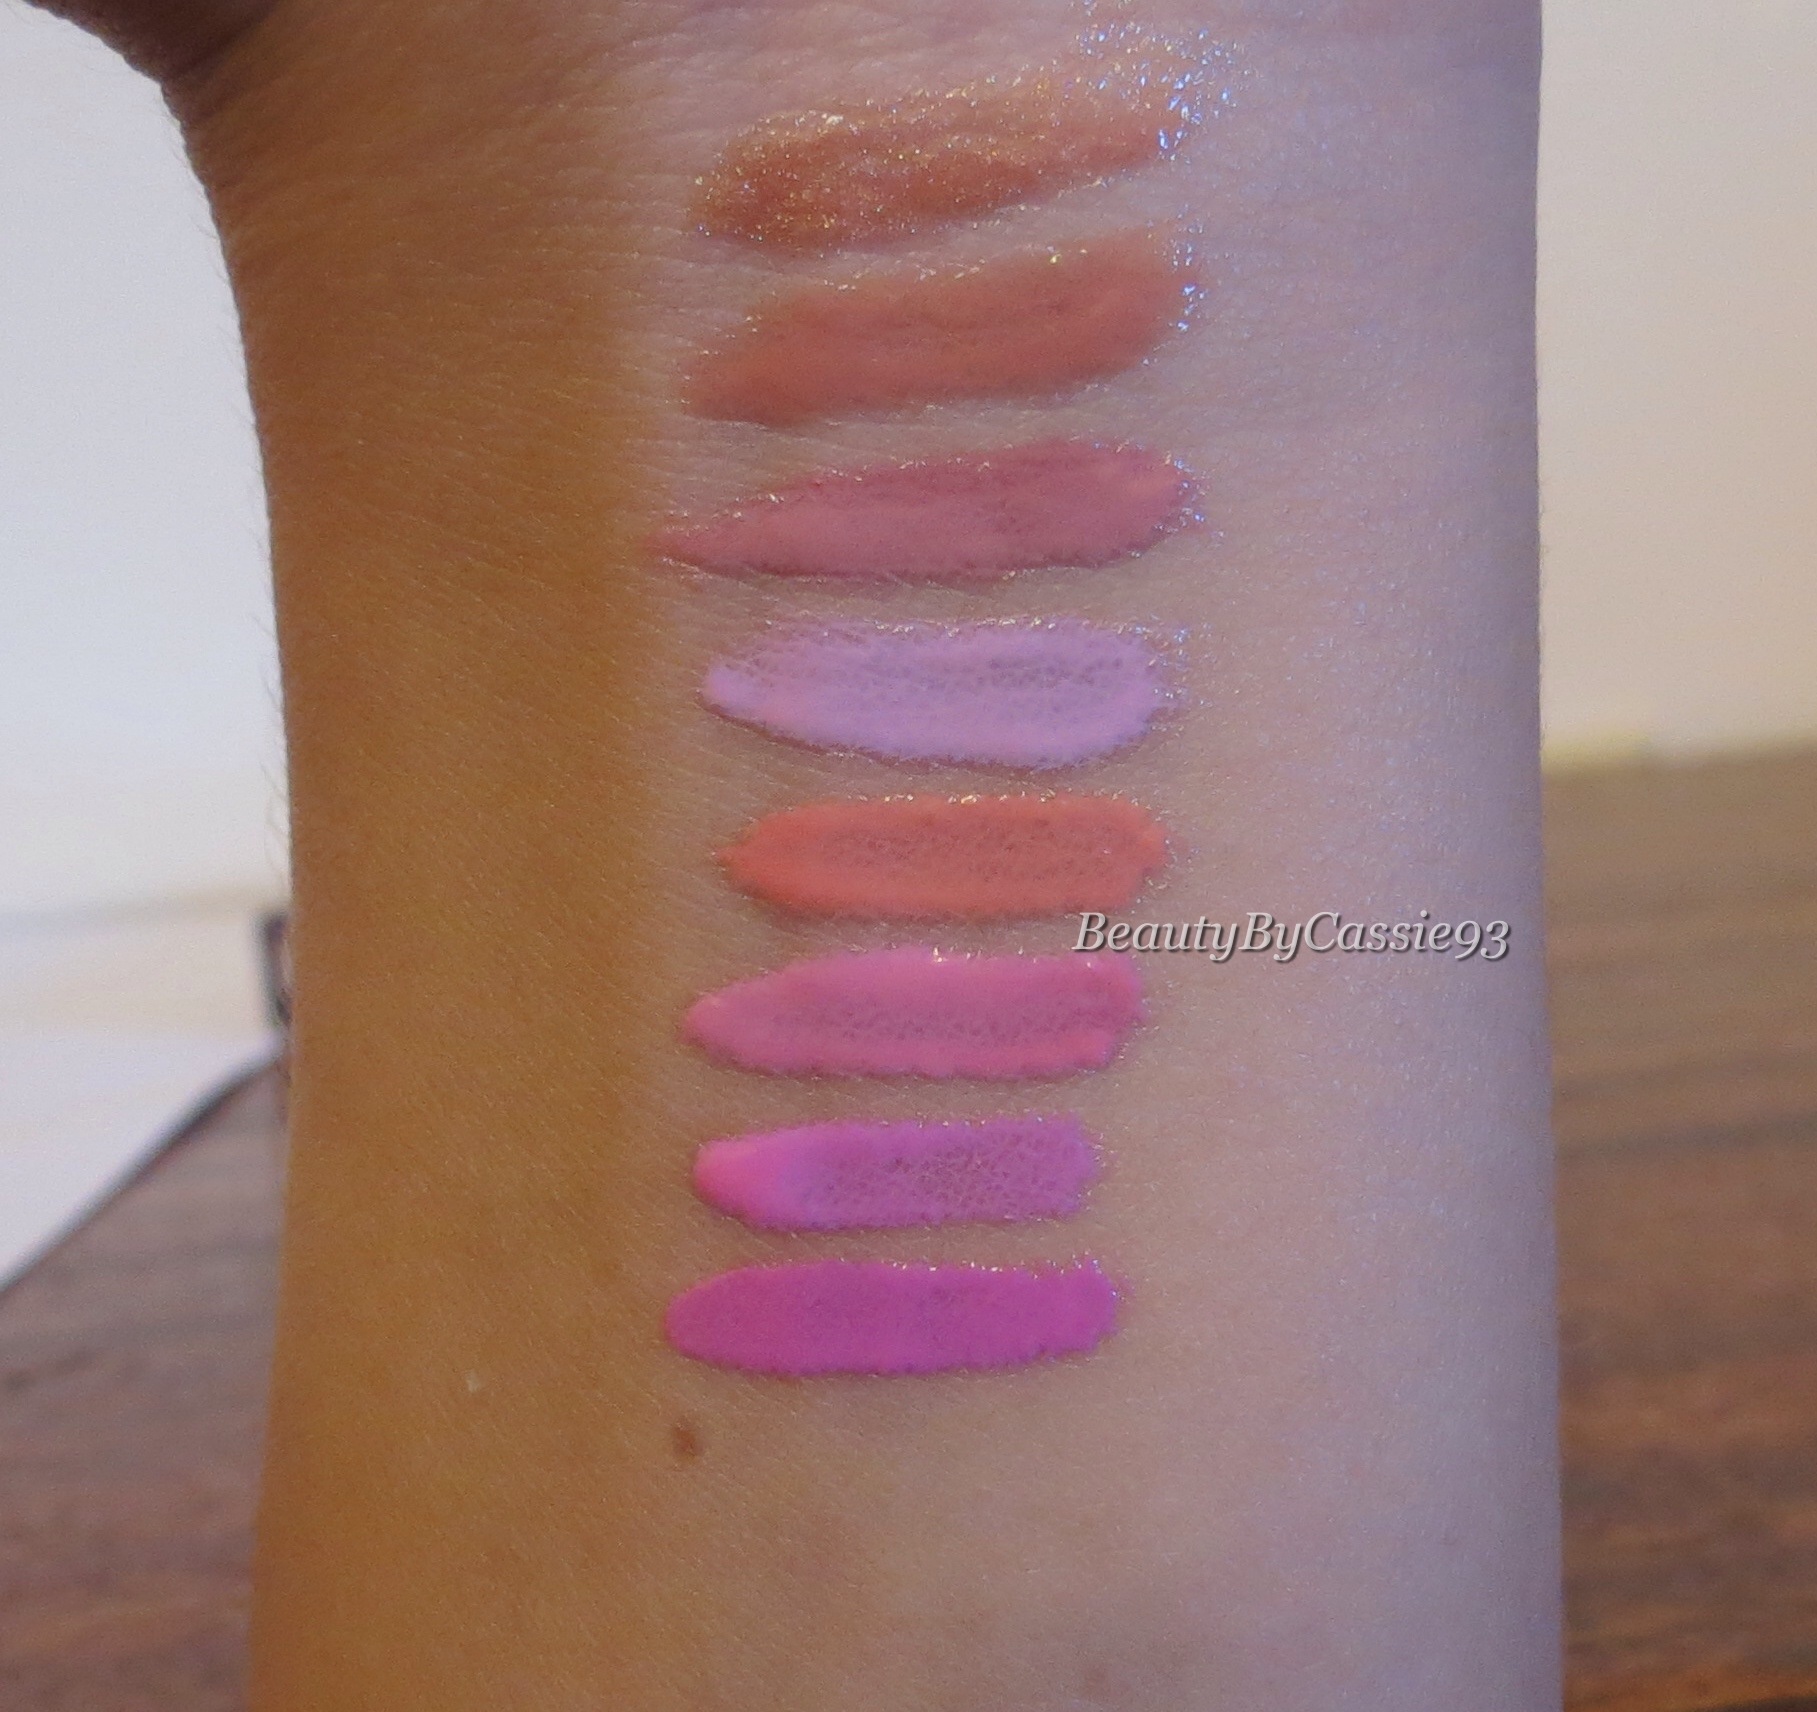
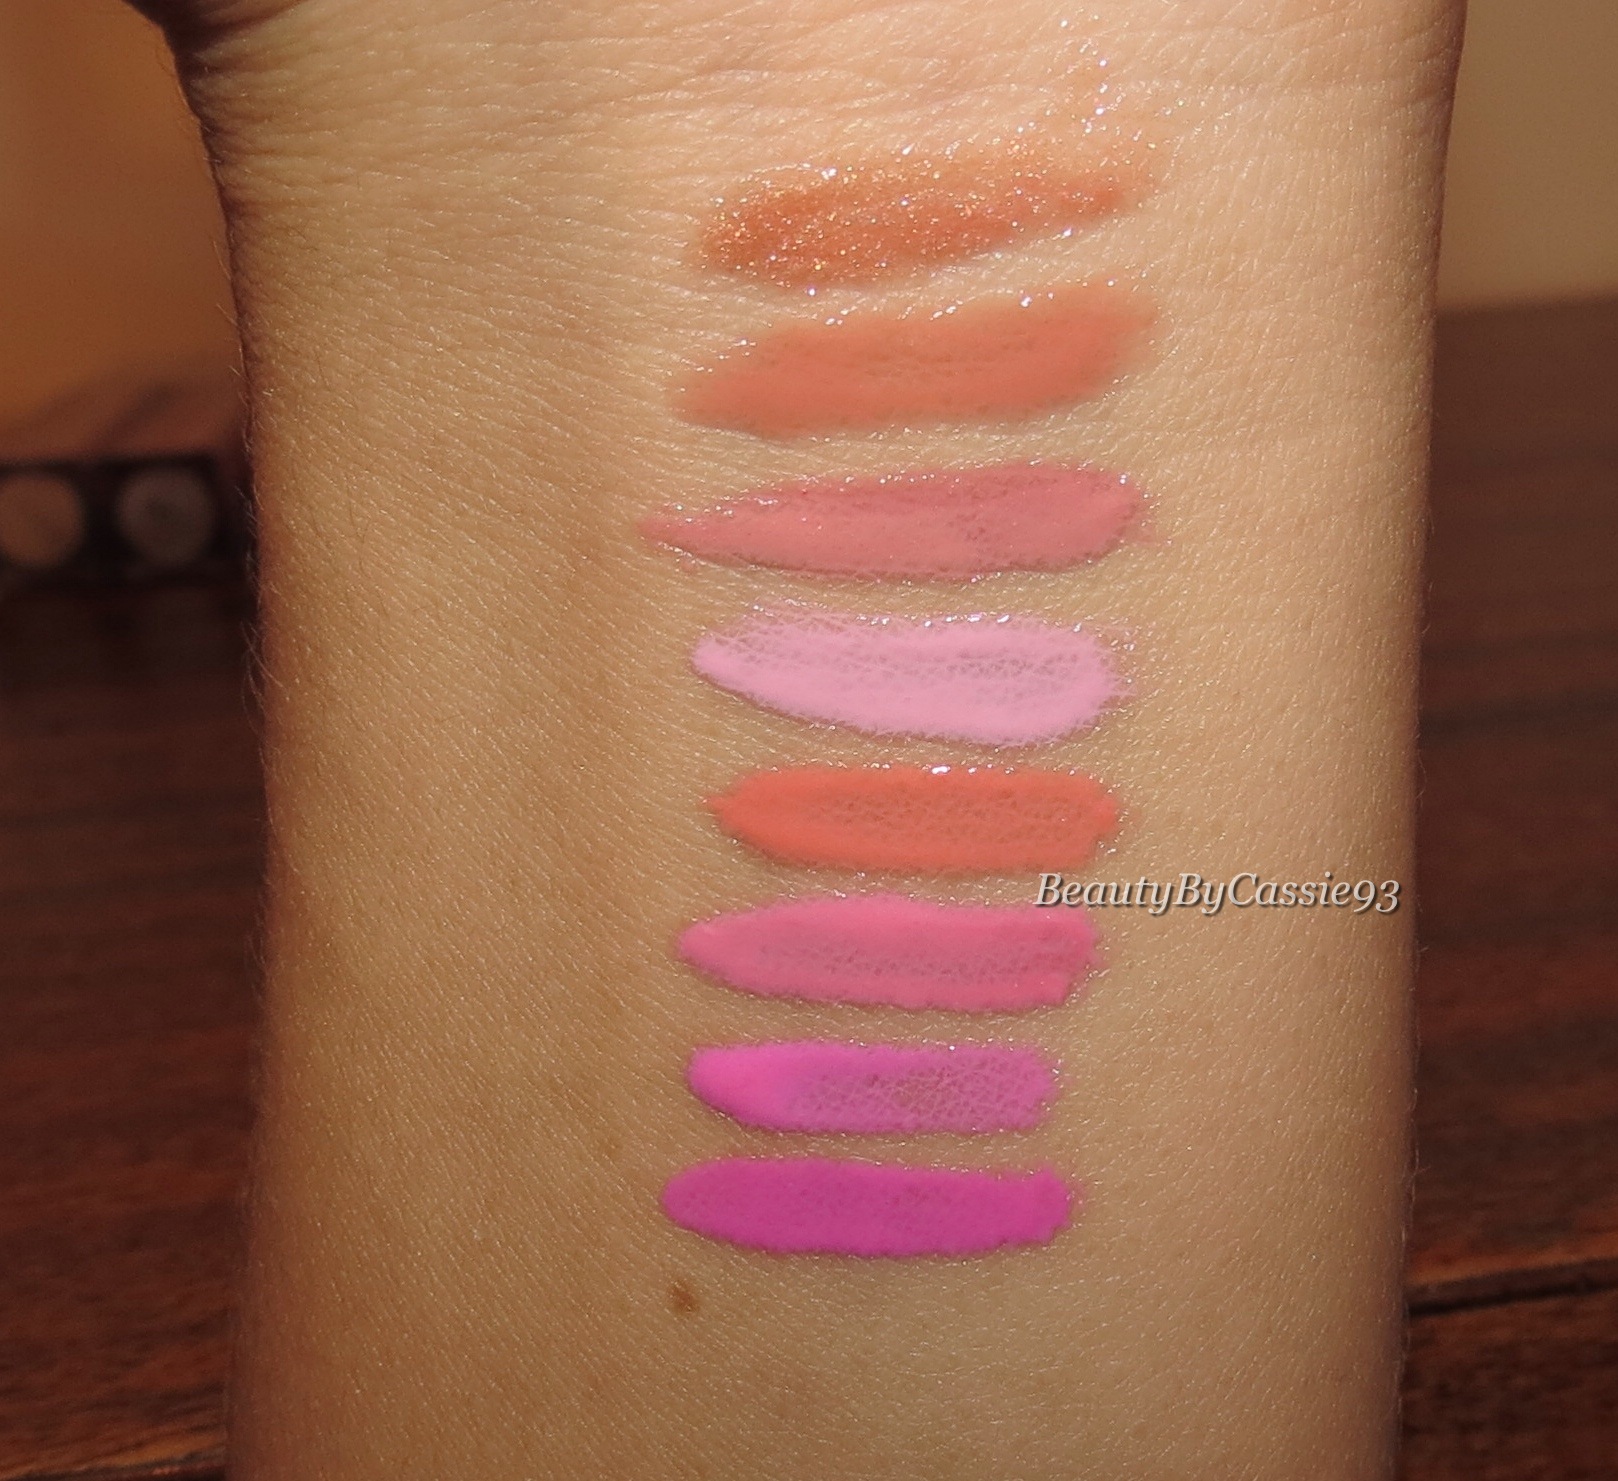
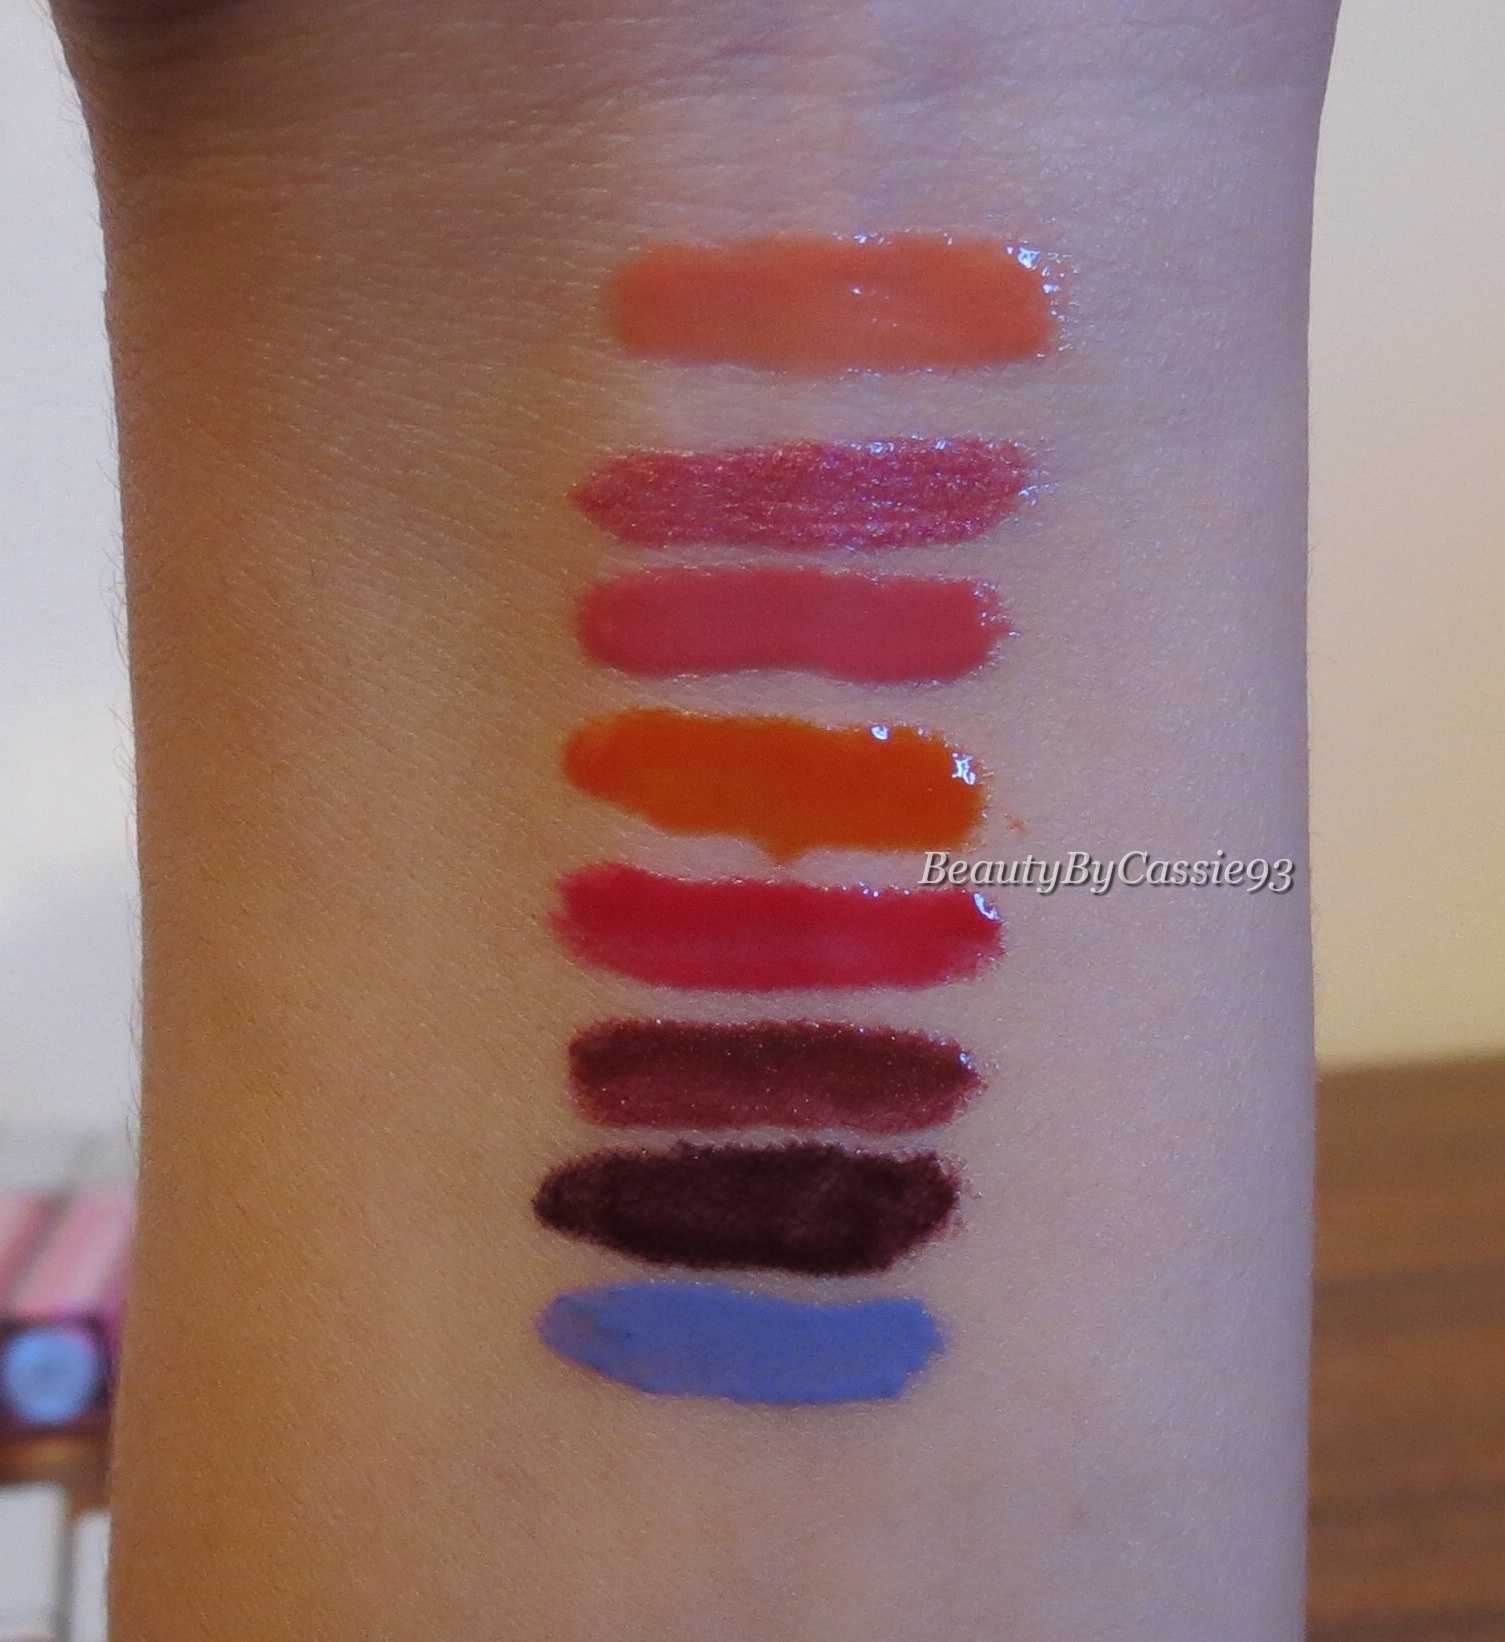
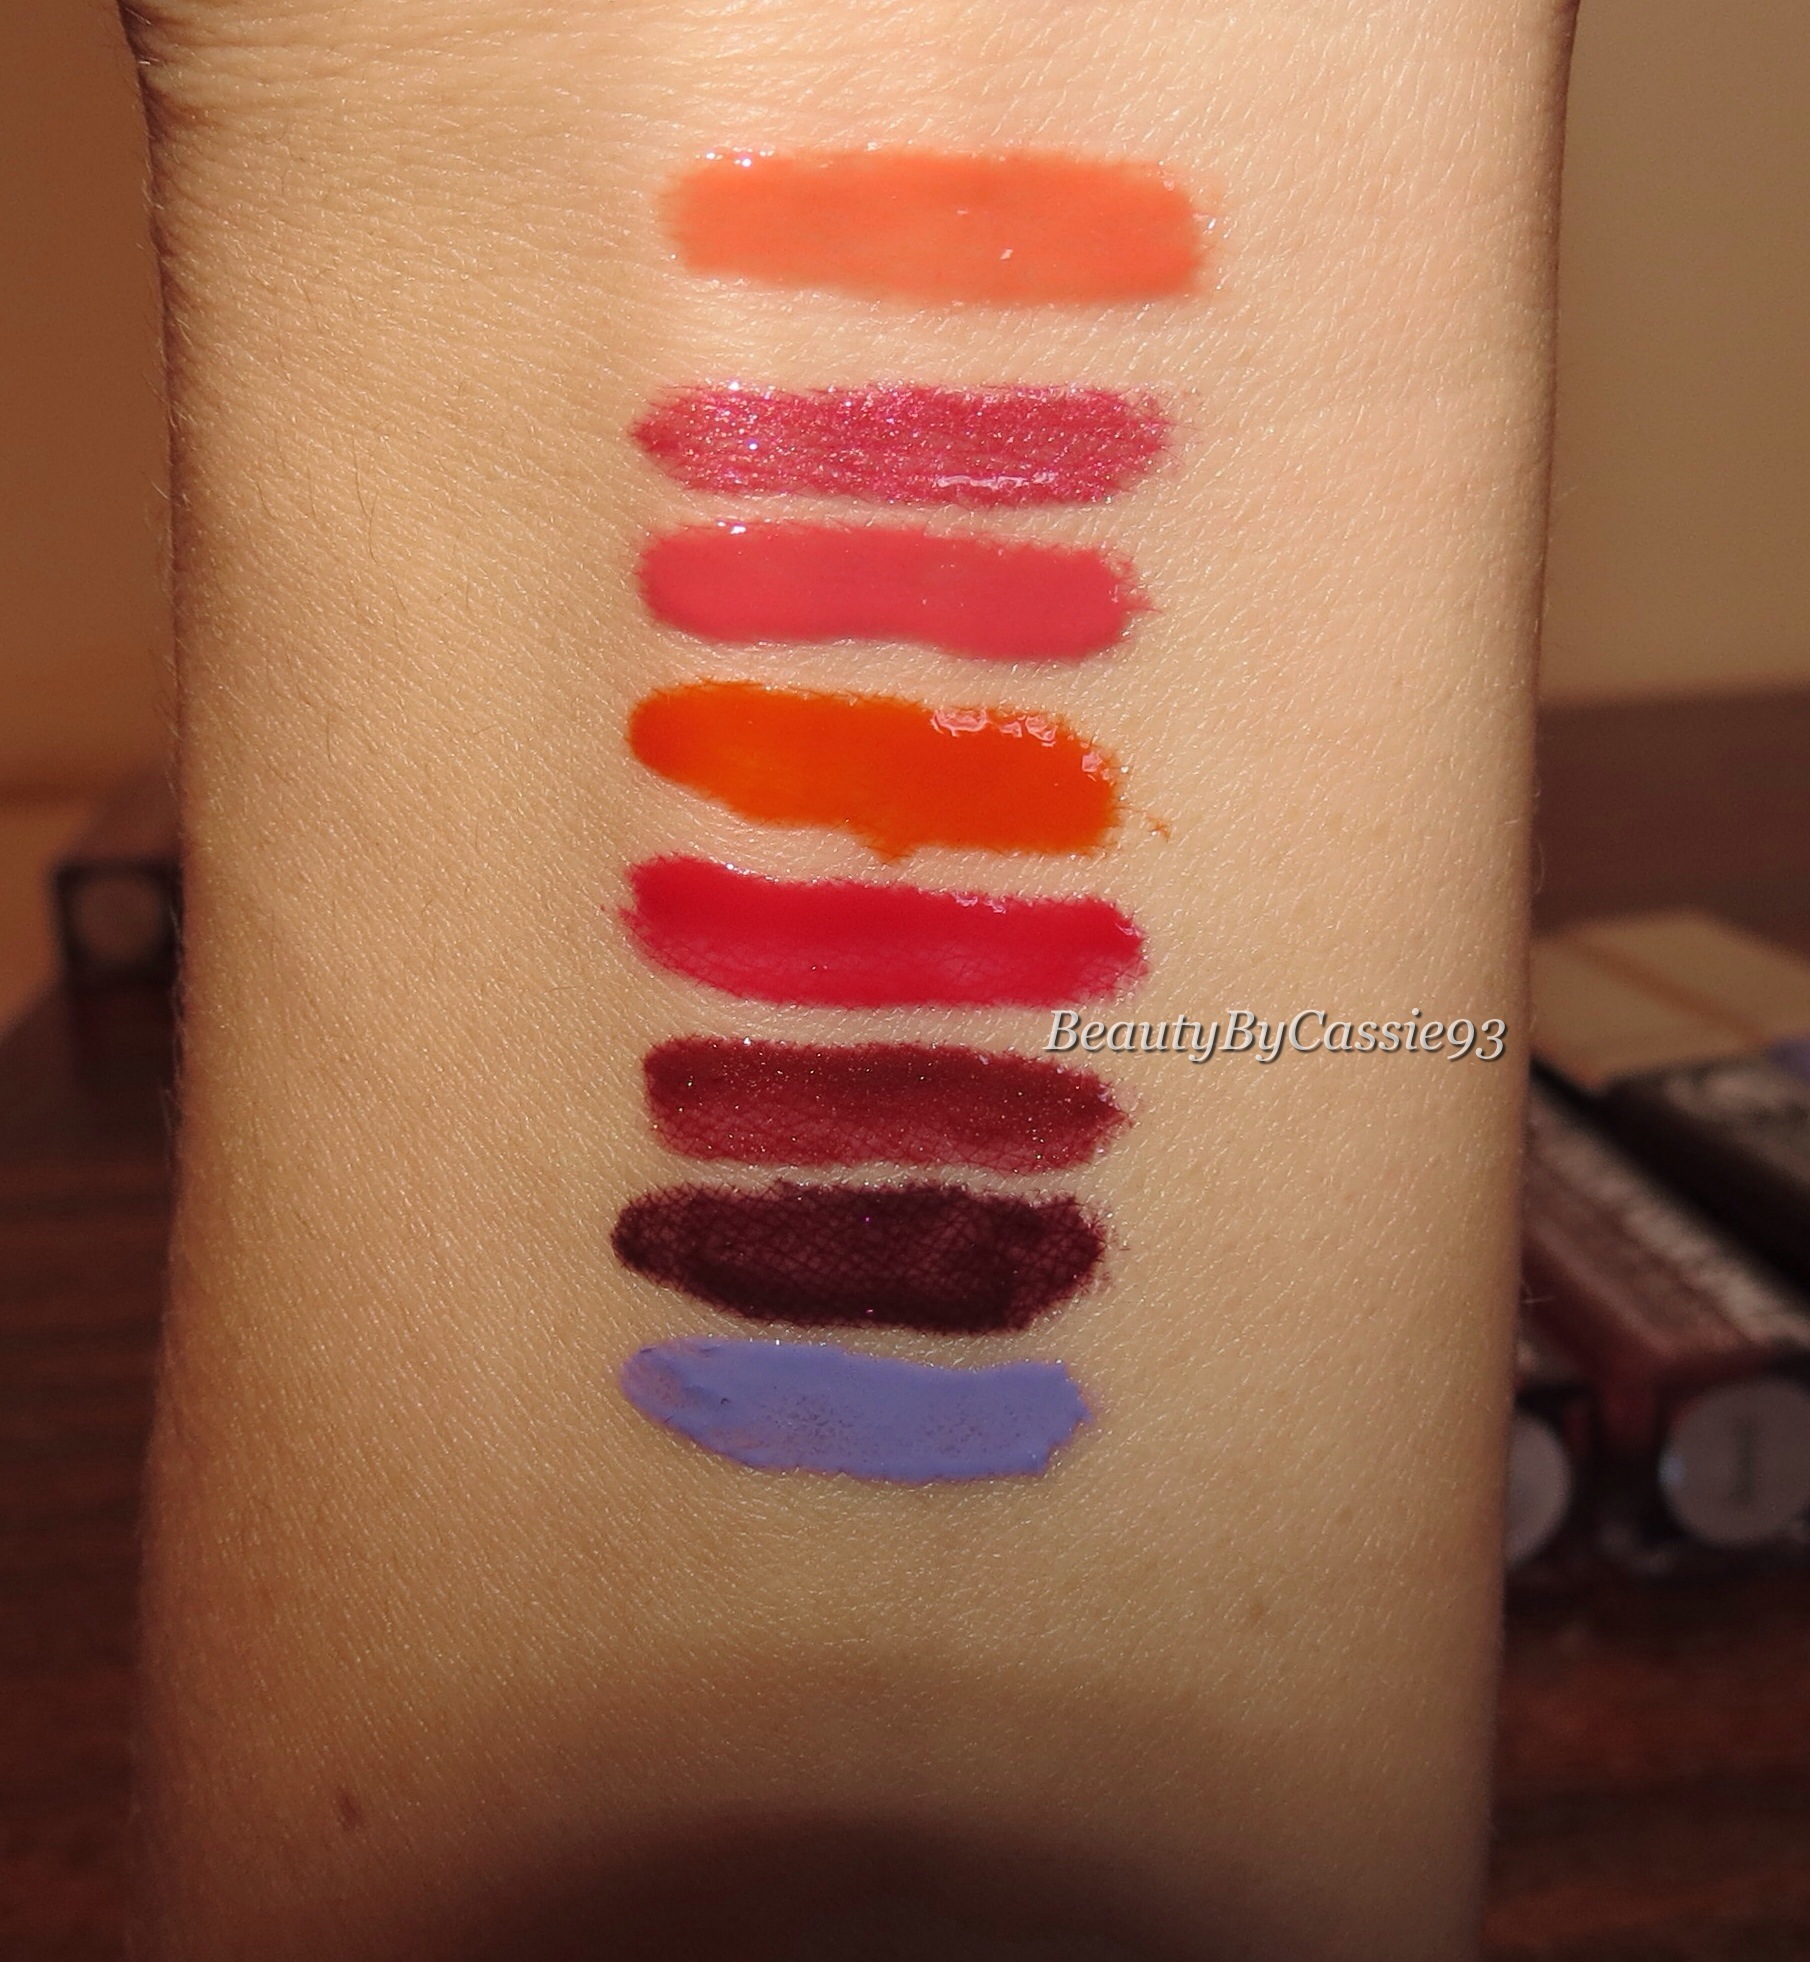
I have a total of 16 colors, which I have swatched in indoor light with no flash and then with flash.
From top to bottom: Crystal, Nude, Butter Cream, Sugar Mama, Coral Craze, Pink Tiara, Fiji, and Raspberry Sherbet (No flash)(With flash)
Crystal is a shimmery nude that’s perfect for dabbing in the center of your lips to highlight them and make them appear more plump.
Nude is exactly what it sounds like, a gorgeous nude with no shimmer. I love this gloss alone or topped over a nude lipstick. It’s even awesome over lipsticks that you want to tone down.
Butter Cream is a pink-y nude with no shimmer. This gloss is also beautiful over nude lipsticks as well as pink ones.
Sugar Mama is a very milky pink shade with no shimmer. It’s not the most flattering shade on me but it’s nice over nude lipsticks.
Coral Craze is another one of my favorites. It’s a milky coral with no shimmer and it’s beautiful alone or paired with a coral lipstick. I wore this one non-stop this past Summer.
Pink Tiara is a light warm pink with no shimmer.
Fiji is light cool toned pink with no shimmer.
Raspberry Sherbet is a darker cool toned hot pink. This shade is perfect for bright summer lips.
From top to bottom: Salmon, Pouty Princess, Rose Hill, Summer Sun, Candy Apple, Jewel, Seduction, and Bermuda (No flash)(With flash)
Salmon is a deeper coral than Coral Craze and has no shimmer as well. This shade is another great one for the summer months.
Pouty Princess is a shimmery berry pink shade.
Rose Hill is a beautiful rose shade with no shimmer.
Summer Sun is a gorgeous bright orange shade without shimmer.
Candy Apple is the perfect red with no shimmer.
Jewel is a dark berry shade with slight shimmer.
Seduction is a super dark borderline black shade without shimmer. It’s perfect for Fall and Winter. I would probably use this gloss over a lipstick though just because it can look a little patchy on its own.
Bermuda is a pastel purple shade with no shimmer. It’s not a shade I would probably ever wear in public unless I was going to a Halloween party or something like that.
Overall, I’m really impressed with these glosses. They aren’t sticky yet they last on the lips. They also have amazing pigmentation.
**I have a coupon code for anyone interested in purchasing the Color Your Smile Lighted Lip Glosses or any of Whitening Lightning’s other products. Use the code cassie for 25% off of everything on Whitening Lightning and Gerard Cosmetics.
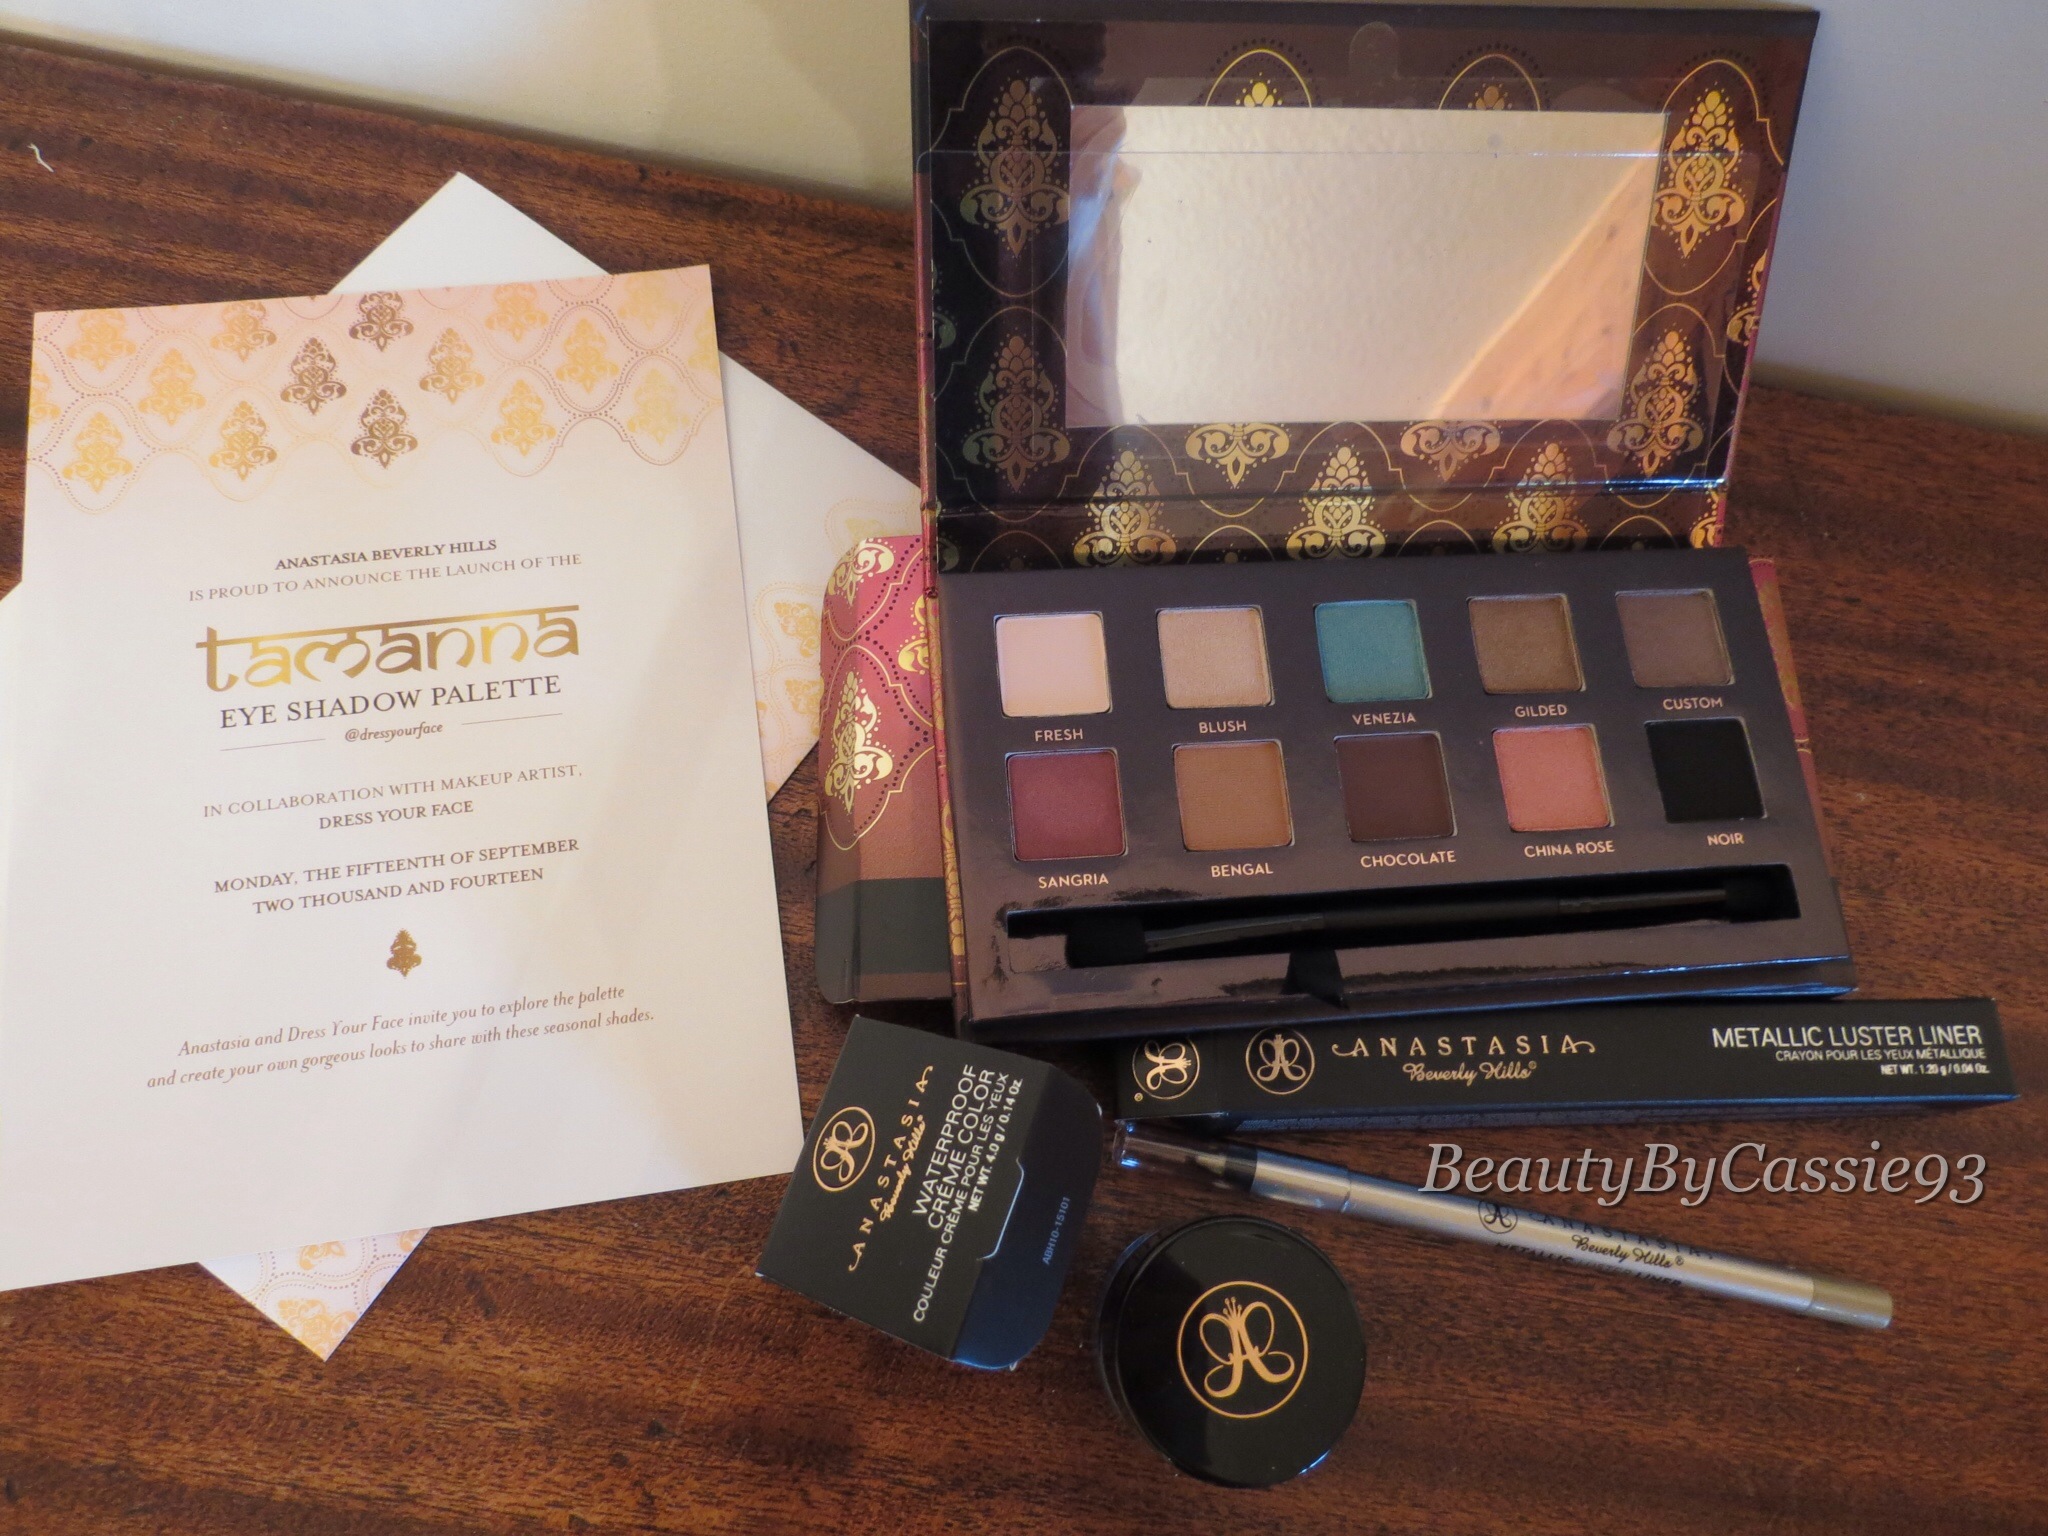
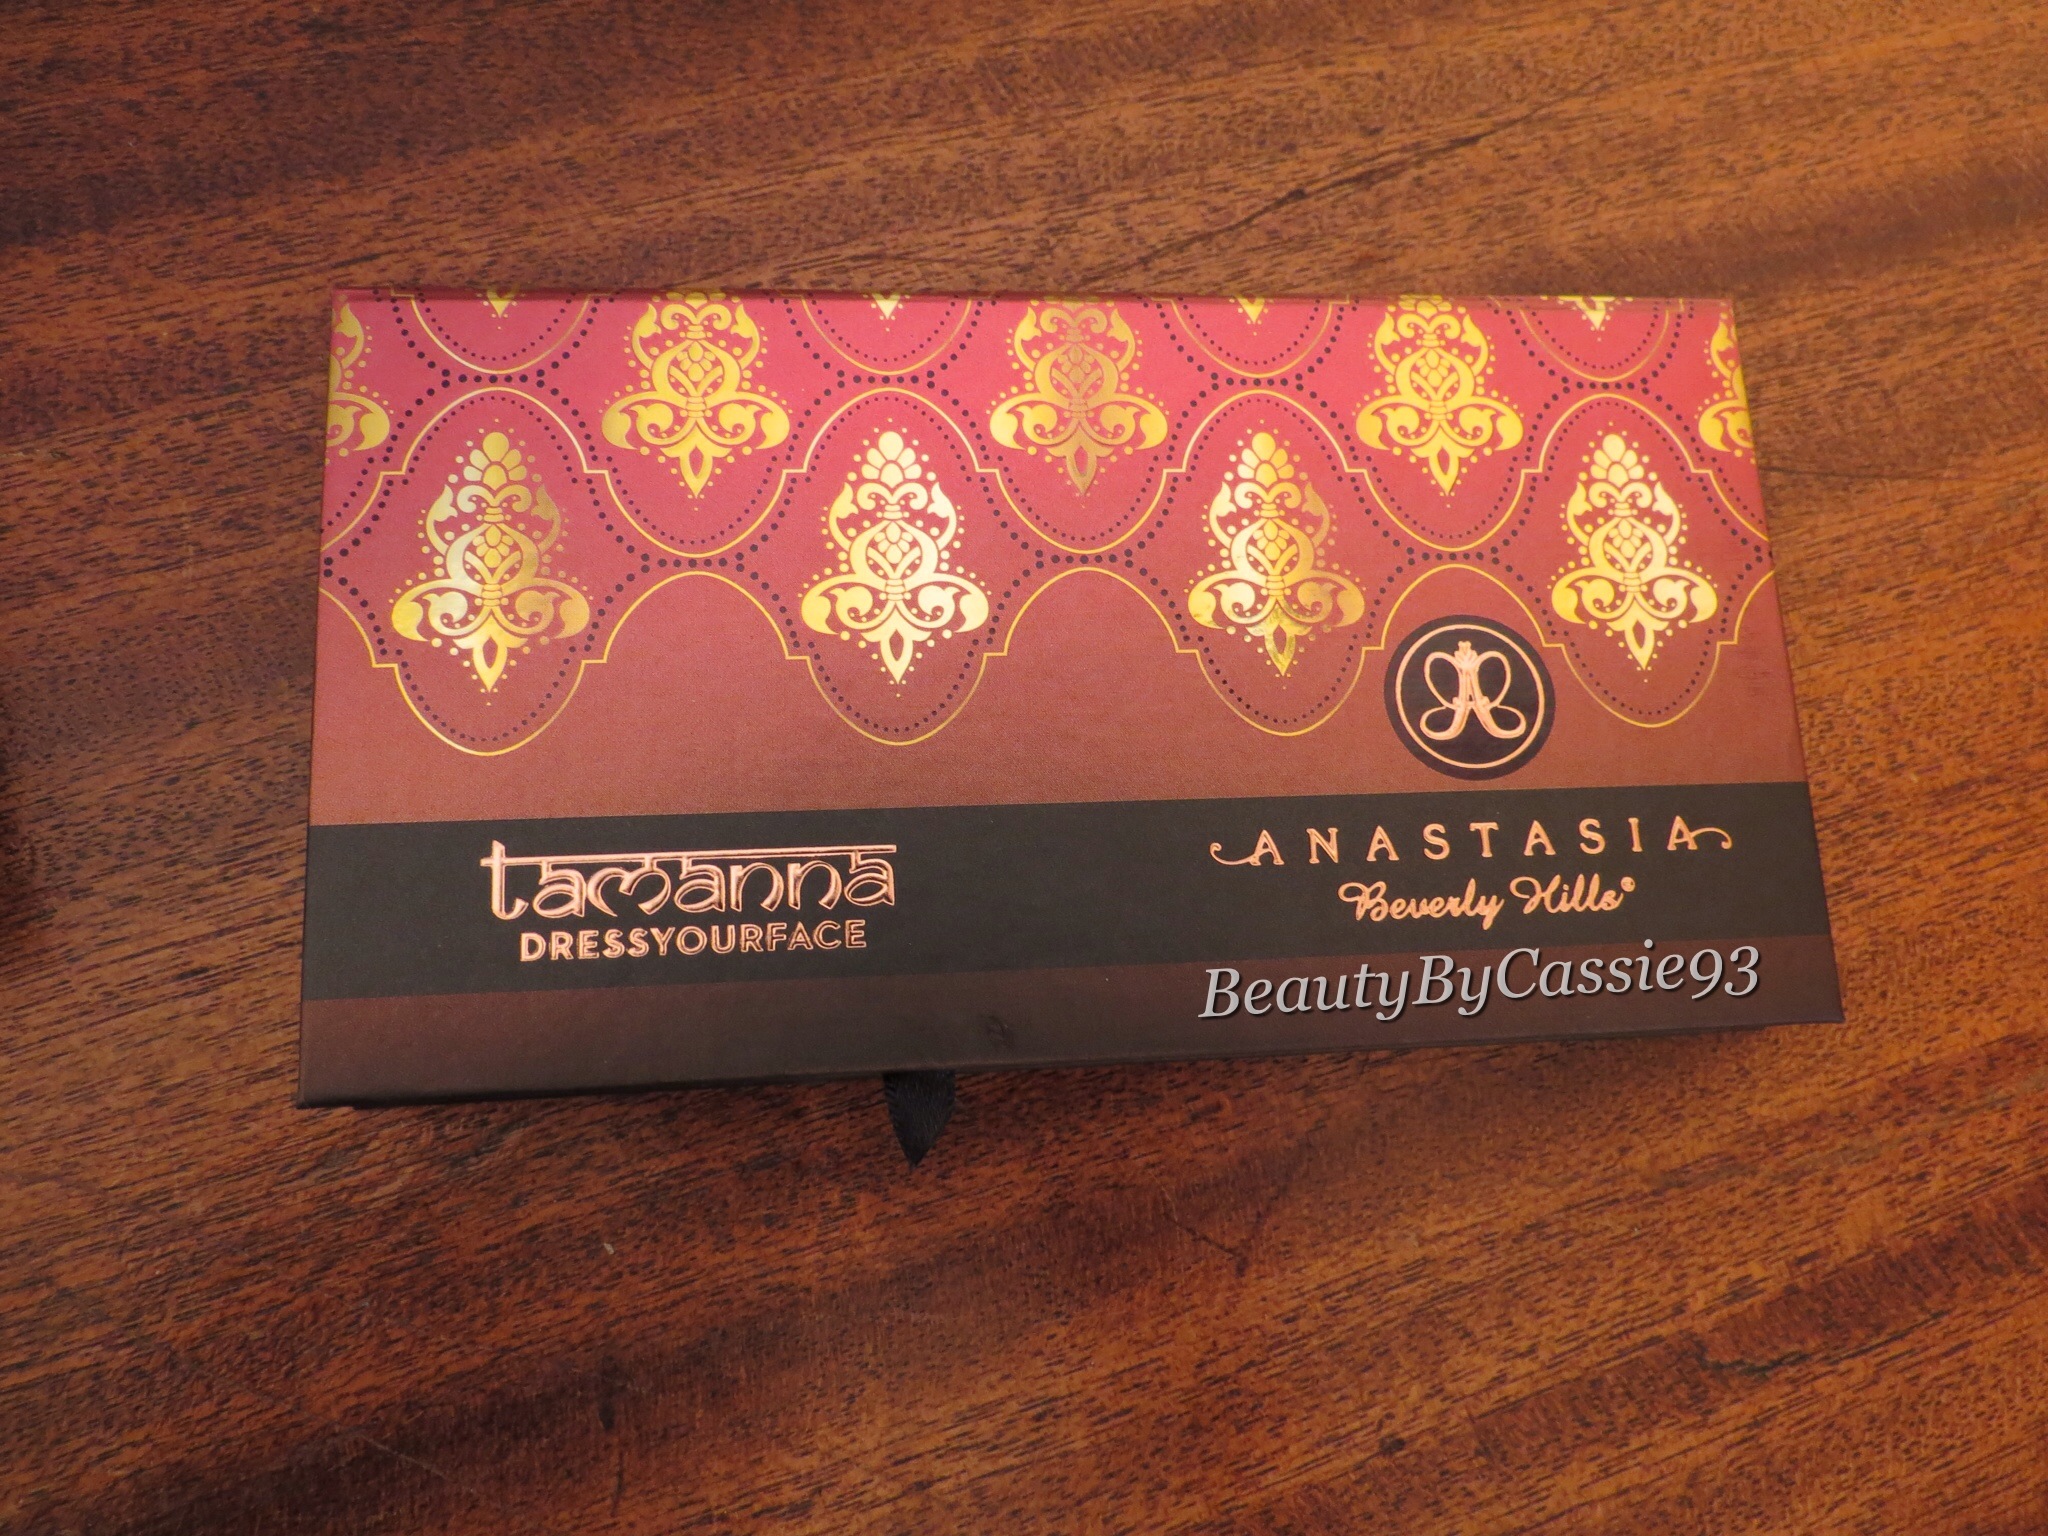
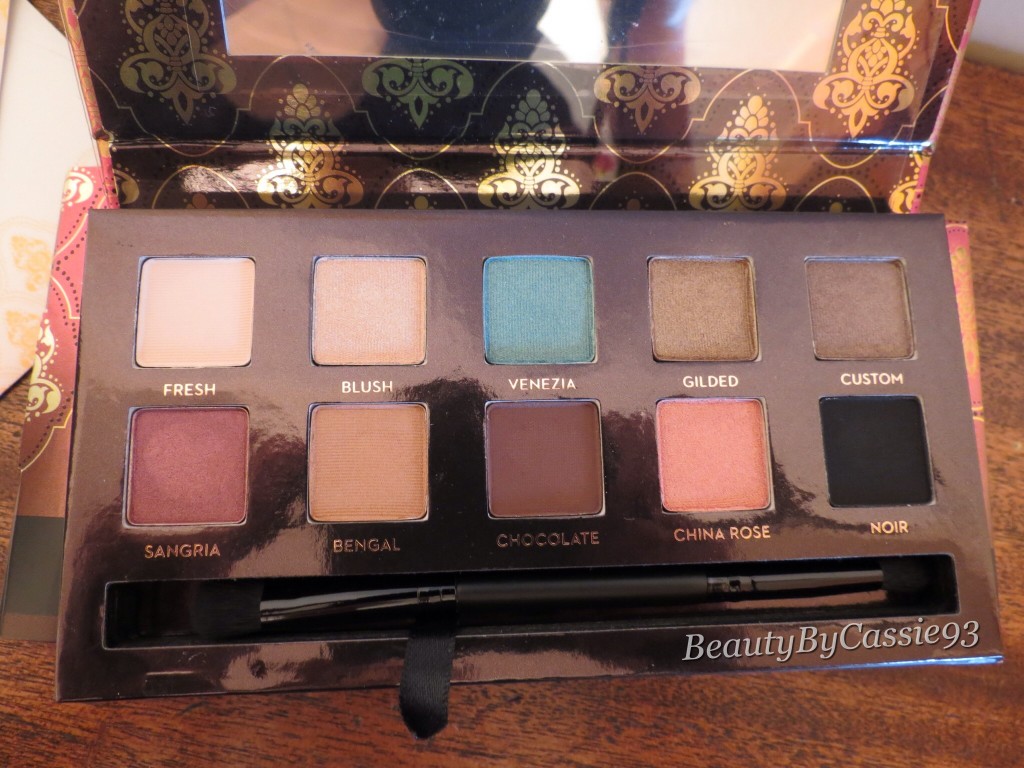
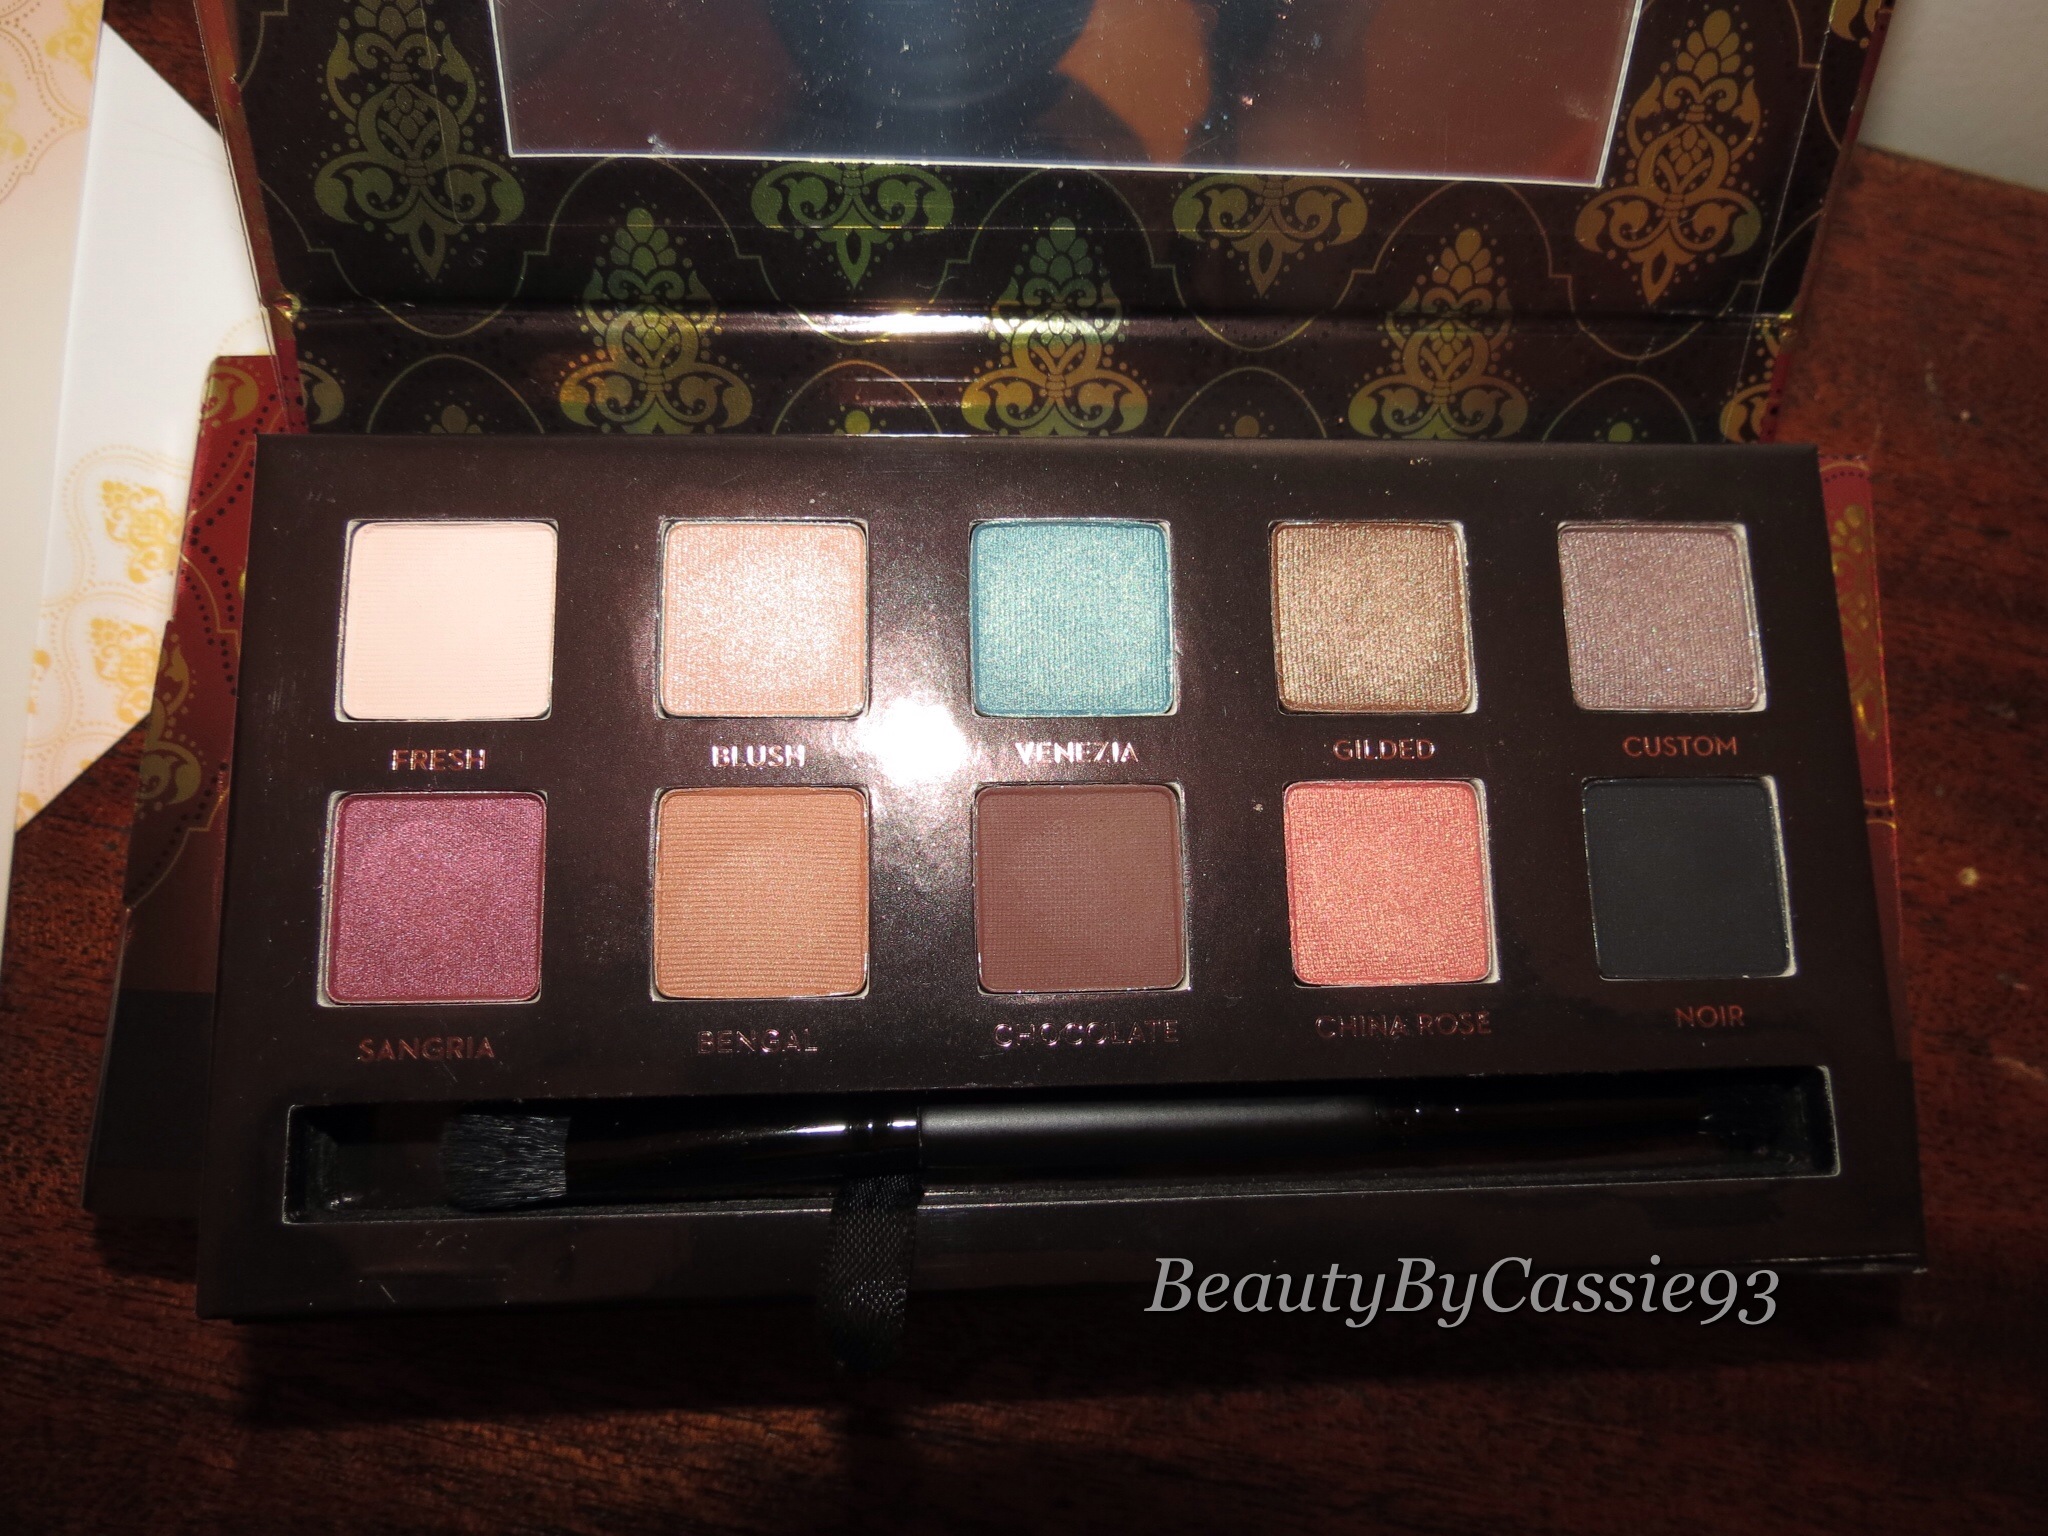
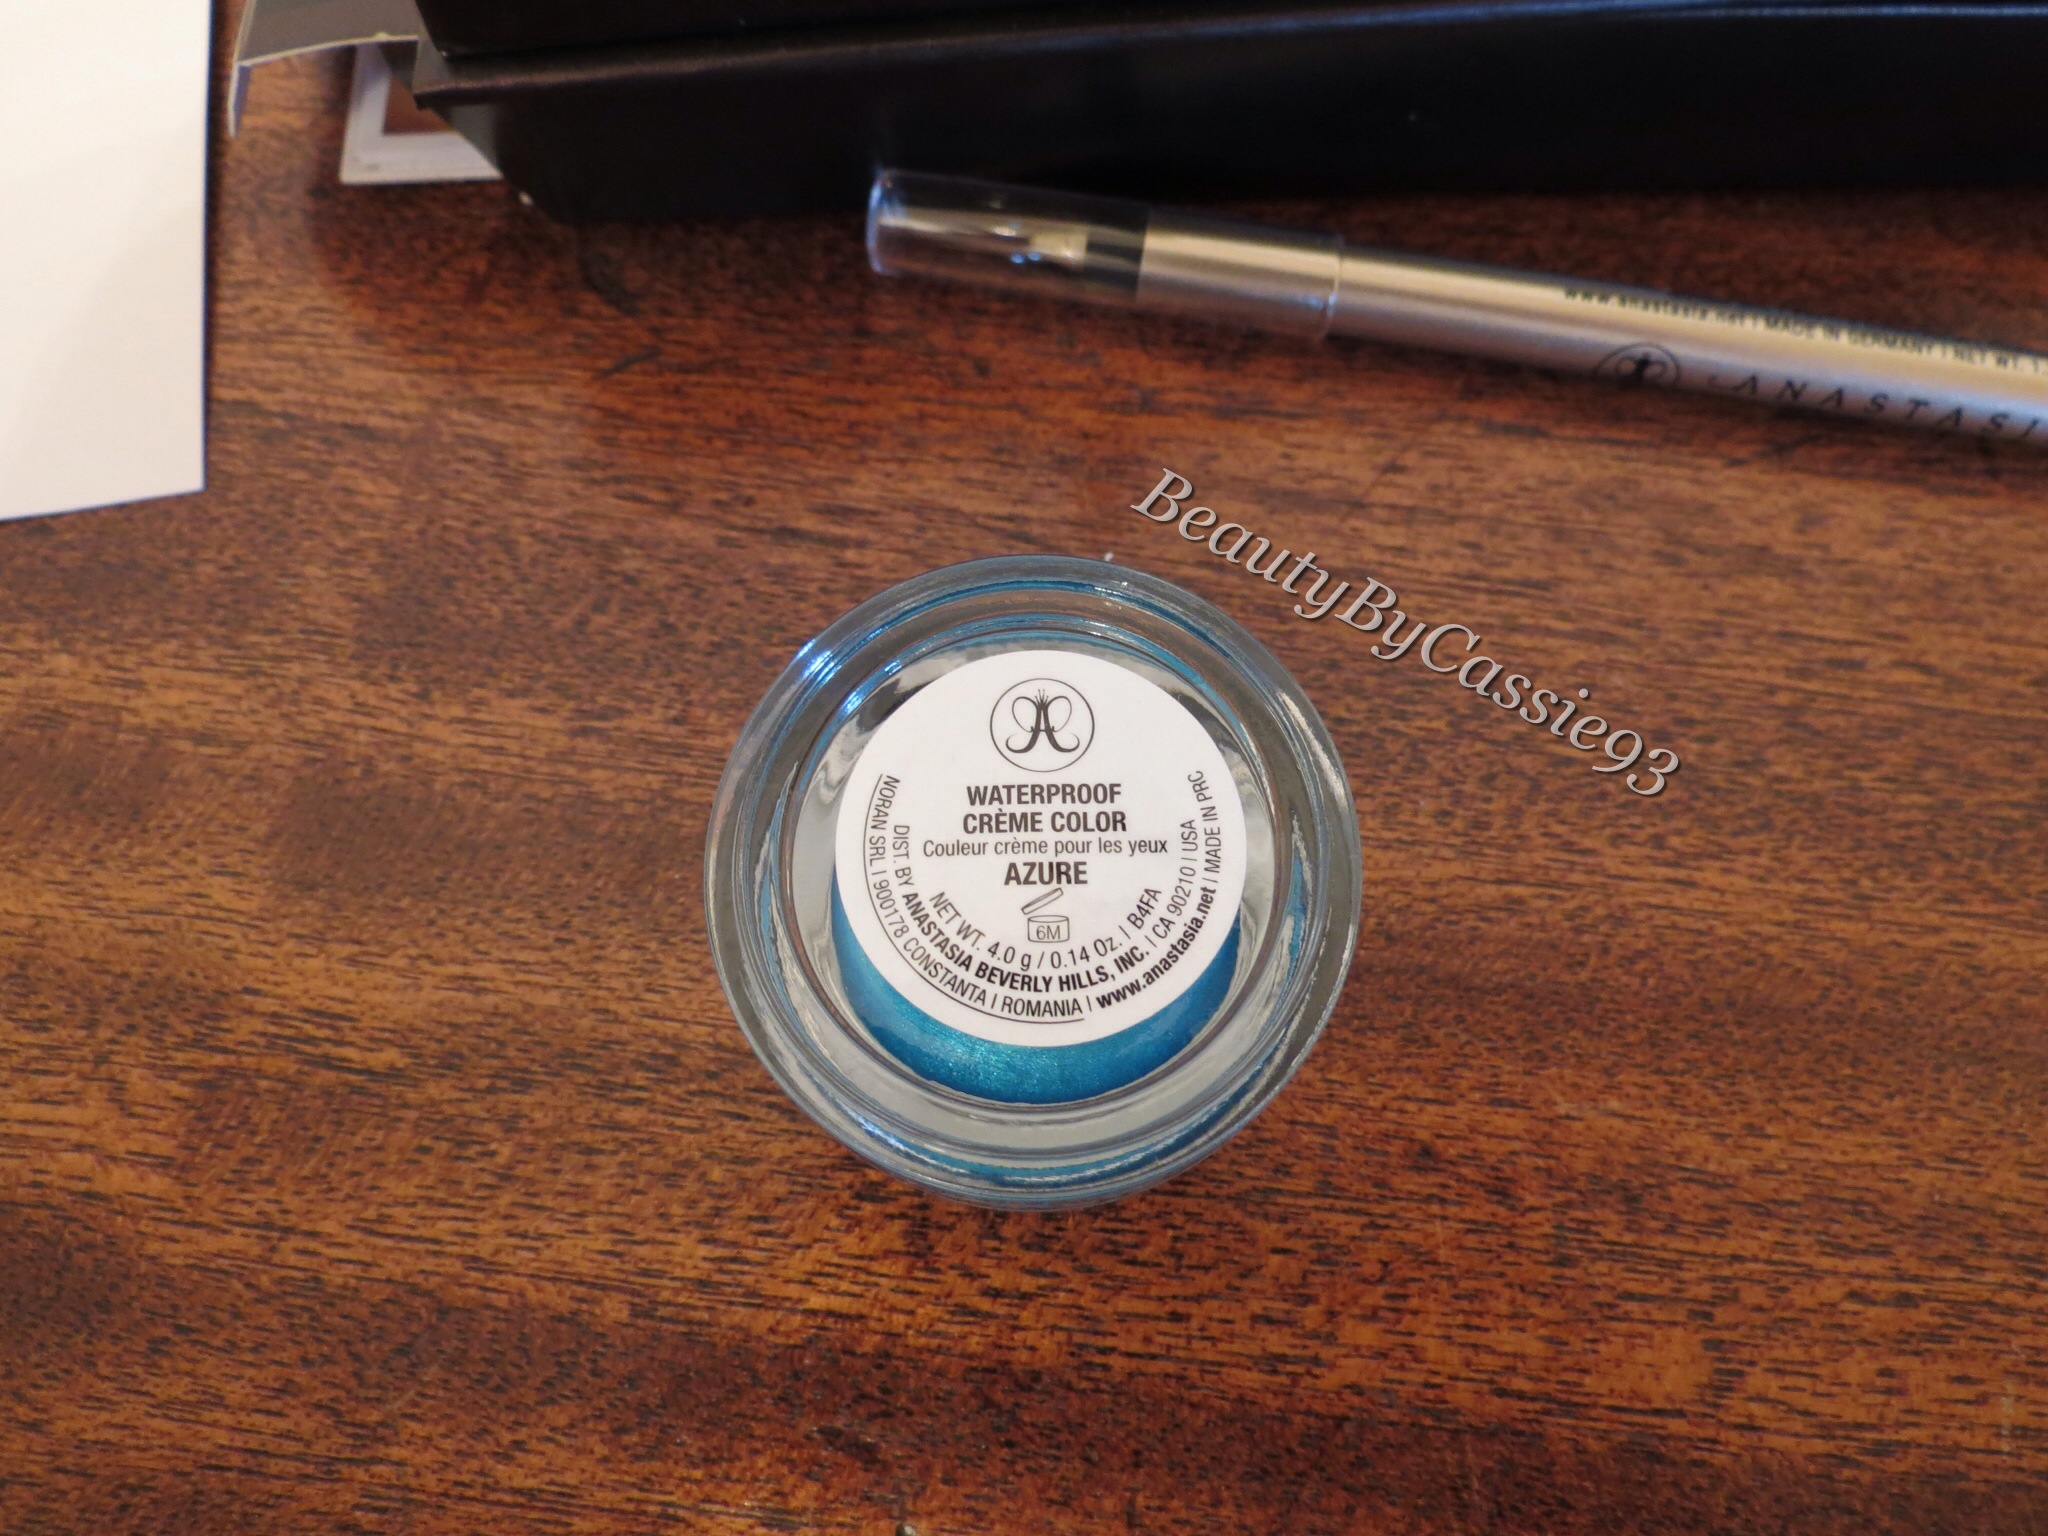
Recently, Anastasia Beverly Hills collaborated with makeup artist Tamanna Roashan(@dressyourface on Instagram) and launched the Tamanna Palette. The palette includes 10 pigmented eyeshadows that are especially perfect for the upcoming Holiday season. The Tamanna Palette retails for $29. Anastasia Beverly Hills also launched the Waterproof Crème Color in Azure and the Metallic Luster Liner each retailing for $18.
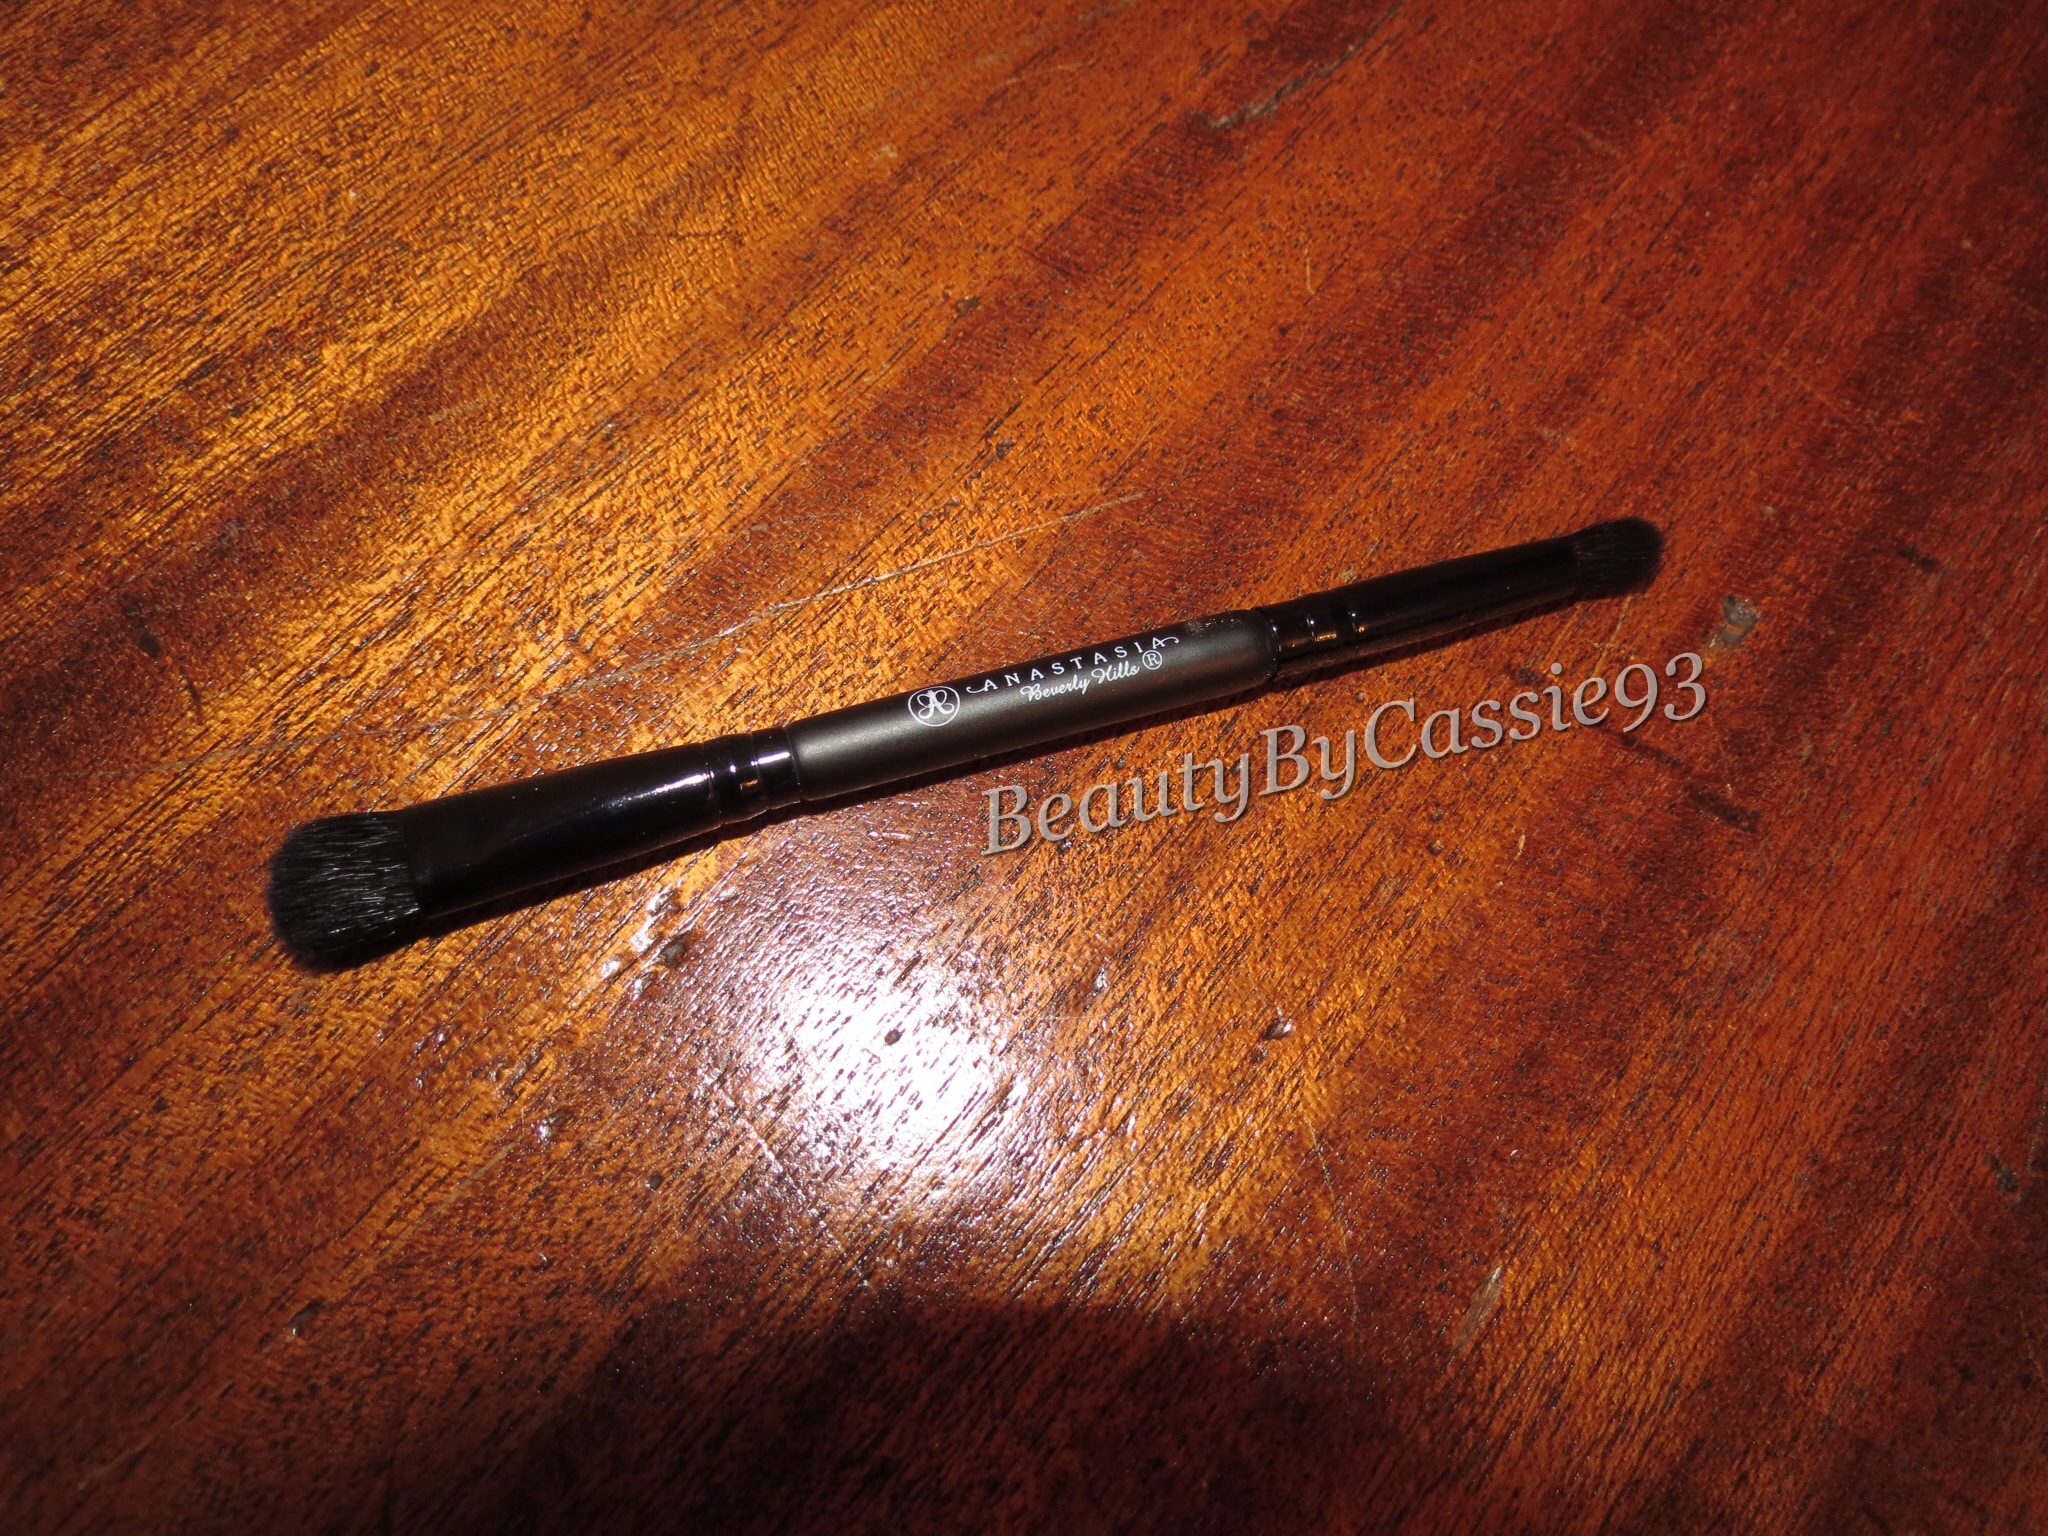
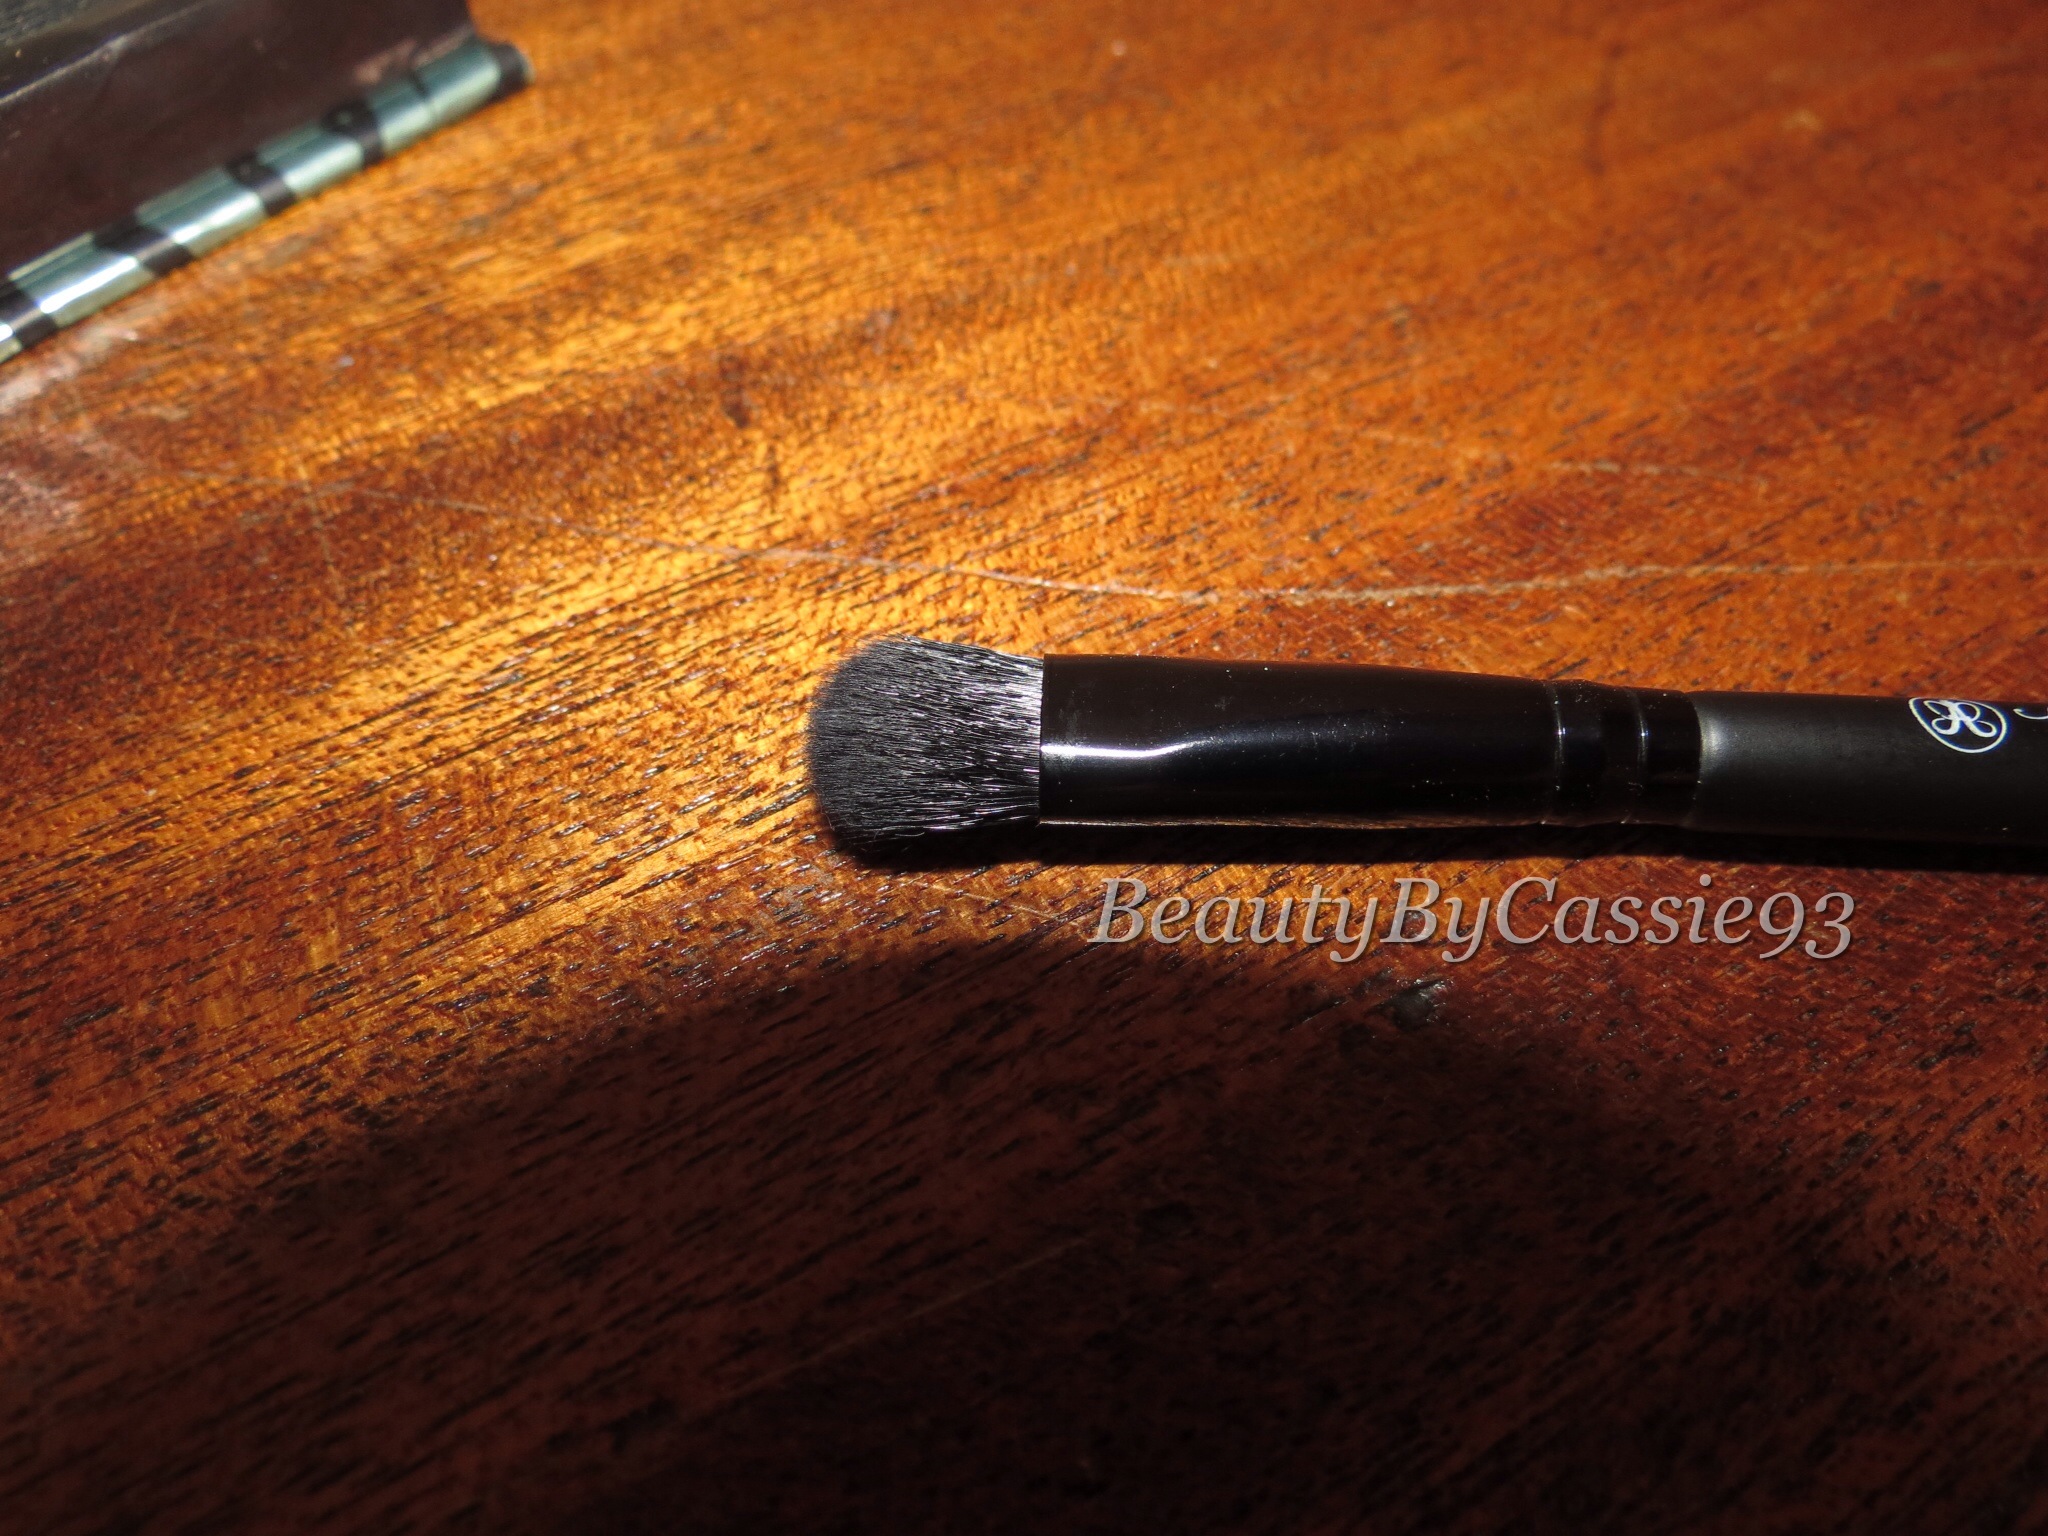
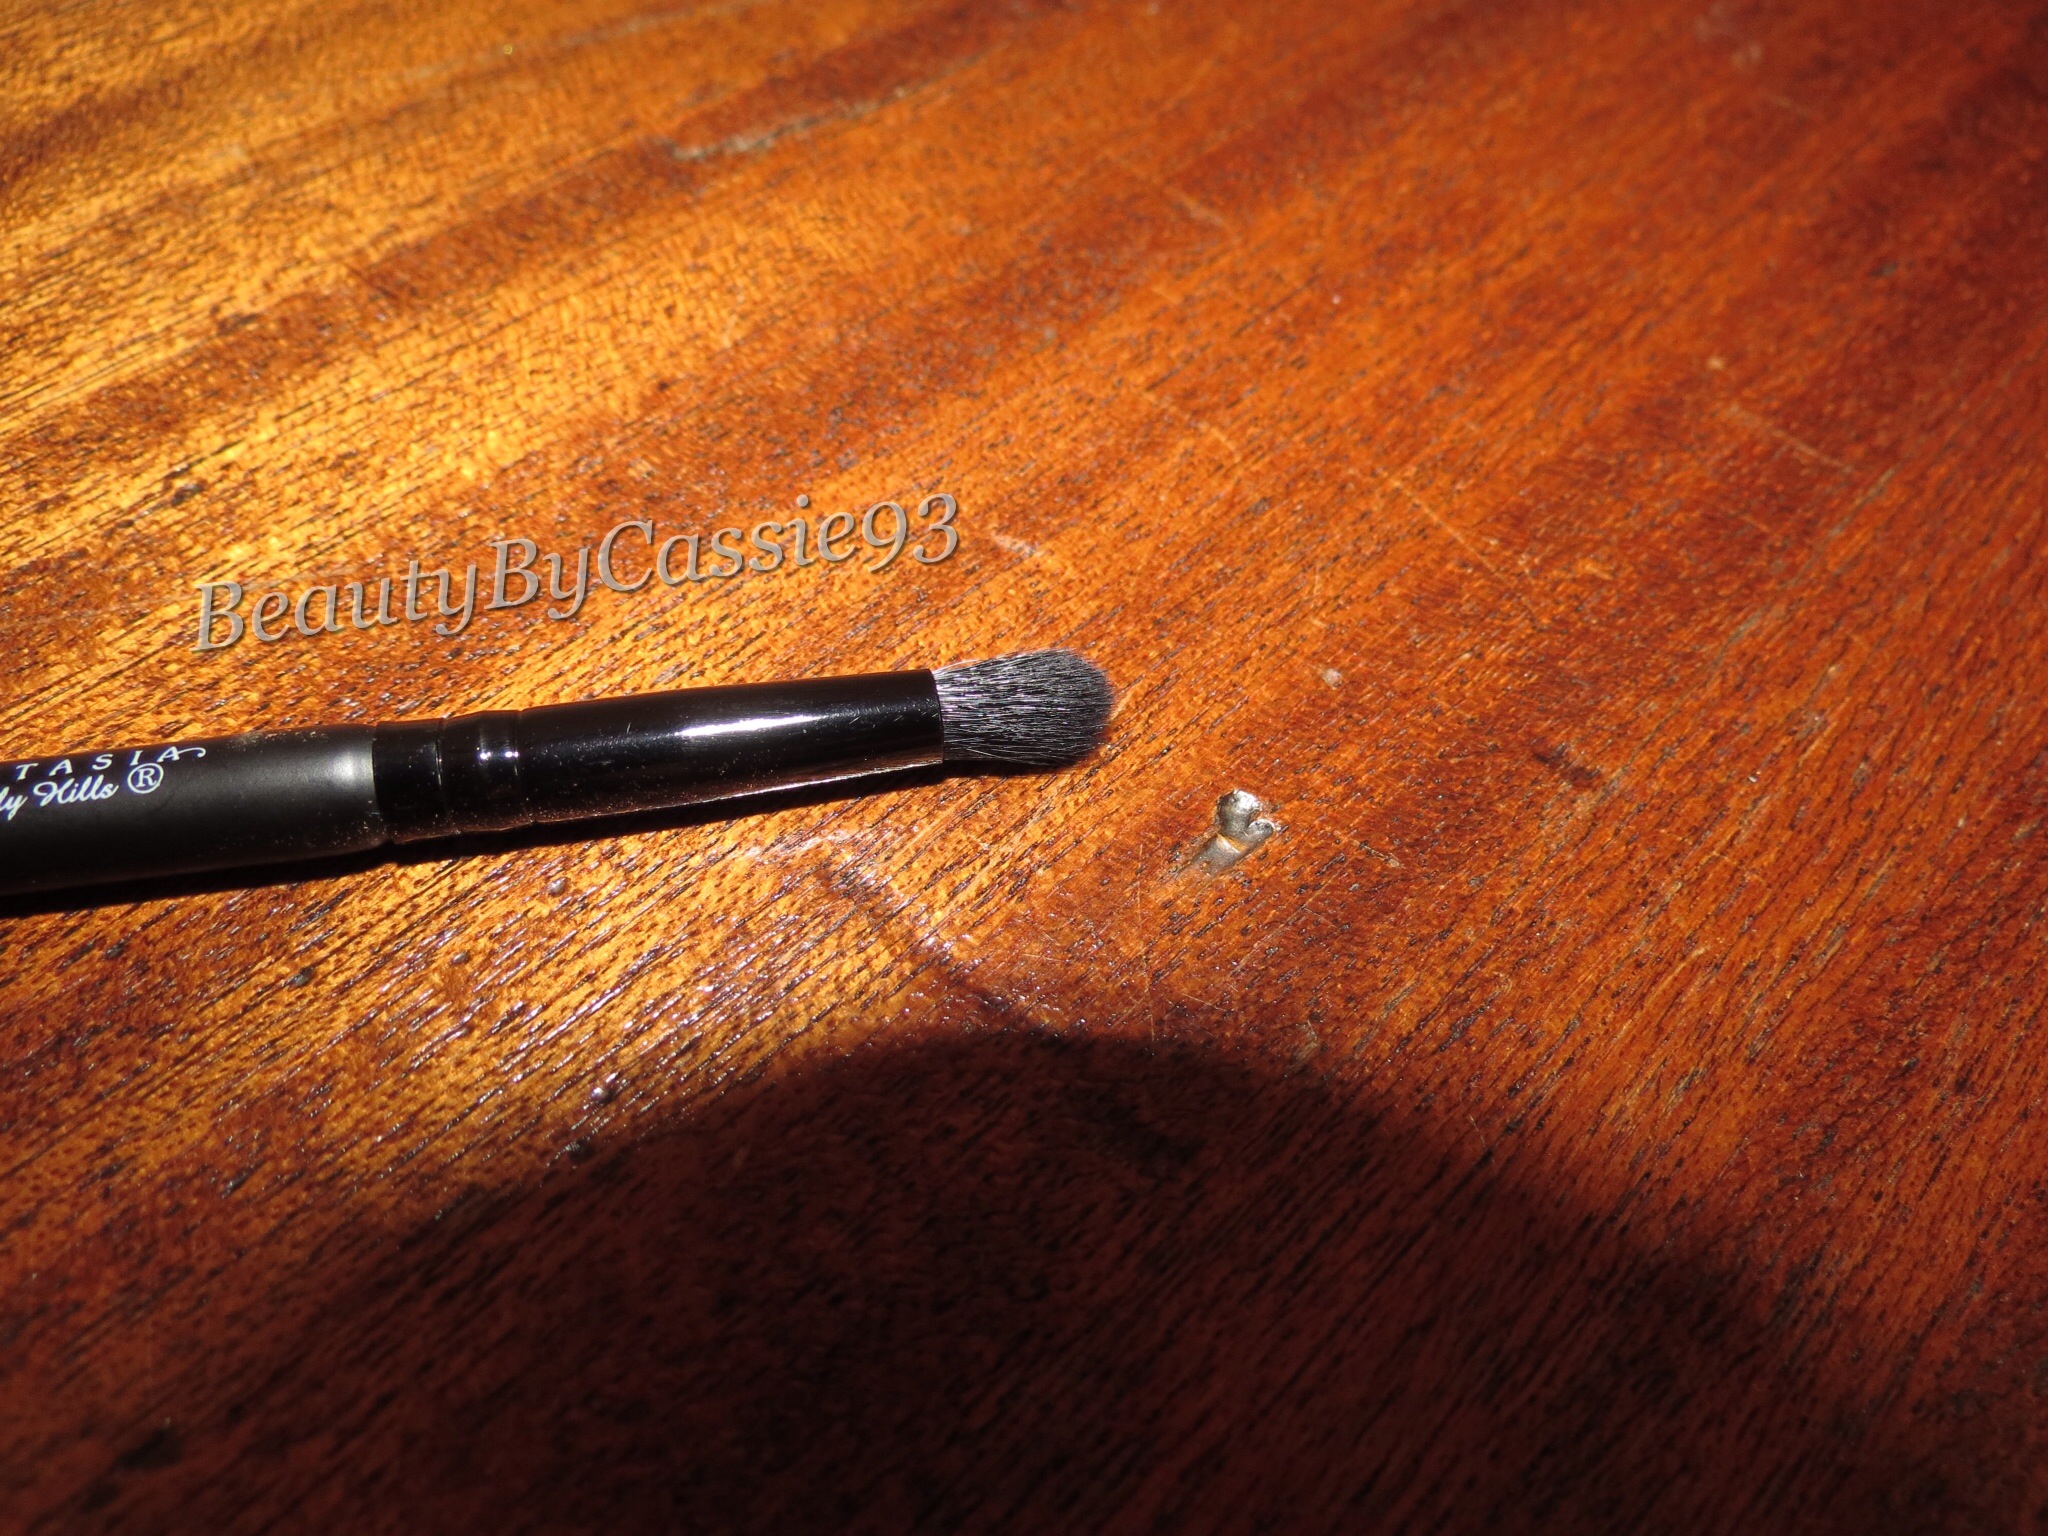
For the past few weeks of owning the Tamanna Palette, I have created numerous looks ranging from dramatic to simple. The palette contains a few matte shadows as well as shimmer and satin finishes. I really enjoy this palette and think it contains some beautiful shadows. It also comes with a double ended eyeshadow brush. It’s the standard double ended brush that Anastasia always includes with her eye palettes. It has a pointed pencil brush on one end and a flat shader brush on the other.
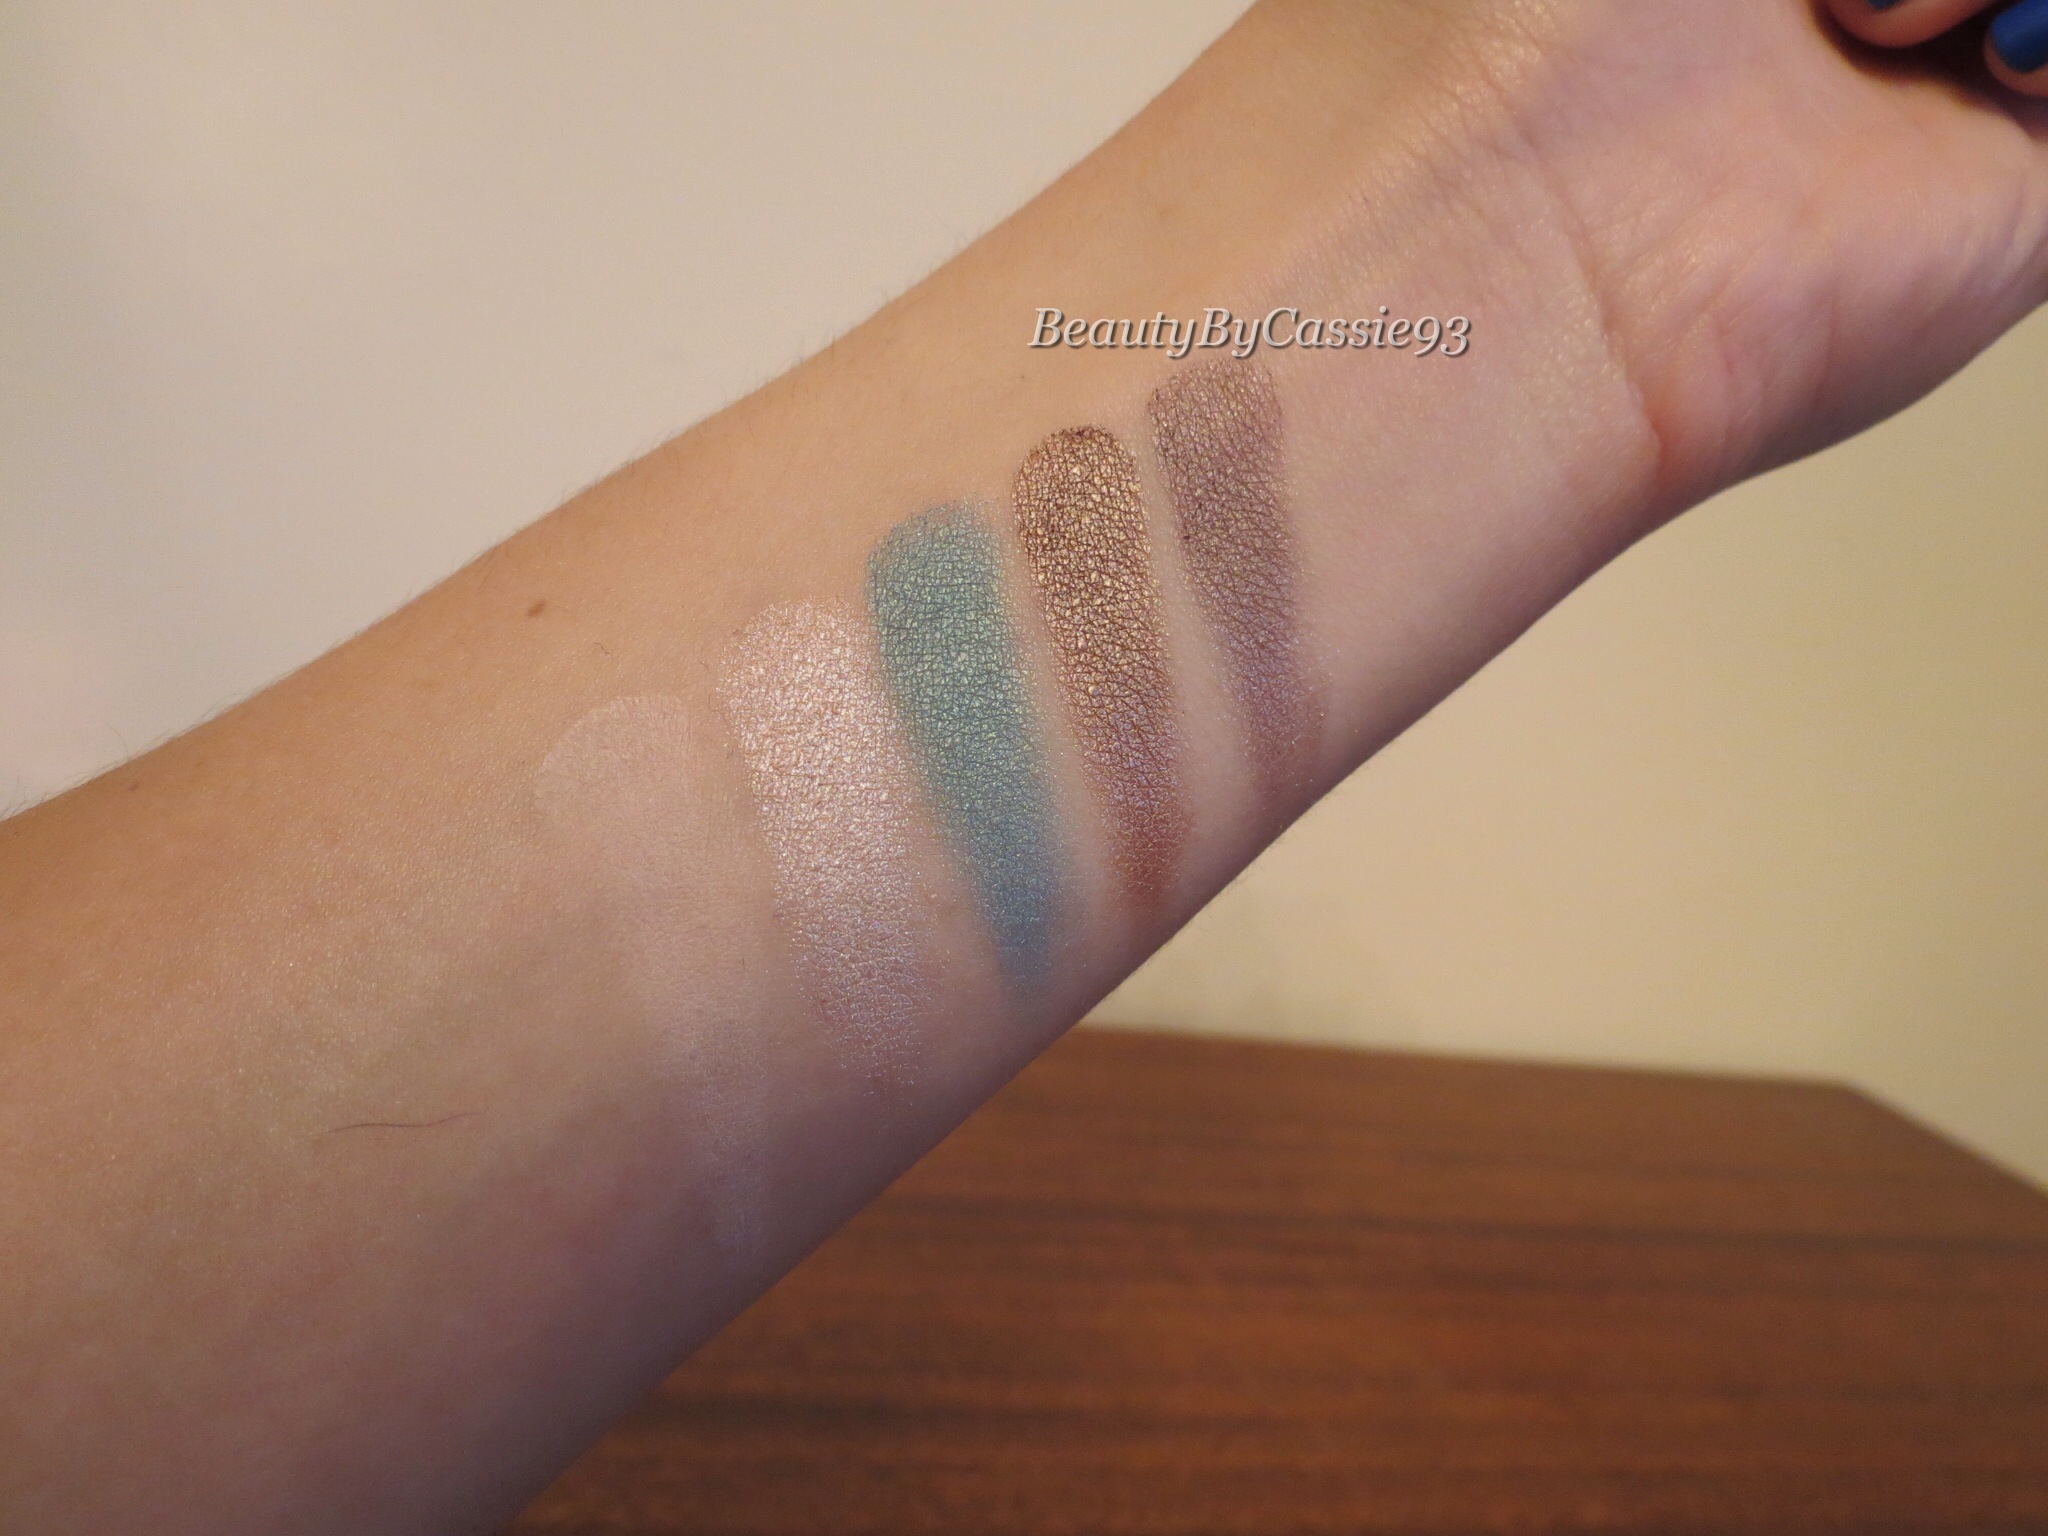
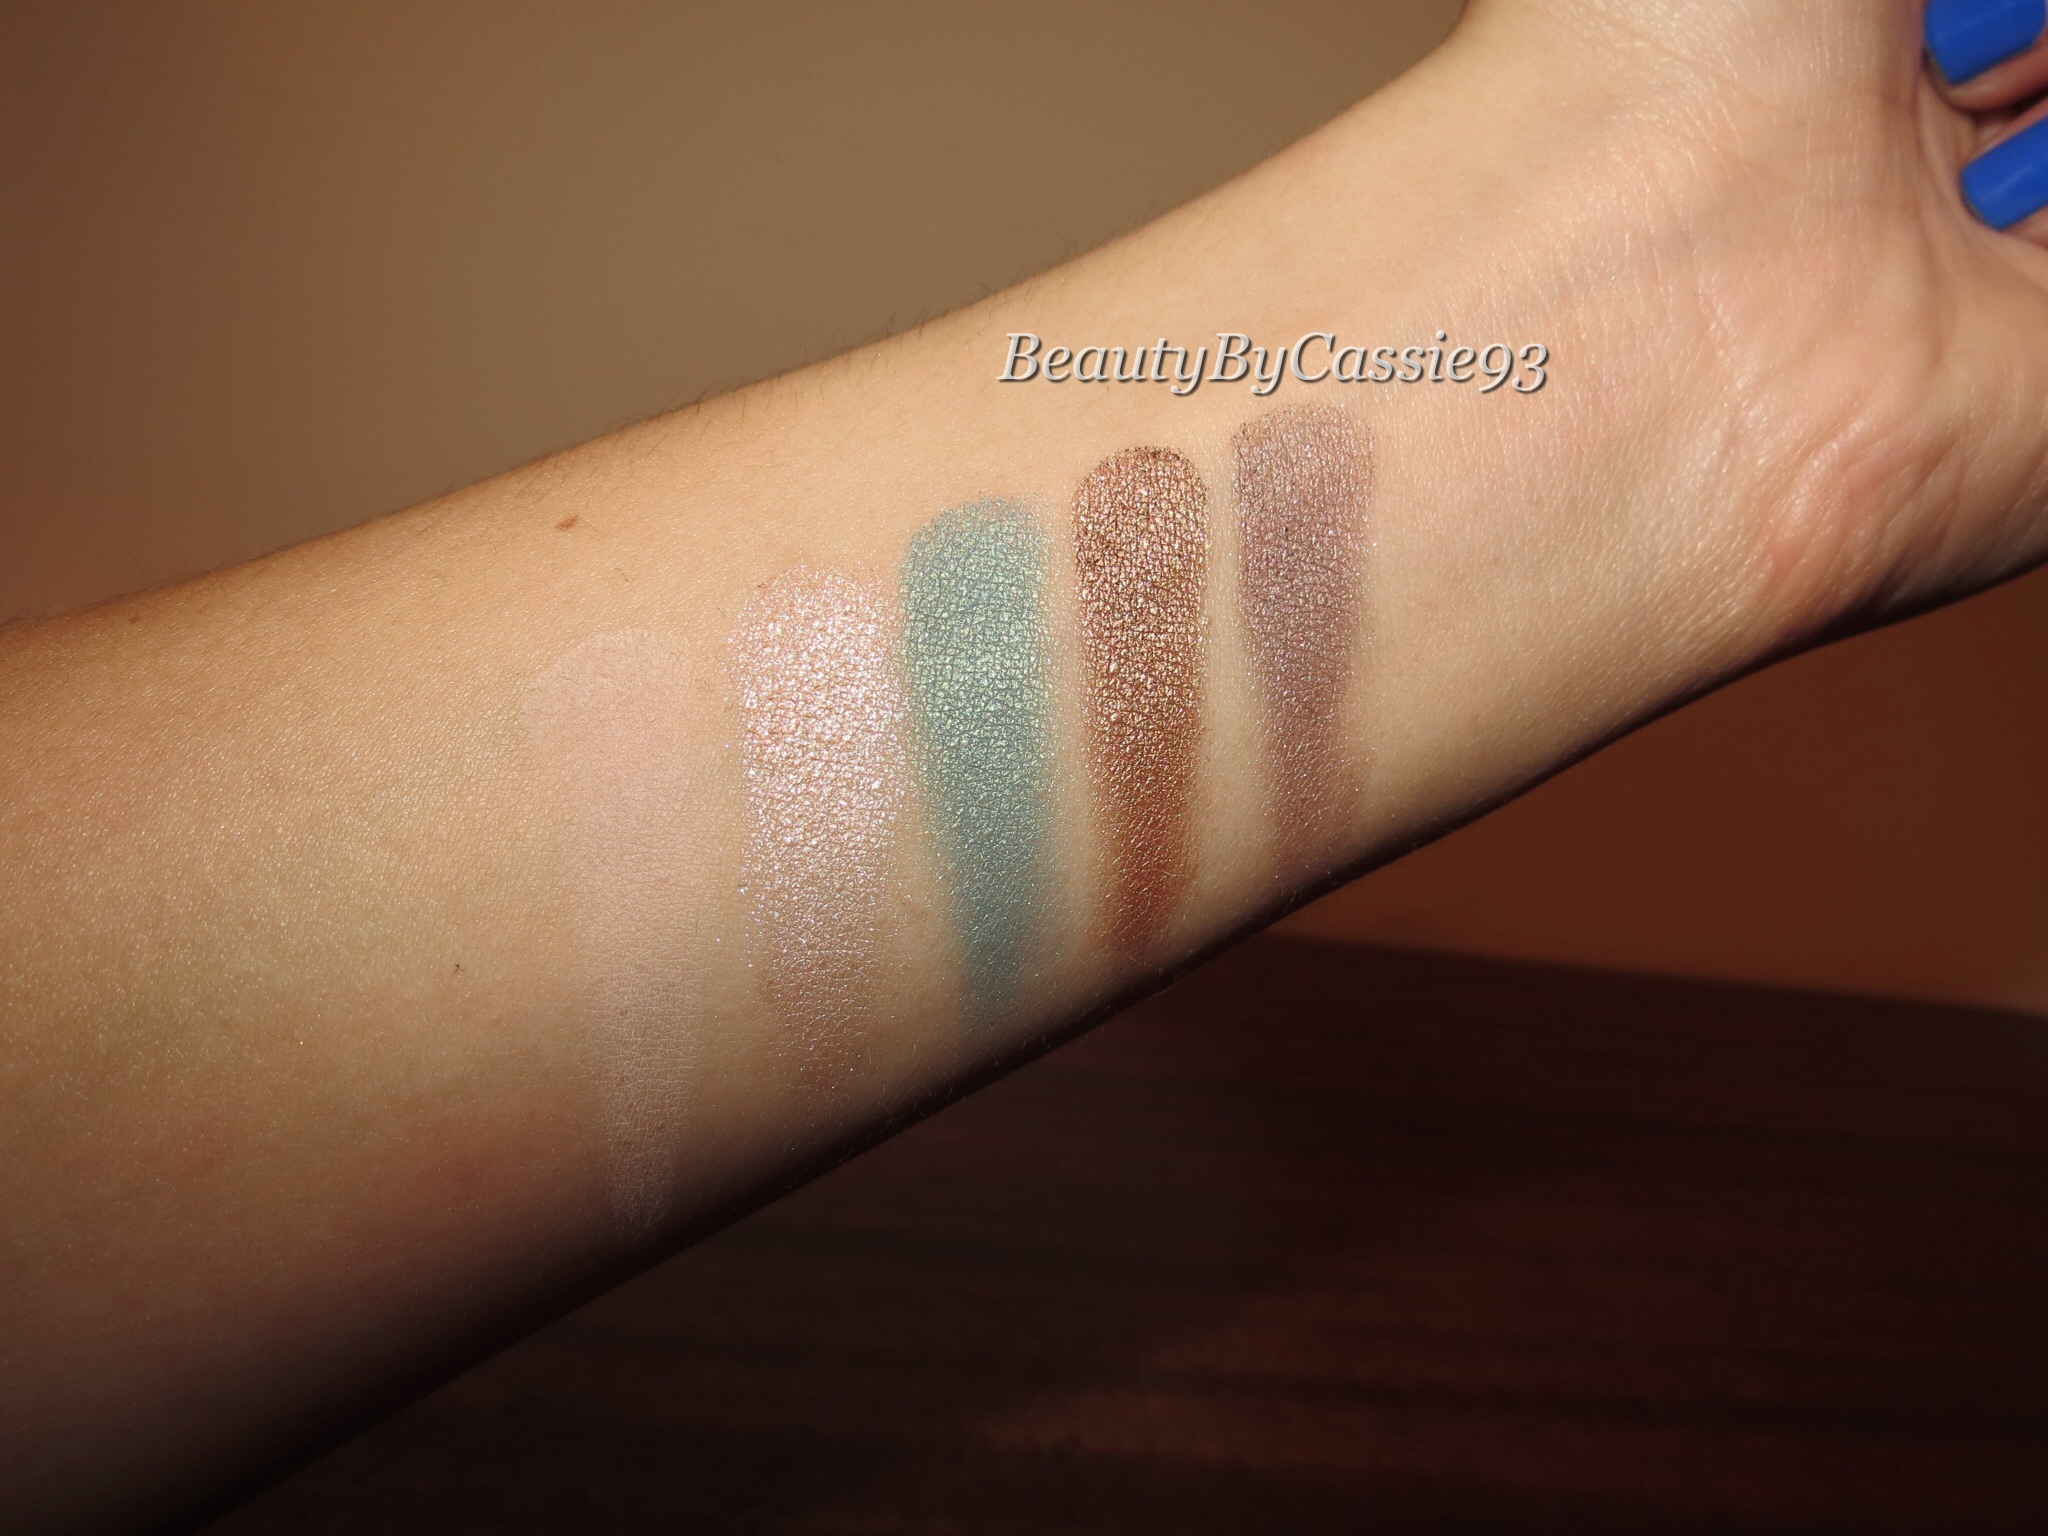
From left to right: Fresh, Blush, Venezia, Gilded, and Custom (Without flash)(With flash)
Top row:
Fresh: It’s a light nude shadow that blends in with my skin tone. It’s a perfect shadow for an all over lid color or even a subtle highlight.
Blush: It’s a pink toned shimmery champagne shadow. I absolutely love this shade for highlighting my tear duct.
Venezia: It’s a beautiful shimmery teal/blue shadow that would be perfect as a pop of color along the lower lash line.
Gilded: It’s a gorgeous shimmery bronze shadow. This shadow is extremely similar in color to Maybelline’s Color Tattoo in Bad to the Bronze.
Custom: It’s a beautiful shimmery taupe shadow.
From left to right: Noir, China Rose, Chocolate, Bengal, and Sangria. (Without flash)(With flash)
Bottom row:
Noir: It’s an extremely pigmented matte black shadow. This is a great shadow to line your eyes with if you don’t feel like using a traditional eyeliner and want a softer looking line.
China Rose: It’s a beautiful rose gold shade. This is probably my favorite shadow in the entire palette.
Chocolate: It’s a lovely warm matte brown shadow. I love this one for adding depth to my eyeshadow looks.
Bengal: It’s a nice medium brown with a satin finish. This is a great transition shade.
Sangria: It’s a pretty shimmery purple/wine shadow. This color is amazing for making brown, green, or hazel eyes pop.
Overall, I’m not disappointed with any of the shadows in this palette. The pigmentation is wonderful and I think the Tamanna Palette is definitely worth $29.
I’ve created a smokey rose gold look using the palette. For all of the details on this look, check out my Instagram account.
Waterproof Crème Color in Azure. (Taken with flash)
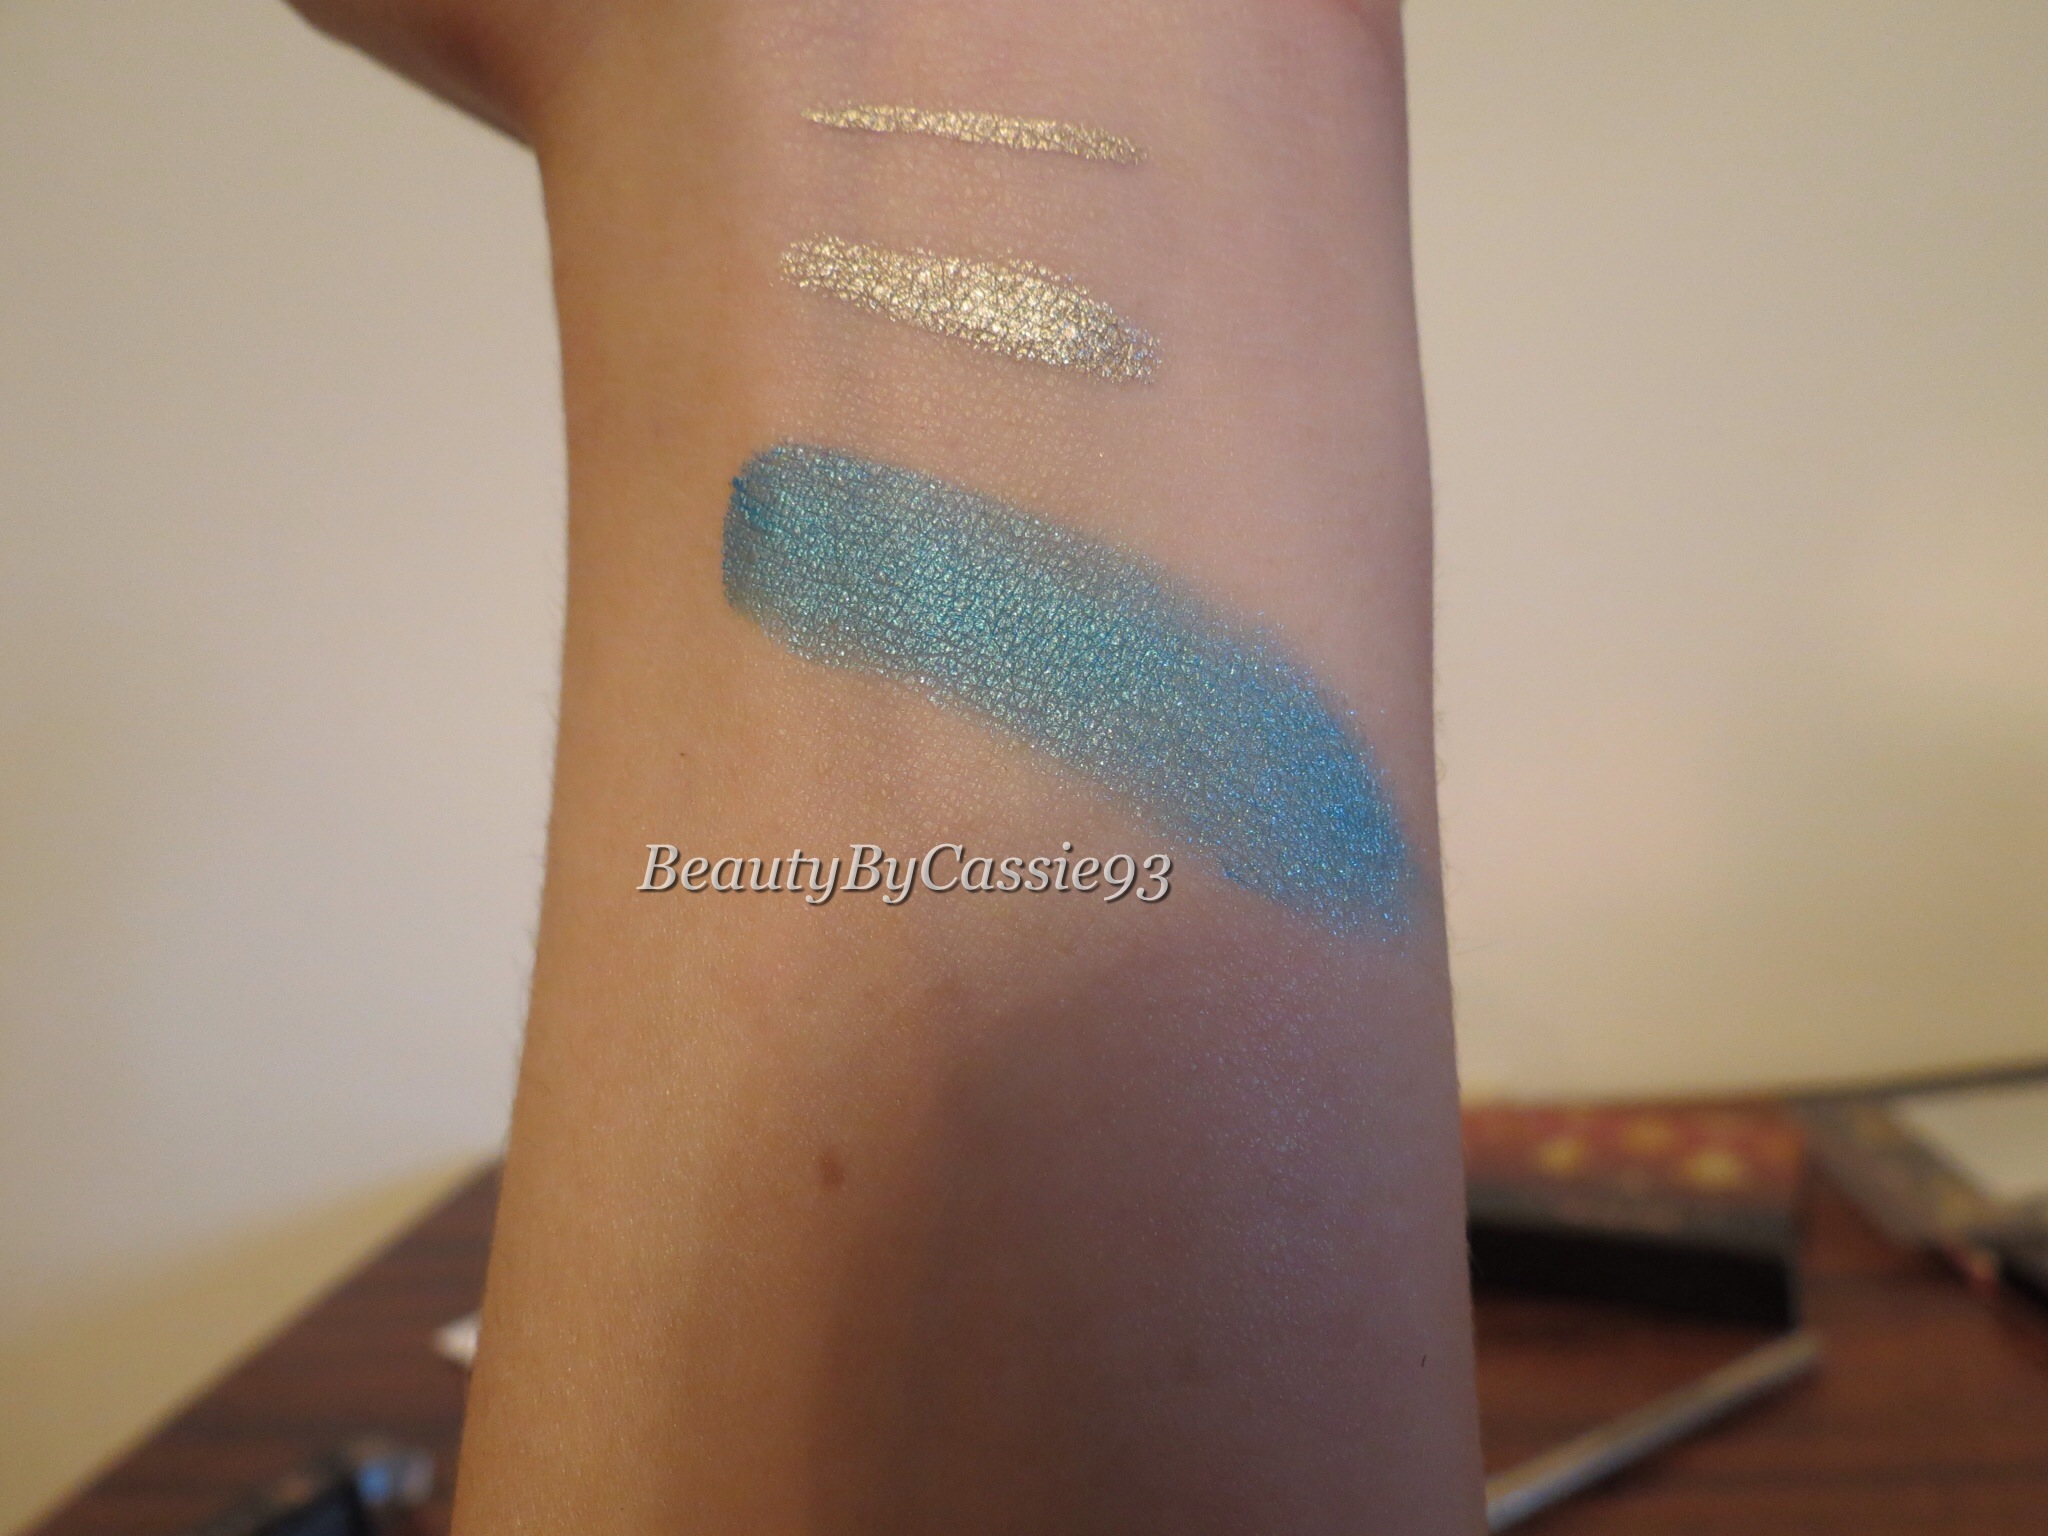
The Waterproof Crème Color in Azure is a cream product that can be used as a cream shadow or an eyeliner. It’s smudge proof and crease proof and is a gorgeous blue color.
Waterproof Crème Color in Azure. (Without flash)
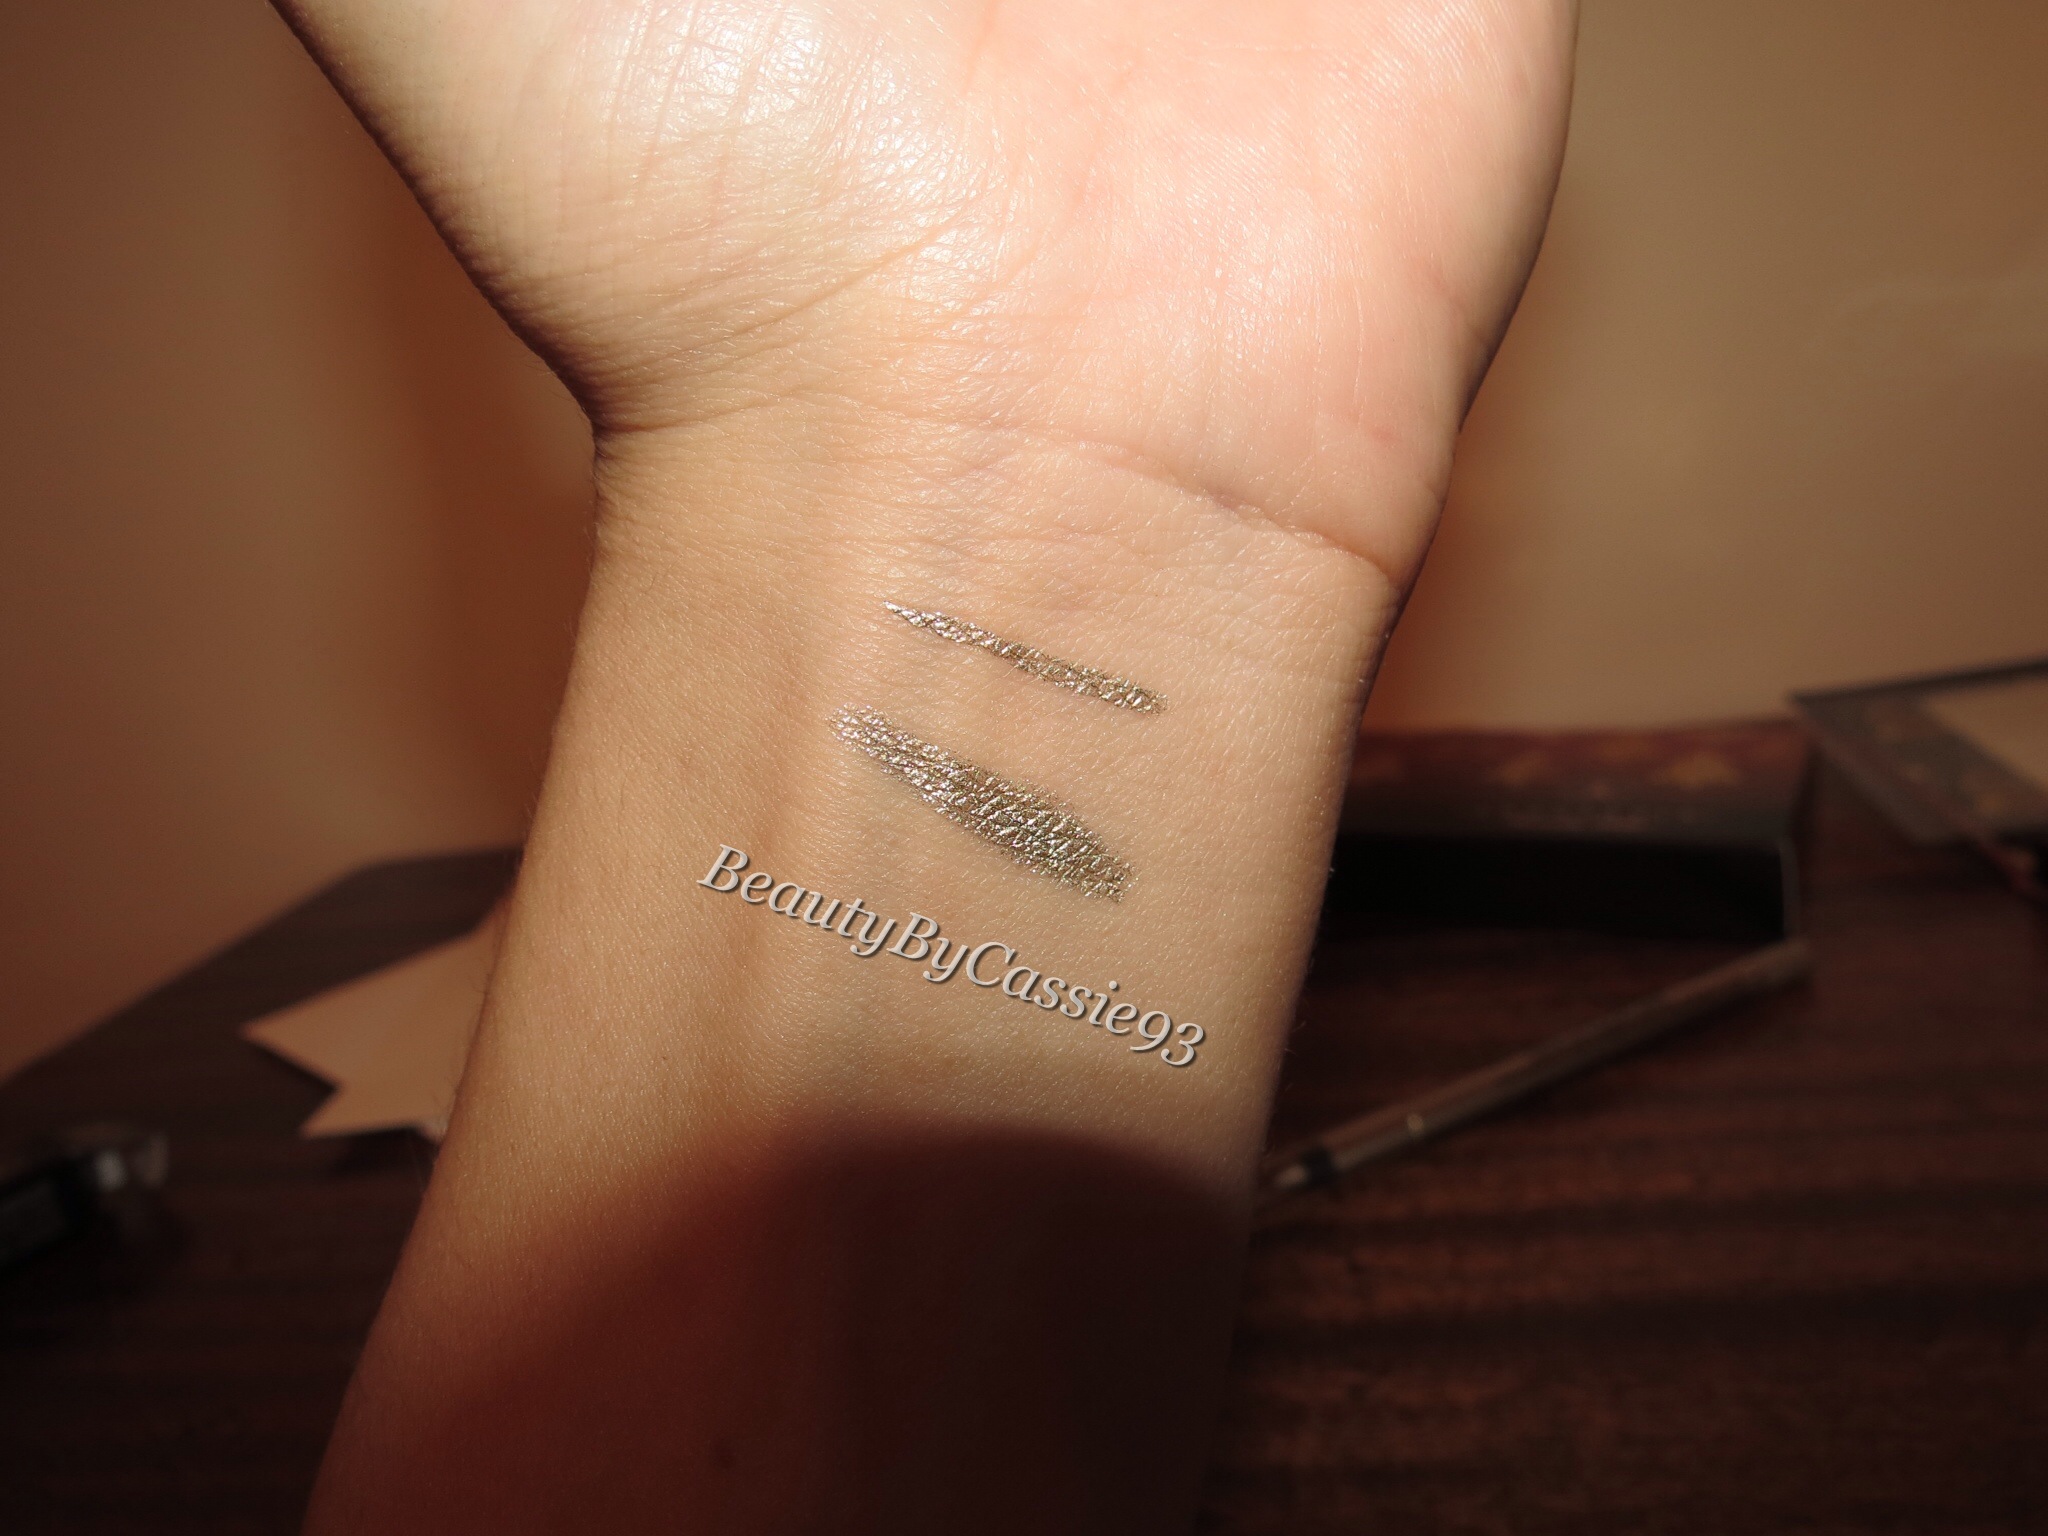
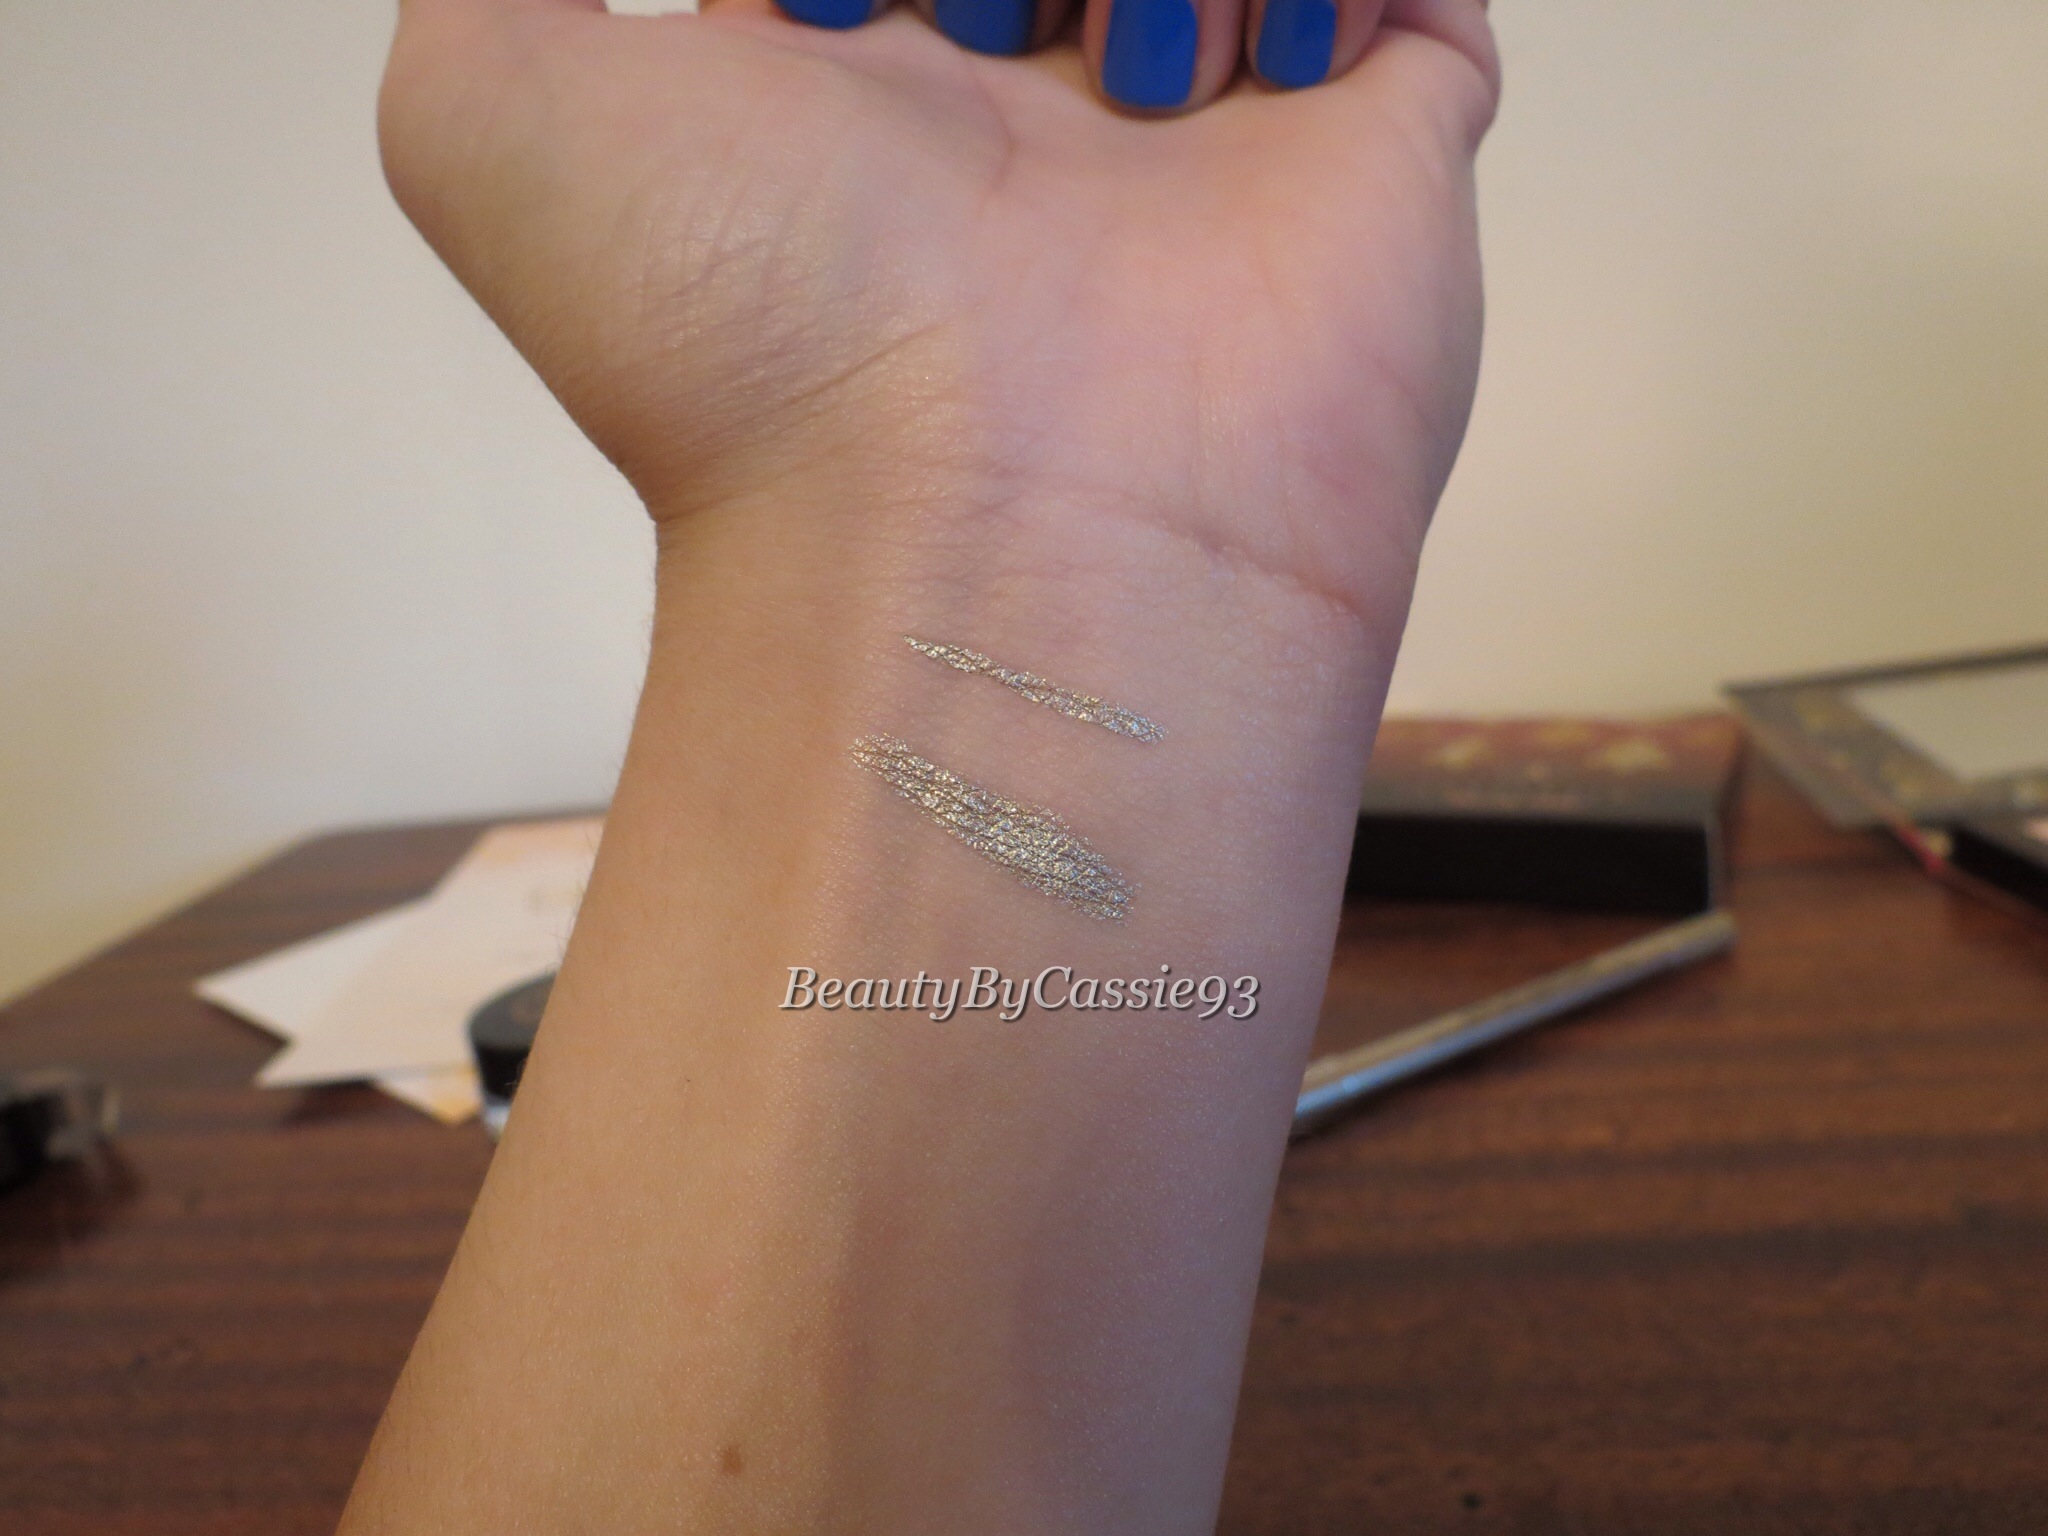
The last product, Anastasia Beverly Hills Metallic Luster Liner in Liquid Gold is a super soft pencil that glides on effortlessly. It’s a pretty metallic gold color and I love using it on my waterline to brighten up my eyes and make myself look wide awake.
Metallic Luster in Liquid Gold. (With flash)(Without flash)
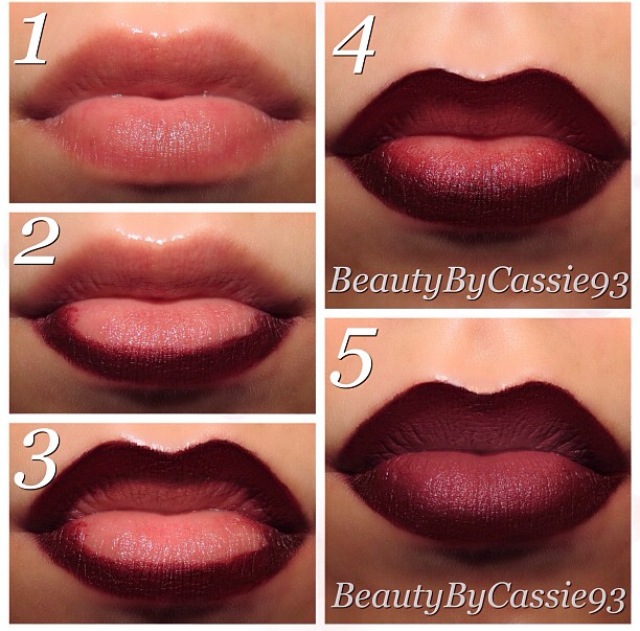
Ombre lips are very trendy especially for Fall. I often get questions about how to achieve this look and it’s honestly not that complicated. Below I’ve inserted a pictorial and listed the steps.
First, you should exfoliate your lips to remove any dead skin. You can either use a lip scrub or a soft-bristled tooth brush. This will also make your lips appear more plump because, as stated in an online article, you will increase the blood circulation to your lips.
Next, you’re going to want to outline your bottom lip with your lipstick. You may even want to use a lip liner if you’re using a dark colored lipstick just because that can help prevent the lipstick from feathering and bleeding outside your lip line.
After that, go ahead and outline your upper lip with your lipstick.
Next, use either a lip brush or your finger to blend the lipstick into the center of your lips.
Finally, apply a lighter colored lipstick to the center of your lips to create contrast.
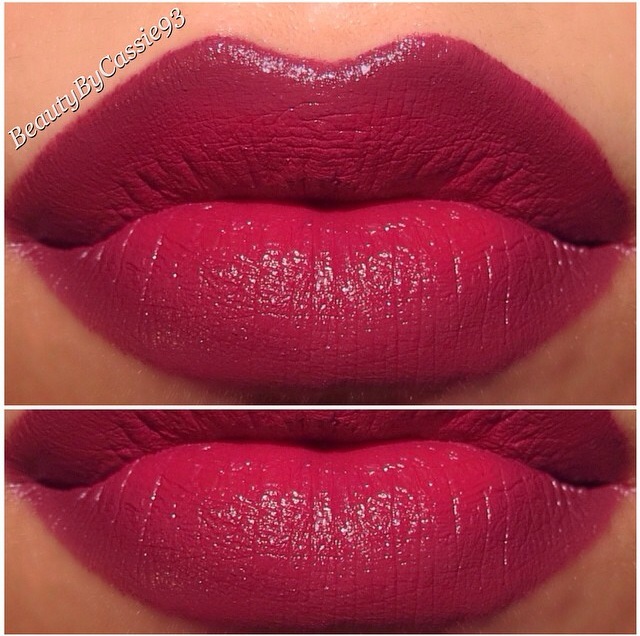
This dark, vampy lip combo is absolutely perfect for Fall and Winter. Pair these lips with a simple neutral cat eye and you’ll be good to go.
This ombre technique is useful in making your lips appear fuller.
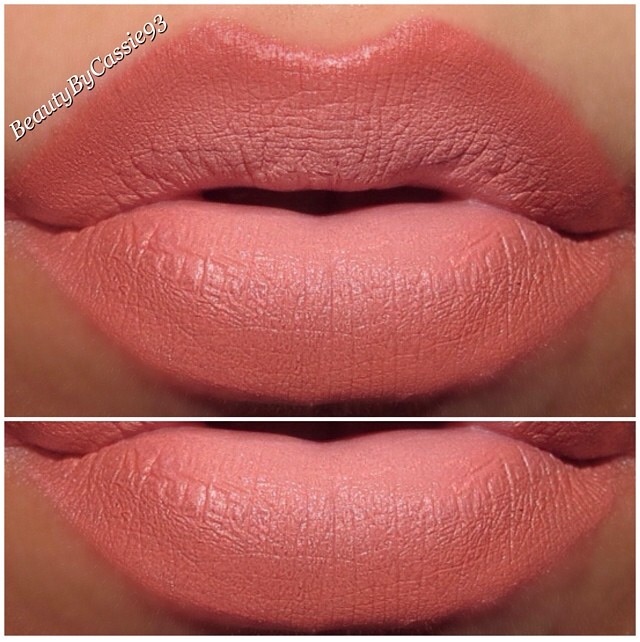
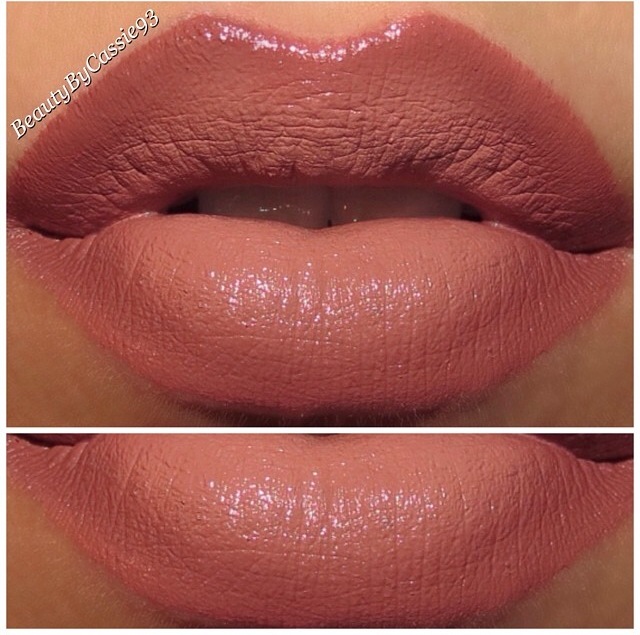
Remember, there are no rules when it comes to makeup so get creative with your ombre lips! You can apply a lighter color around the outside of your lips and a darker shade in the center. You can even start with either a lighter shade or darker shade on one corner of your mouth and have it fade to dark or light.
Here are a few other ombre lip looks I’ve done in the past:
Red Velvie and Plumberry Pie lipsticks from Beauty BakerieHoney and Marshmallow lipsticks from Beauty BakerieDivine Dime Cosmetics lipstick in Bell, Feyoshe Cosmetics lipstick in Nude Beach, and Tarte Cosmetics LipSurgence in Thoughtful
We’ve all had those days when we’re exhausted but don’t want to look like we’ve been up all night. Whether you’ve had a late night studying or were out partying with friends, you can fool everyone with these tips:
One thing you can do is make sure you use a highlighting concealer under your eyes to brighten up the under eyes and conceal any dark circles you may have.
Another way to appear more awake is to curl your eyelashes and apply some mascara to your upper and lower lashes. Curling your lashes opens up the eye. You can even take it a step further and apply some false lashes which will make your eyes appear larger and more awake.
Also, you can line your waterline with a cream colored pencil or a shimmery champagne colored one. You’d probably want to avoid black liner on the waterline just because it can tend to close up the eyes and make them appear smaller.
Another tip is to add a shimmery eyeshadow to the inner corners of your eyes. This highlights the area and brings light into your eyes.
You can also line your upper lash line. This will make your eyes appear larger.
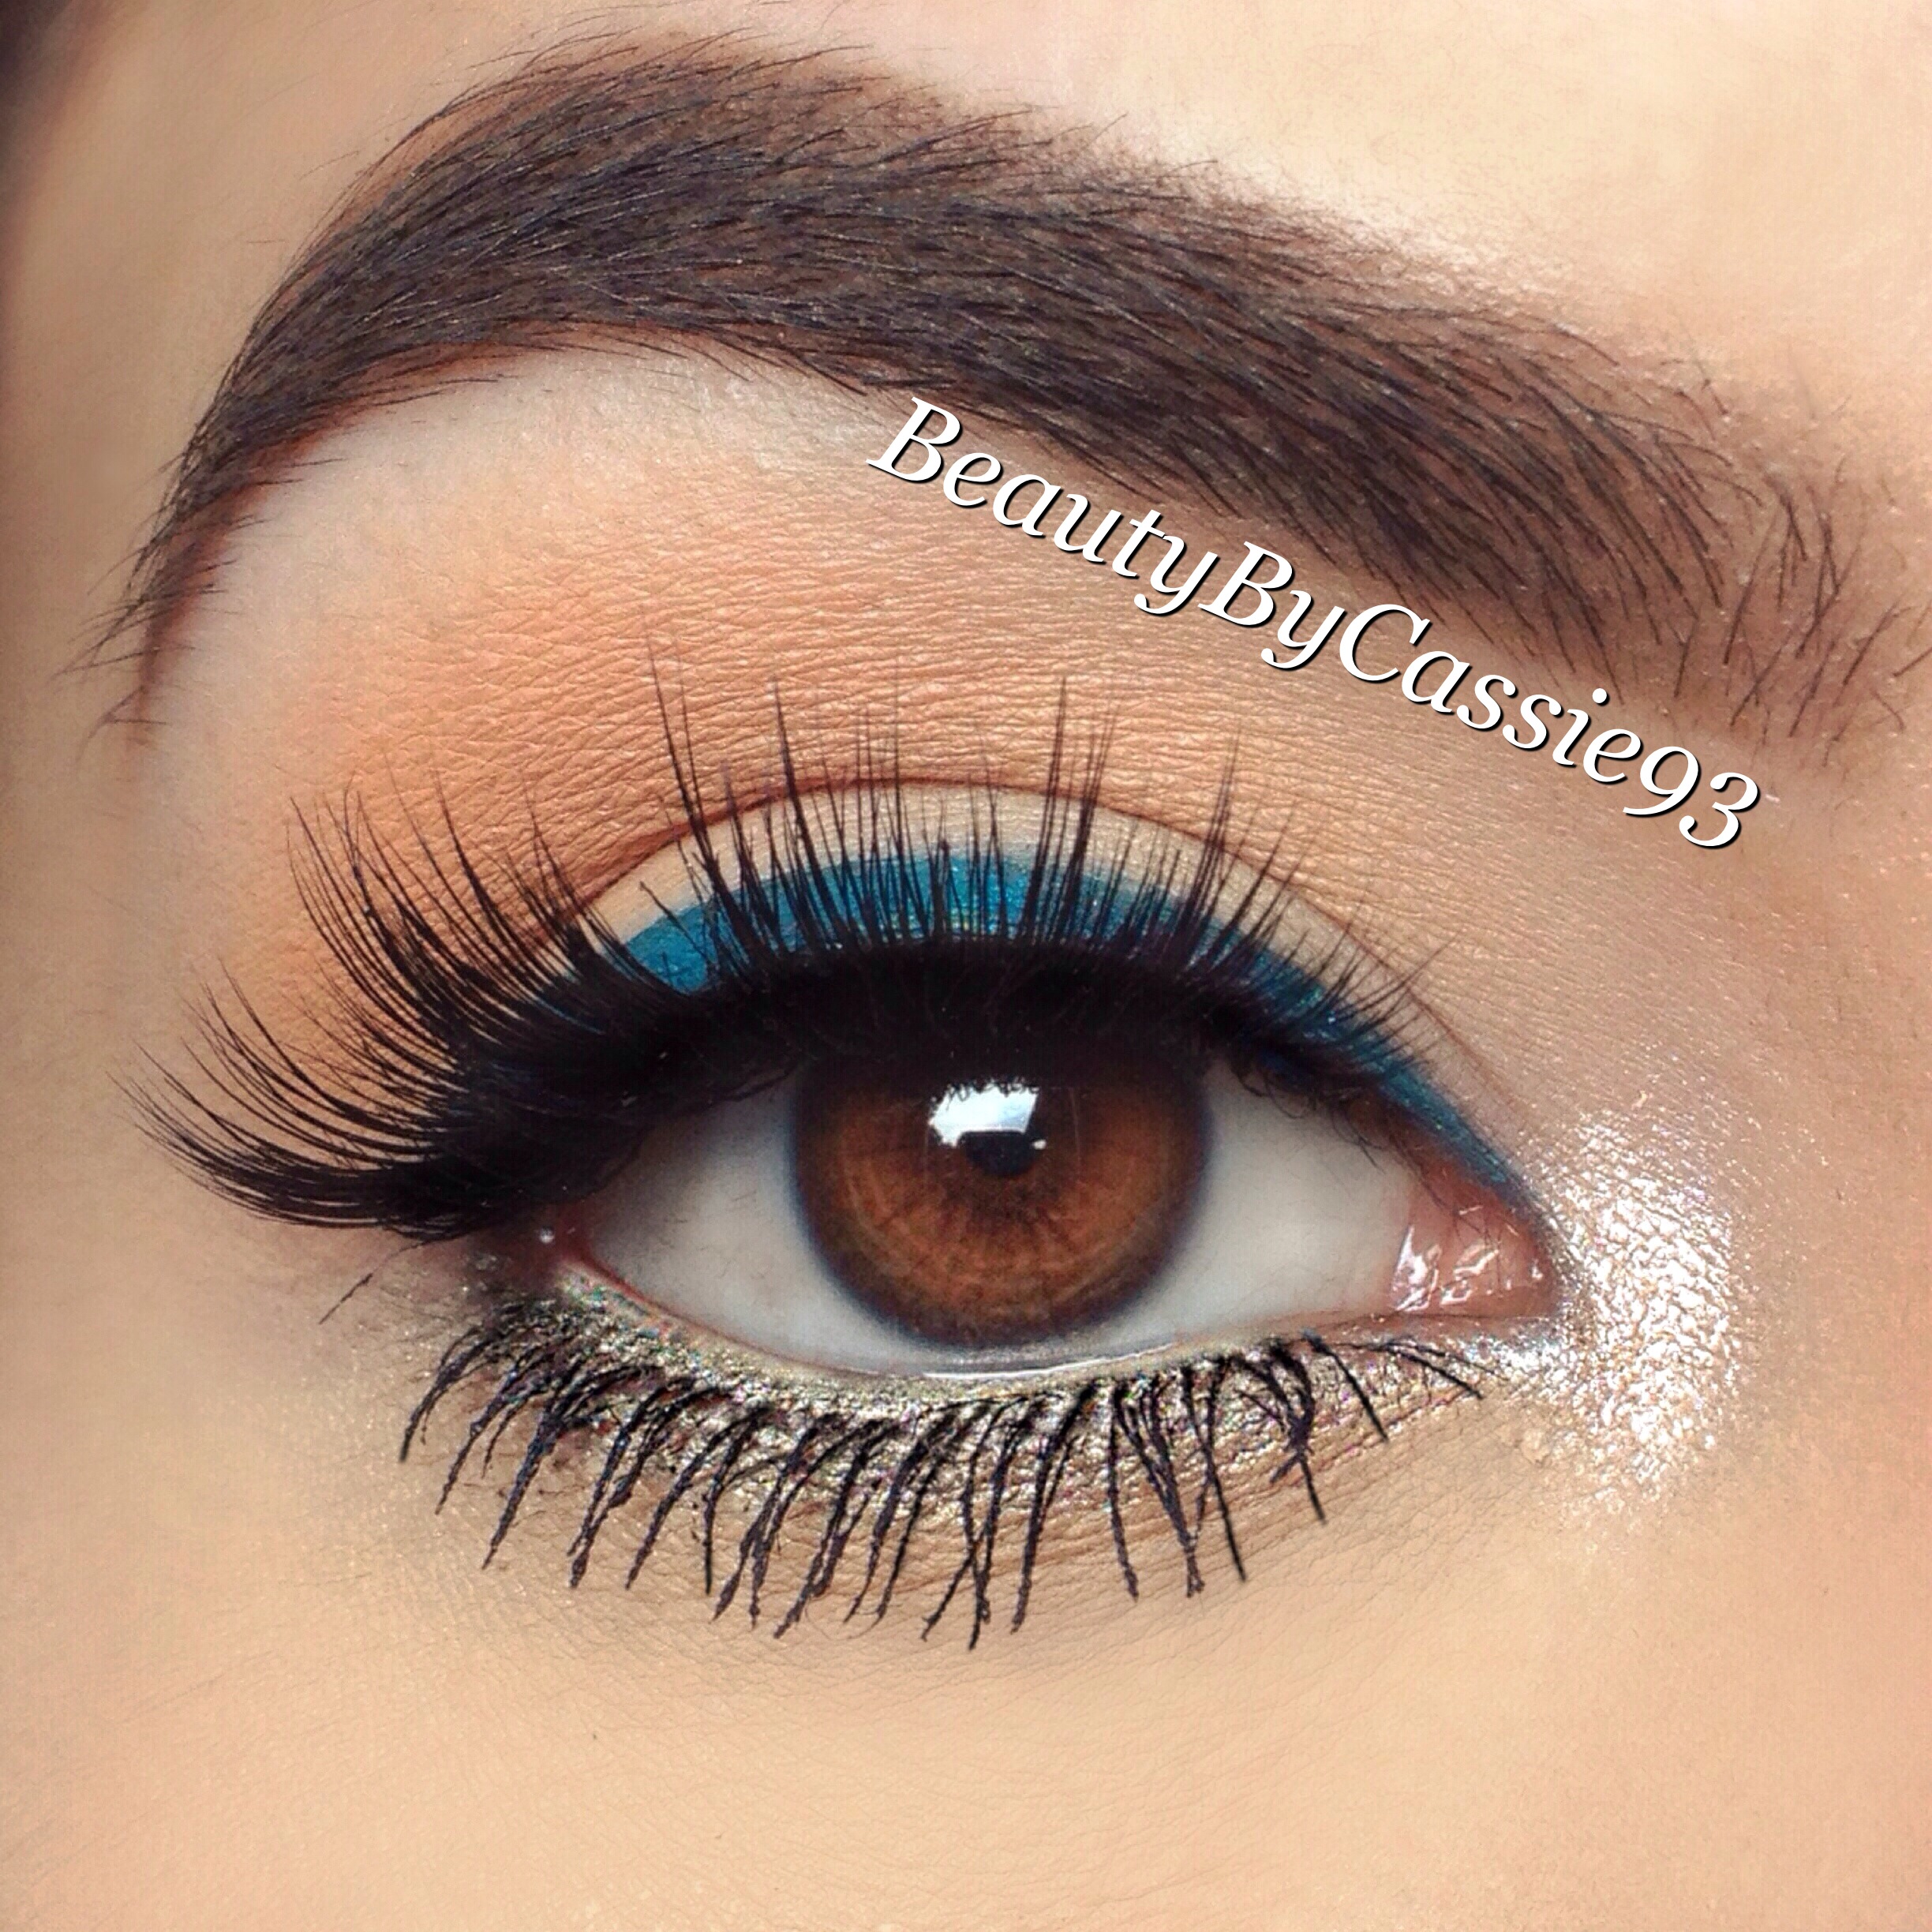
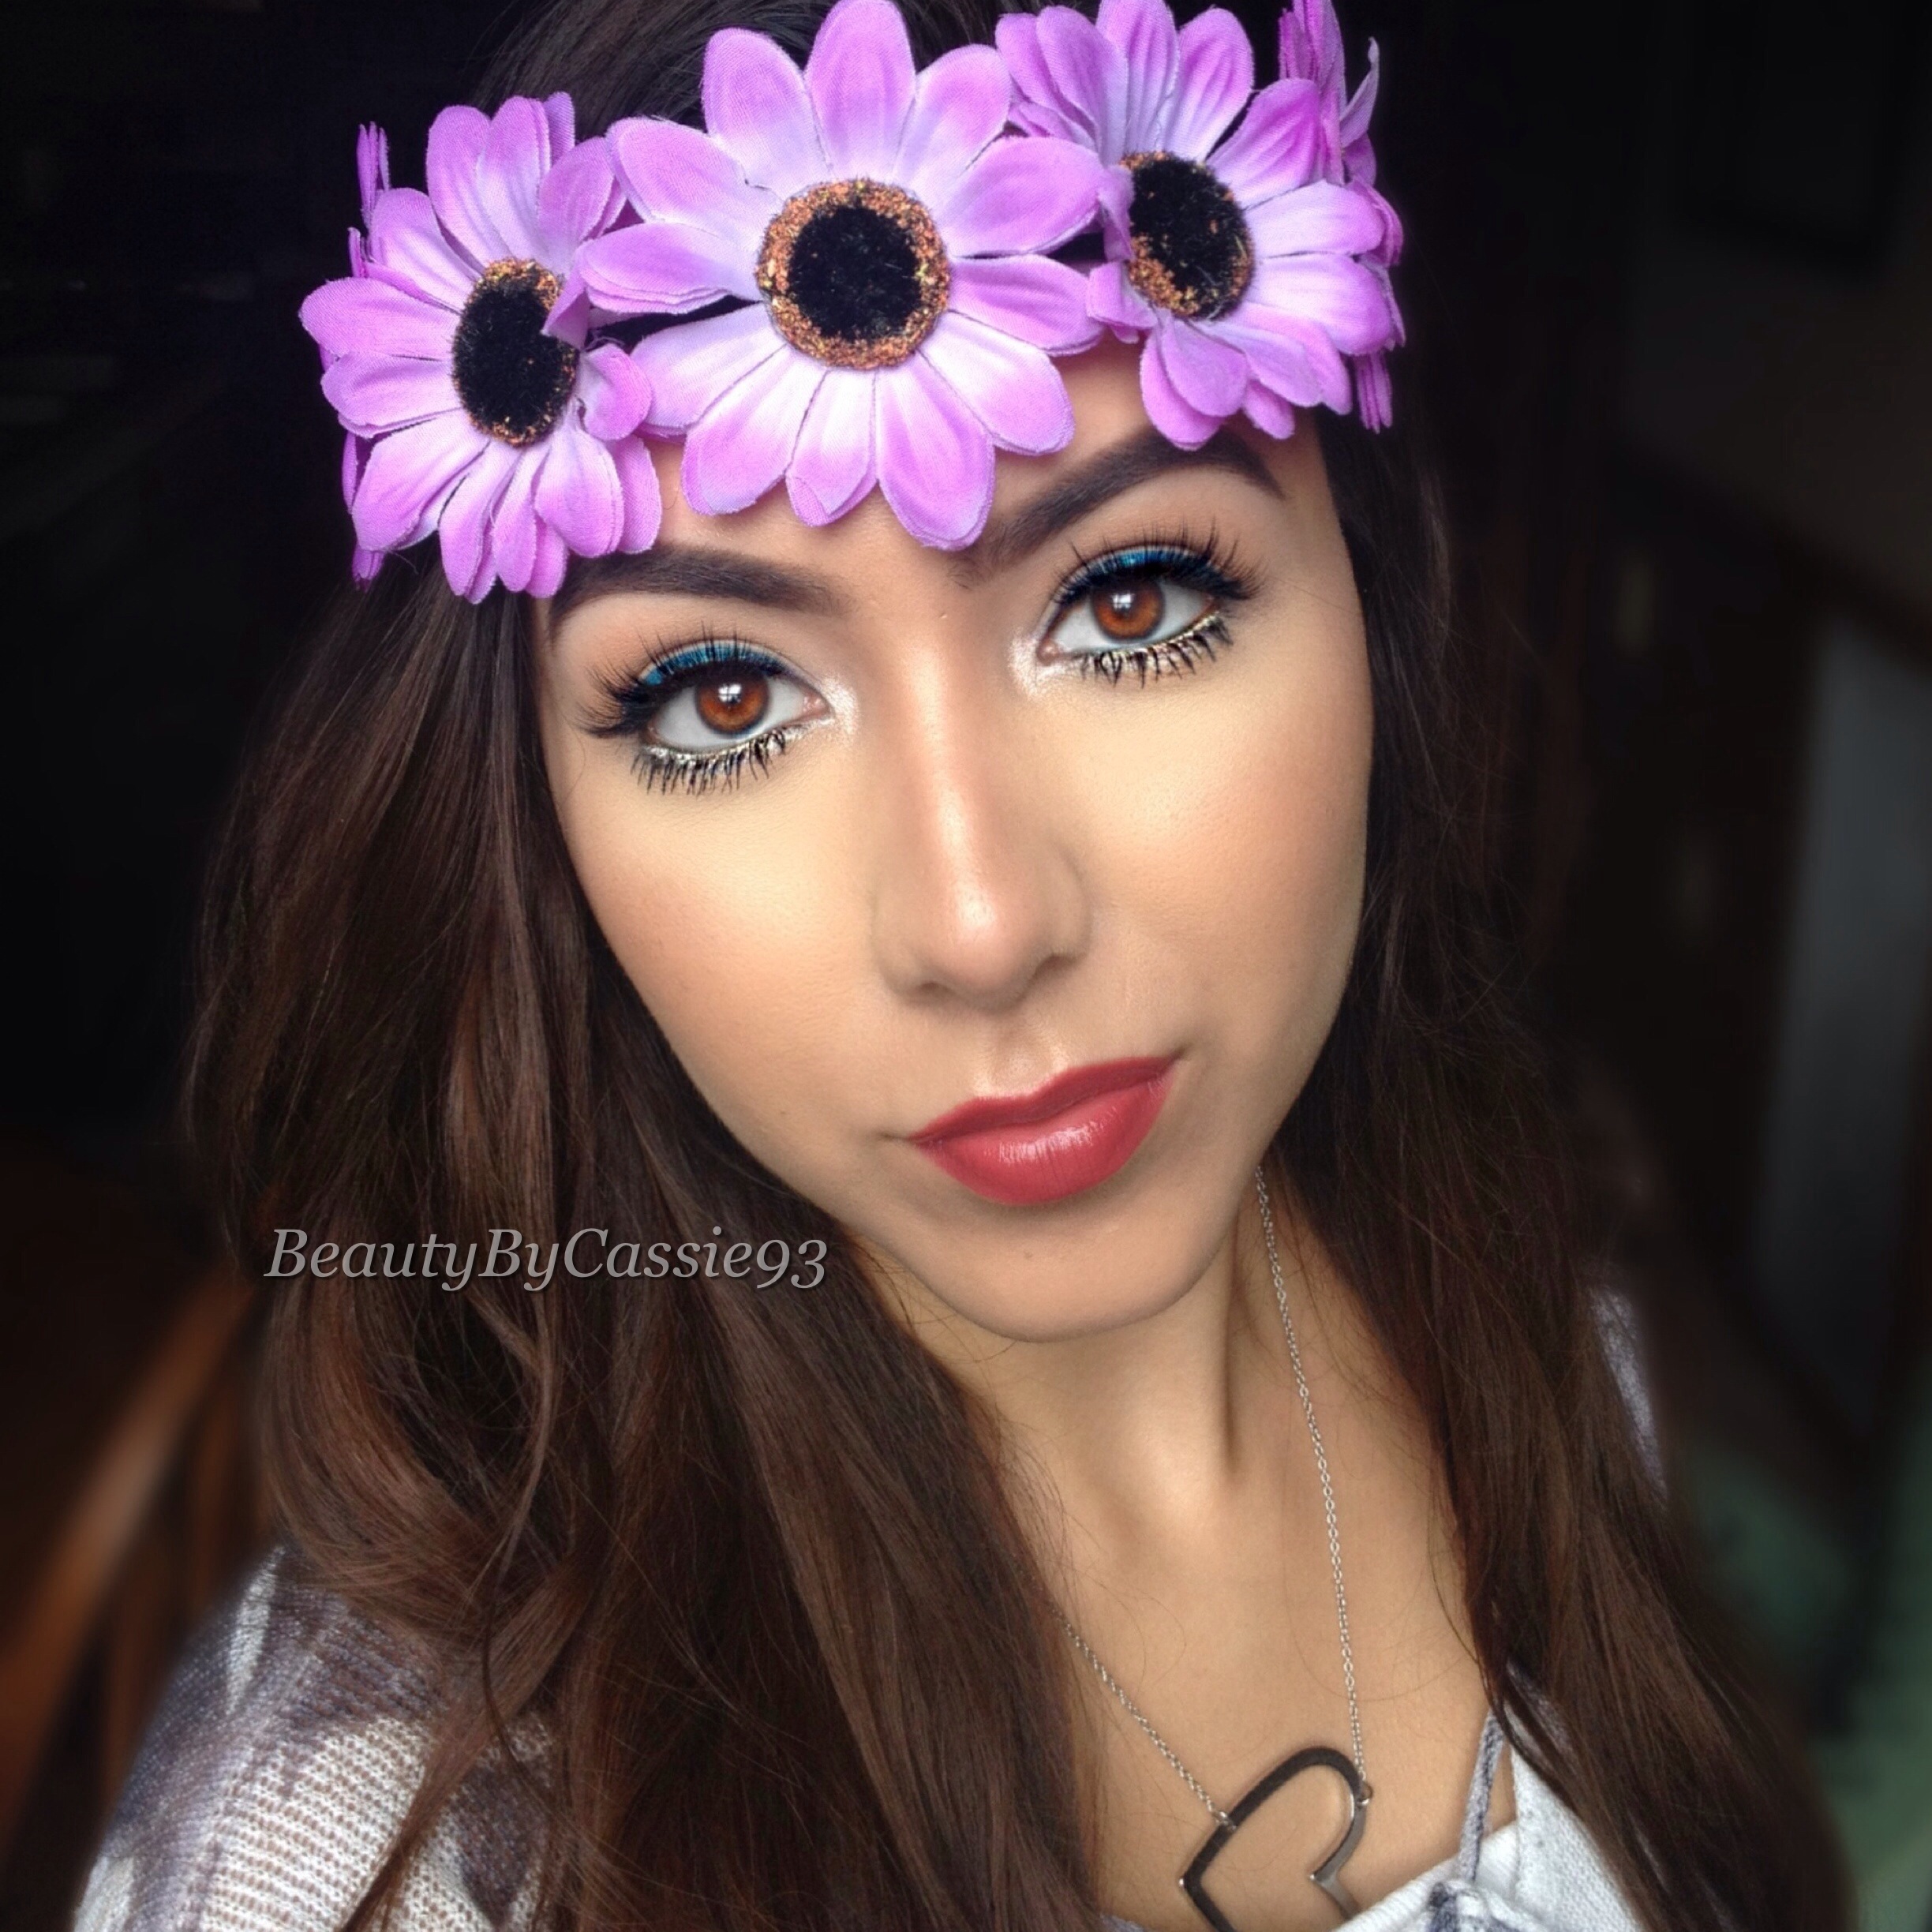
In the picture below I’ve utilized the tips I’ve mentioned. As you can see I appear wide awake and bright eyed.
Complete product details:
Simple eye look with a pop of teal using Anastasia Beverly Hills contour powders in Vanilla and Nude, ABH Metallic Luster Liner in Liquid Gold, ABH Waterproof Creme Color in Azure, Cultureshock Cosmetics eyeshadow in Emerald, Hair and Makeup Addiction brushes, are Tarte Cosmetics Amazonian Clay Waterproof Brow Mousse in Taupe, their Amazonian Clay tinted brow gel in Taupe, and Luna @lapetitlapinlashes.
Product info:
1.) Prime your lid(I used Urban Decay Anti-aging Primer Potion).
2.) Apply Vanilla all over your lid.
3.) Blend Nude into your crease.
4.) Line your upper lash line with Azure.
5.) Apply Emerald over top of Azure.
6.) Line your lower lash line and waterline with Liquid Gold.
7.) Apply @lapetitlapinlashes in Luna, @tartecosmetics Lights, Camera, Lashes mascara to your lower lashes, and highlight your tear duct with a champagne shadow.
On my brows I used @tartecosmetics Amazonian Clay Waterproof Brow Mousse in Taupe and their tinted brow gel in Taupe.
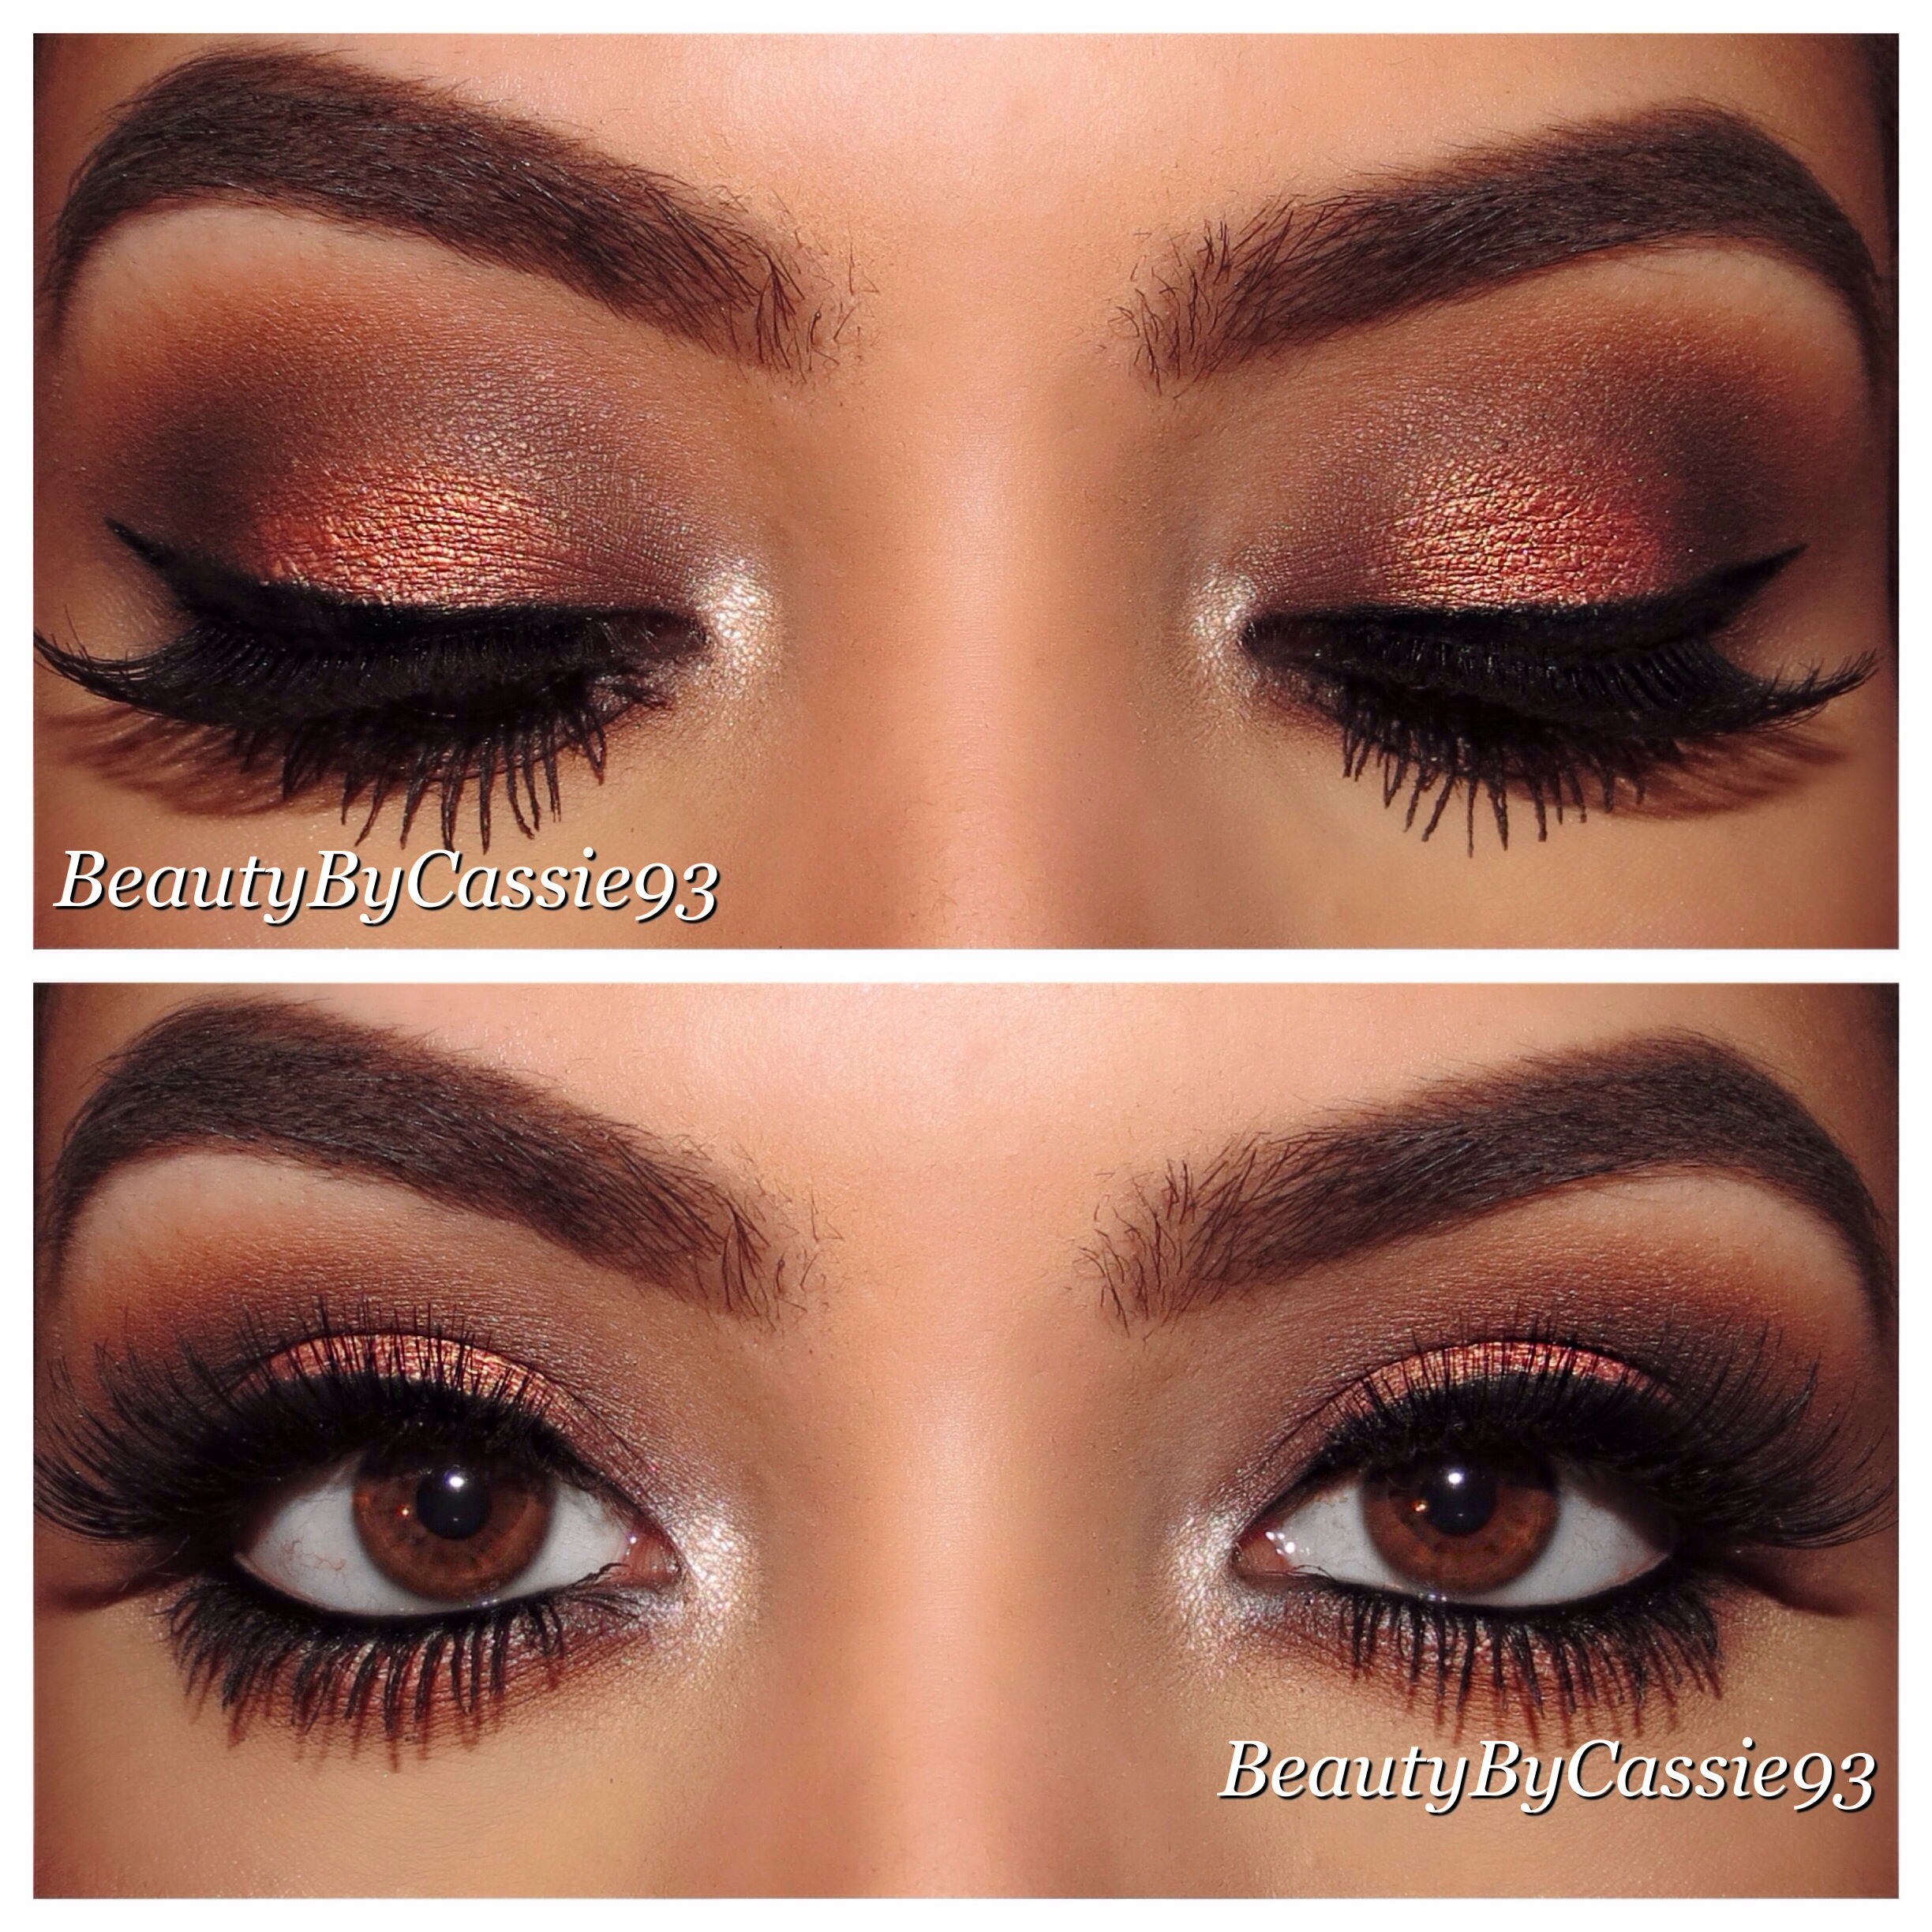
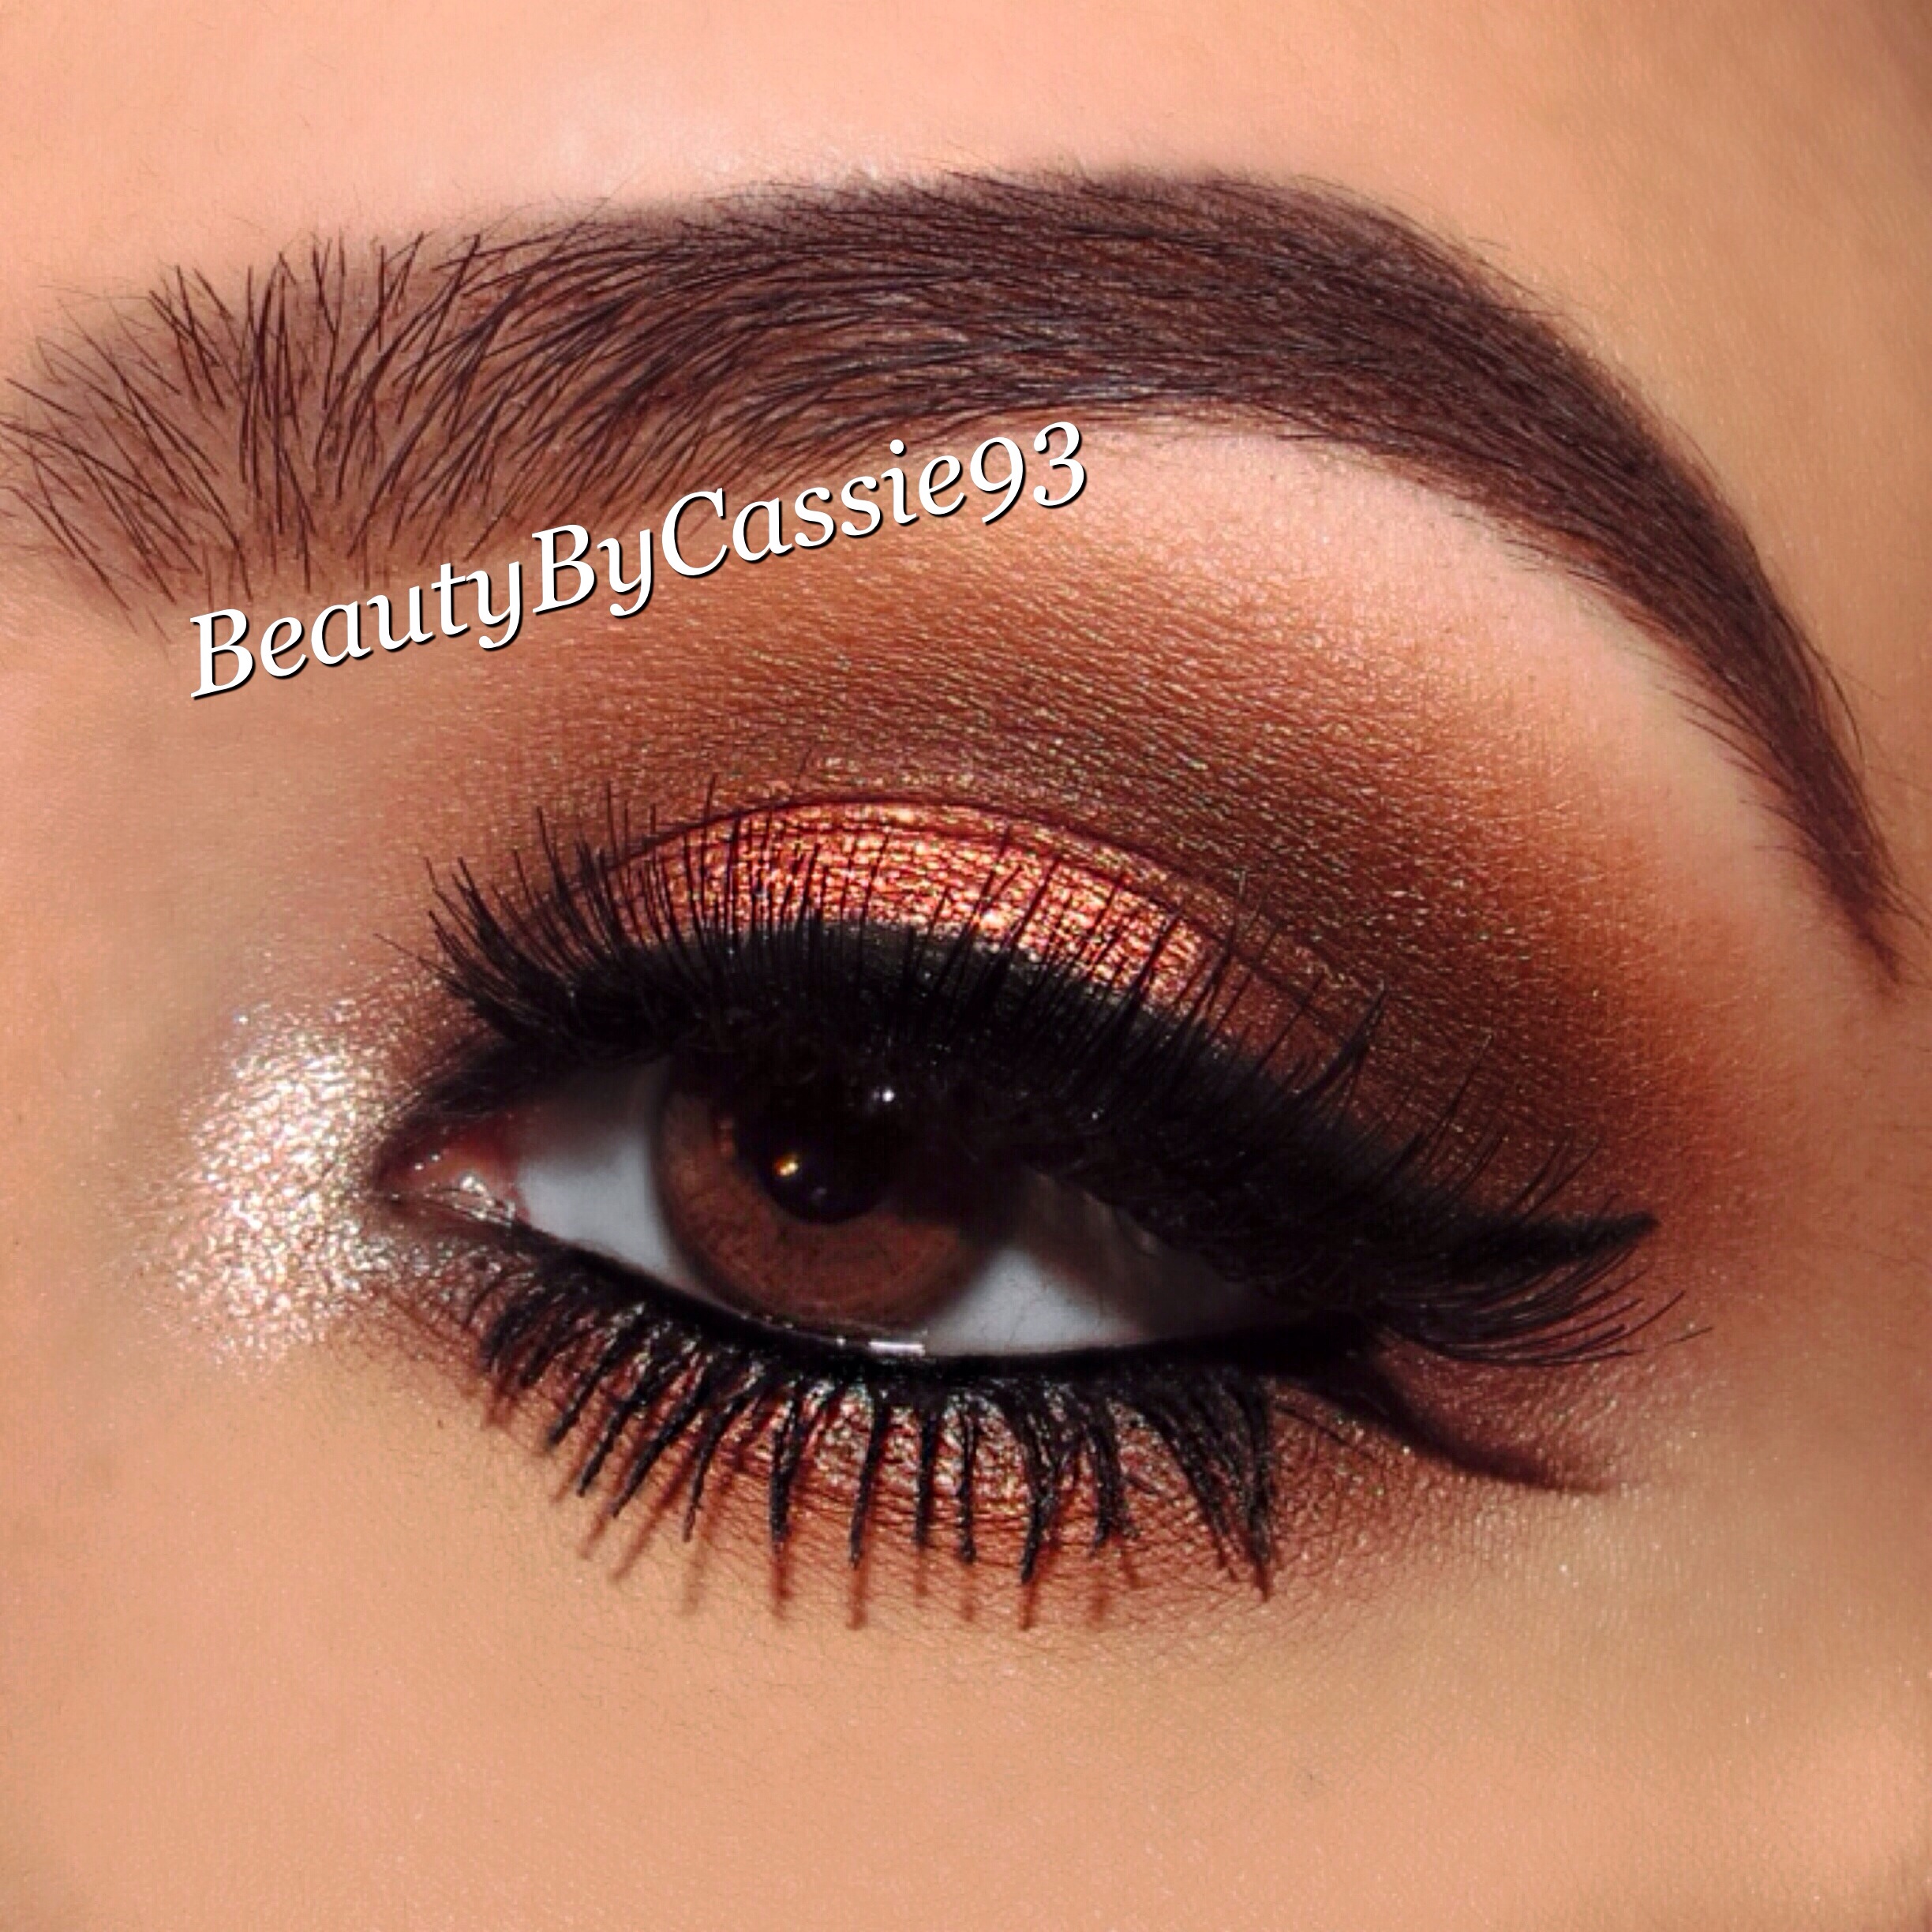
Recently I’ve received Anastasia Beverly Hills’ new beauty blogger palettes–the Maya Mia Palette and Tamanna Palette–and have been playing around with a bunch of different looks ranging from simple everyday looks to full on dramatic ones. I’m really impressed with the quality of the shadows in each palette. They’re super pigmented and easy to blend.
Here is a look I created using both of the palettes. It’s perfect for going out at night. It’s an almost all matte look with some shimmer in the inner corners of the eyes.
I used the @anastasiabeverlyhills Maya Mia and Tamanna Palettes, ABH Waterproof Crème Color in Jet, # 415 Black lashes by @elegantlashes, @anastasiabeverlyhills Dipbrow in Dark Brown, and @hairandmakeupaddiction brushes.
Product info:
1.) Prime your lid(I used Urban Decay Anti-aging Primer Potion).
2.) Apply Fresh all over your lid with a flat shader brush.
3.) Blend Caramel into your crease using a fluffy blending brush.
4.) Deepen your crease with Deep Brown using a crease brush.
5.) Line your upper lash line with the Waterproof Crème Color in Jet and smudge Noir over top.
6.) Line your lower lash line with Noir and blend out with Caramel.
7.) Line your waterline with Tarte Cosmetics Skinny SmolderEYES in Onyx.
8.) Apply @tartecosmetics Lights, Camera, Lashes mascara, # 415 @elegantlashes, and highlight your tear duct with Blush.
On my brows, I used @anastasiabeverlyhills Dipbrow in Dark Brown.
**Use the code BeautyByCassie93 at checkout on your Elegant Lashes order and receive a free pair of # 415 Black lashes.
Tutorial: How to create a metallic light blue smokey eye using @colourpopcosmetics eyeshadow in Sugar, @eyekandycosmetics glitter in Chocolate Chip, the @urbandecaycosmetics Naked Palette, # 047 lashes by @elegantlashes, and @hairandmakeupaddiction brushes.
Product info:
1)Apply Maybelline Color Tattoo in Test My Teal to lid(I already primed my eye with Urban Decay Anti-Aging Primer Potion).
2)Apply Buck to your crease.
3)Apply Sugar to your lid.
4)Blend a darker matte brown into your crease.
4)Line your upper lash line with Creep.
6)Blend Hustle into your crease.
7)Line your lower lash line with a dark matte brown and Buck.
8)Apply Chocolate Chip glitter to your lower lash line.
9)Apply Givenchy Phenomen’Eyes mascara to lower lashes, # 047 Black @elegantlashes, line your waterline with a black pencil, and highlight your inner corner with a shimmery champagne shadow.
Brows are @anastasiabevelyhills Brow Powder Duo in Medium Brown.
Anastasia Beverly Hills has recently launched three new products. These include the Maya Mia Palette, Waterproof Crème Color in Jet, and #3 Brush which can all be purchased on www.anastasiabeverlyhills.com.
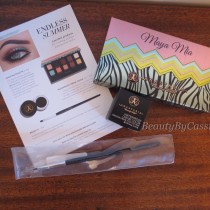
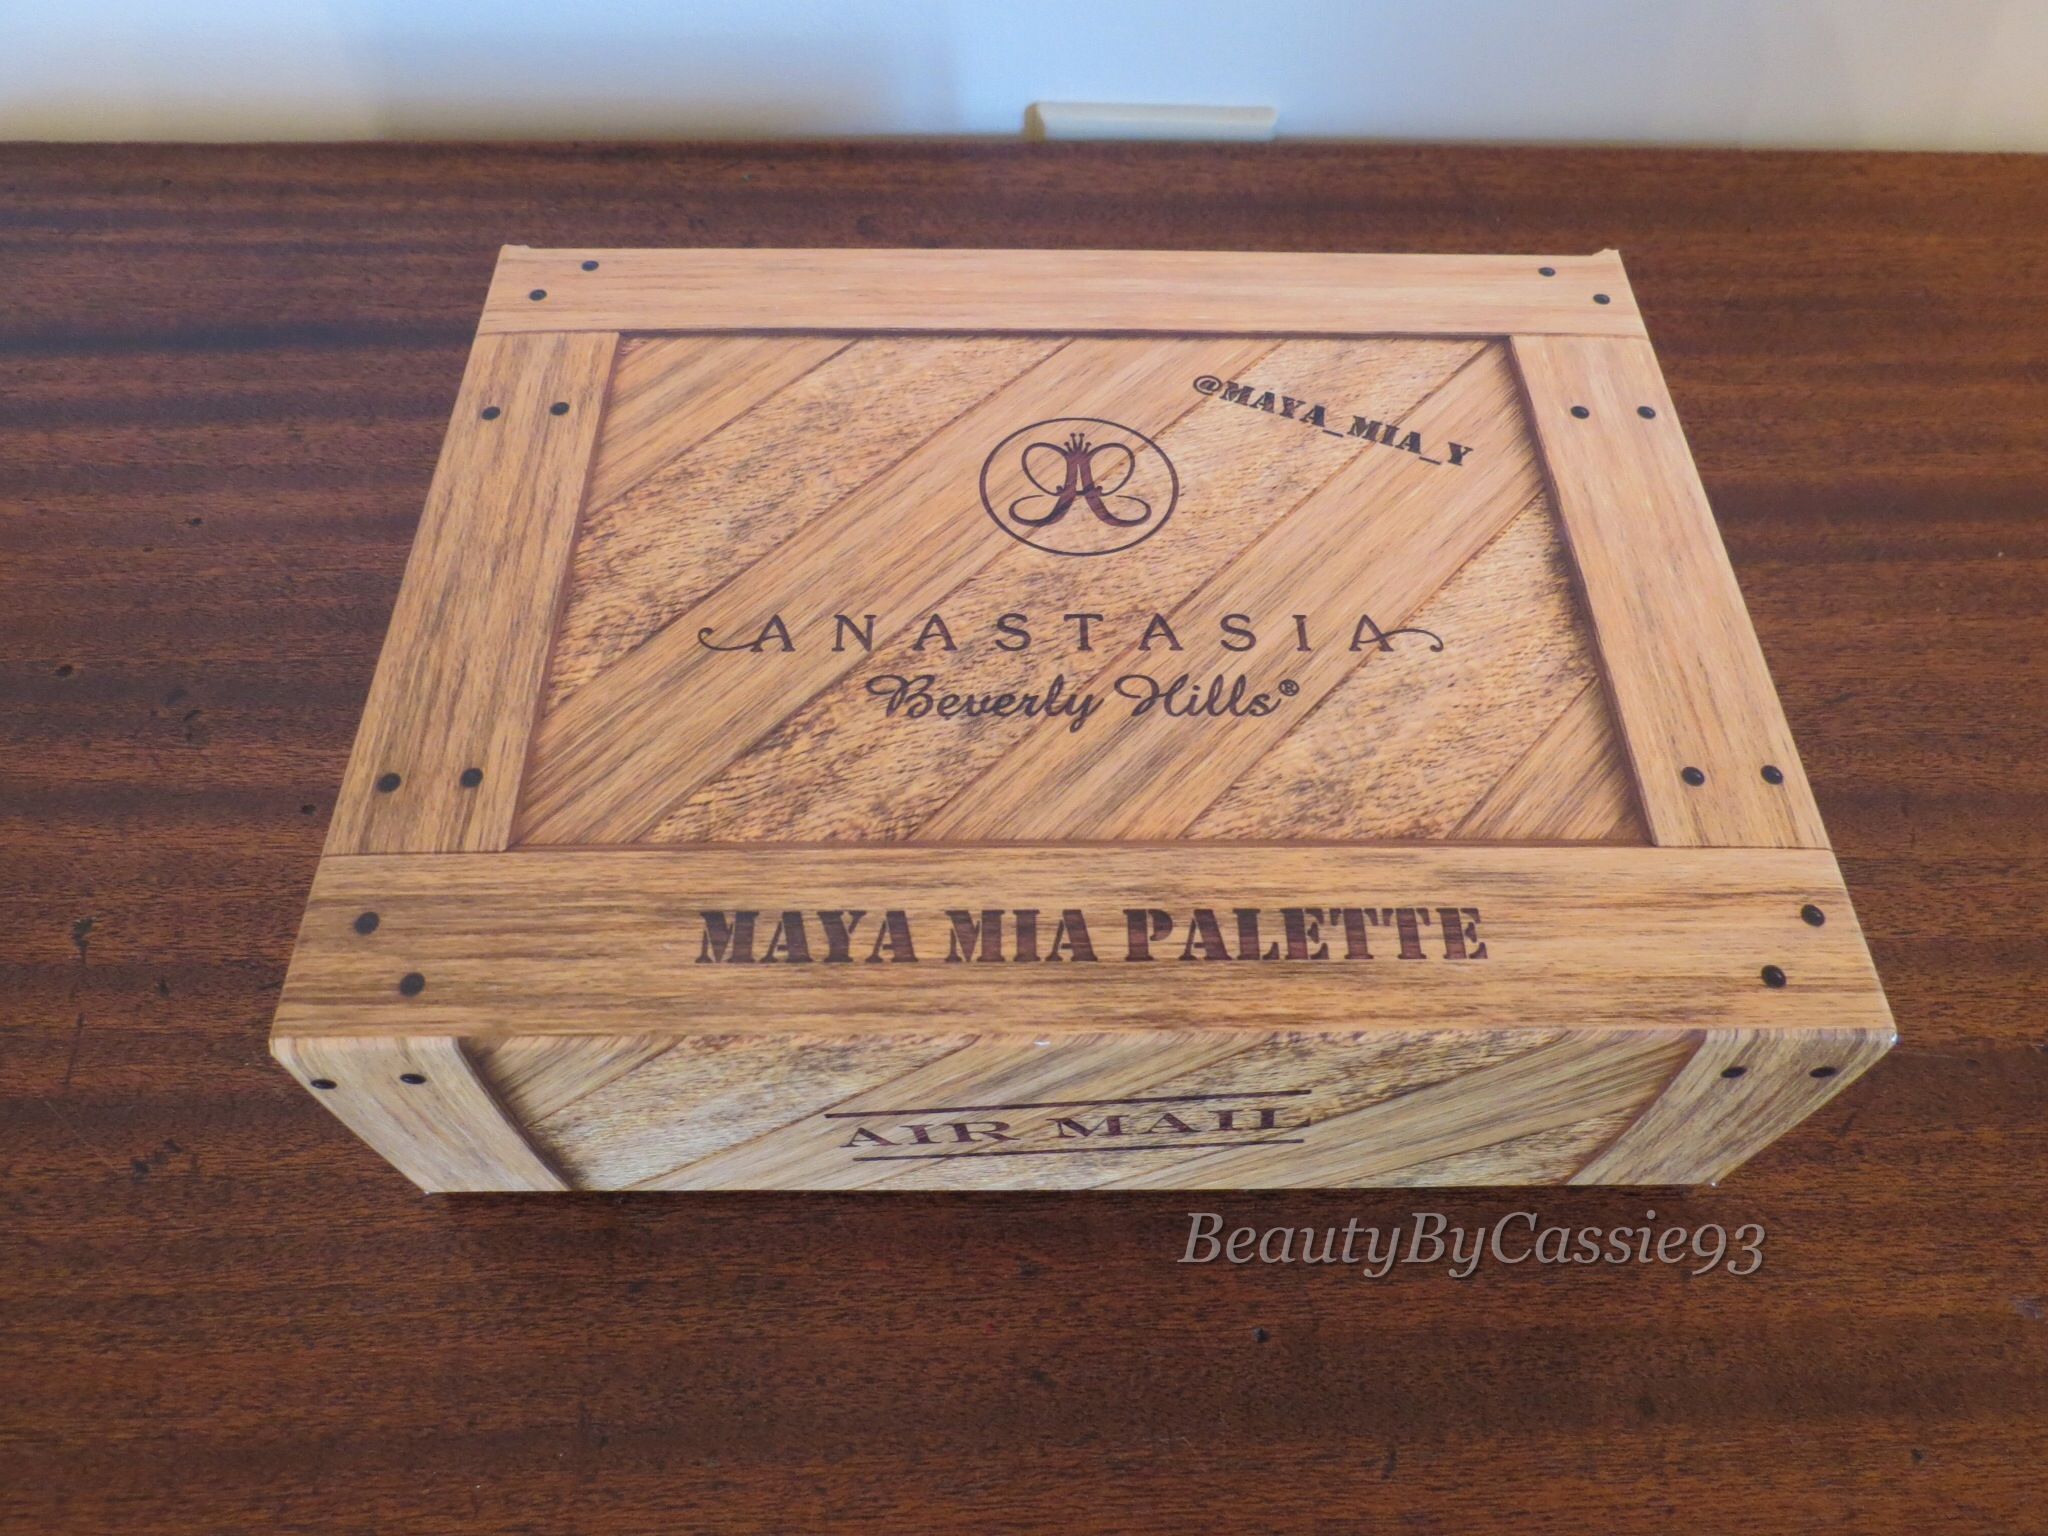
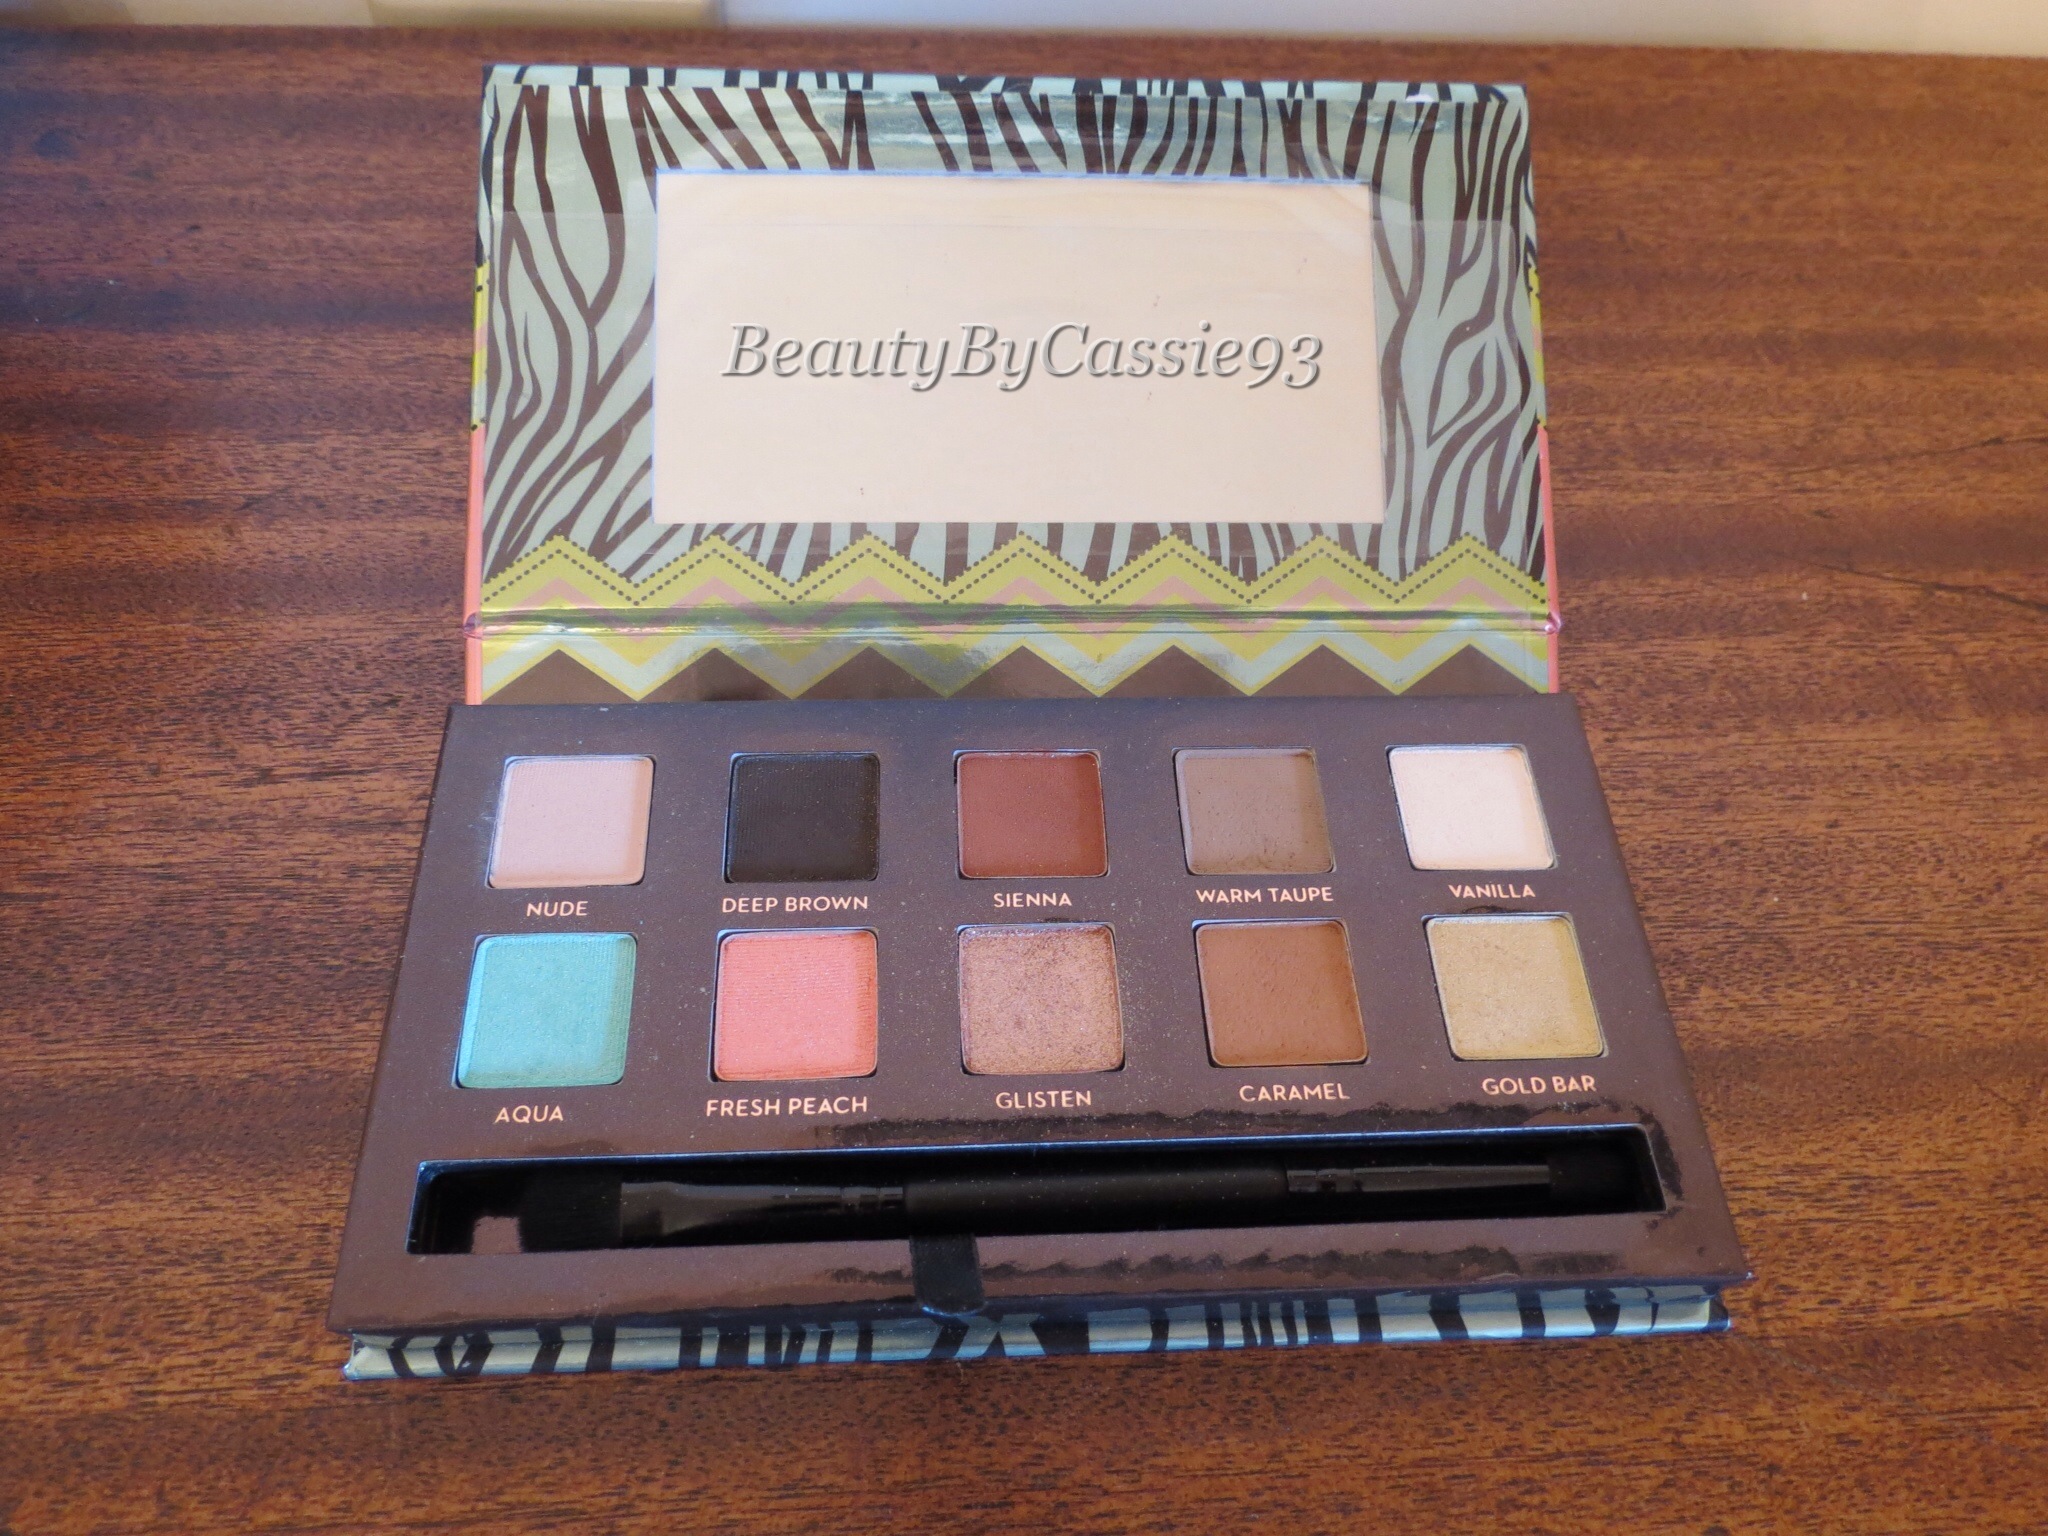
First off, I want to talk about the Maya Mia Palette. It was designed in collaboration with @maya_mia_y on Instagram. I’ve been playing around with this palette for the past few weeks and I must say it’s easily become one of my go-to eyeshadow palettes. I enjoy the fact that it contains mostly neutral shadows but also incorporates a few pops of color. As far as pigmentation goes, these shadows are great quality. I’m also a big fan of the packaging. I like how it’s made of cardboard, has a magnetic closure, and is relatively thin and compact. Not to mention the design is too cute! The palette is cruelty free, retails for $29, and is reasonably priced in my opinion, considering it includes 10 eyeshadows, a double ended eyeshadow brush, and “Get the Look” cards that show you how to achieve five different eyeshadow looks. Below, I’ve included swatches of each shadow.
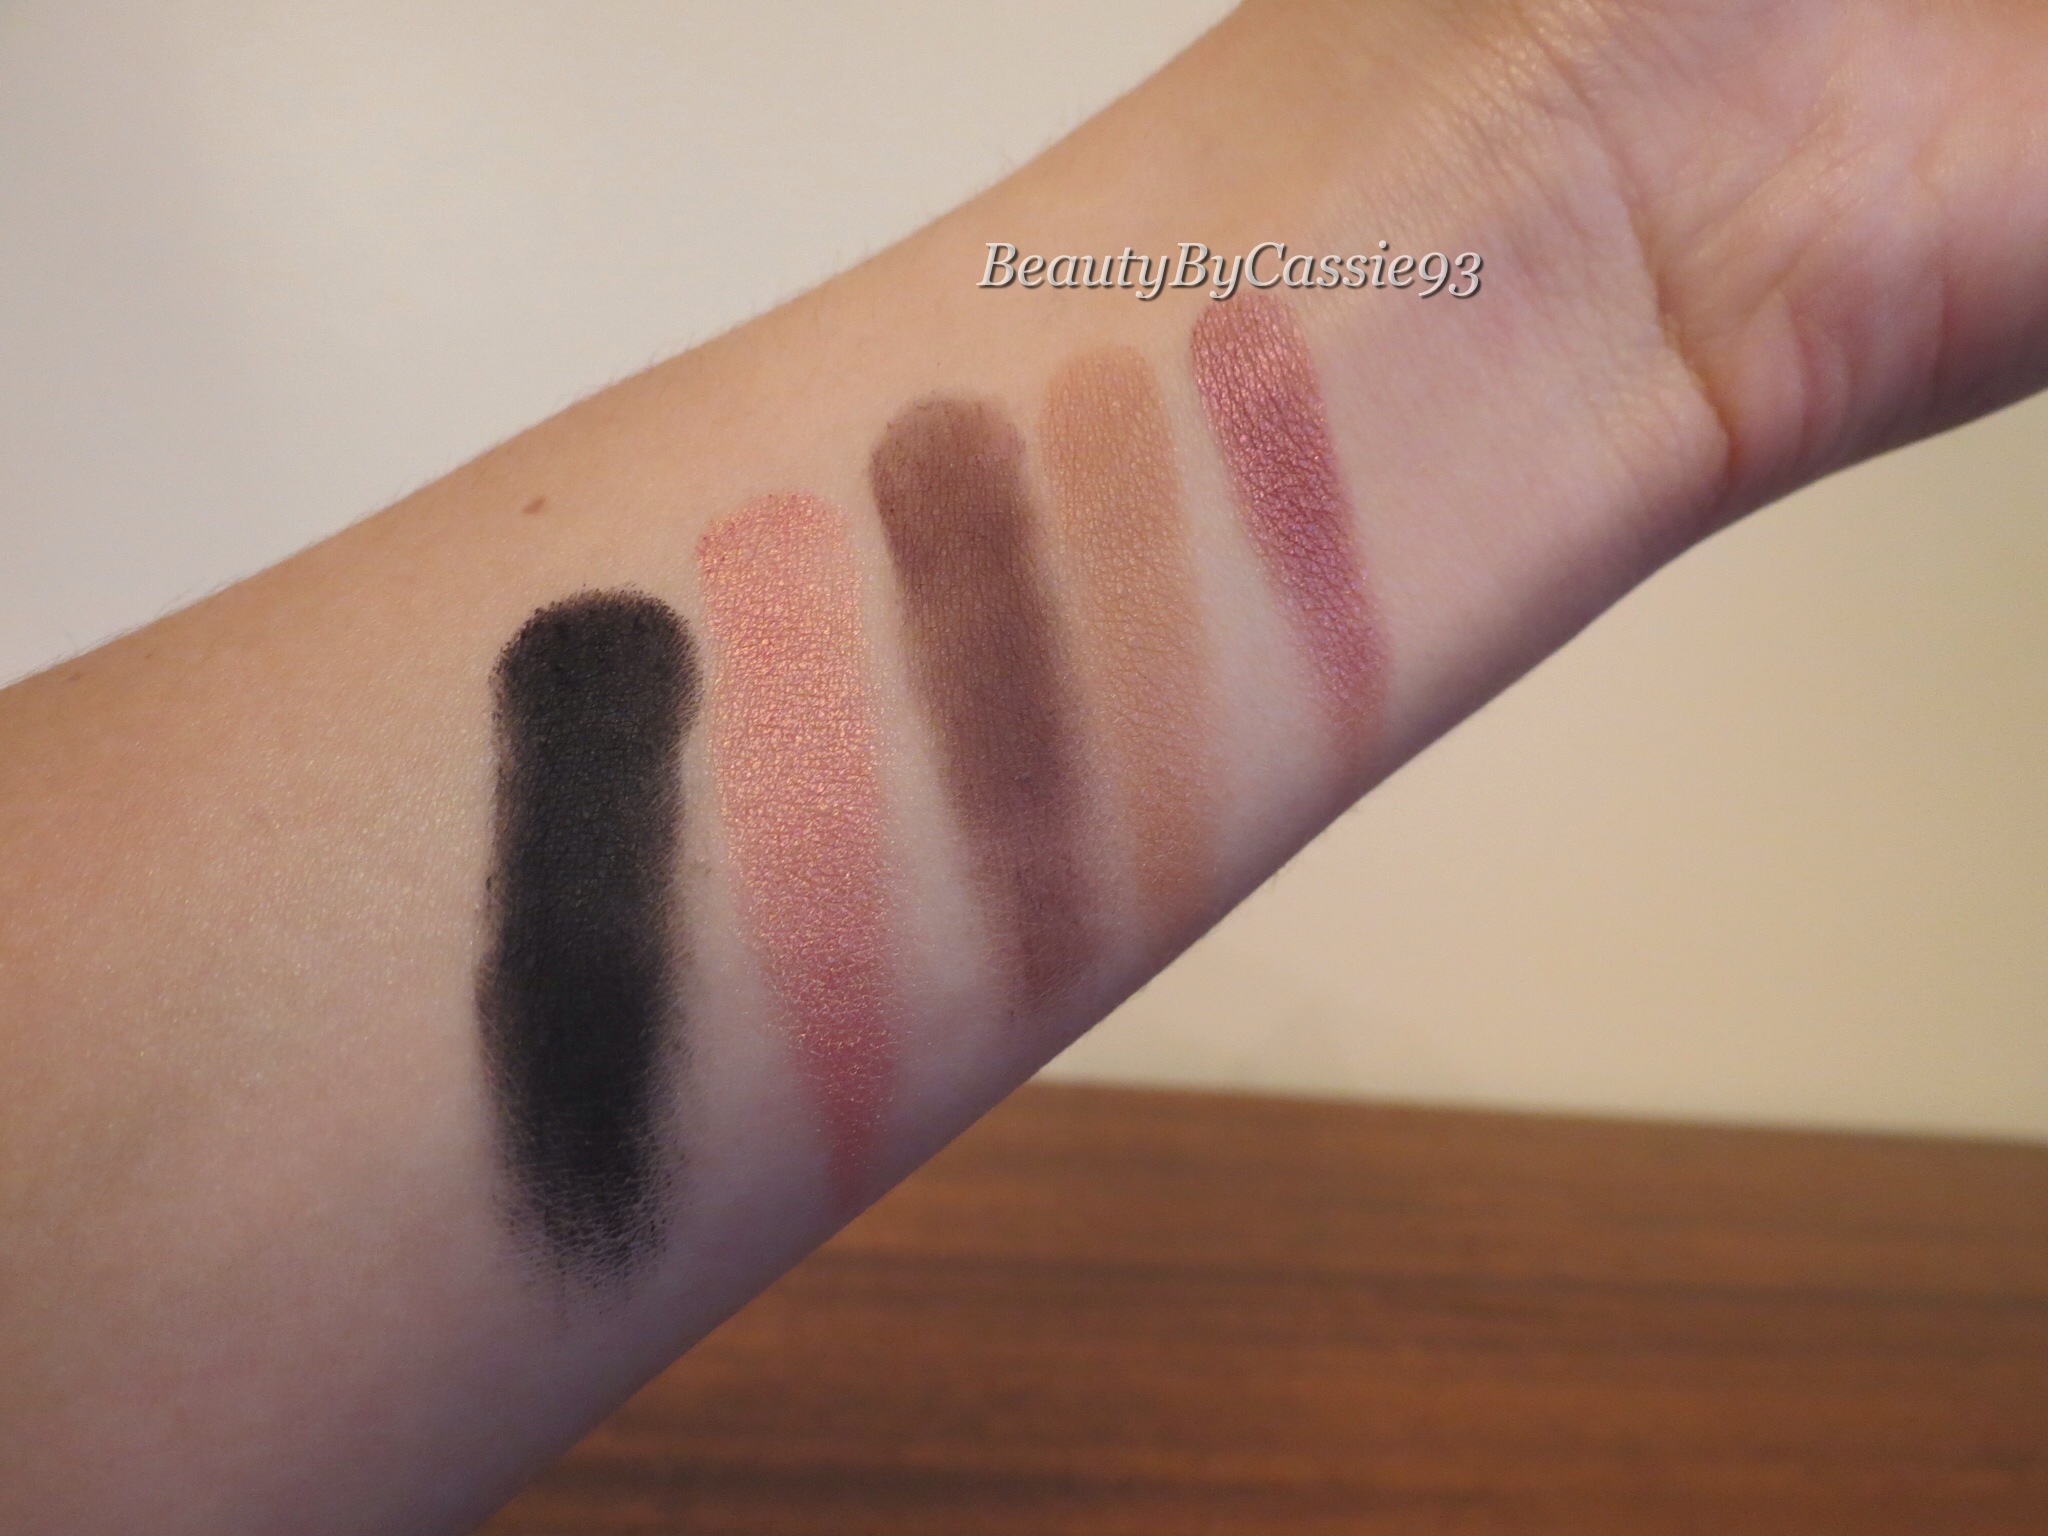
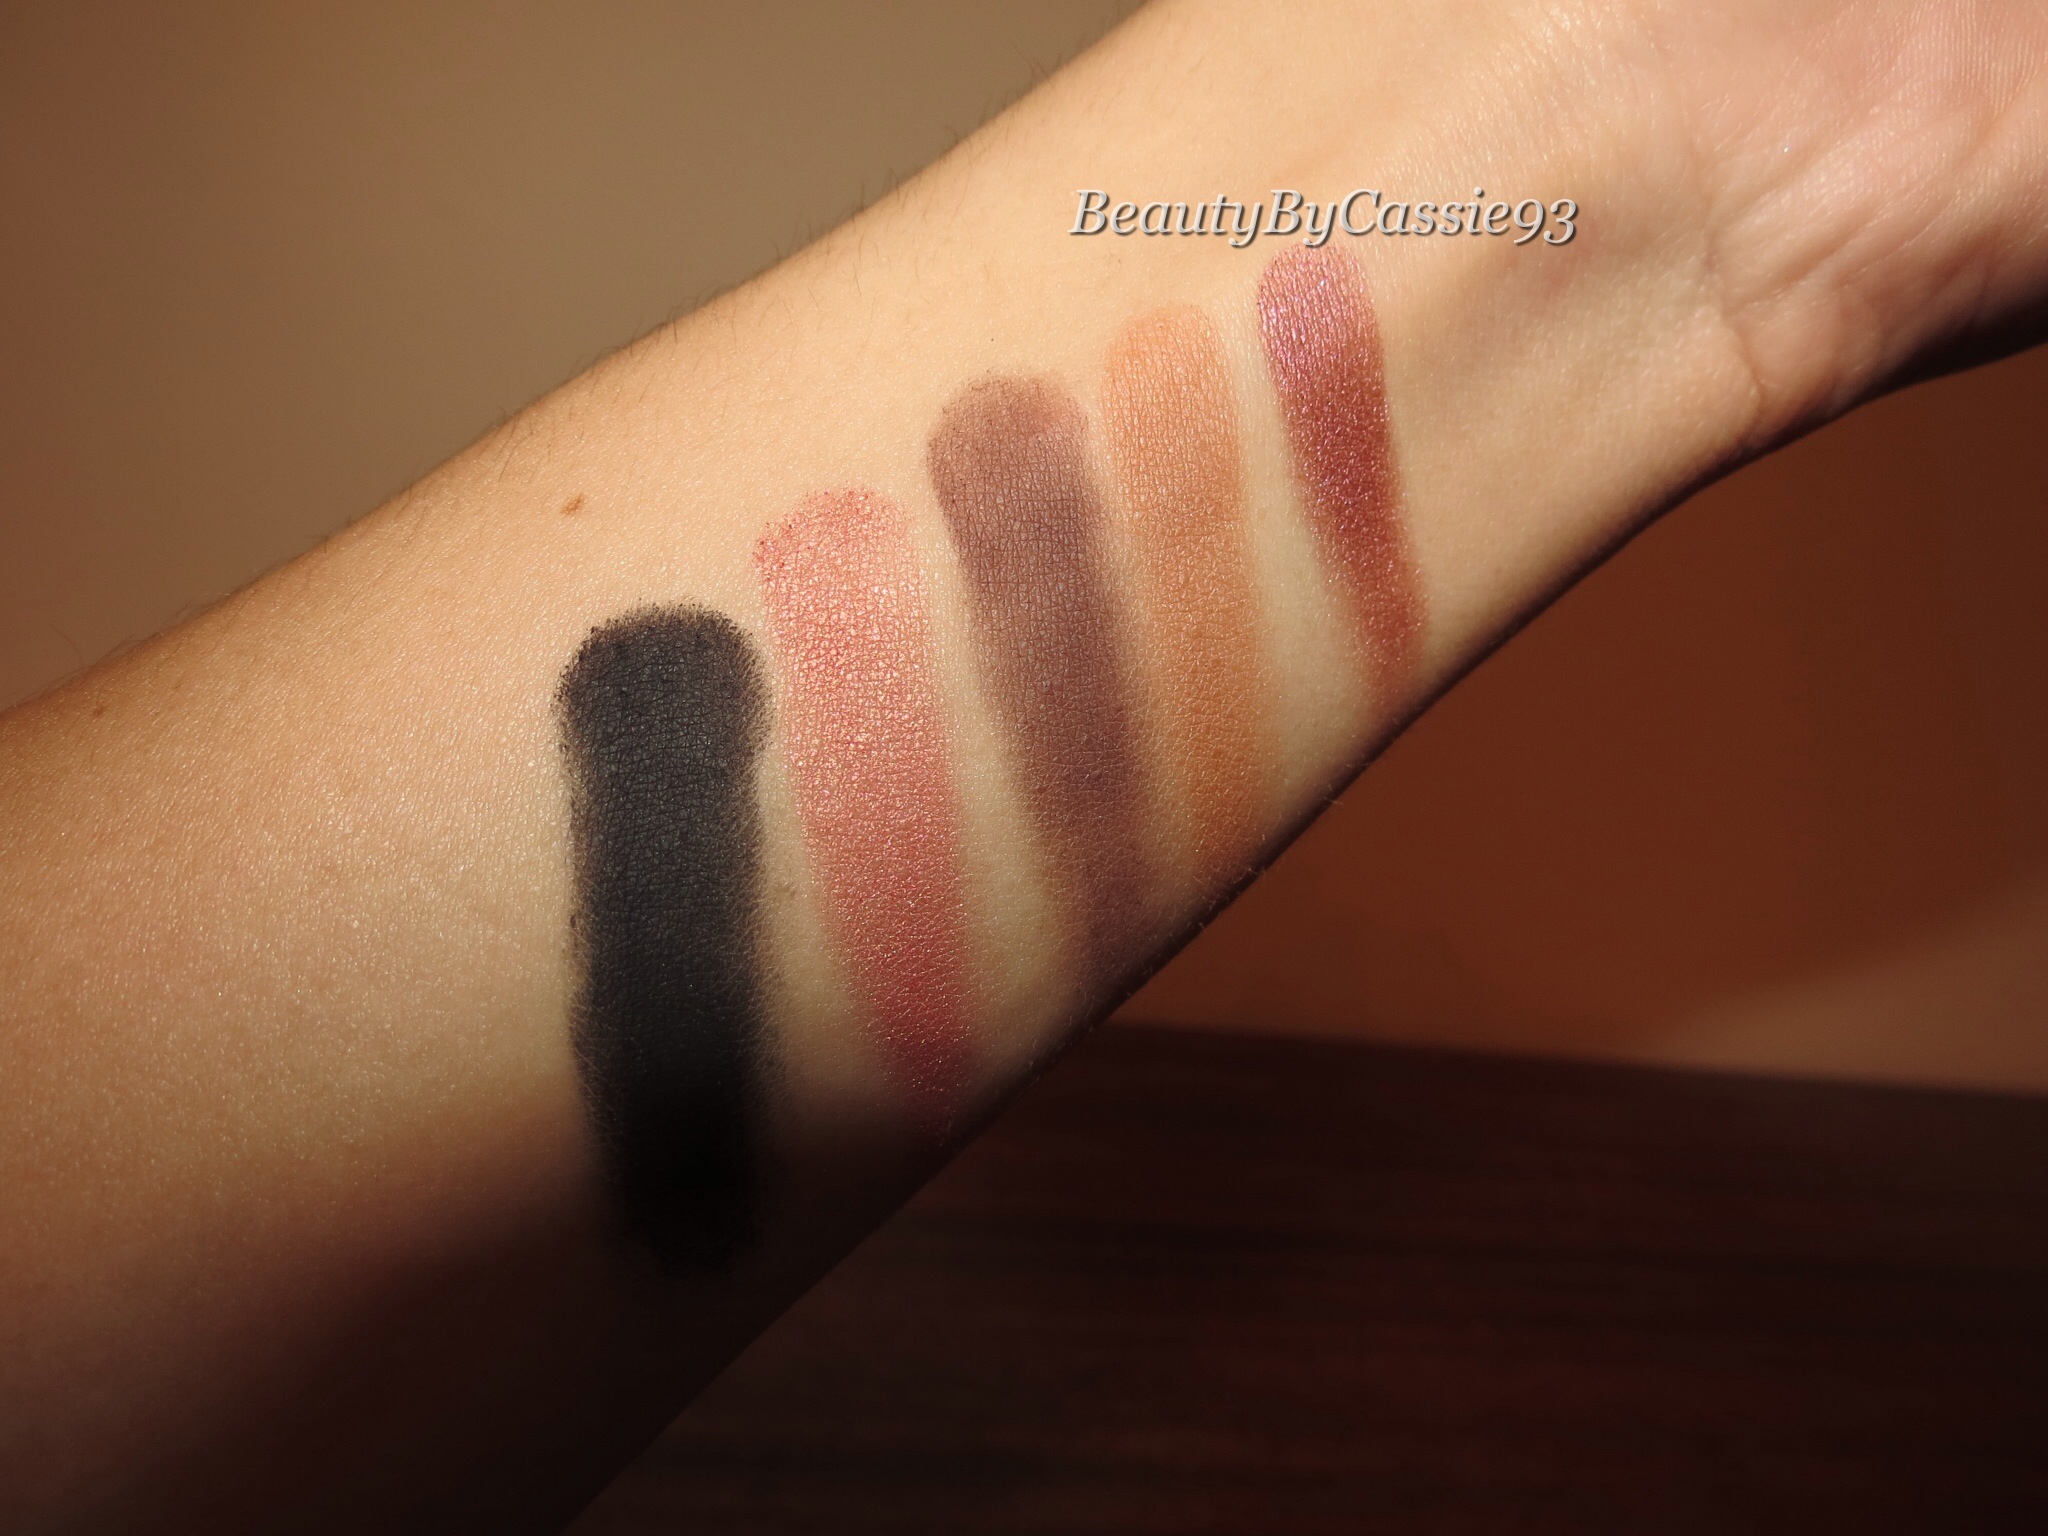
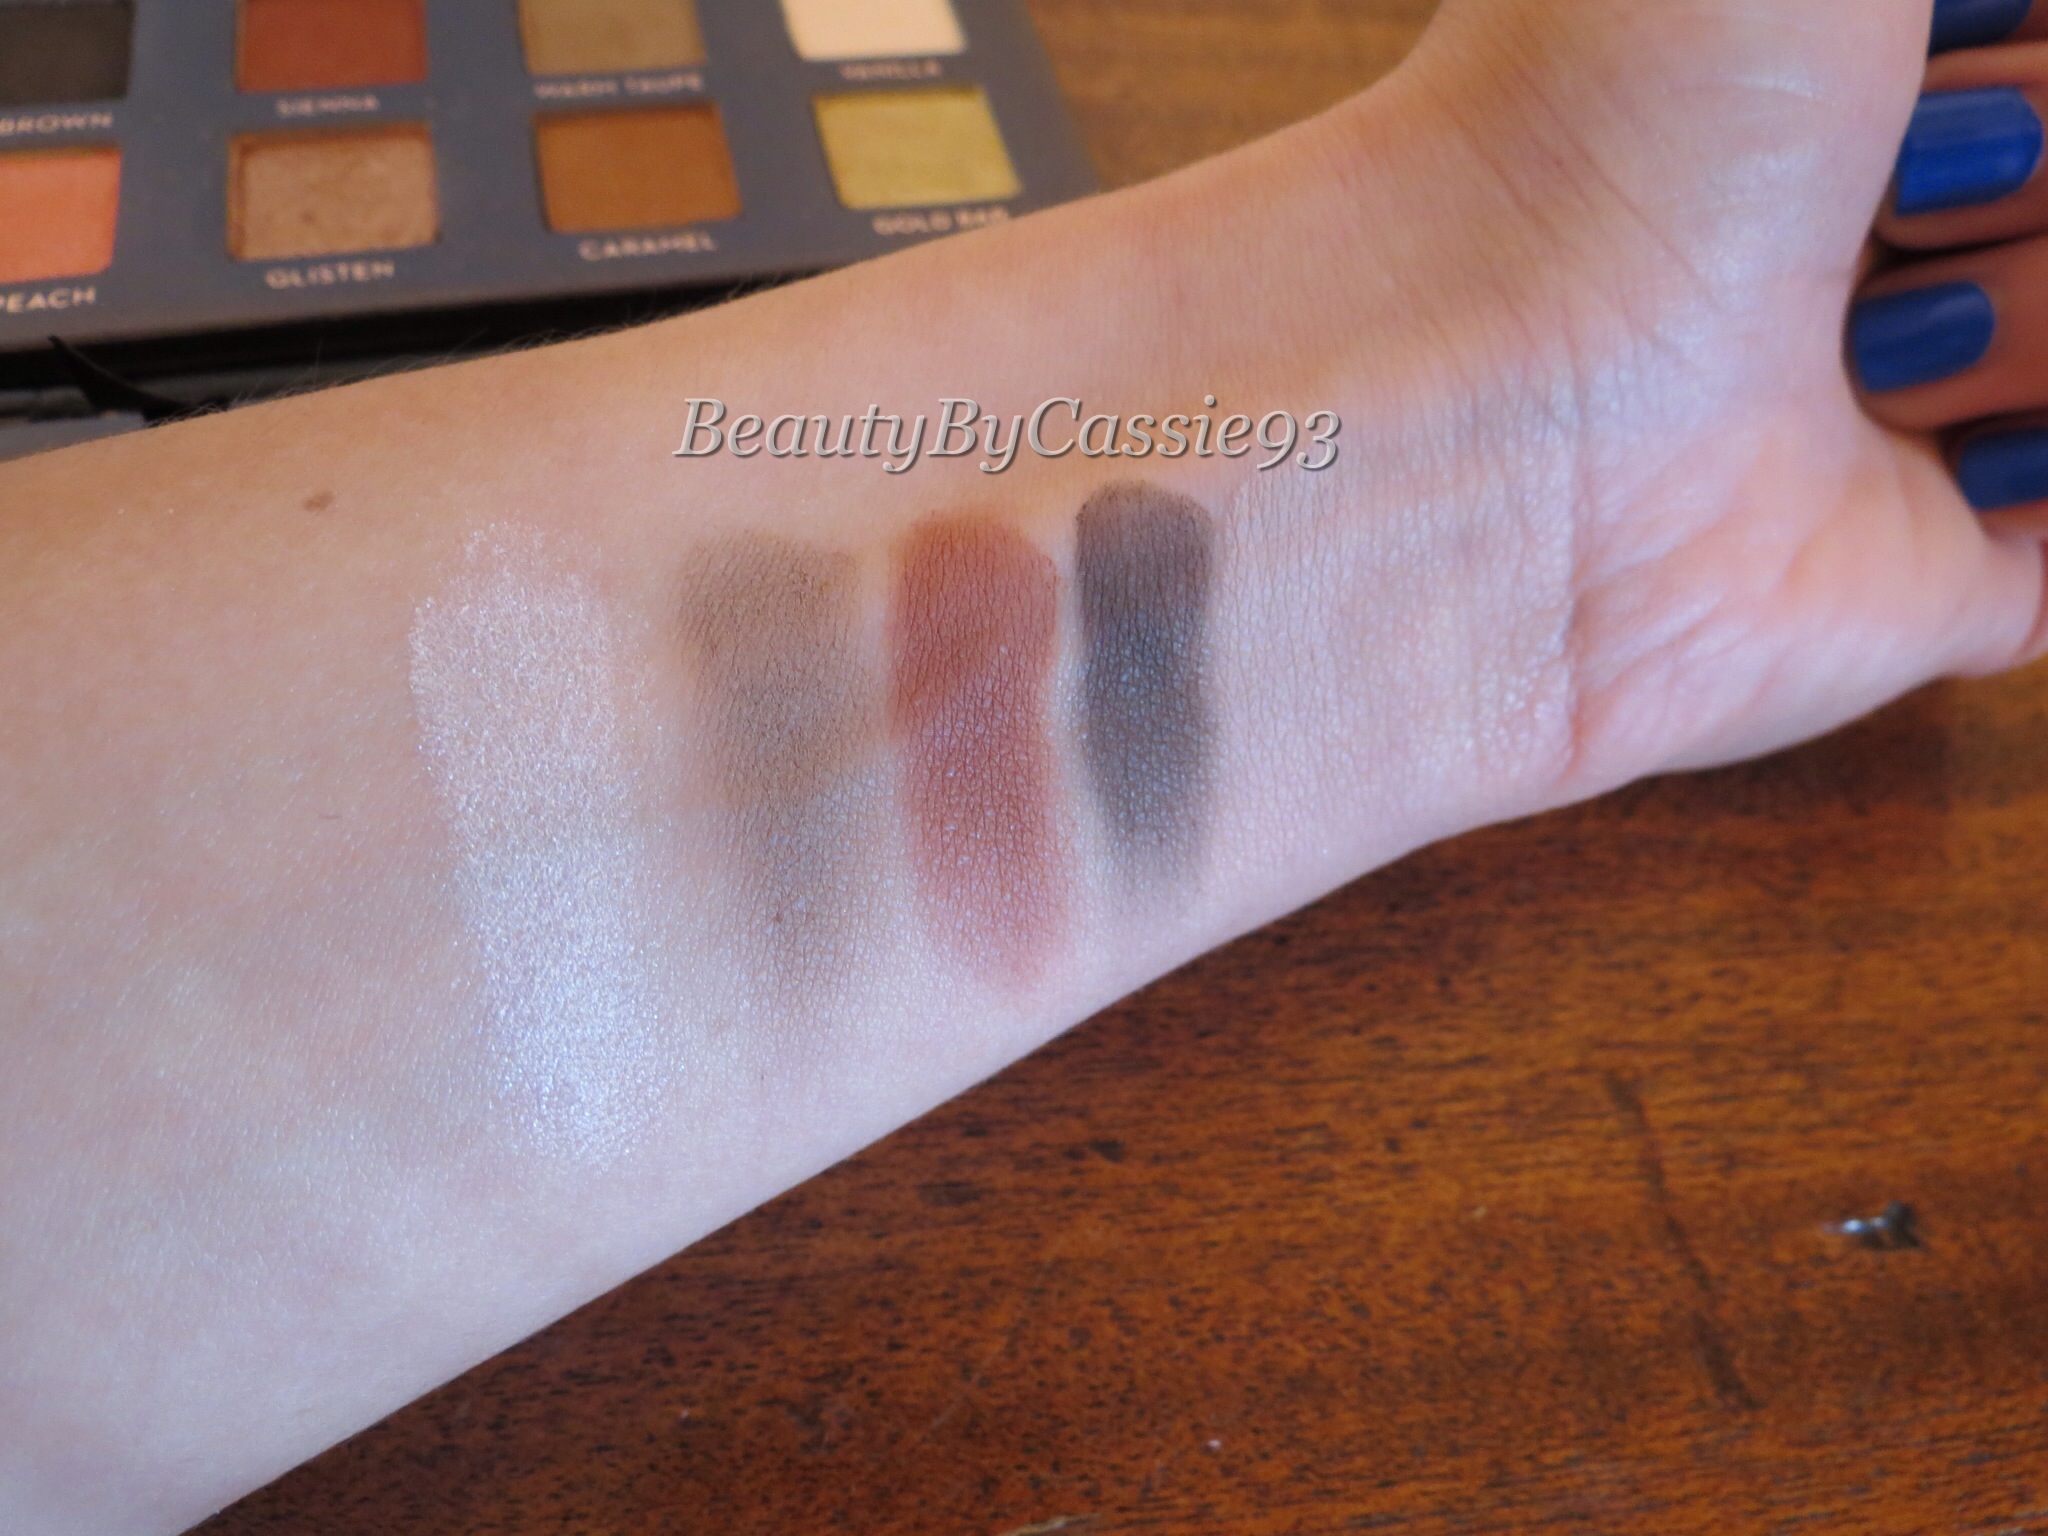
(No flash) Shadows from left to right: Vanilla, Warm Taupe, Sienna, Deep Brown, and Nude
(With flash)
The swatches above are of the first row of shadows in the palette. Vanilla has a satin finish, Warm Taupe, Sienna, Deep Brown, and Nude–which blends in with my skin tone– are all matte. One thing I’d like to mention is that this palette, like the Lavish Palette also by Anastasia Beverly Hills, includes Sienna. However, that doesn’t bother me seeing as Sienna is one of my favorite transition shades. The only shadow in the palette that I’m not head over heals about is Nude just because it doesn’t really show up on my skin. Having said that, it does work as a base shadow. Also, I’d like to make note that all of the photos in this post are unedited.
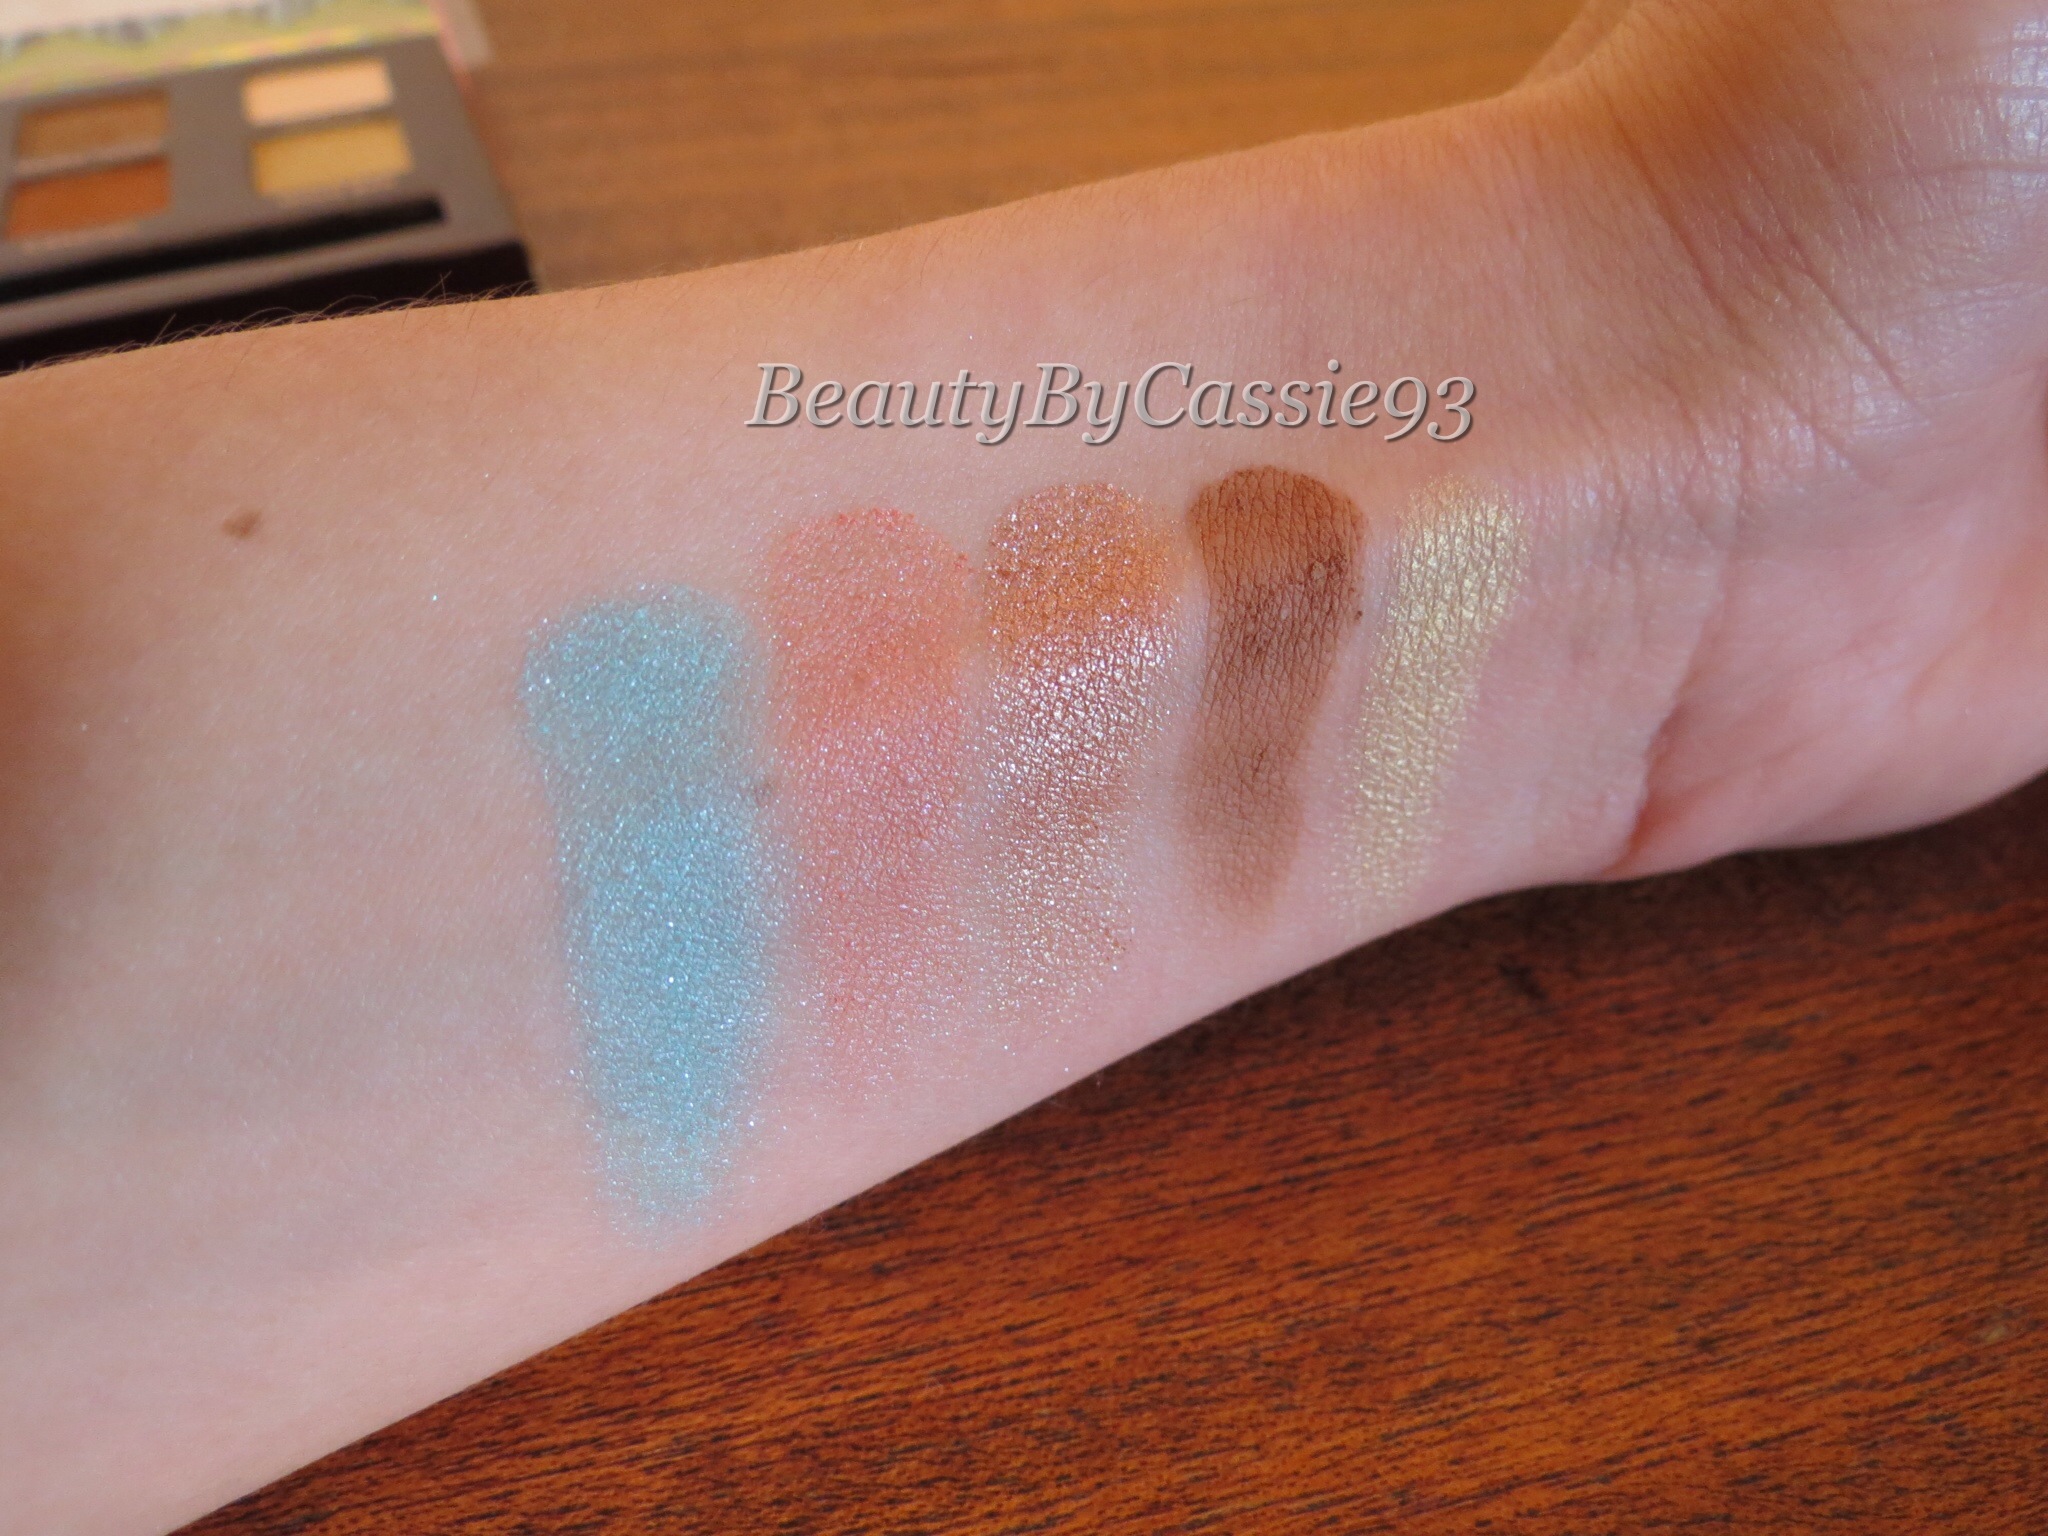
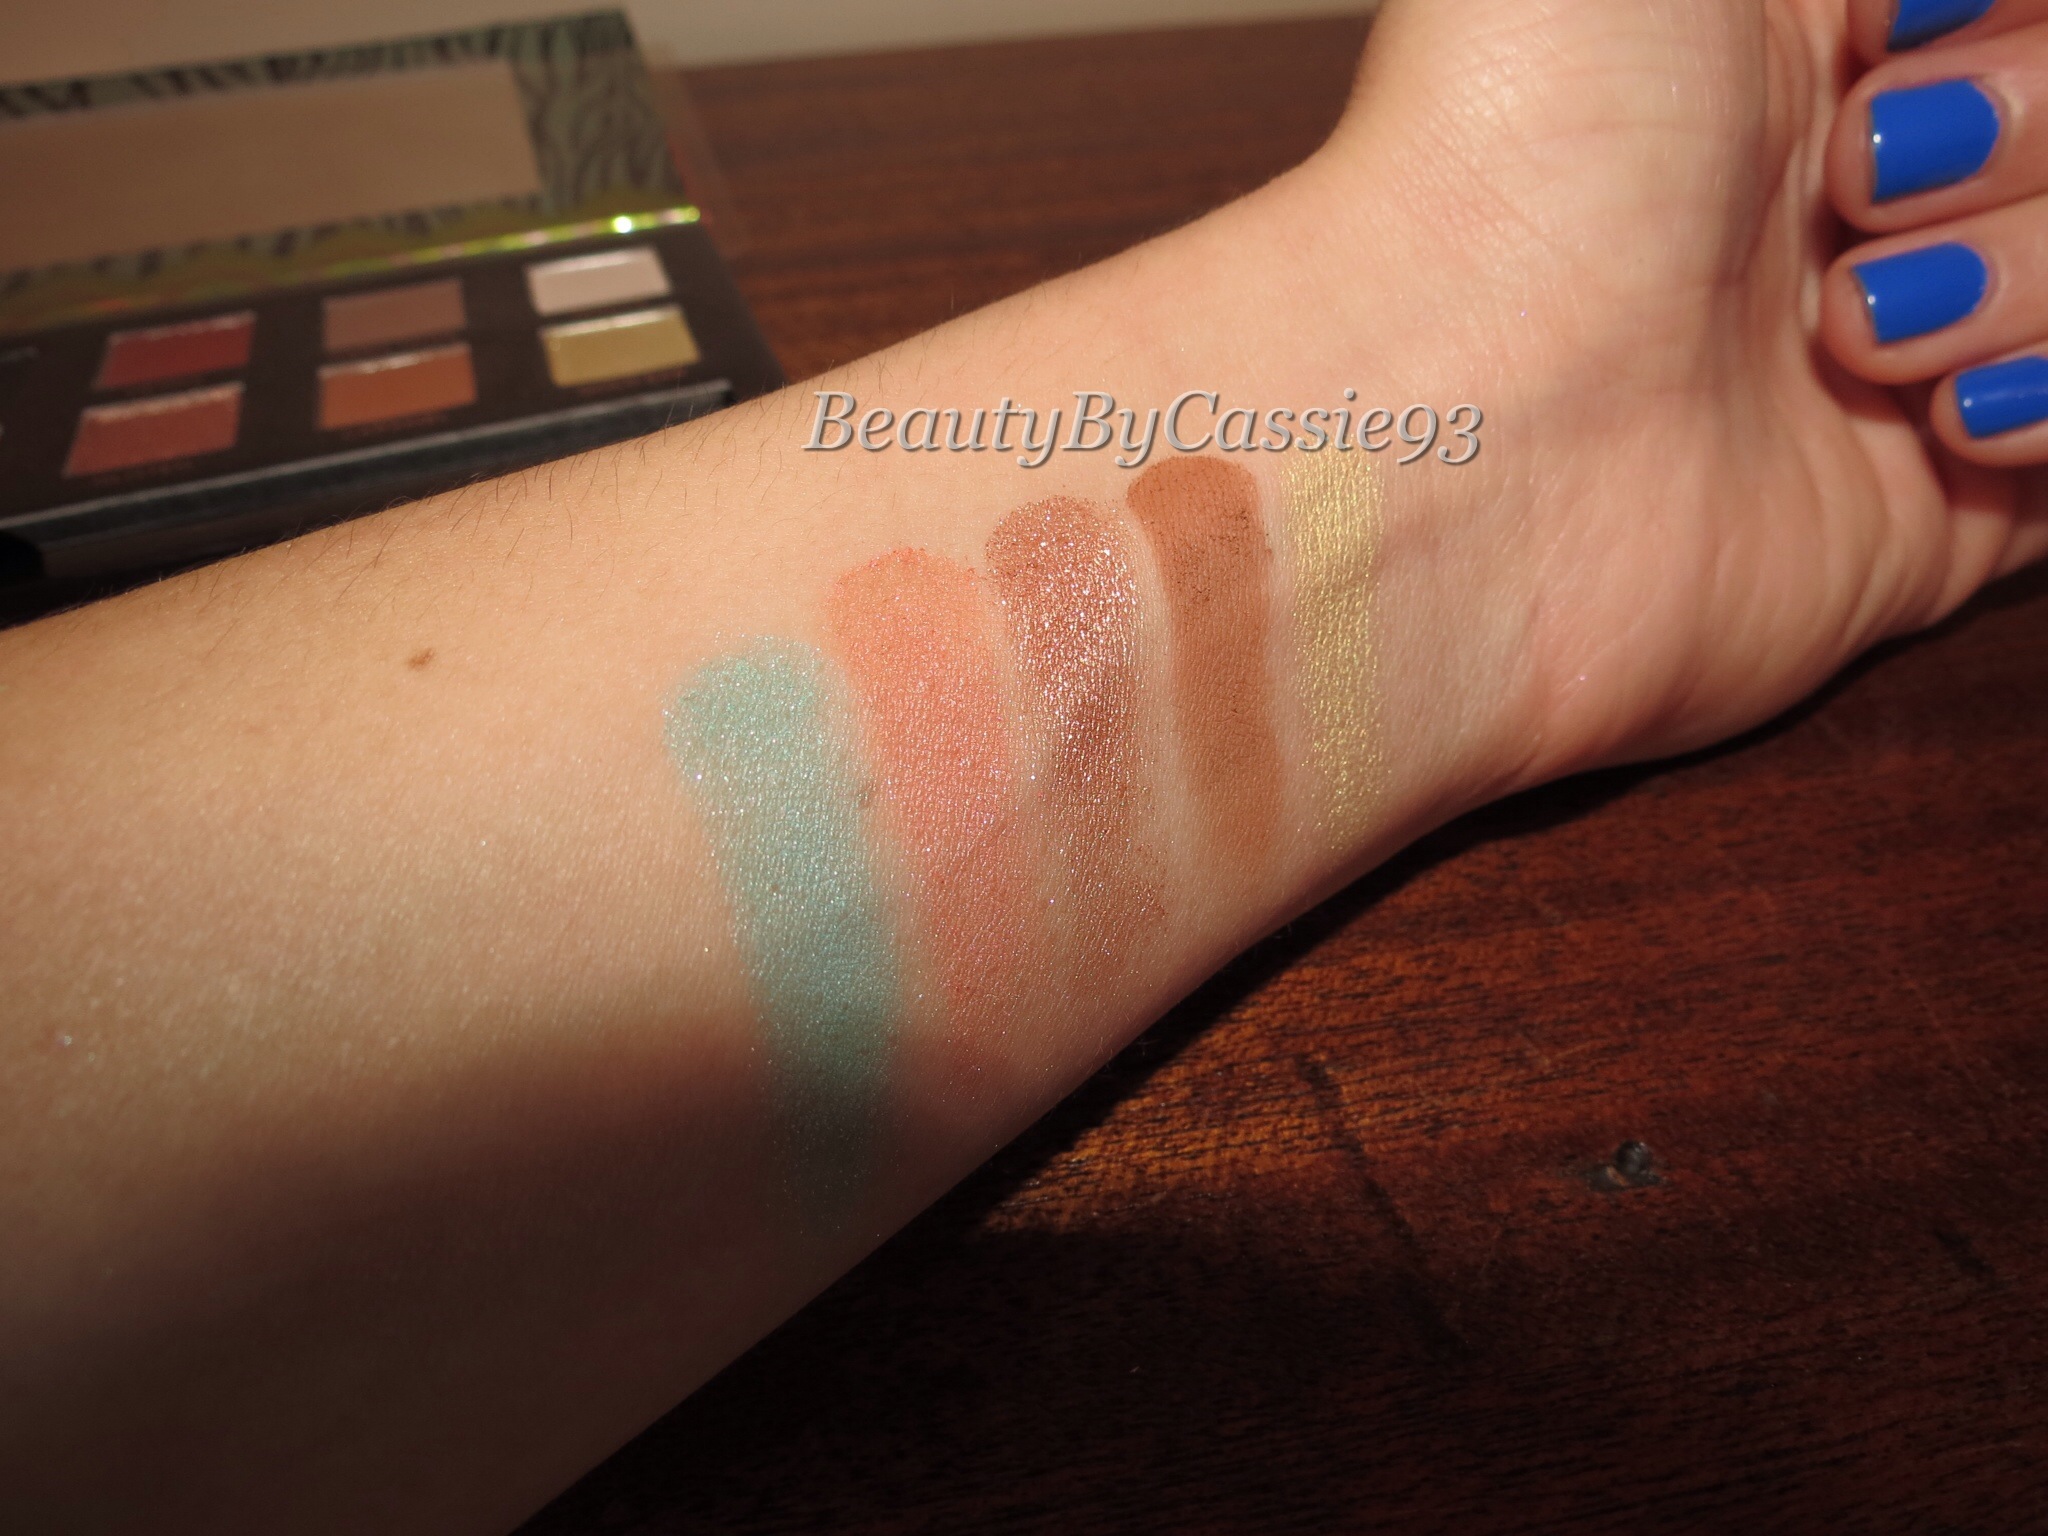
(No flash) From left to right: Aqua, Fresh Peach, Glisten, Caramel, and Gold Bar(With flash)
The bottom row of shadows only contains one matte shadow, that being Caramel. Aqua, Fresh Peach and Gold Bar have satin finishes and Glisten is shimmery.
The accompanying brush is double sided and is well-made. The bristles are soft and the flat shader brush side is good for packing on shadows, while the pointed pencil brush side is nice for applying shadow along the lower lash line or deepening your crease.
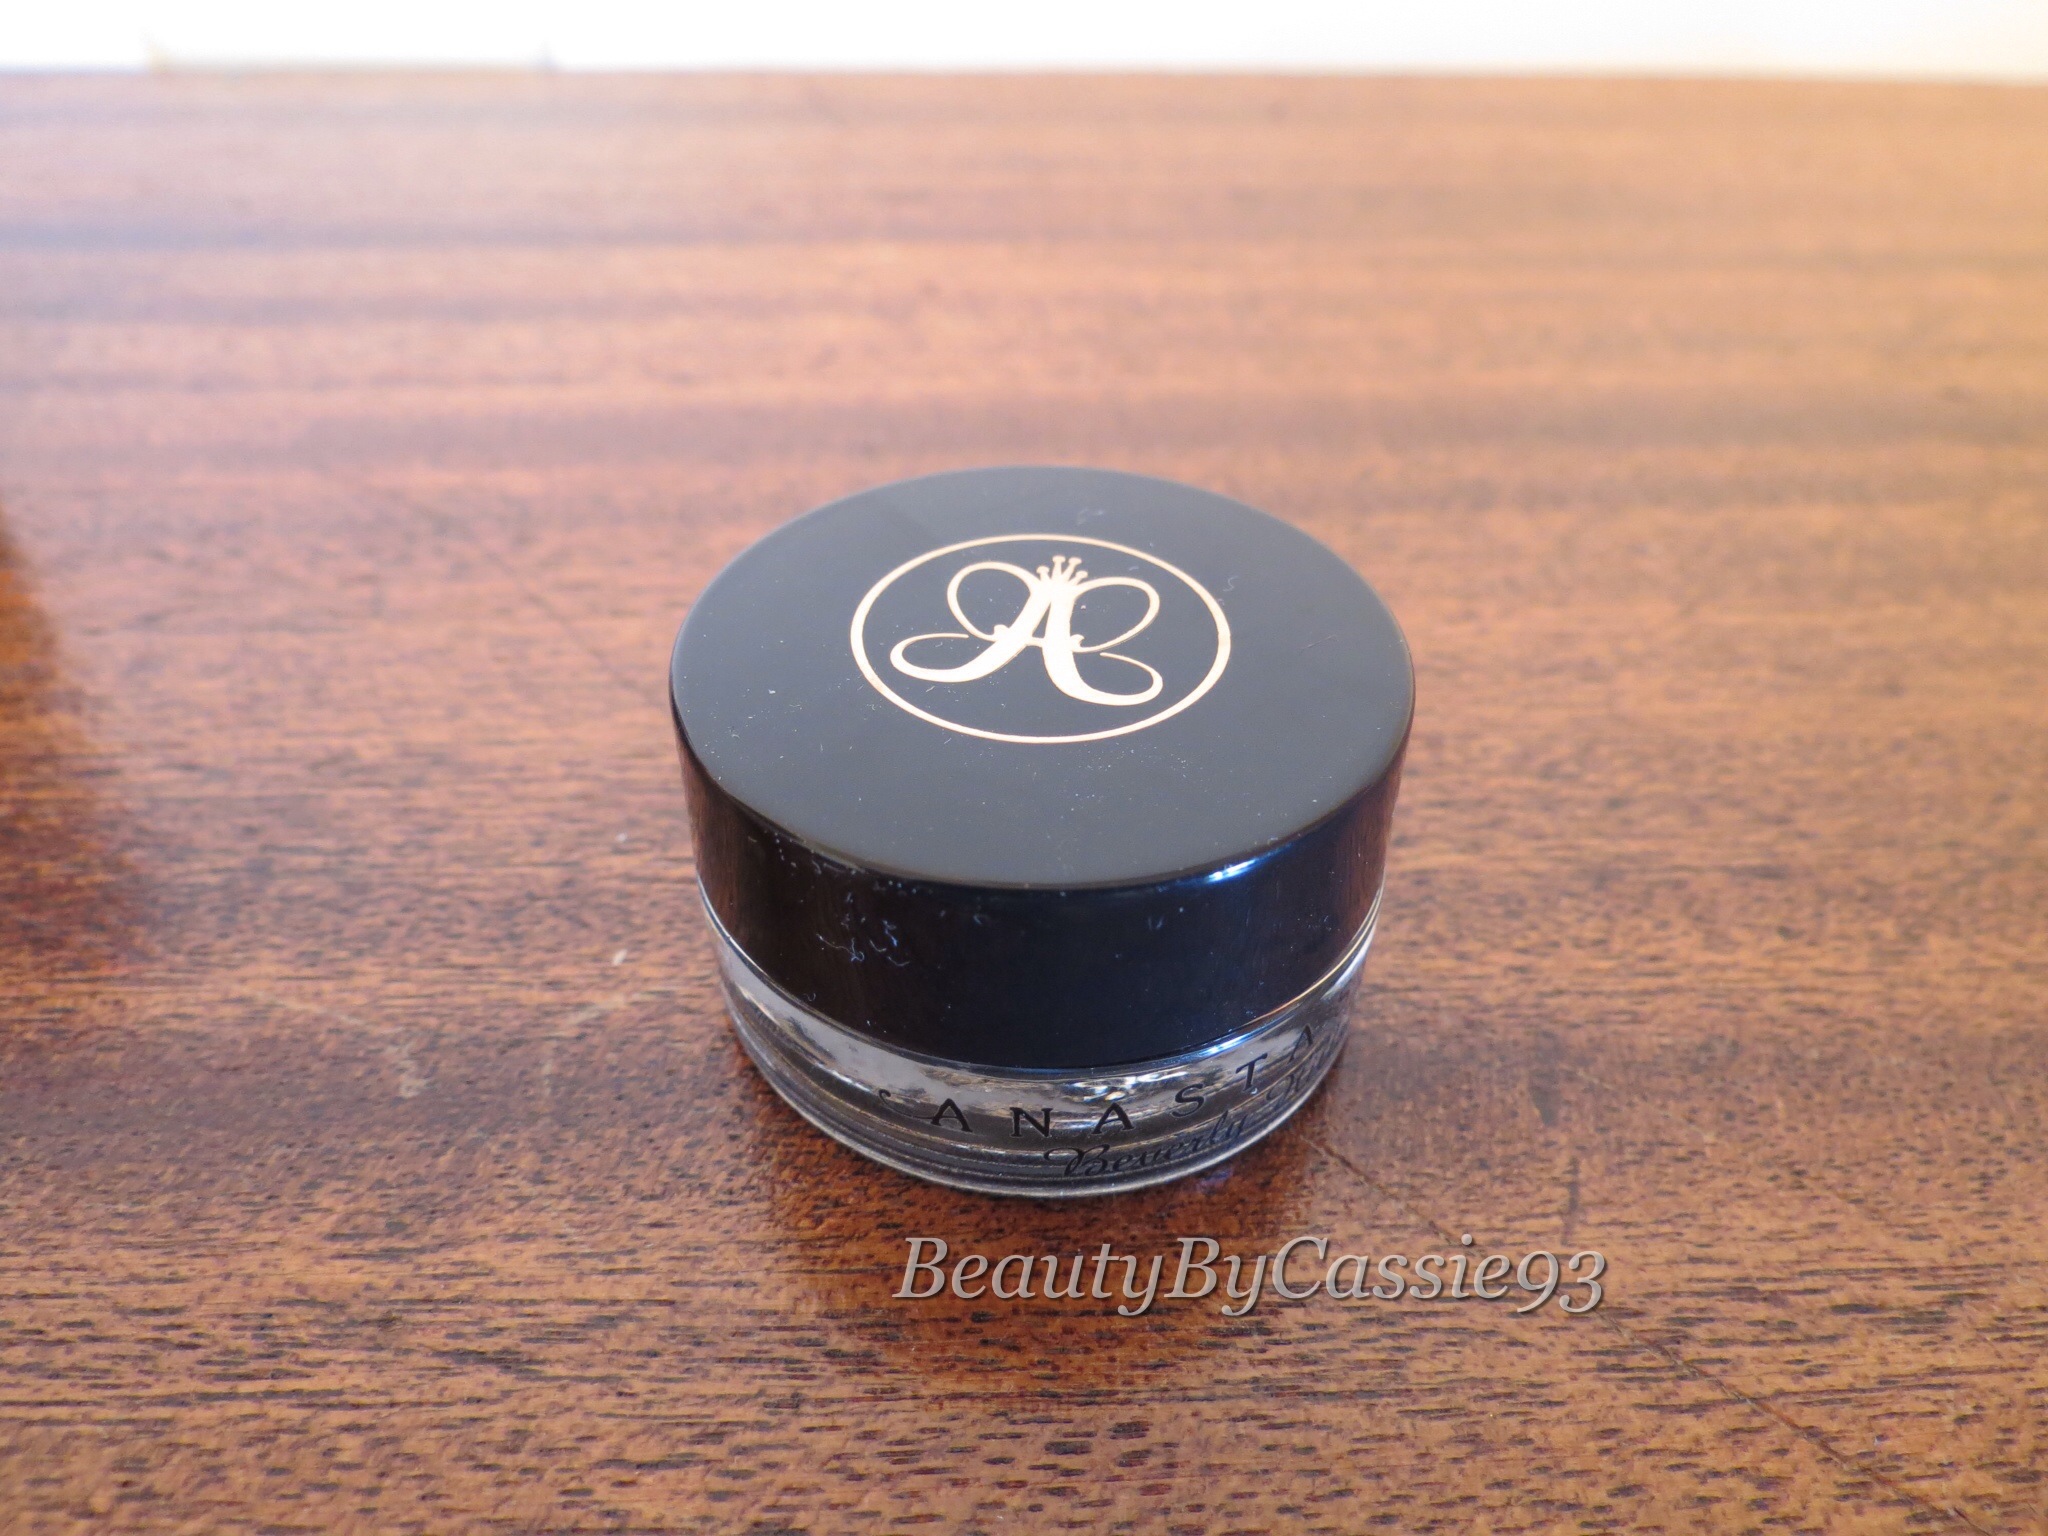
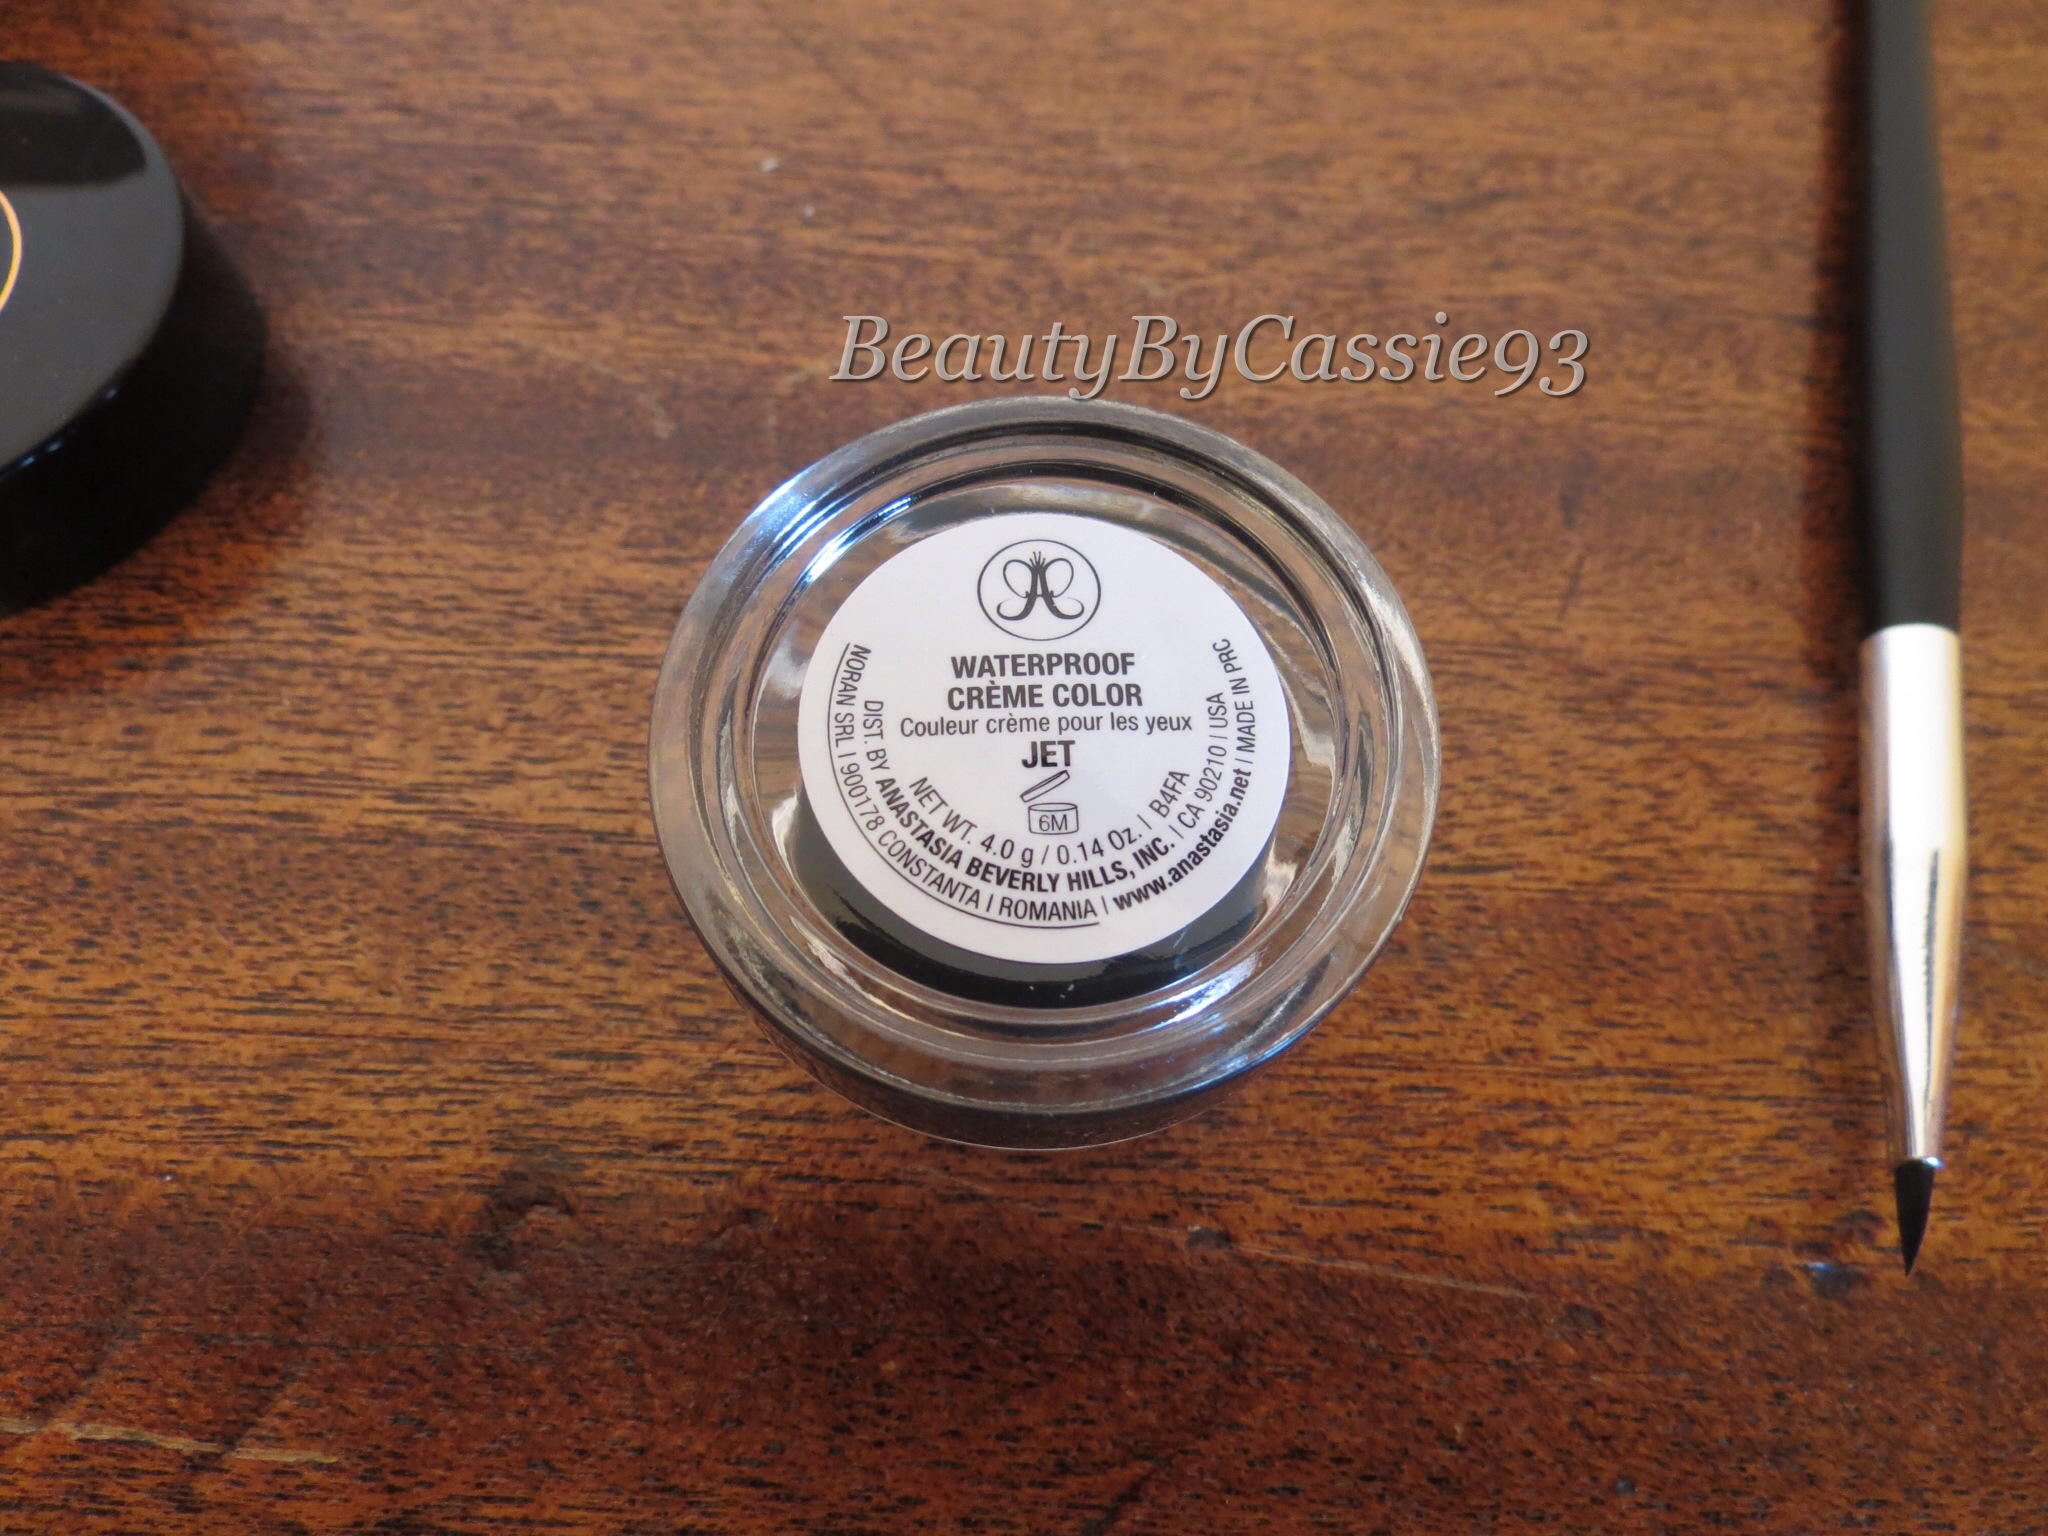
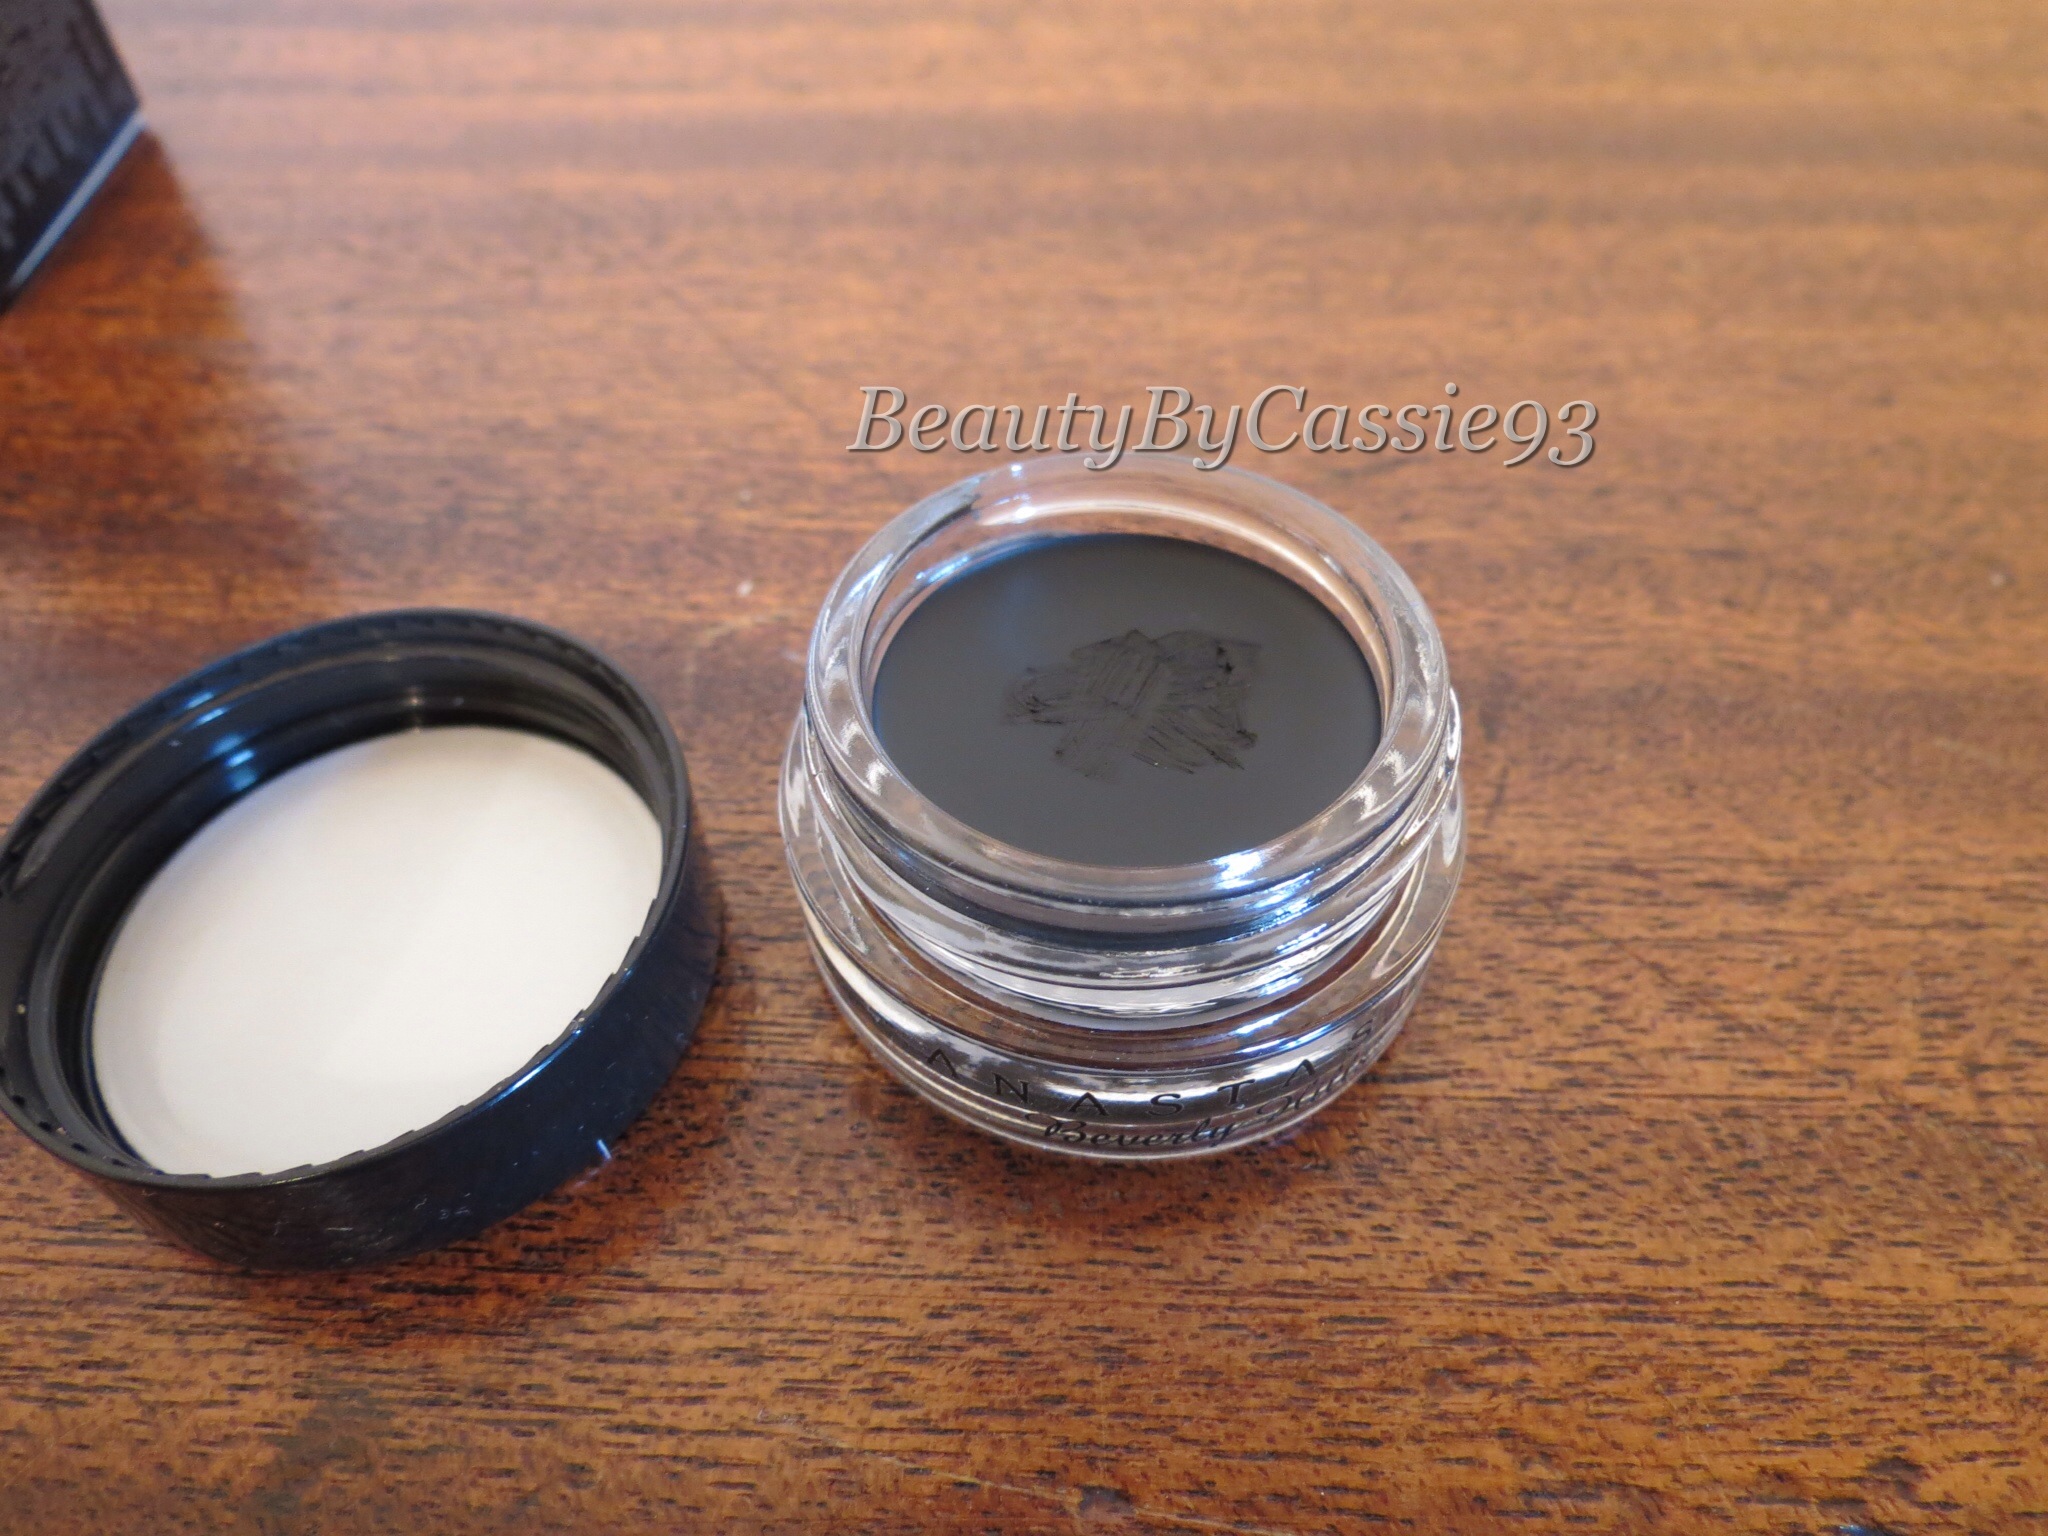
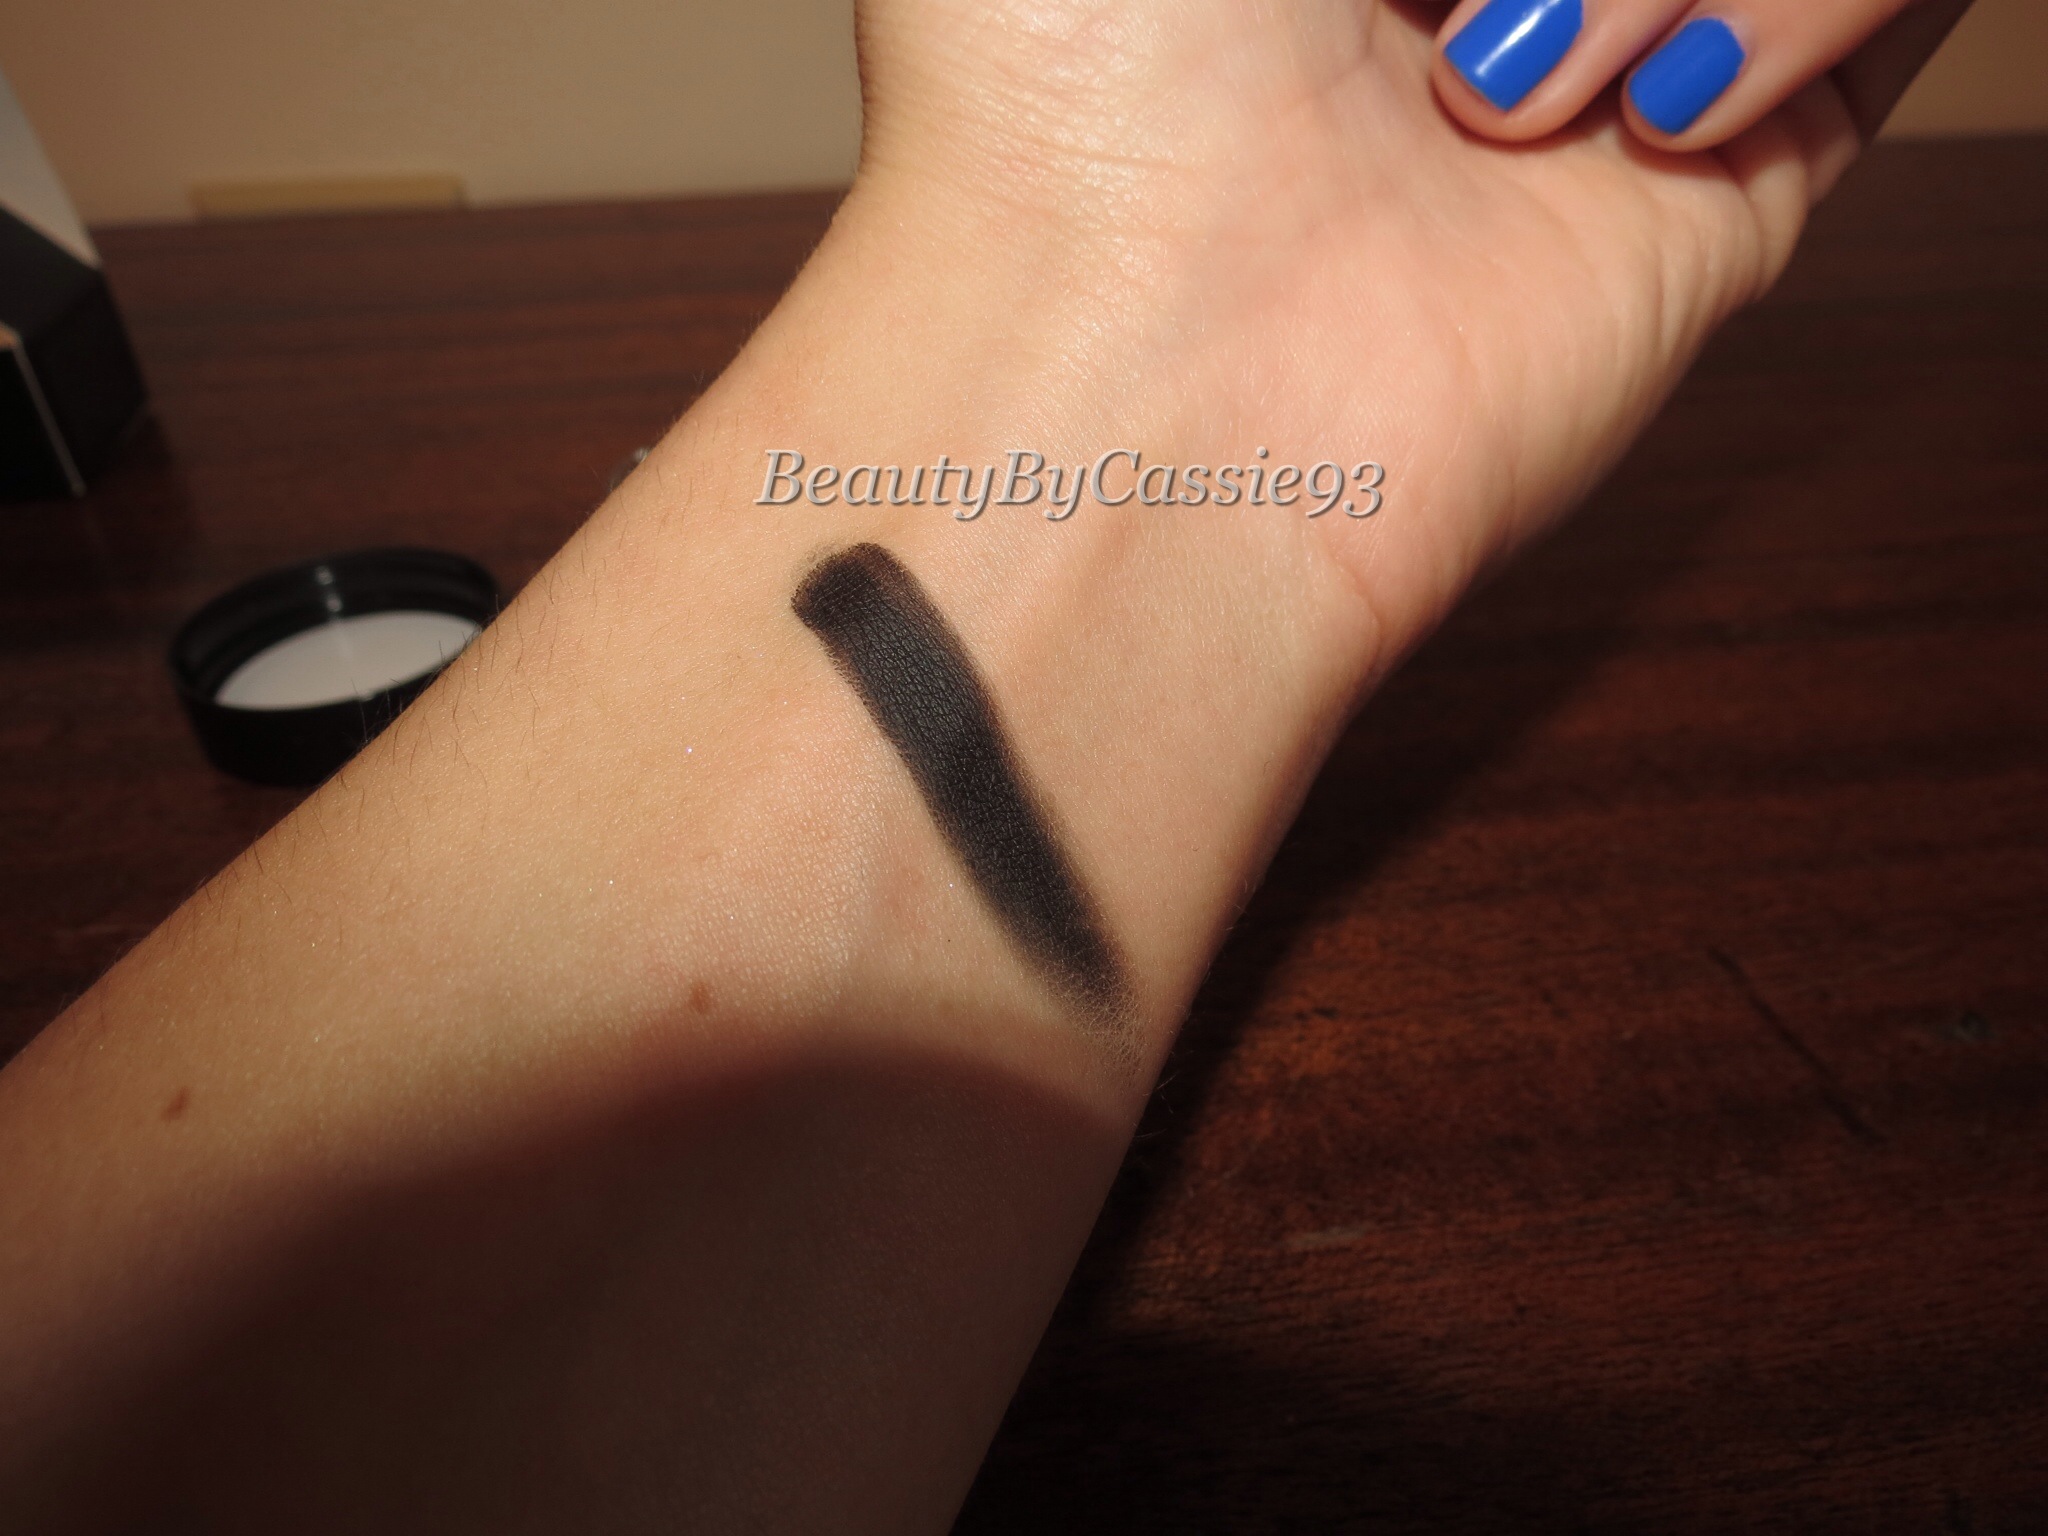
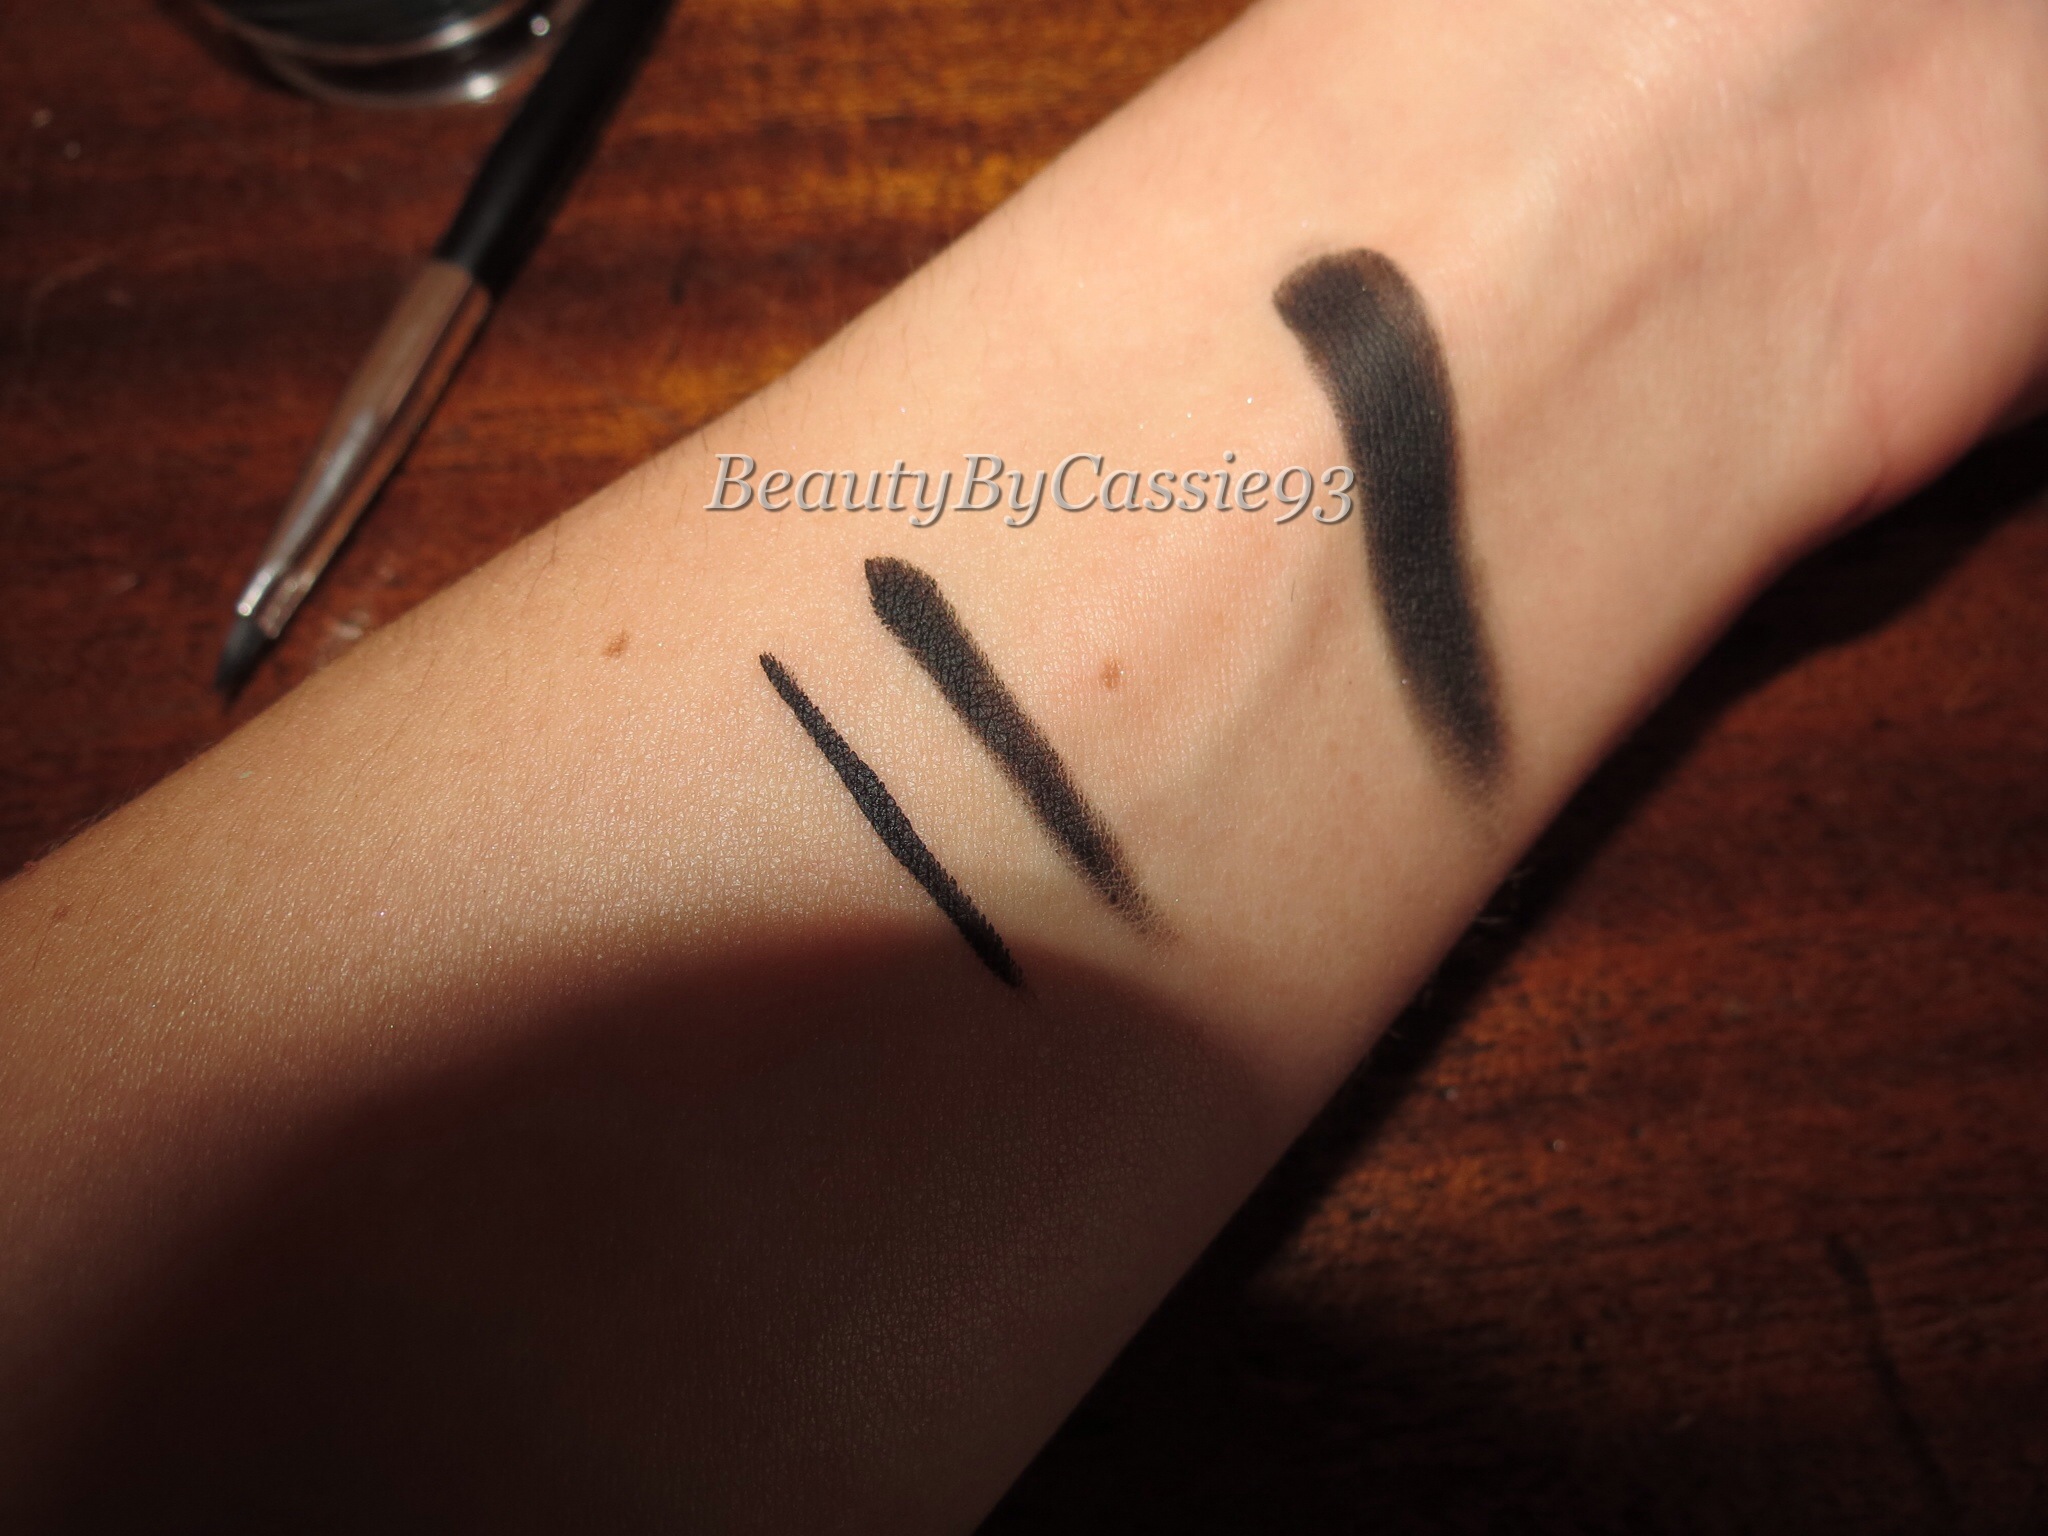
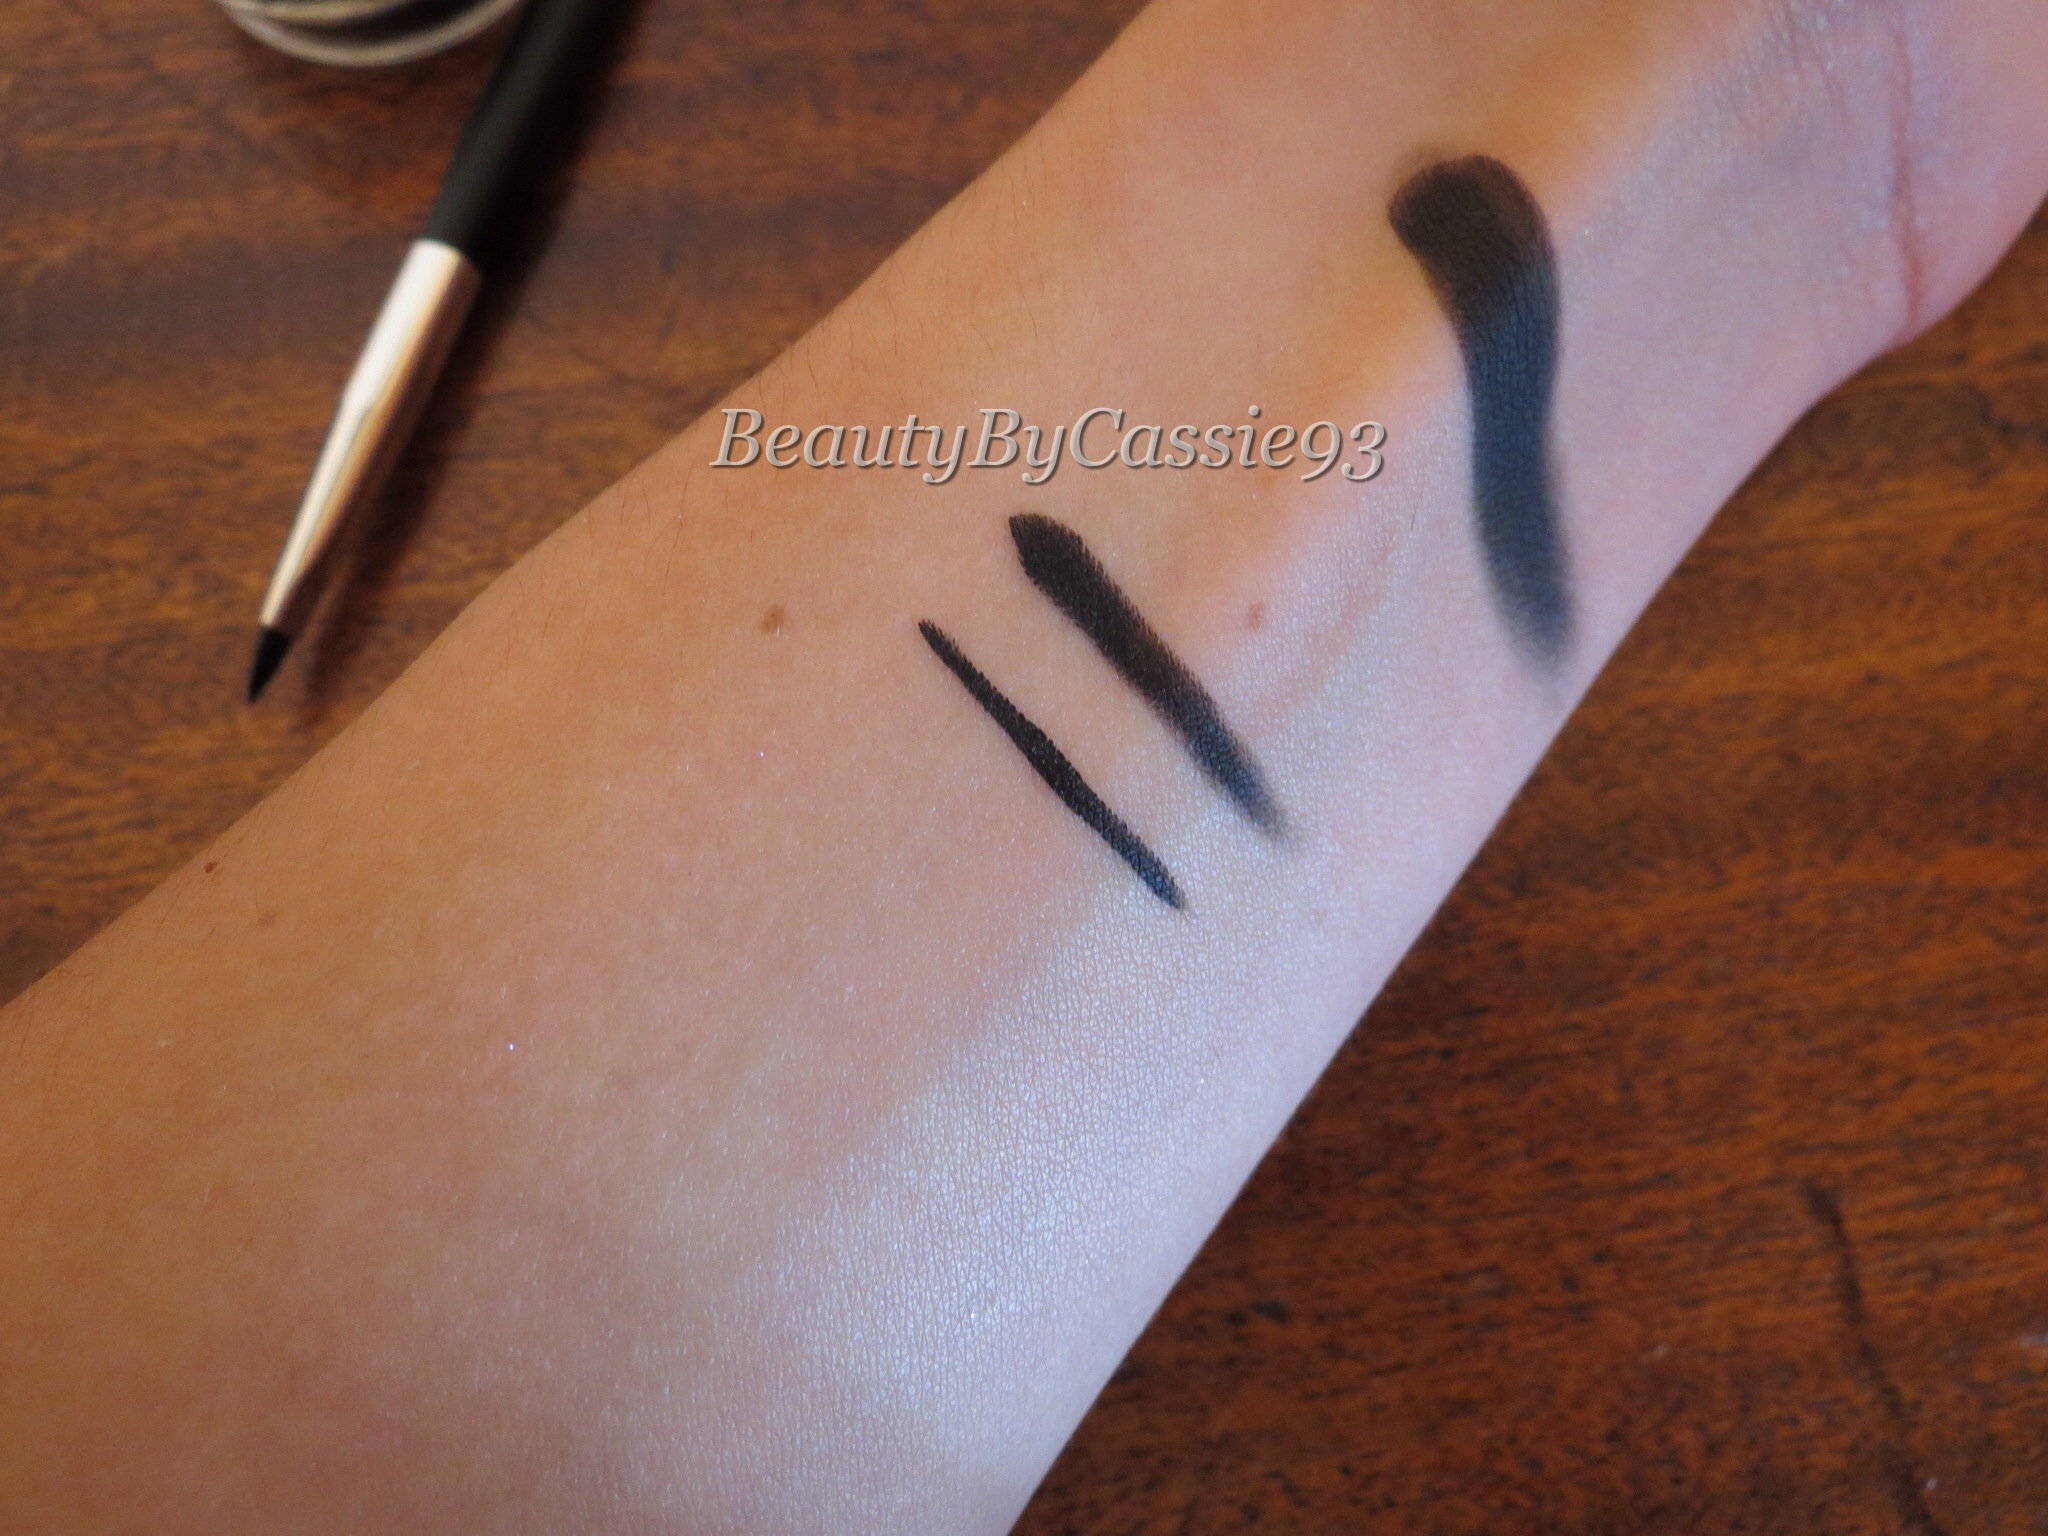
Next up is the Waterproof Crème Color in Jet. It retails for $18 and comes in a glass pot just like the ABH Dipbrow Pomade. I really like the texture of this product and the fact that it’s matte. I’m not really into the whole glossy/shiny eyeliner look so this is right up my alley. This can be used as a liner or a cream shadow. It would make the perfect base for a dark, dramatic black smokey eye because it doesn’t crease or smudge. As for the waterproof claim, they aren’t kidding! I applied the product to my wrist, let it set, then rubbed vigorously and it didn’t even budge. Oh, and I didn’t even mention the intensity of the product. This stuff is black! Not an off-black or grayish black, but a true inky black color. Below is a swatch of the Waterproof Crème Color.
(With flash)
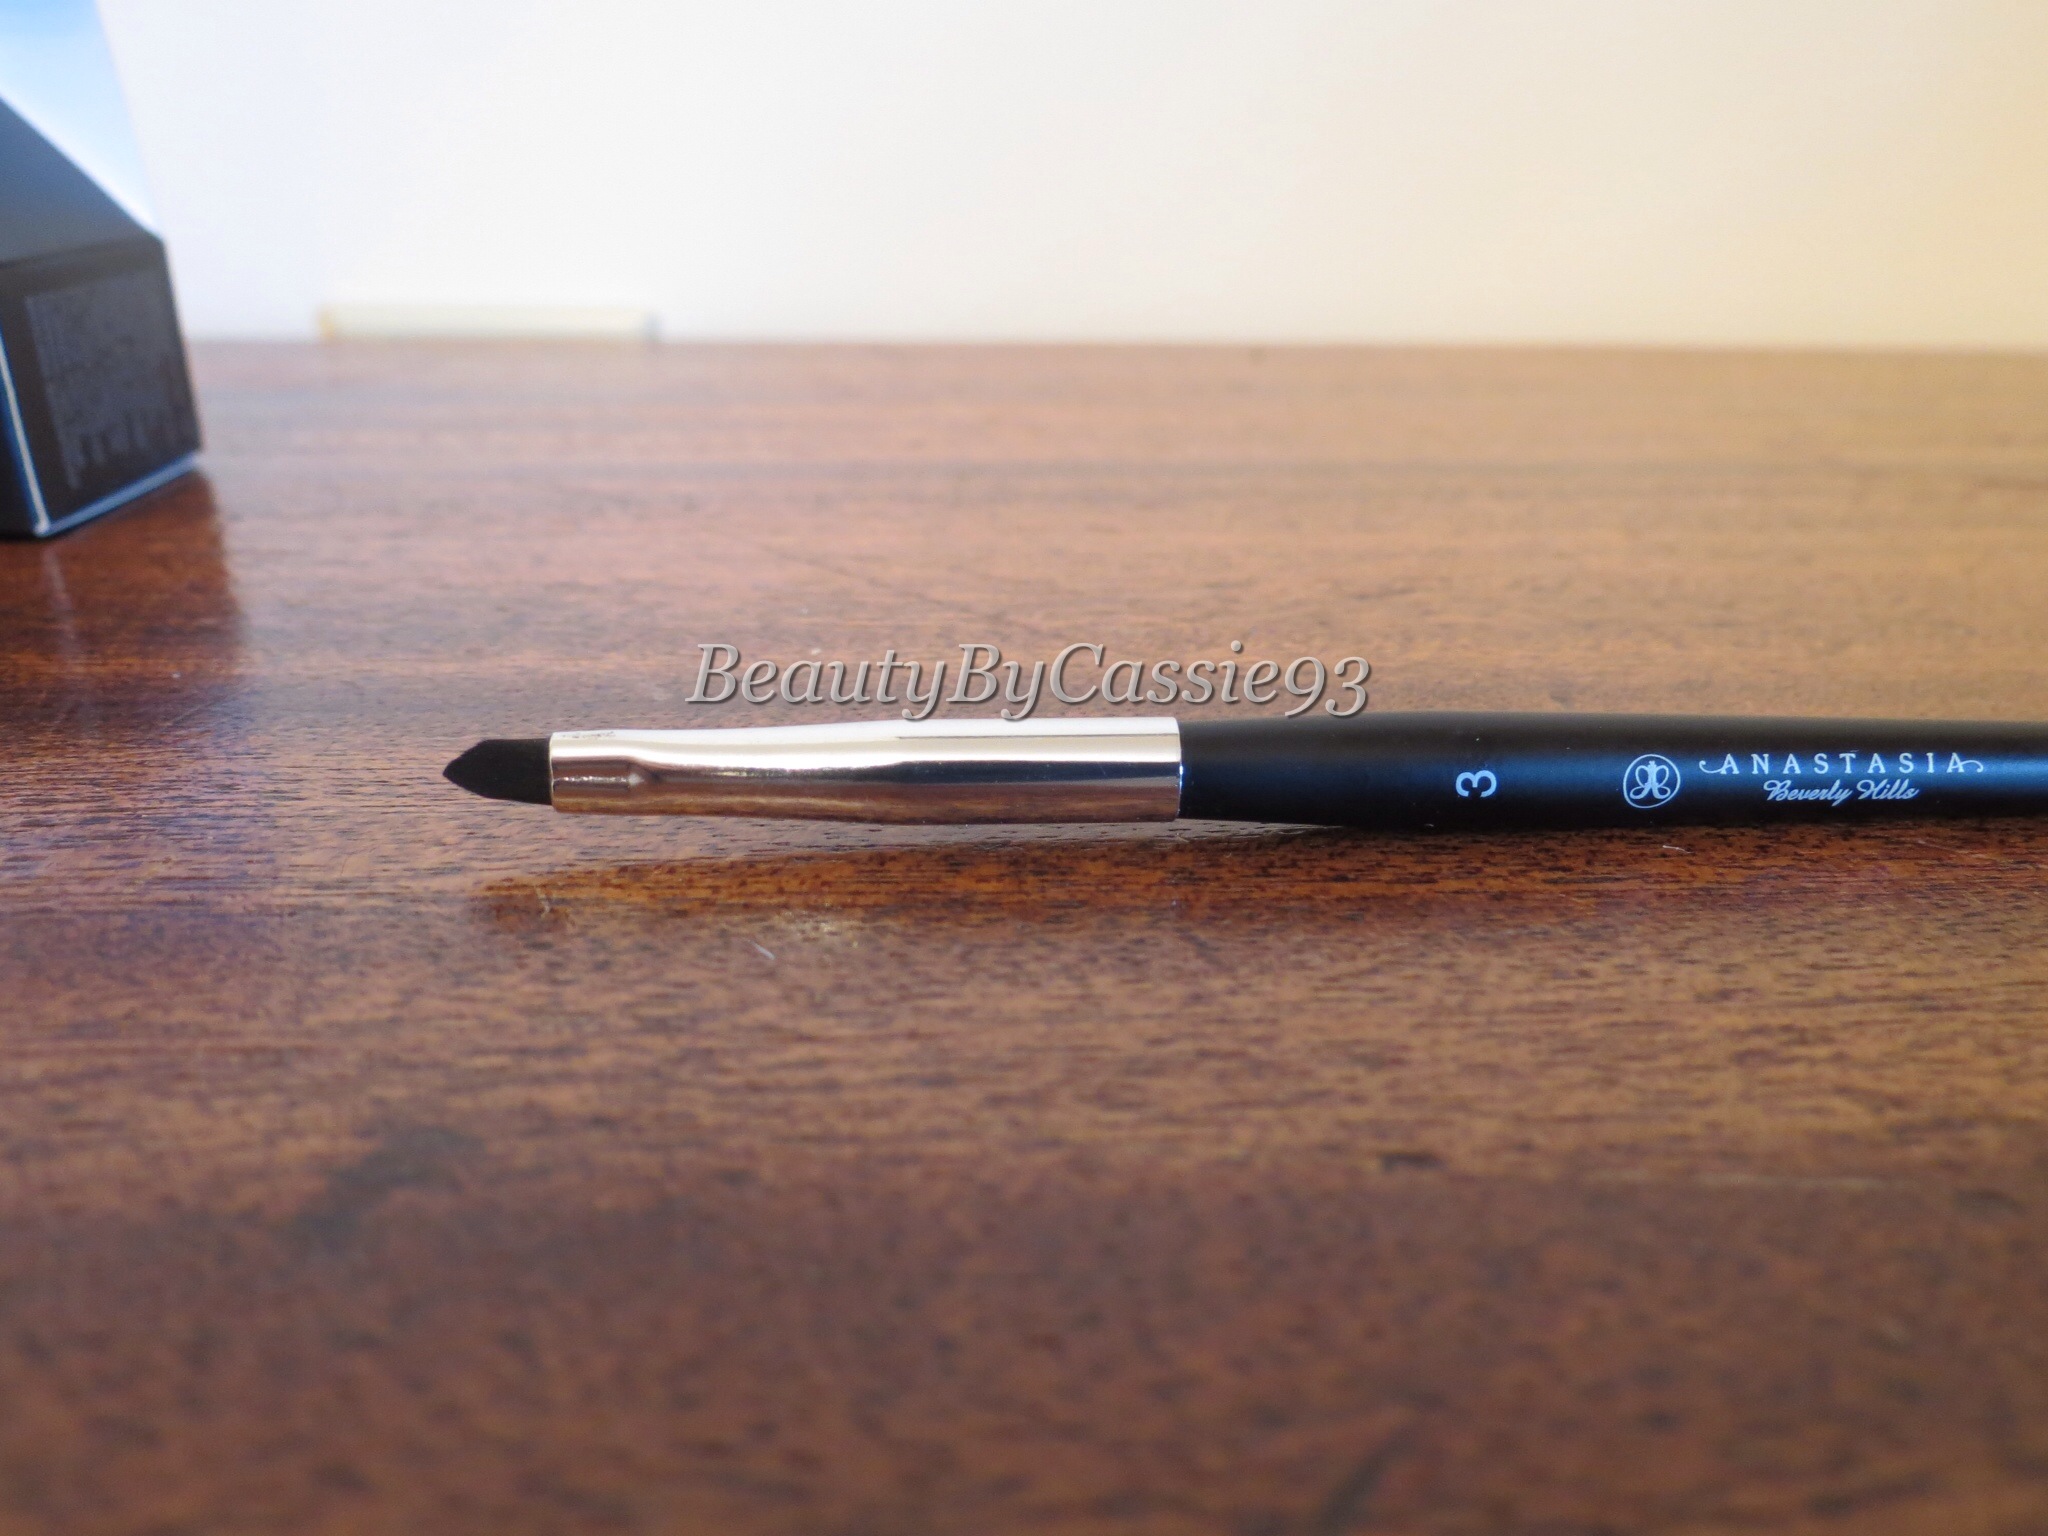
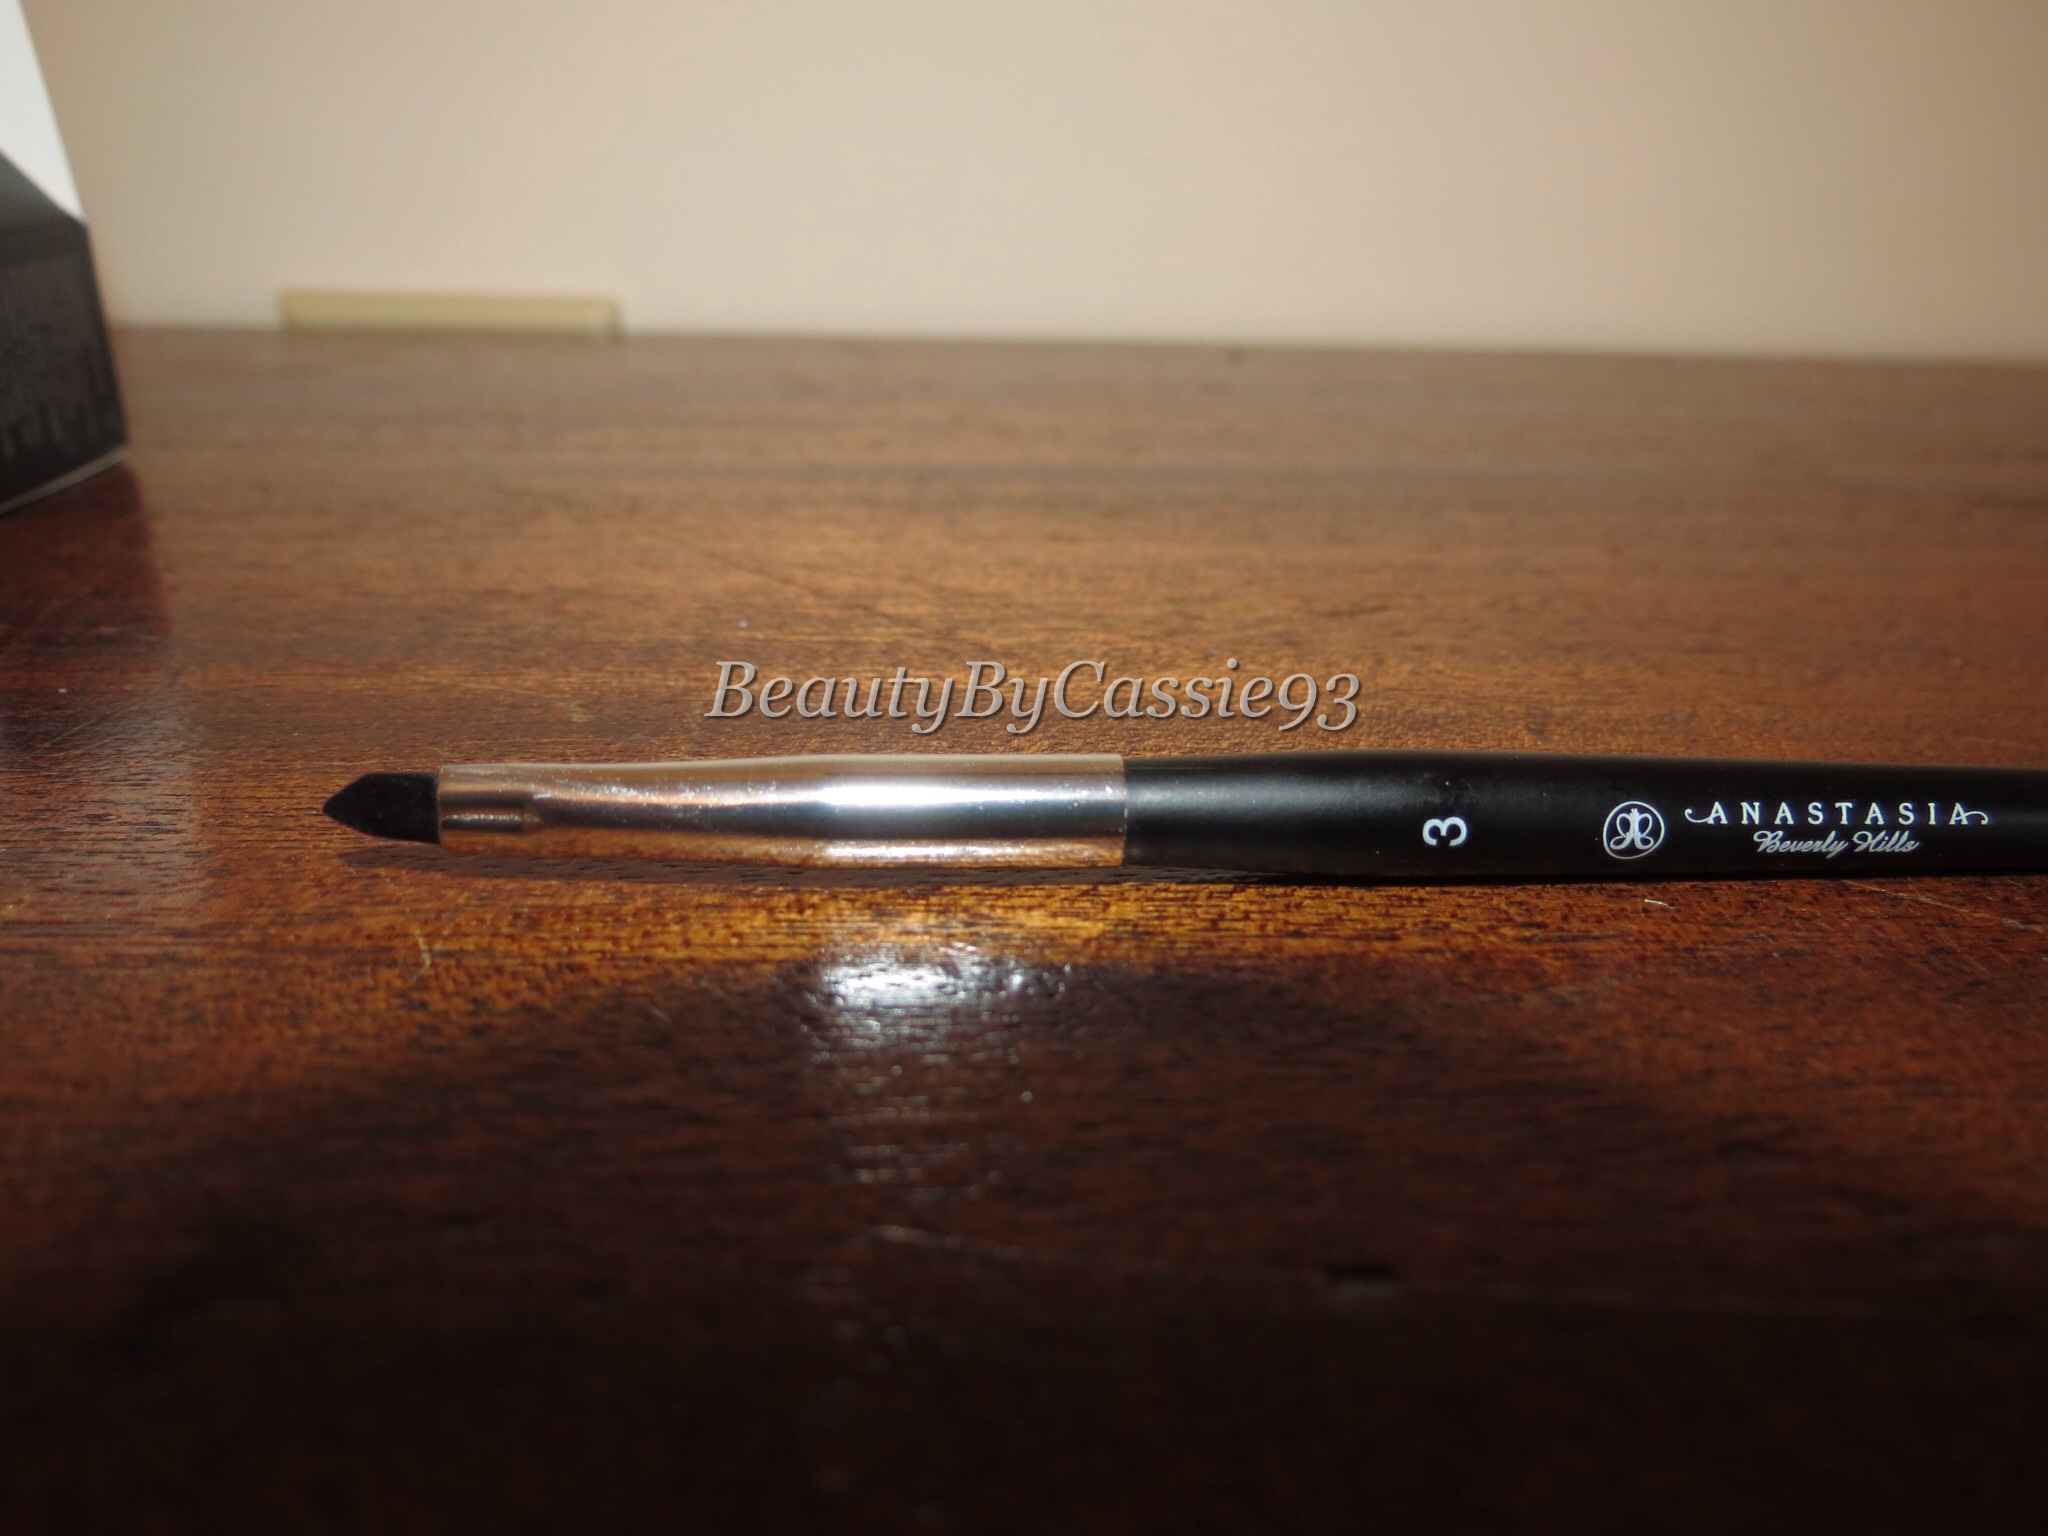
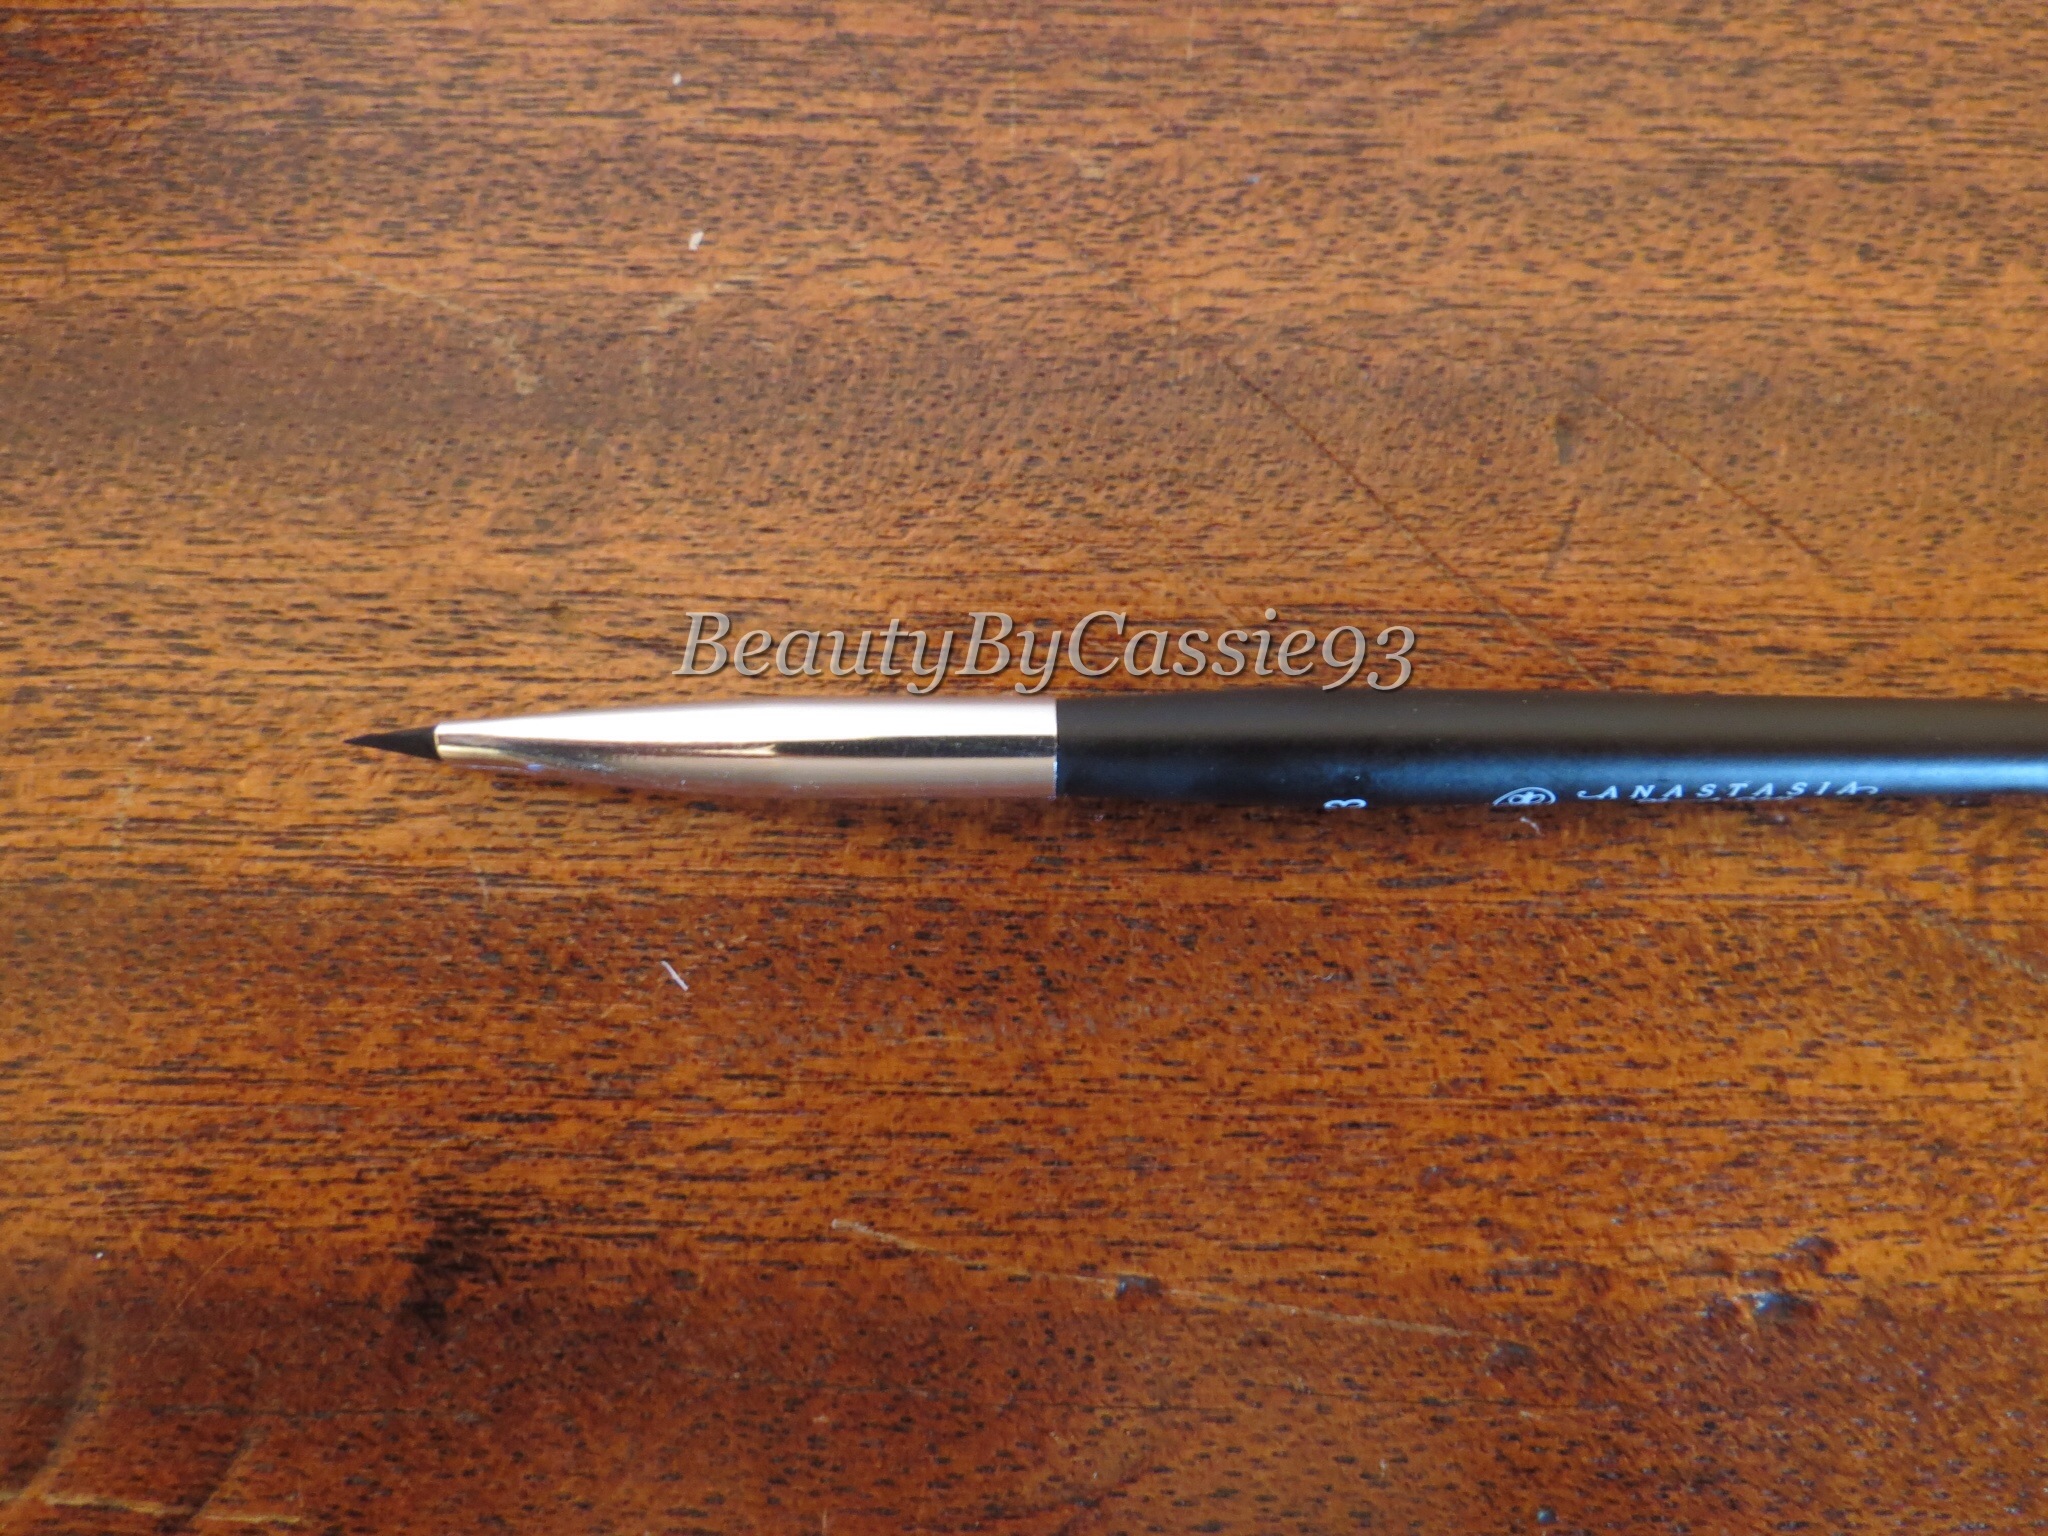
Lastly, we have the #3 Brush. It retails for $18. It’s flat and tapers to a point which makes it ideal for lining the eyes. You can flip the brush on its side and create a super thin line or use the other side and create a much thicker line. I also find that this brush is helpful in creating winged liner looks. Below, I’ve drawn some lines using the #3 Brush and Waterproof Crème Color.